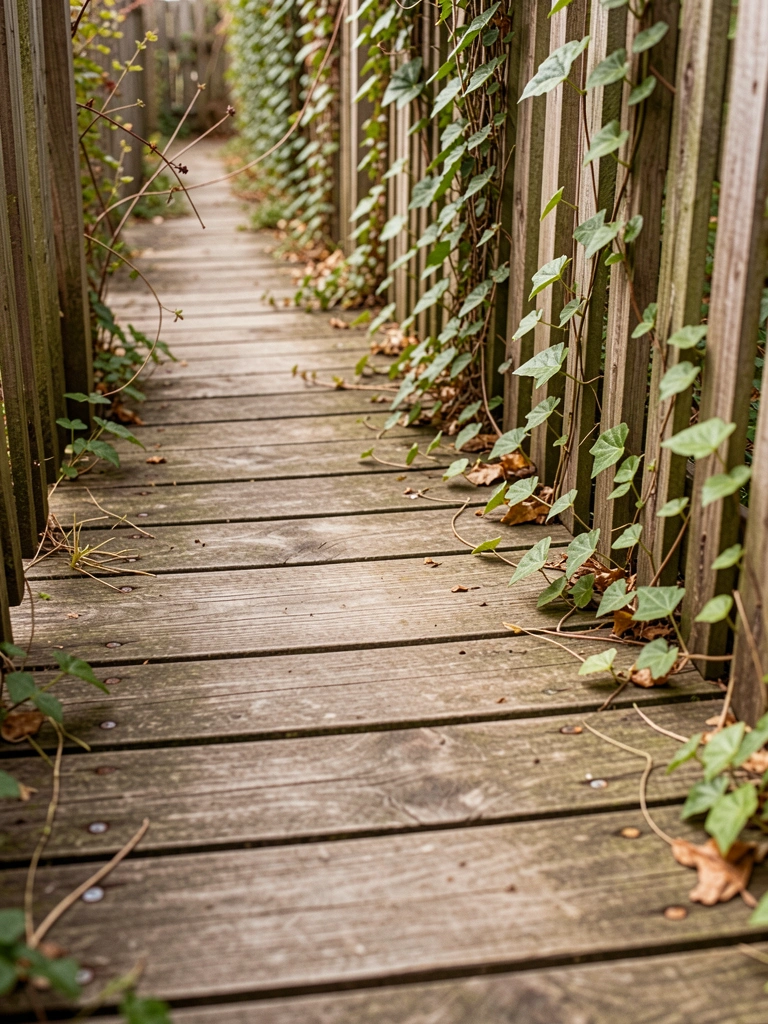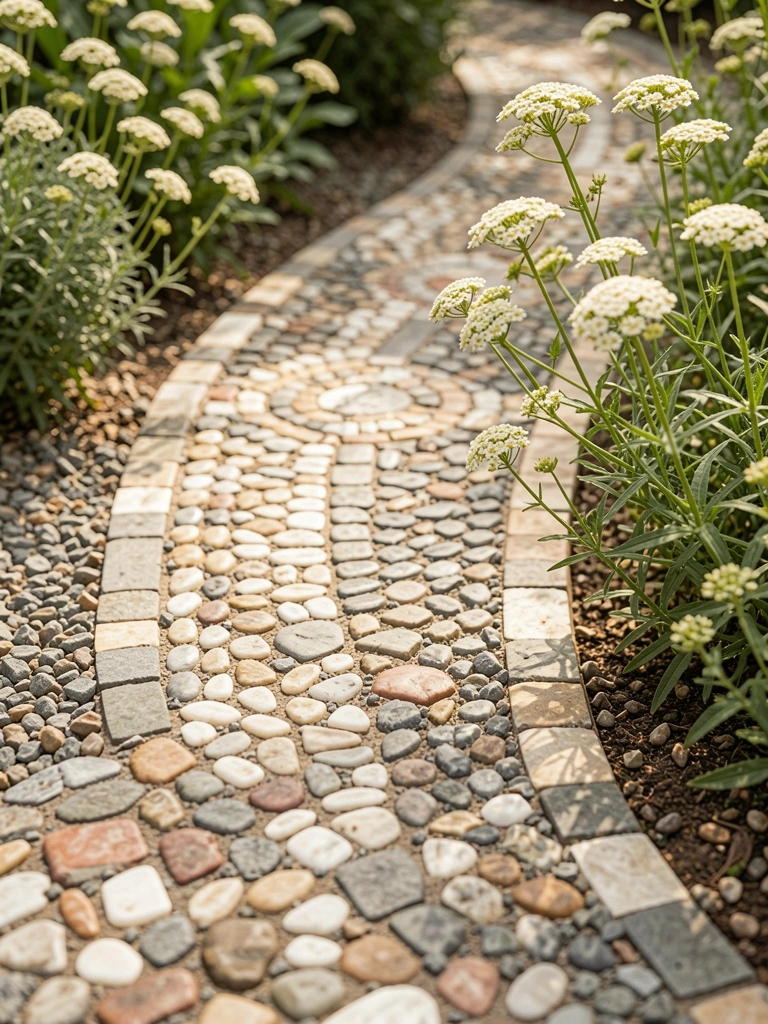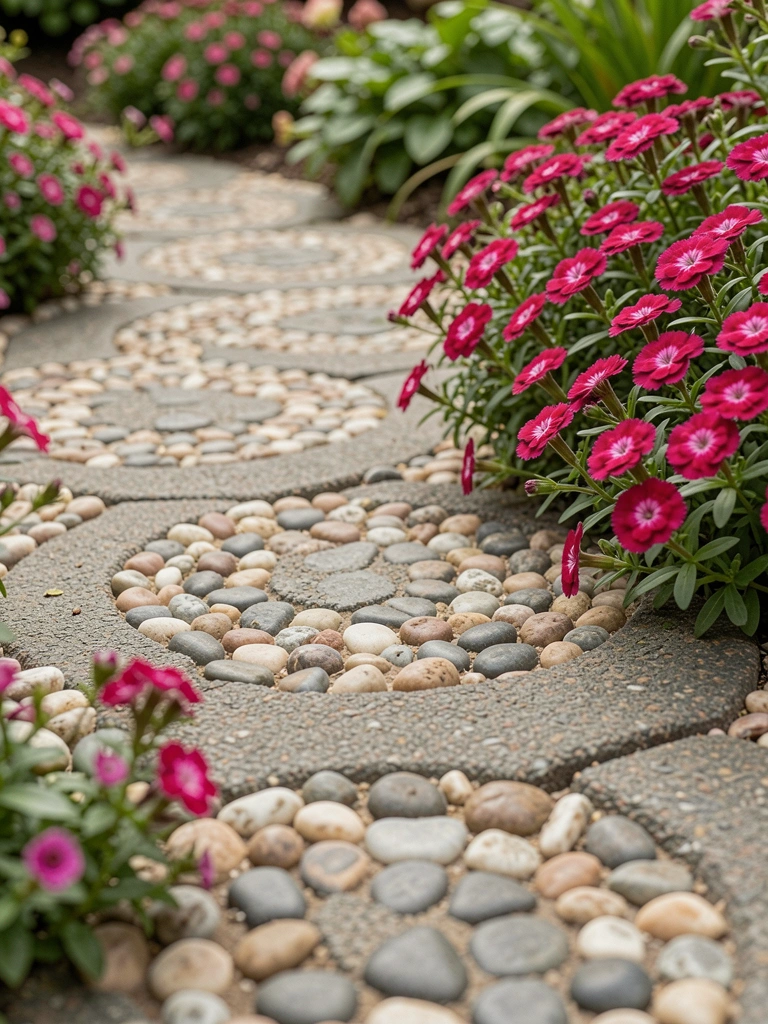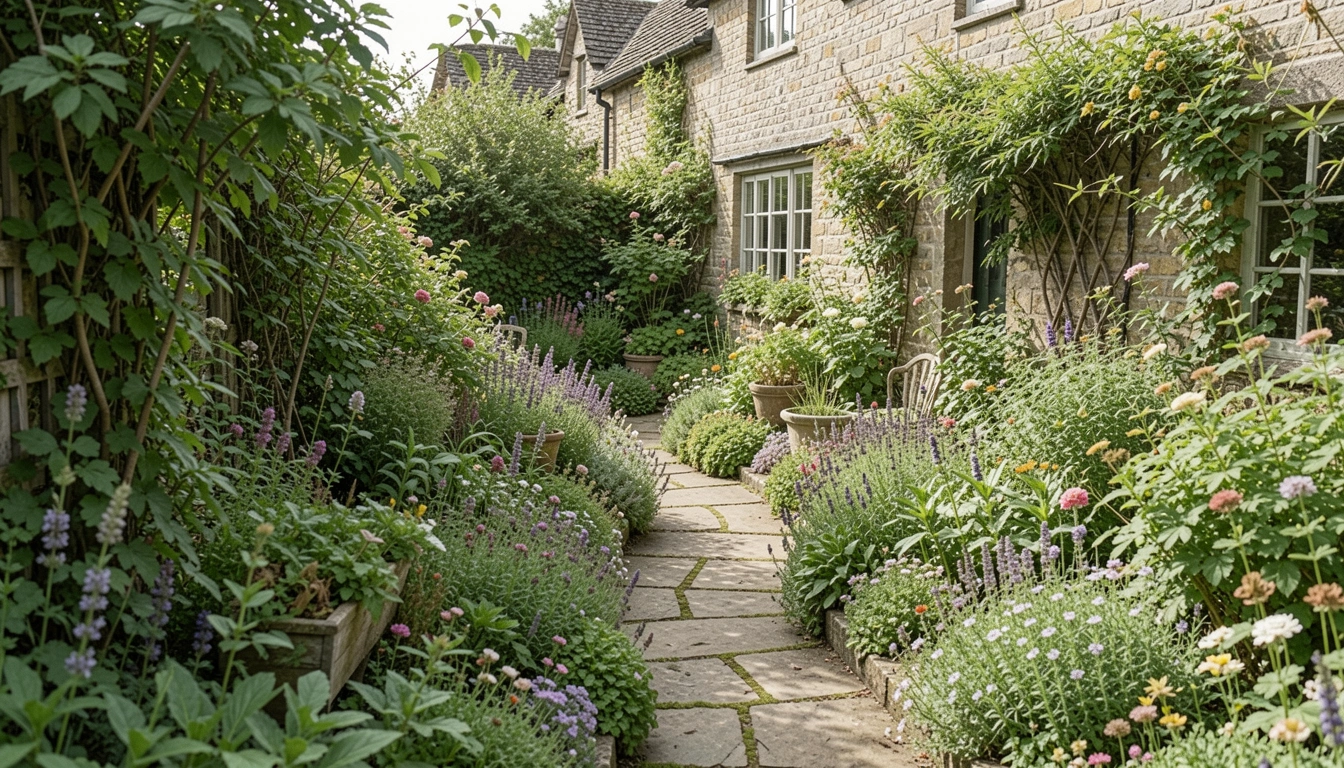
I stared at the muddy track between my flower beds. It collected puddles after rain and felt like an afterthought. Guests sidestepped it awkwardly.
Paths like that pull a garden apart. They need to guide the eye and foot naturally.
I've fixed enough to know: a good path settles the whole space.
How To Make A Garden Path
This shows you how I create paths that connect beds without dominating. You'll end up with a clean route that draws you through comfortably.
What You’ll Need
- Pea gravel, 0.5 cubic foot bag, natural gray
- Irregular stepping stones, 12-inch sandstone, set of 10
- Landscape fabric, 3-foot by 50-foot roll, black woven
- Metal edging, 4-inch high, 40-foot coil, galvanized steel
- Creeping thyme plugs, 2.5-inch pots, pack of 18
- Lavender border plants, 1-gallon pots, pack of 6
- Coarse sand, 50-pound bag, washed builder’s
Step 1: Walk Your Intended Route
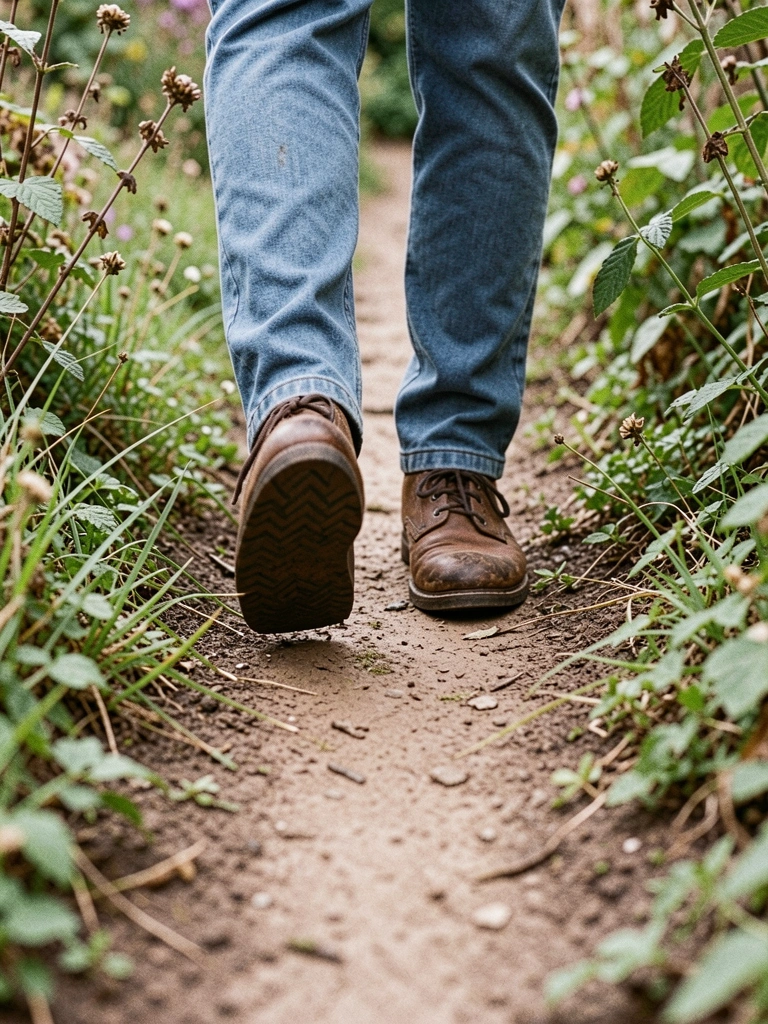
I start by walking where I naturally go. From gate to bench, bed to shed. This sets the curve that feels right.
The ground softens underfoot. Bare dirt shows where to go. I mark lightly with string.
People miss how paths follow habits. Force straight lines, and it jars. Avoid marking too wide—keep it single-file for intimacy.
Now the route breathes. It pulls the garden together visually.
Step 2: Shape the Edges Gently

I kneel and nudge the string. Edges hug plants closely, no harsh cuts. This keeps balance.
Soil crumbles away. The path outline nestles in. It looks held, not carved.
Insight: edges soften the path's line. Most dig too deep, making it rigid. Skip that—scrape lightly.
The space quiets. Flow emerges between beds.
Step 3: Lay the Base for Quiet Steps
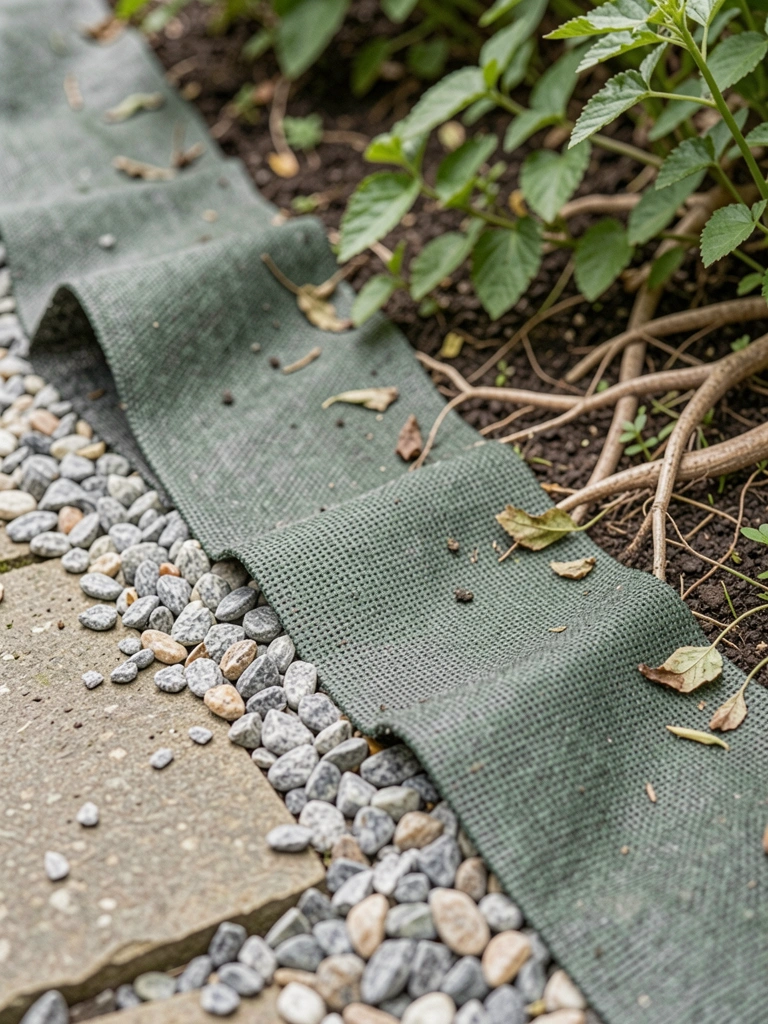
I unroll landscape fabric smooth, overlapping seams. Then a thin coarse sand layer. It muffles steps.
Ground firms up. No weeds push through later. Visual shift: path bed gains depth.
Missed bit: fabric breathes if pinned loosely. Pin tight, water pools. The base settles firm.
It invites walking now. Steady underfoot.
Step 4: Set Stones Where Feet Fall

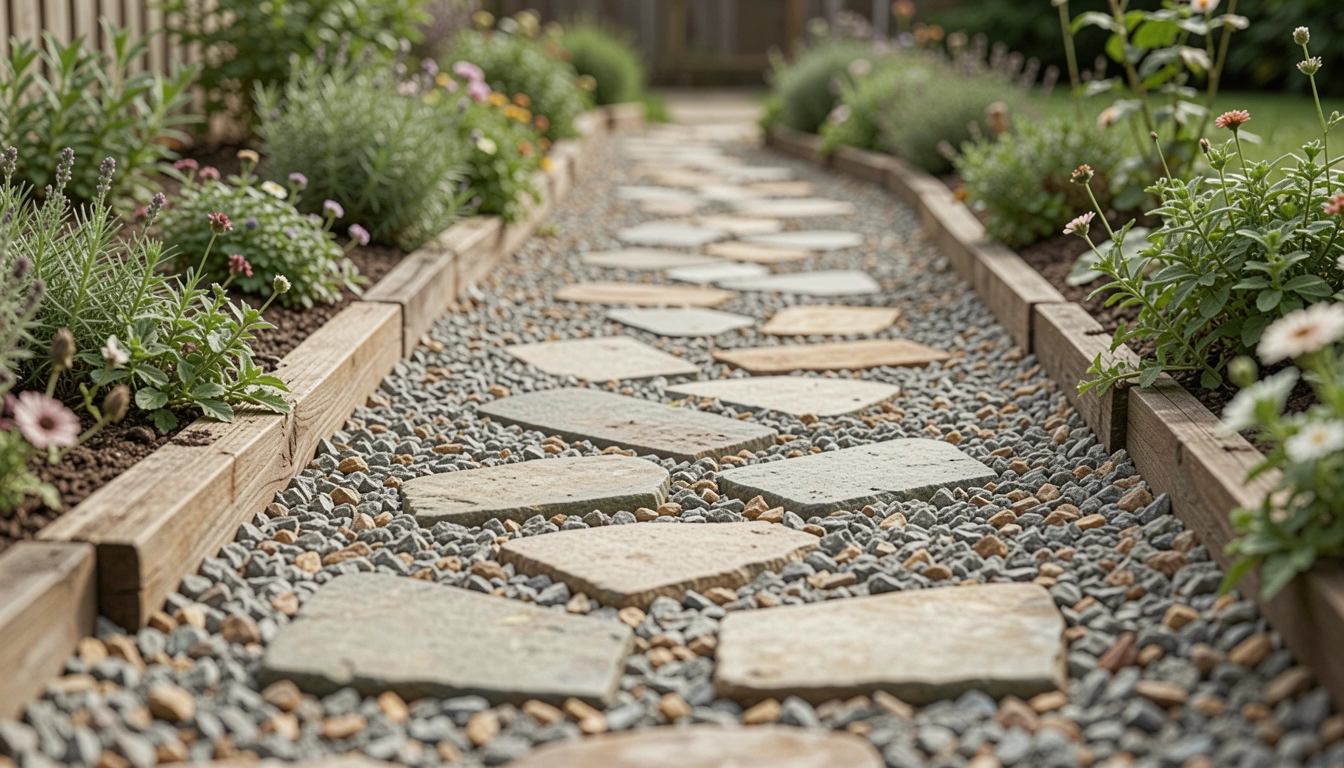
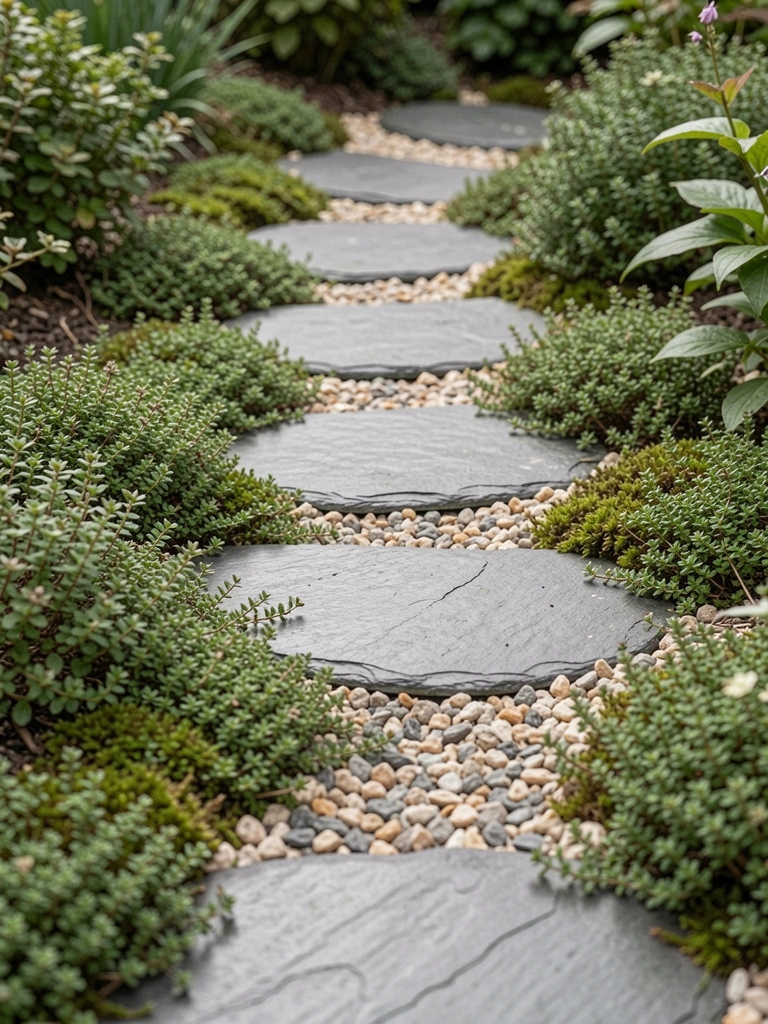
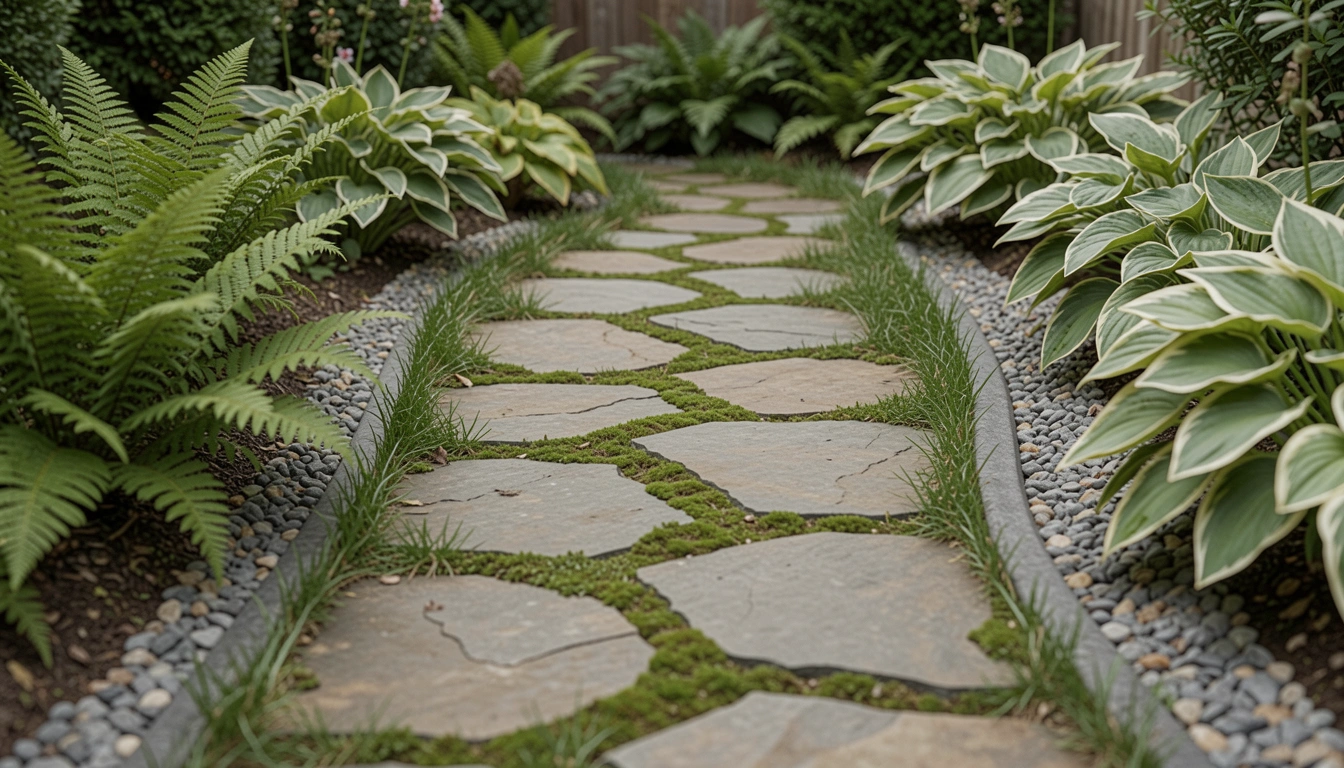
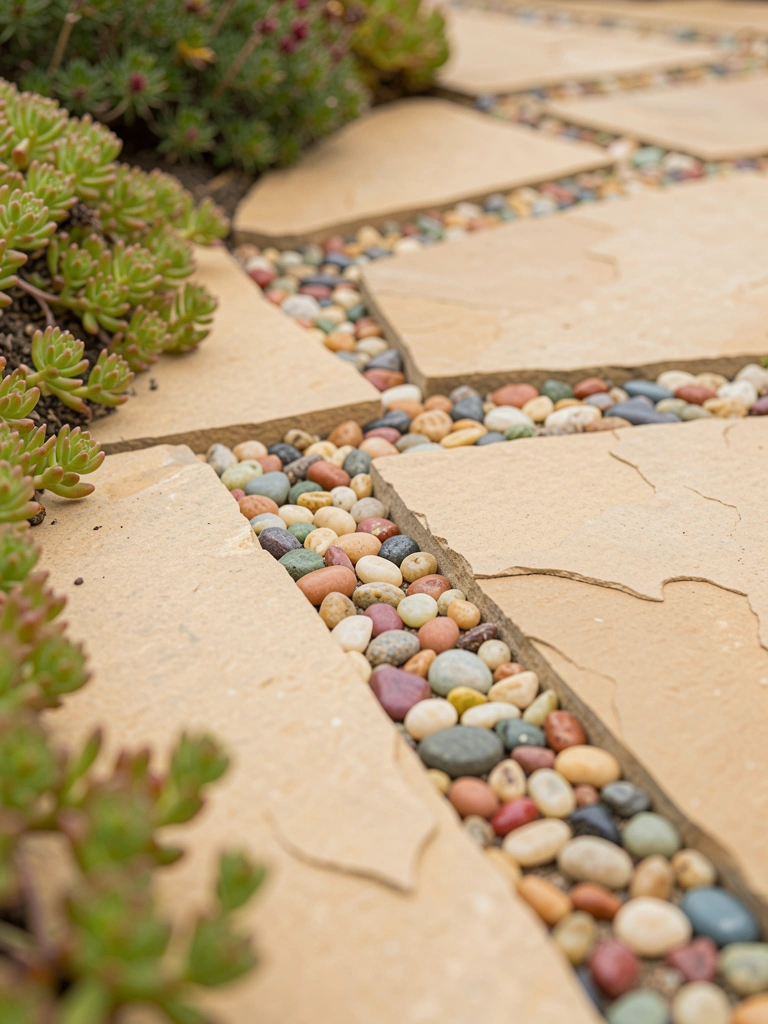
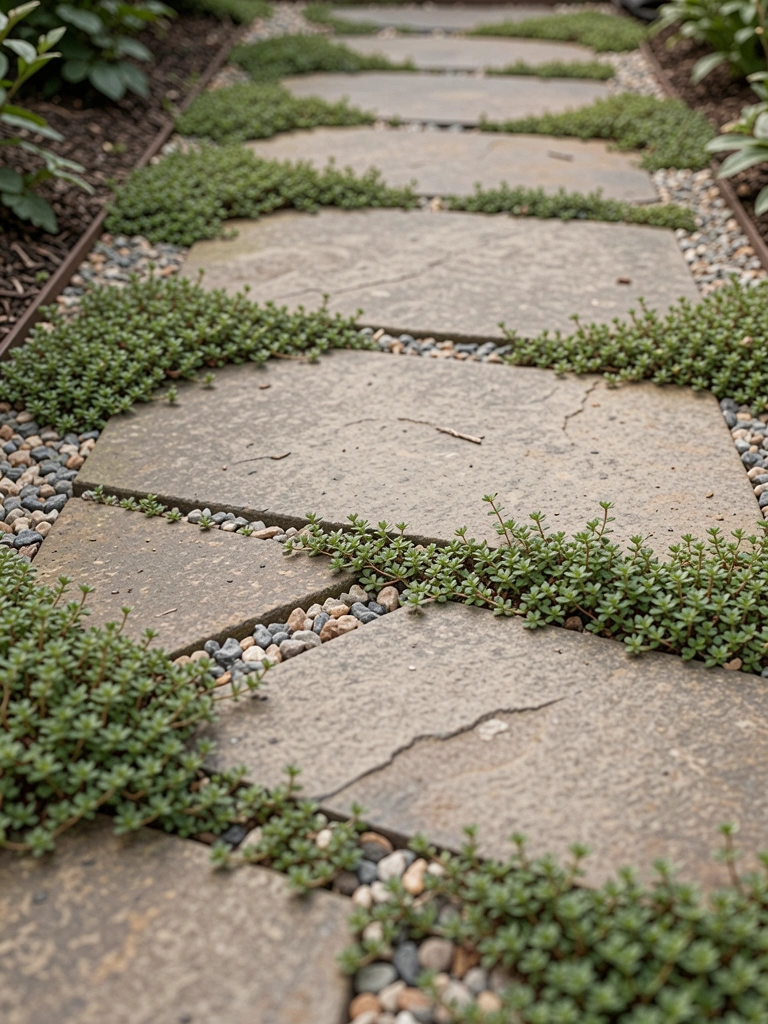
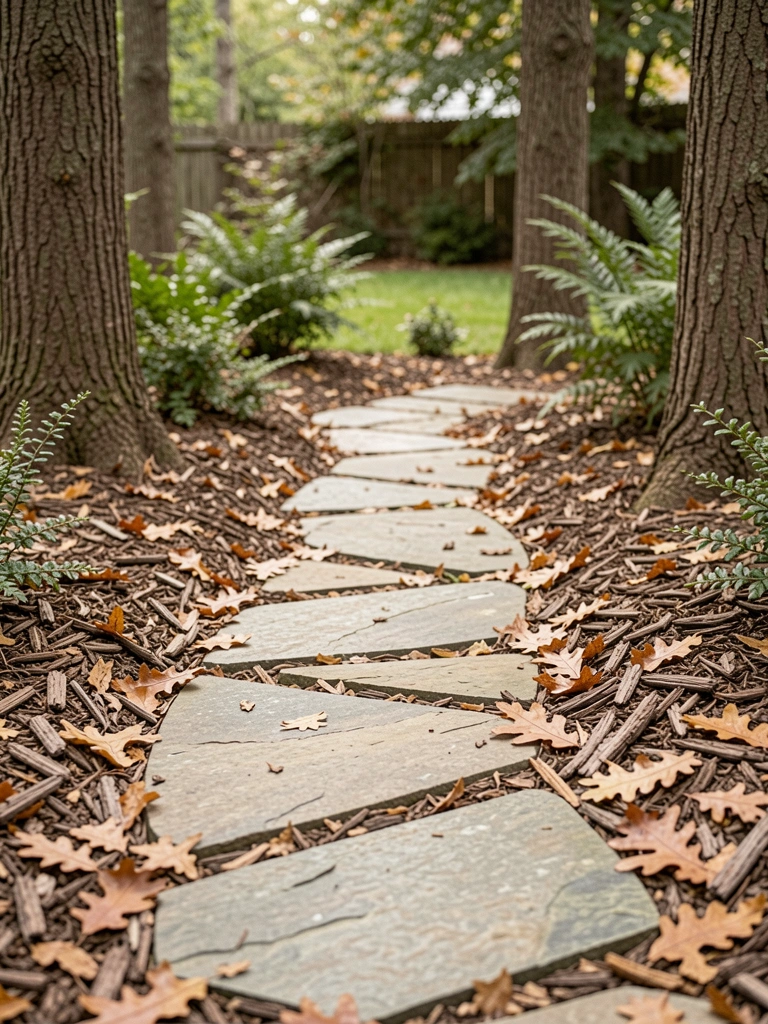
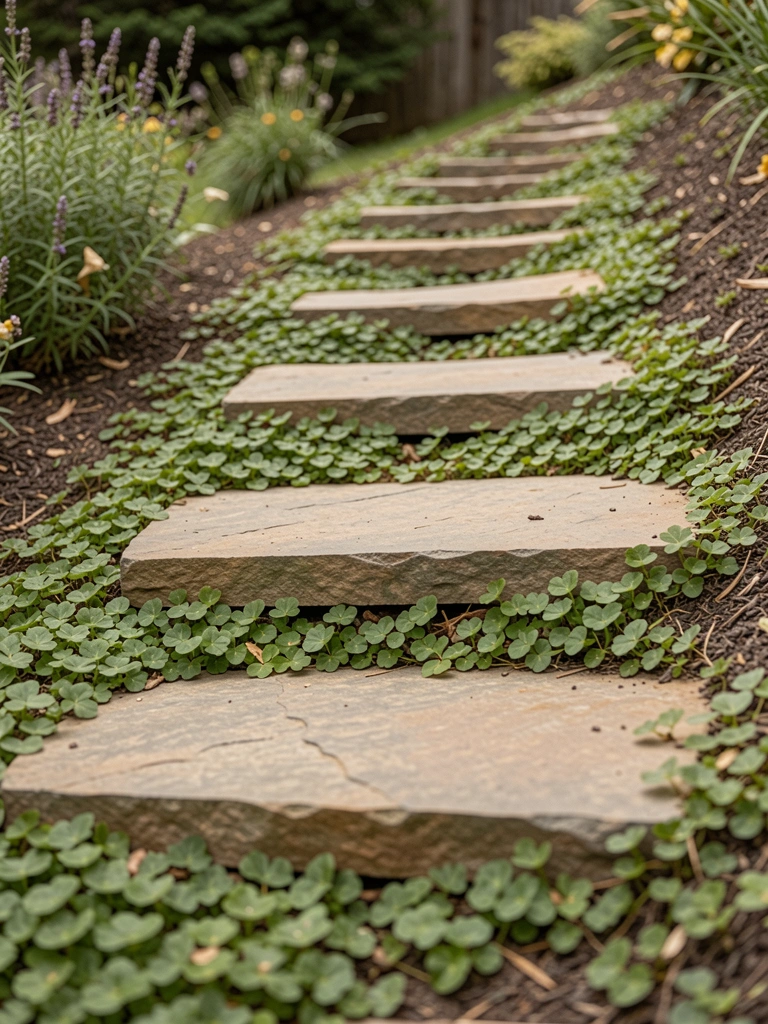
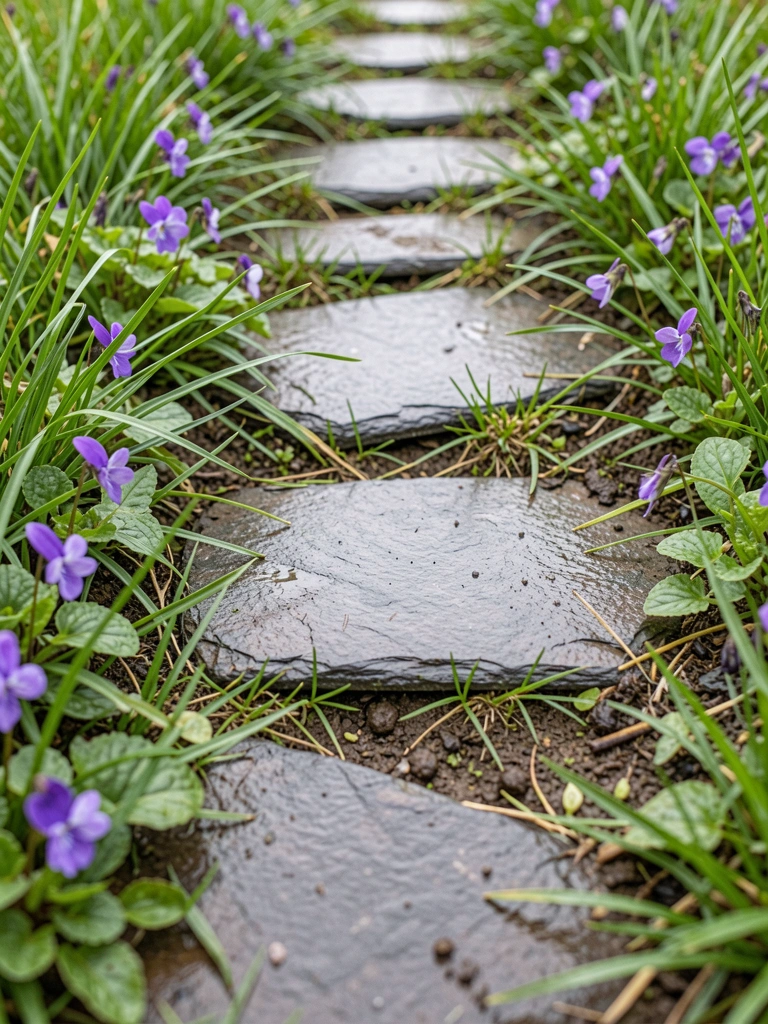
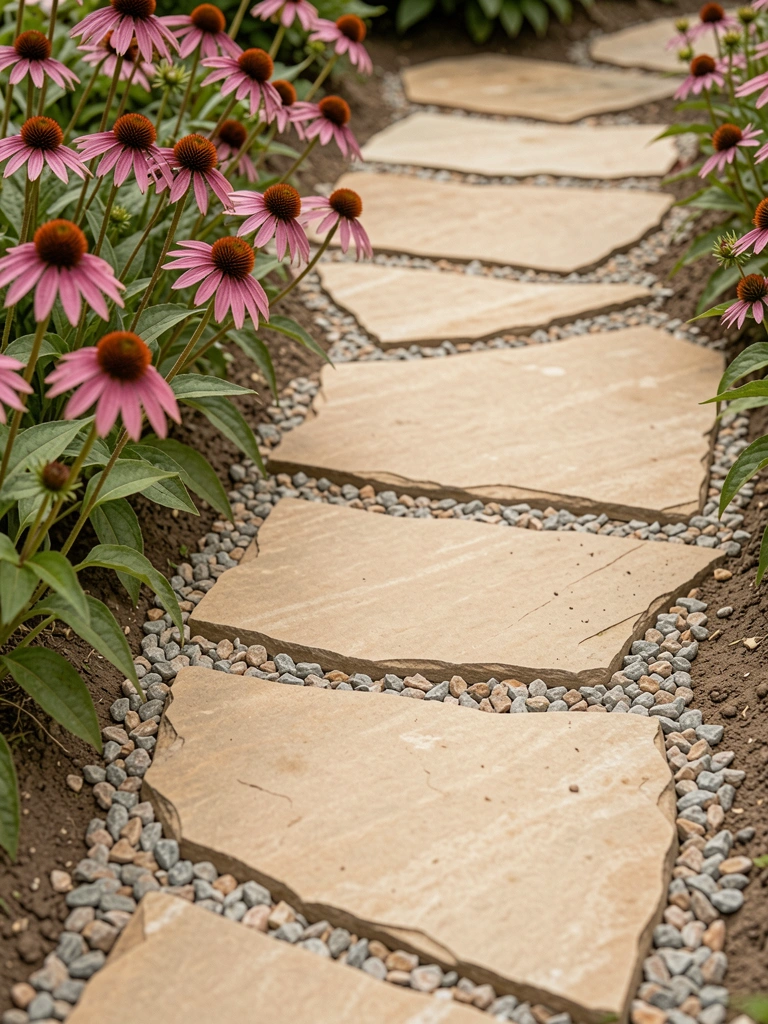
I drop irregular stepping stones where my steps land. Wiggle them level. Gaps stay wide for gravel.
Stones anchor the way. Path gains rhythm, eye follows easily.
People space even—wrong. Cluster for rest spots. Avoid burying deep; they sink.
The line strengthens. Comfortable pace sets in.
Step 5: Fill and Edge with Gravel and Metal
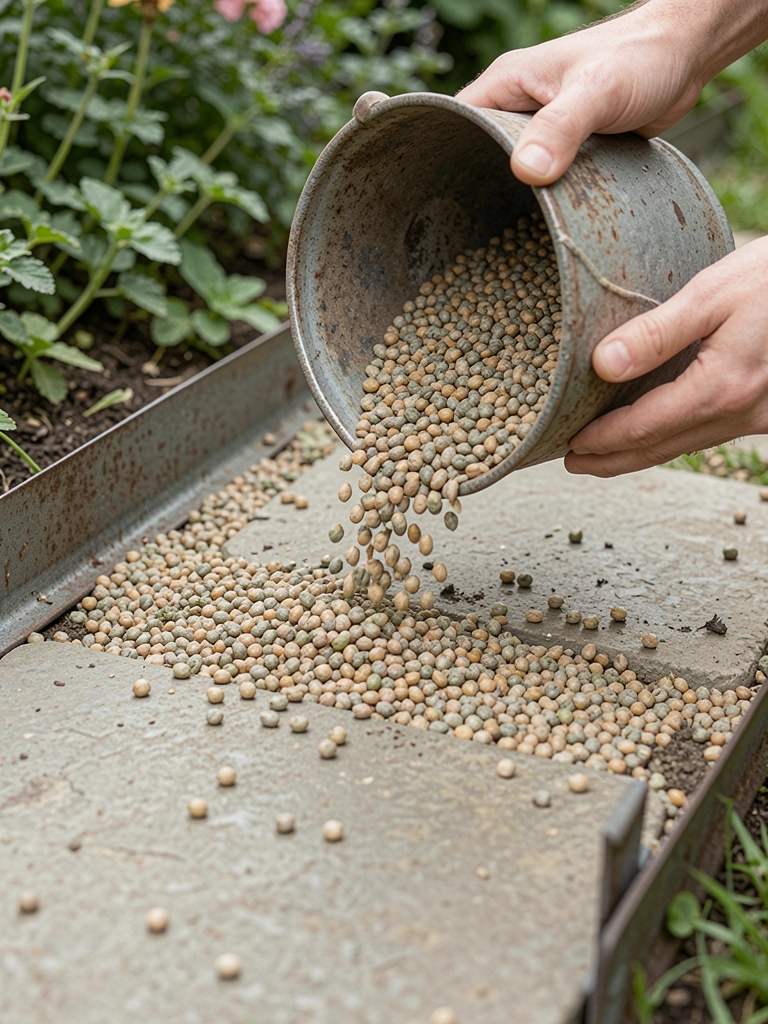
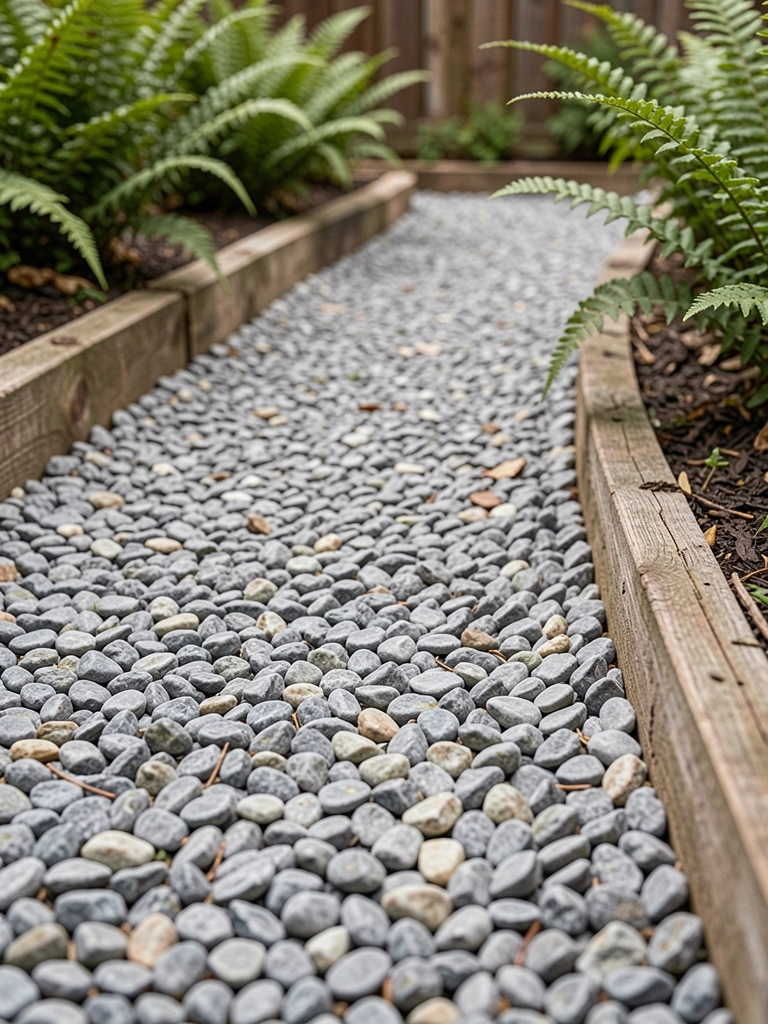
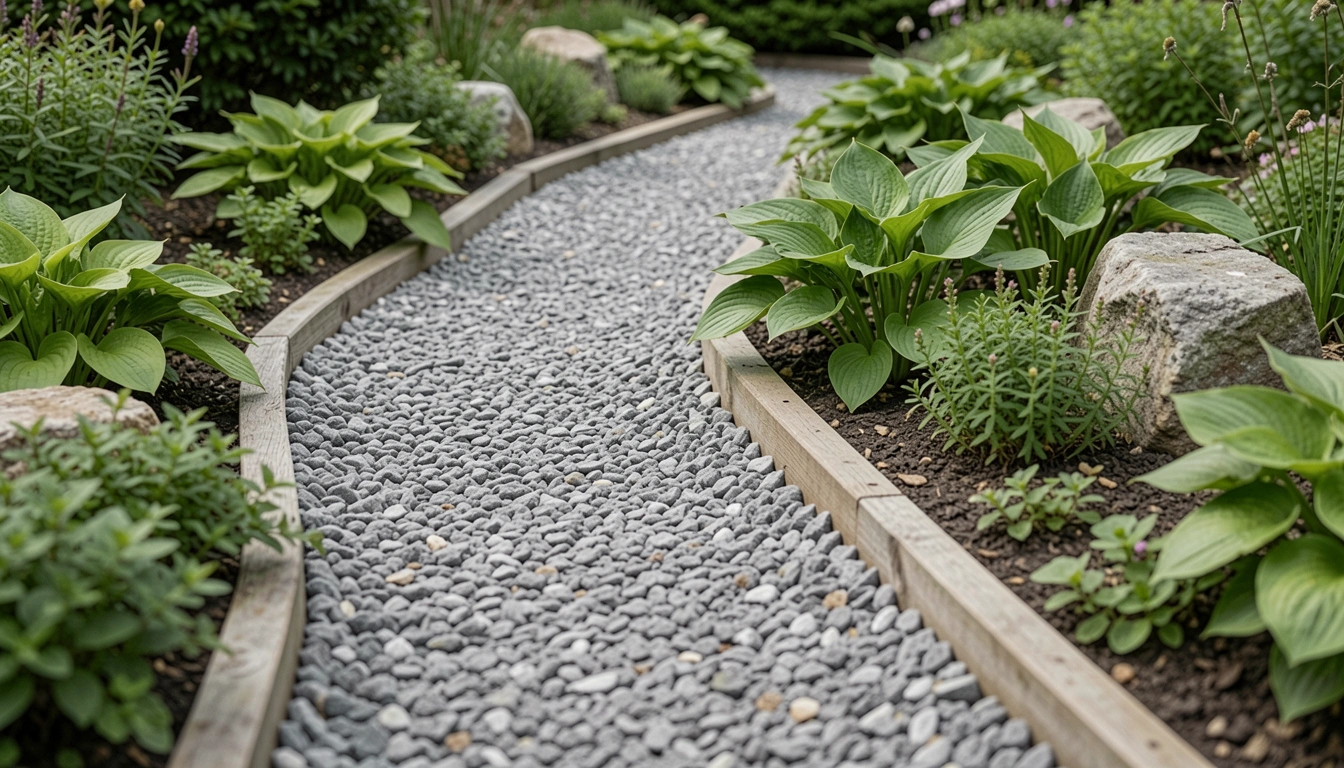
Shovel in pea gravel, rake smooth. Bend metal edging along sides.
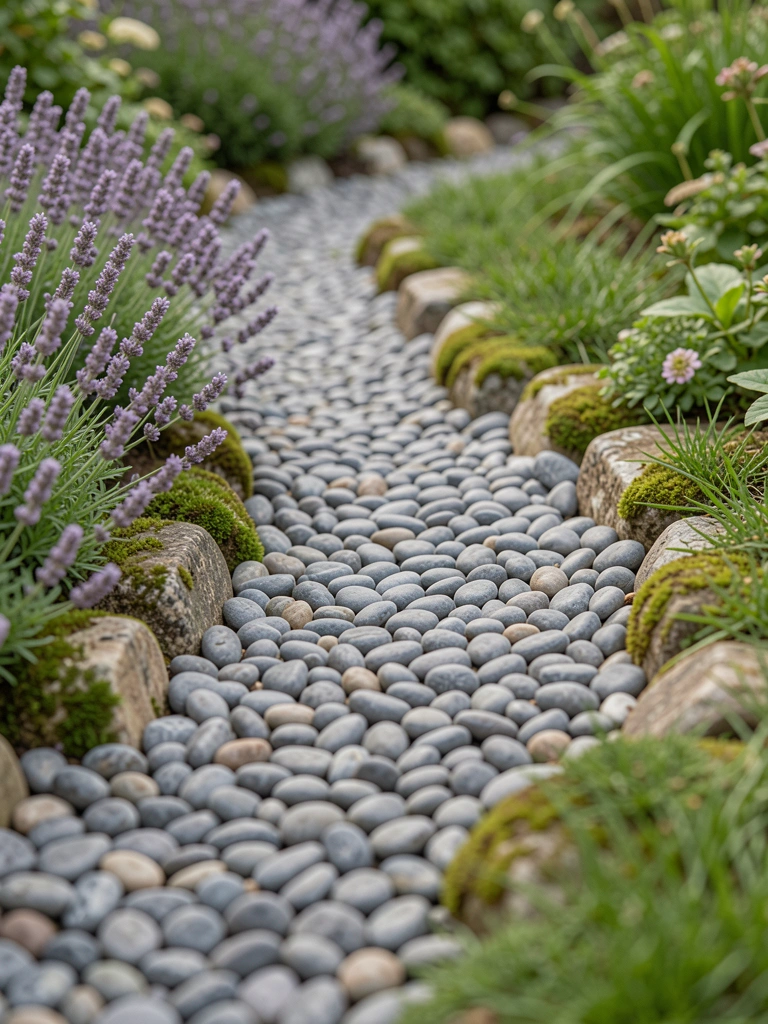
Gaps glow soft gray. Edges hold it crisp. Whole path warms.
Overfill gravel hides stones—don't. It shifts light nicely now.
Path connects. Grounds the garden.
Step 6: Soften with Border Plants

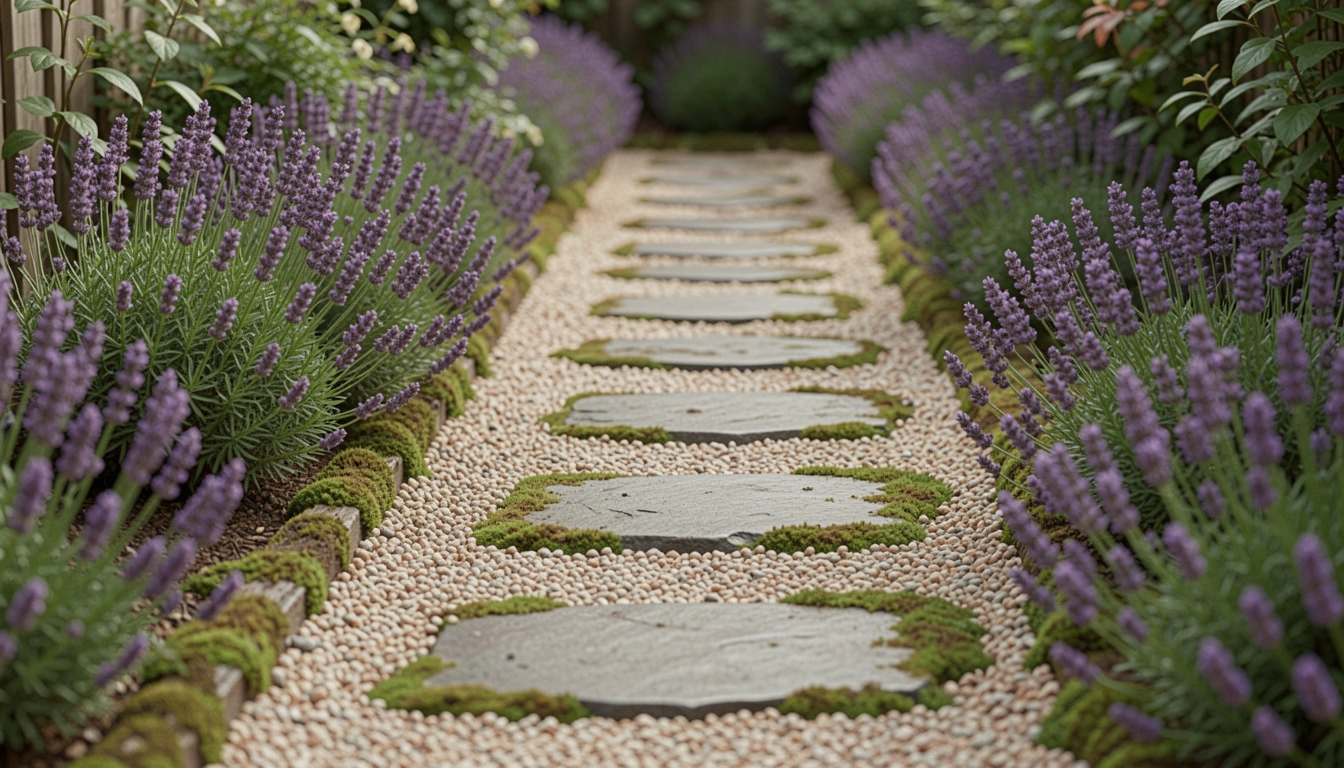
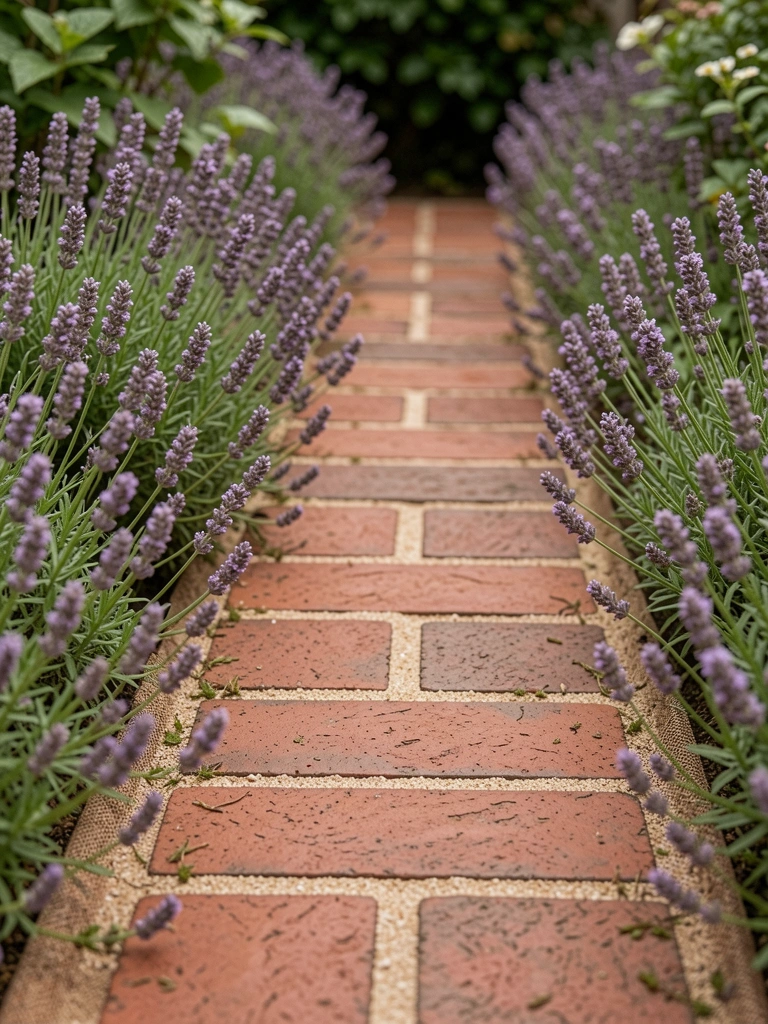
I tuck creeping thyme plugs into gravel edges. Space lavender along borders.
Greens spill over. Path gains layers, feels lived-in.
Missed: plants lean in, not out. Plant too far, it floats. Fronds brush ankles now.
Balance holds. Invites lingering.
Choosing Path Curves
Curves come from how you move. Straight paths cut harsh in cottage gardens.
I eye the sweep. Does it frame that rose bush? Adjust until it does.
- Gentle S-bend slows you near seats.
- Tight turns hide surprises.
- Wide sweeps open views.
It settles the layout. No rush.
Blending with Existing Plants
Paths weave through, not over. I trim just enough.
Plants frame it. Low growers spill, tall ones backdrop.
Watch scale: big stones need bolder greens. Test by walking.
Your garden holds the path. It belongs.
Handling Wet Spots
Rain tests paths. Mine puddle less now.
Gravel drains fast. Slope subtle from center.
- Lift low stones first.
- Add sand under.
- Regravel yearly.
Stays dry. Reliable year-round.
Final Thoughts
Start with one short path. Between two beds.
You'll see the garden shift. It guides without shouting.
Mine get better each season. Yours will too. Just walk it daily.