Blog

  • 21 Small Enclosed Patio Ideas For Compact Homes

    21 Small Enclosed Patio Ideas For Compact Homes

    I turned a narrow 8×10 walled-off corner into my go-to spot last summer. Plants blocked the alley view, chairs fit just right. No more staring at bricks. It felt like an extension of the house, calm and green. You can shape yours the same way, even if space is tight.

    21 Small Enclosed Patio Ideas For Compact Homes

    These 21 small enclosed patio ideas come from my hands-on tweaks in real compact yards. They fit snug spots without clutter. You'll get exactly 21 doable ones here—pick what matches your light and style.

    1. Layered Container Planting on Wall Shelves
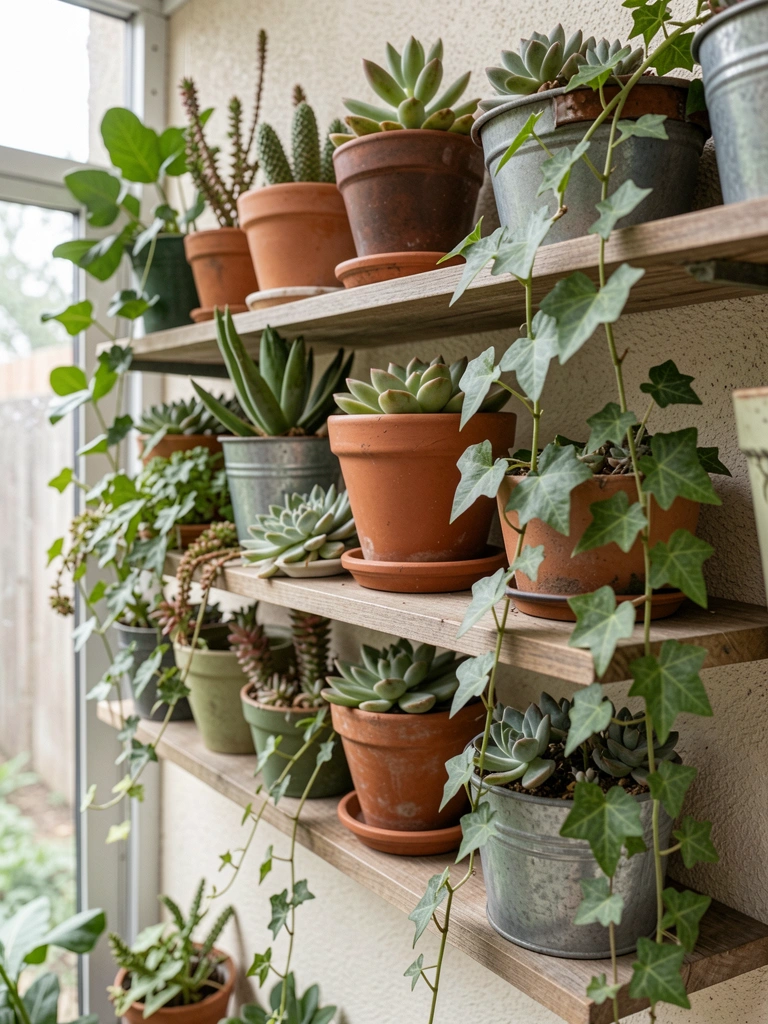
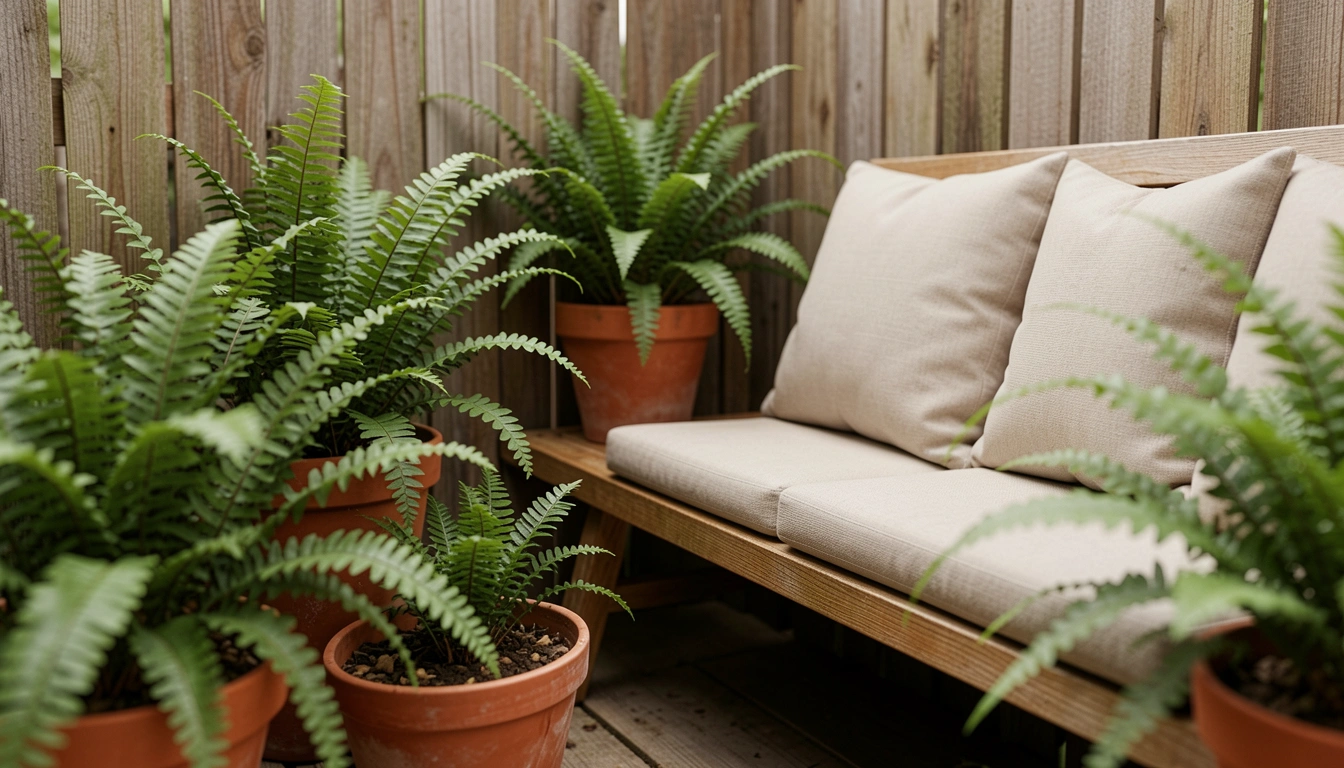
    I built cheap shelves along one wall in my 10×8 patio. Started with low ferns at the bottom, then trailing ivy, topped with small pots of lavender. It pulled the eye up, making the space feel taller. Before, it looked bare; now it's lush without floor crowding.

    The key was mixing heights—plants cascade naturally. I overplanted once, stems flopped. Trim back trailers monthly.

    Watch sun patterns; east-facing gets morning light, perfect for herbs up top.

    Feels cozy, like a green hug.

    What You’ll Need for This Look

    2. Overhead Hanging Baskets for Airy Greenery
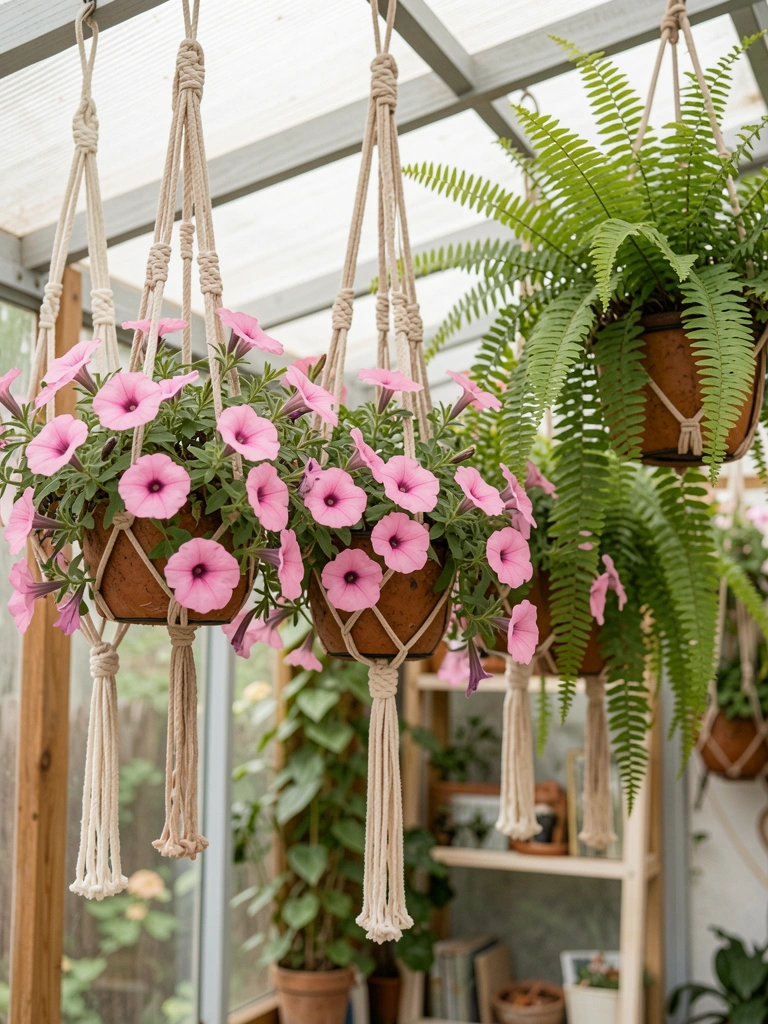
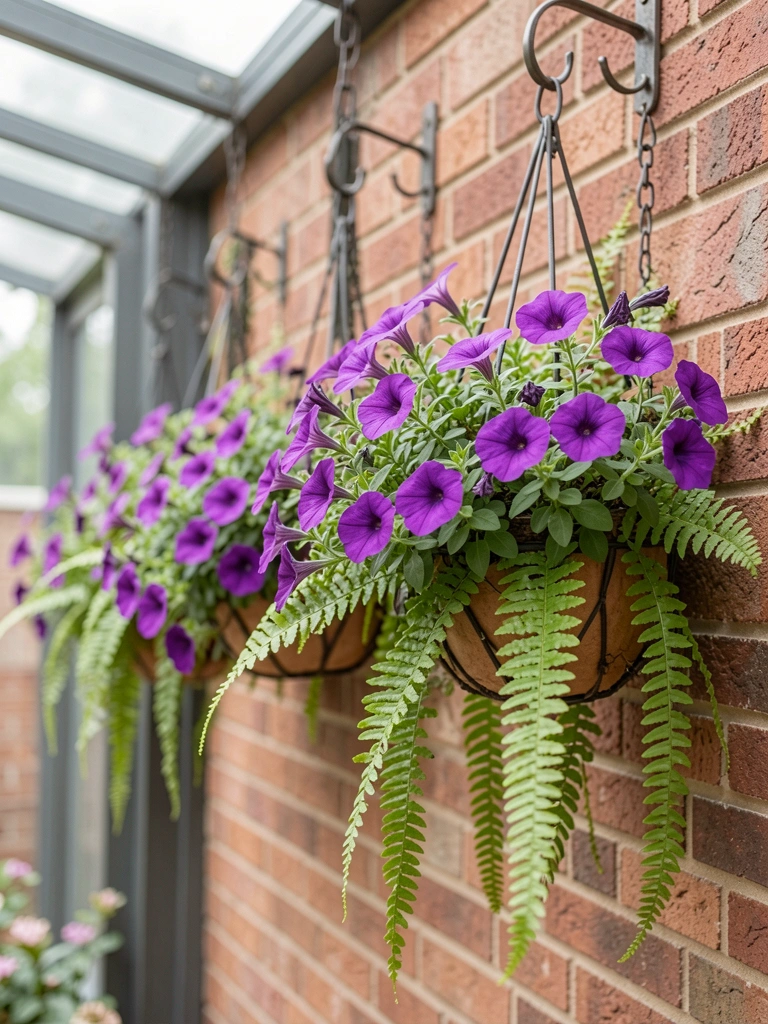
    My ceiling hooks held three baskets—petunias dangling over the table. Freed floor for chairs. Blooms sway gently, add movement without bulk. Patio went from flat to lively.

    I chose lightweight soil mix; heavy ones pulled hooks loose first try.

    Position over paths, not seats. Water from below to avoid drips.

    Softens the enclosure, breezy feel indoors.

    What You’ll Need for This Look

    3. Built-In Corner Bench with Under-Seat Planting
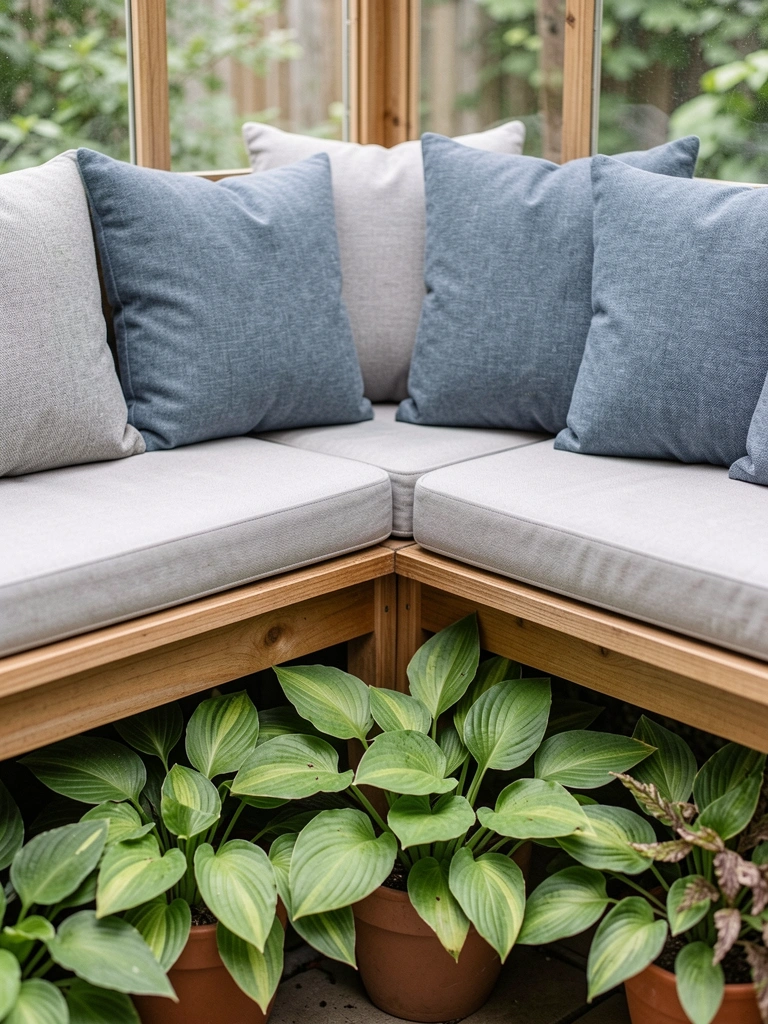
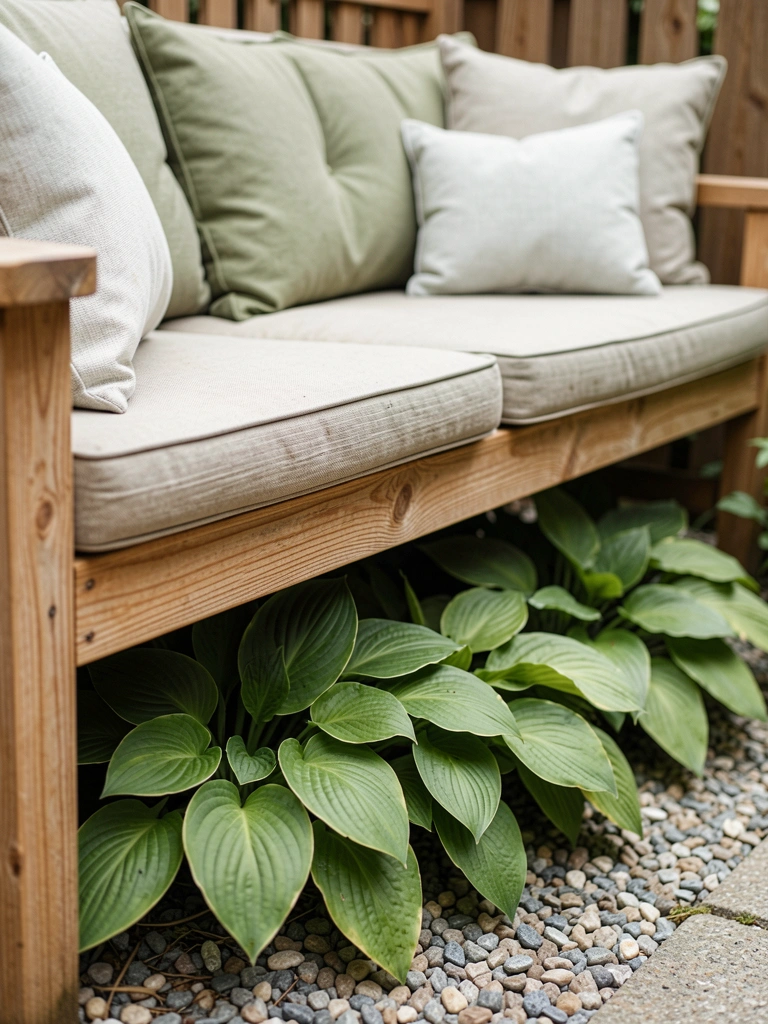
    I boxed in a corner bench from scrap wood. Planted hostas below—low growers that hug the base. Seats two, storage inside. Felt tucked away, private.

    Mistake: forgot drainage holes. Roots rotted once. Drill them now.

    Angle toward light; south walls scorch edges.

    Simple cushions make it stay longer.

    What You’ll Need for This Look

    4. Glass Tabletop Herb Garden
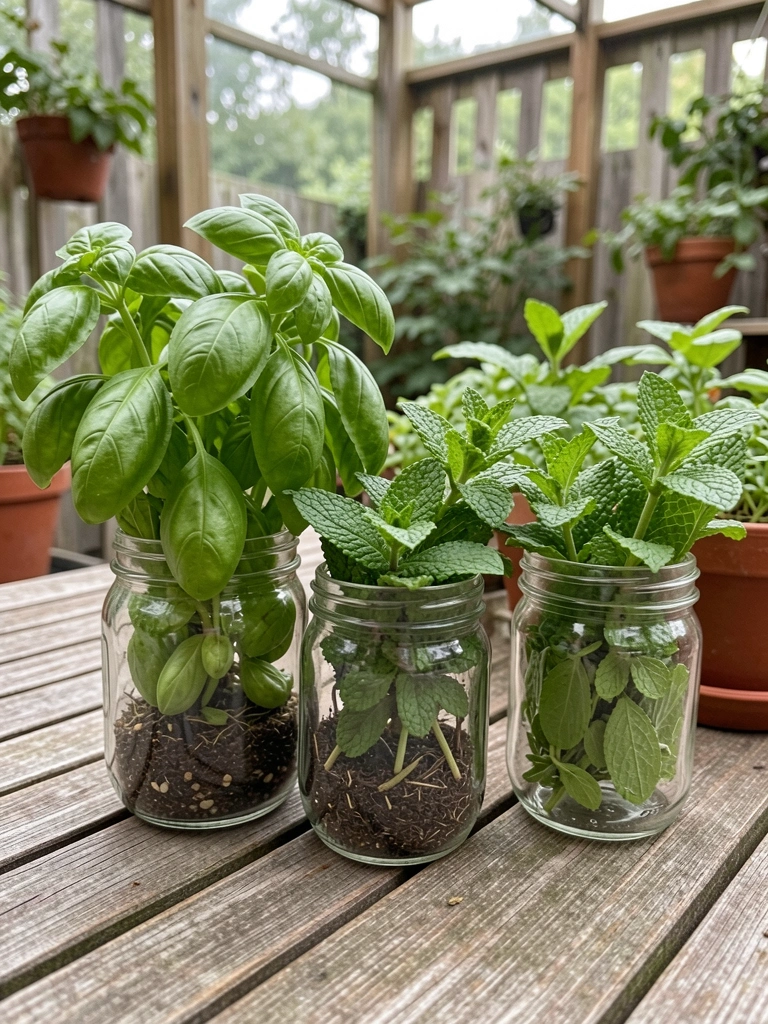
    Old glass jars on a side table grew my basil and mint. Snip for dinner, no walk to yard. Table stays useful, greens fill gaps visually.

    Roots show through glass—fun to watch growth.

    Cluster by water needs; basil drinks more.

    Brings kitchen smells outside.

    What You’ll Need for This Look

    5. Draped String Lights Along Enclosure Walls

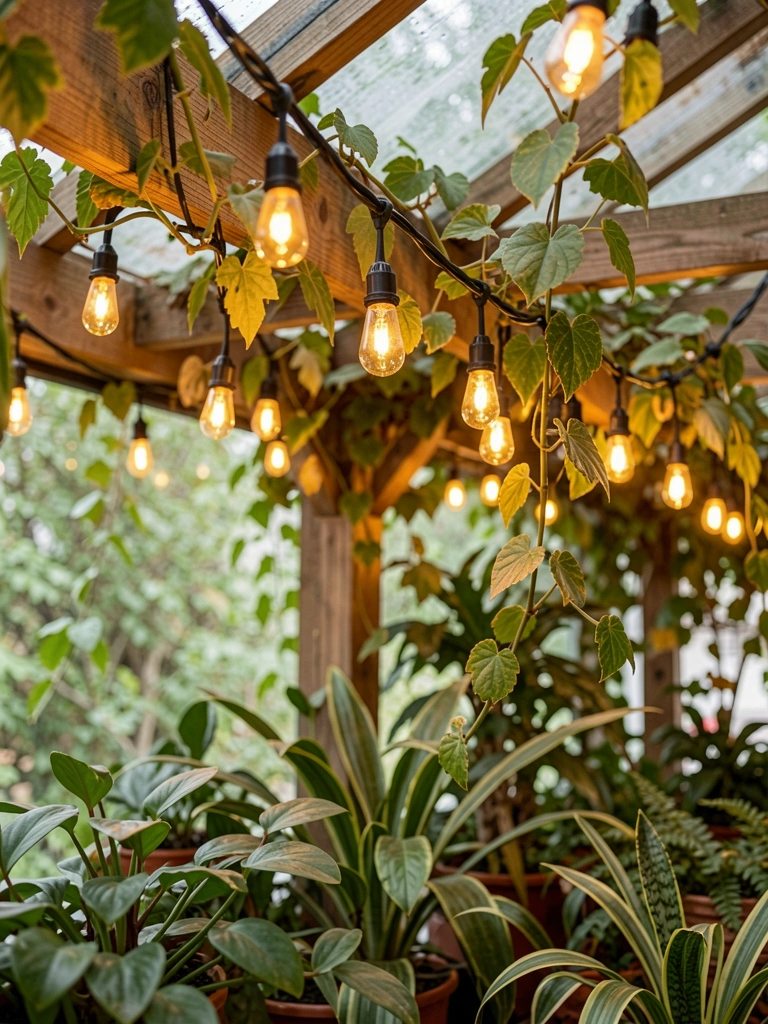
    I zigzagged warm string lights wall-to-wall. Evenings glow soft, no harsh glare. Highlights plants, turns patio into night nook.

    Solar ones charge all day. Plug-ins if no sun.

    Test strands first; one bad bulb kills the run.

    Cozy after dark.

    What You’ll Need for This Look

    6. Full-Length Mirror to Borrow Space
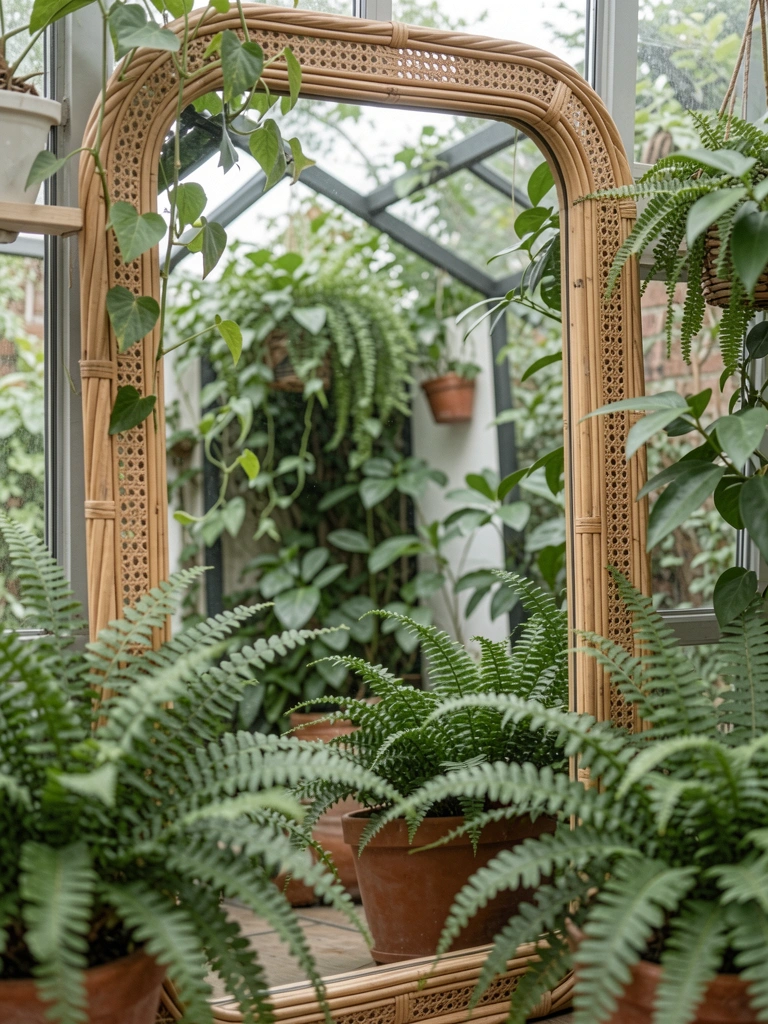
    Leaned a tall rattan mirror against the back wall. Doubles plants visually, fools eye into bigger room. Ferns reflect endless.

    Wipe condensation; enclosed spots get humid.

    Lean secure, not freestanding.

    Opens the feel instantly.

    What You’ll Need for This Look

    7. Wall-Mounted Succulent Frames
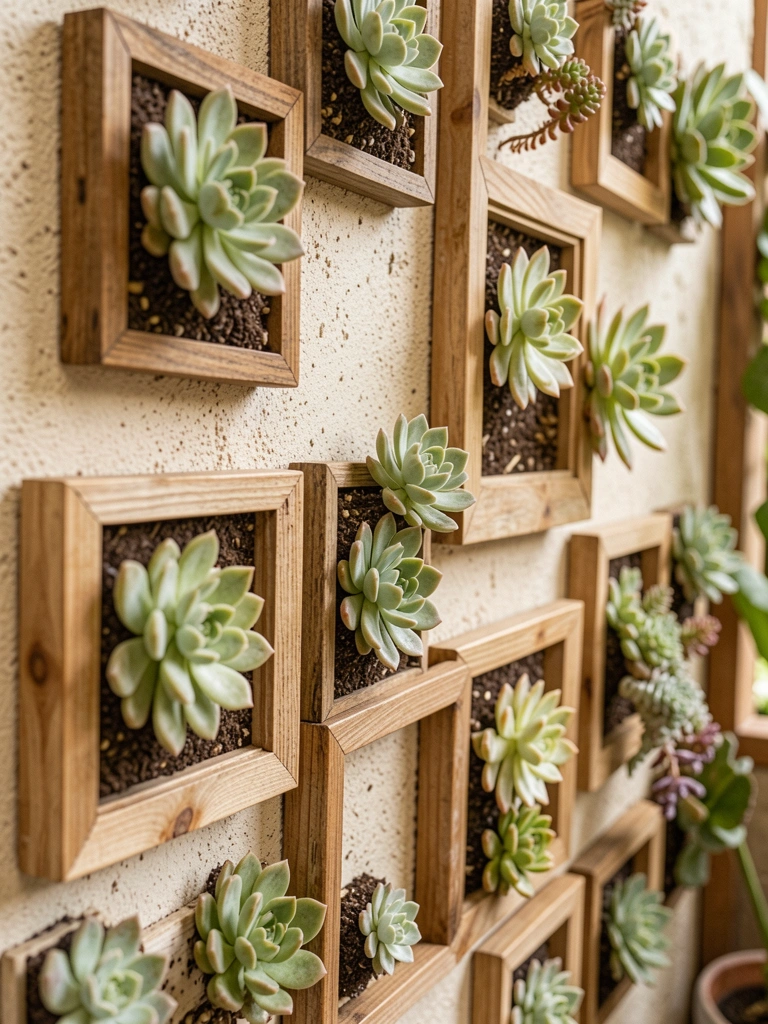
    Framed succulents on the fence wall—live pictures. Low water, stay plump. Added texture without pots everywhere.

    Overwatered first batch; they puckered. Let soil dry fully now.

    South light ideal; they thrive.

    Art that grows.

    What You’ll Need for This Look

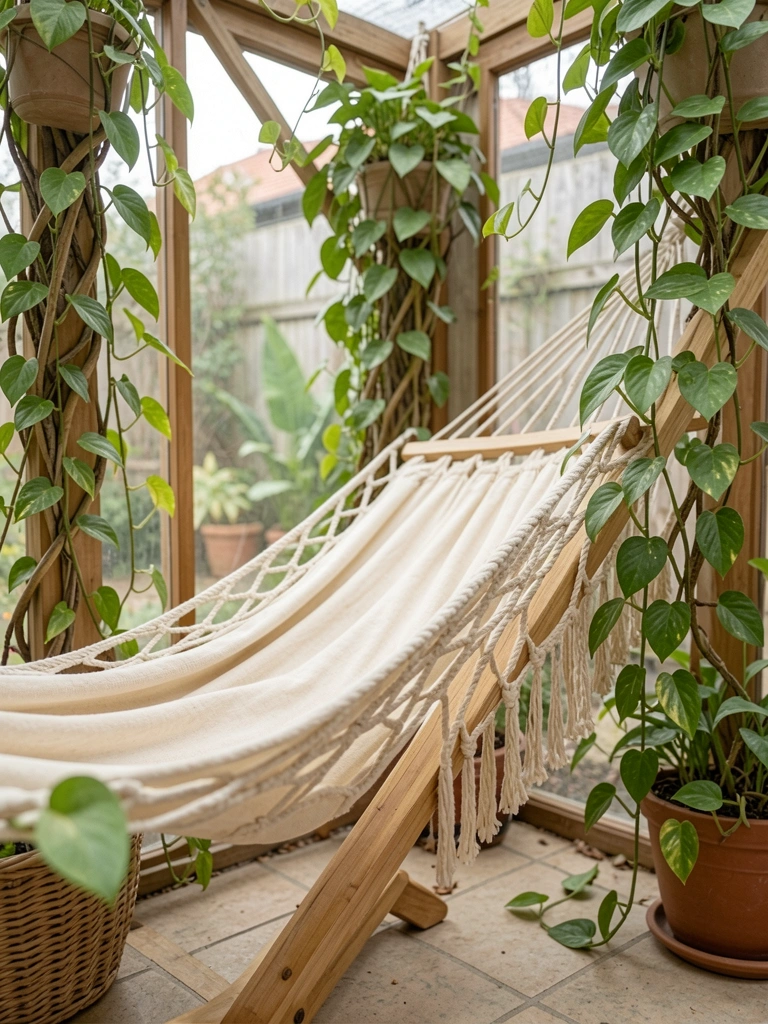
    8. Hammock Chair in a Plant-Wrapped Corner
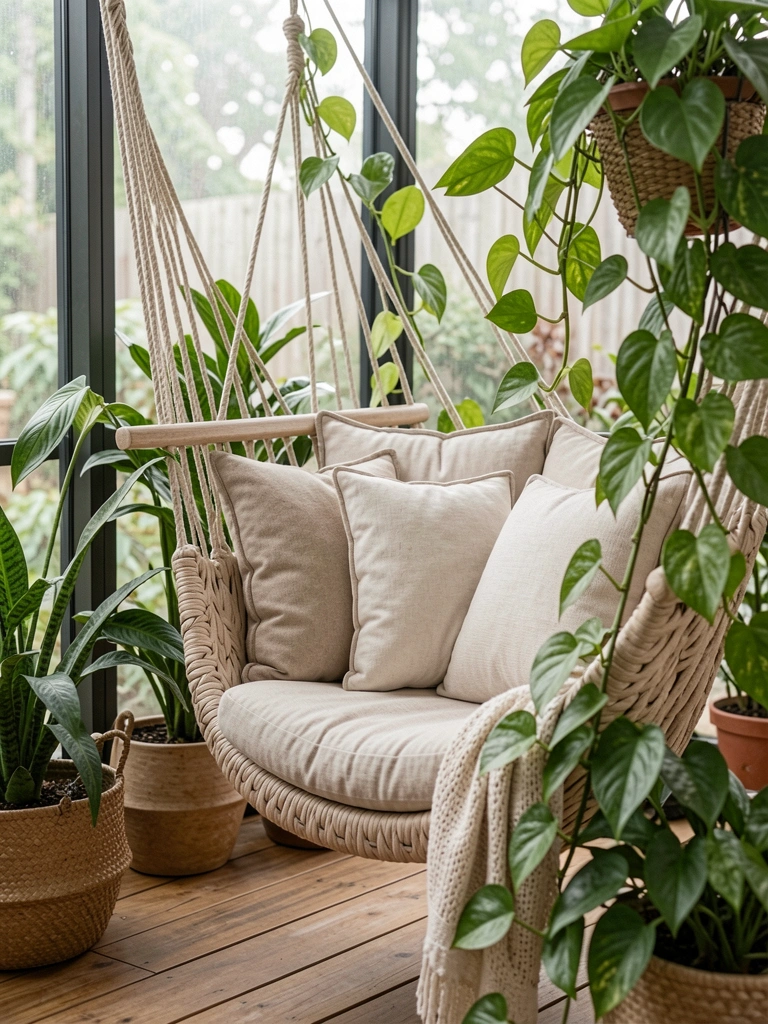
    Hung a hammock chair in the quiet corner, pothos climbing beams around it. Sways gentle, plants cocoon you.

    Short chains for low ceilings. Feet touch floor.

    Face away from wind doors.

    Pure relax spot.

    What You’ll Need for This Look

    9. Woven Rug to Anchor the Floor
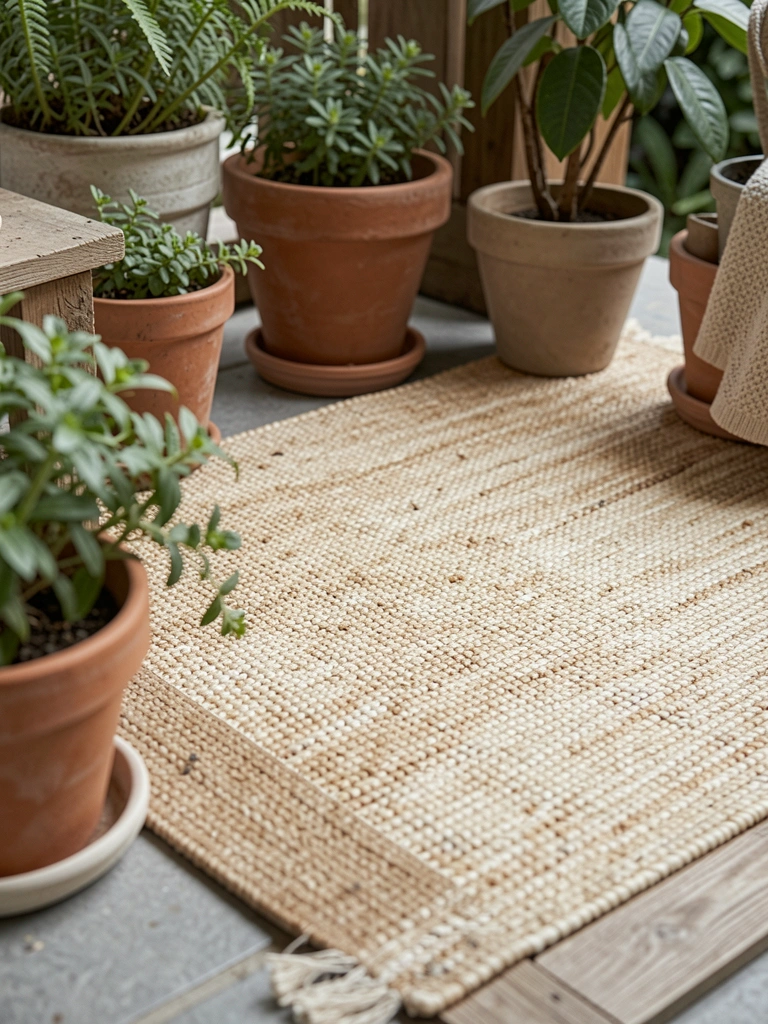
    Rolled out a jute rug under chairs. Defines sitting area, warms concrete. Plants edge it neat.

    Outdoor-safe; shakes clean. Avoids slips.

    Size to fit snug—measure twice.

    Grounds the whole look.

    What You’ll Need for This Look

    10. Folding Trellis with Climbing Clematis
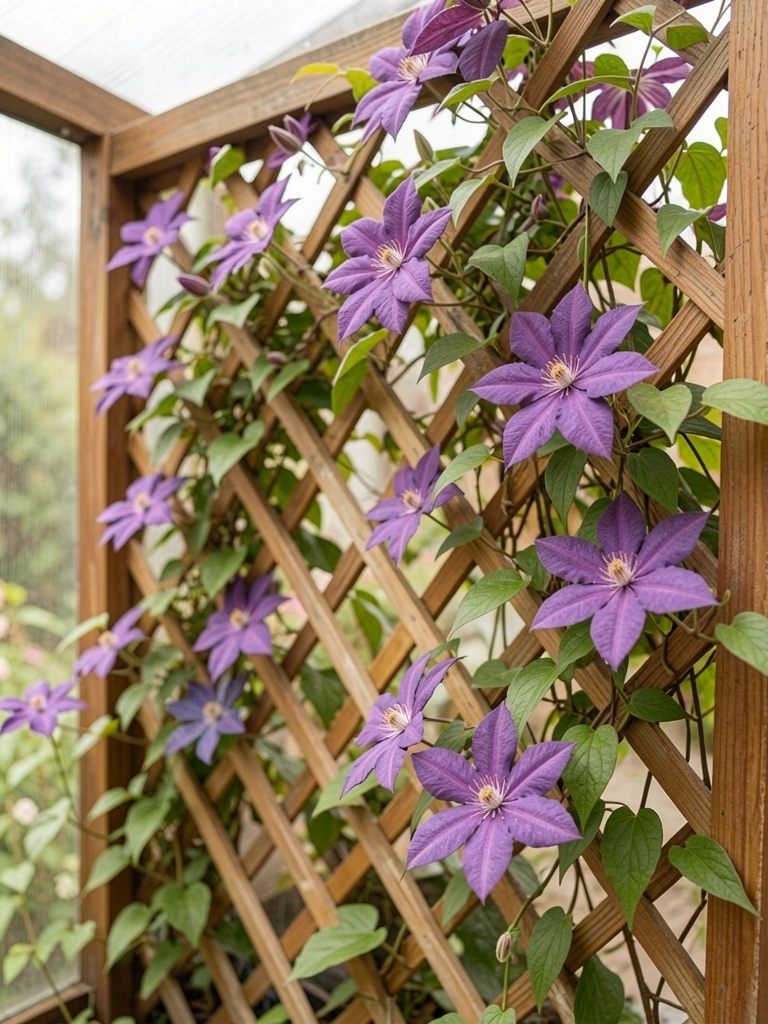
    Fold-up trellis by the door, clematis climbs fast. Screens view, blooms purple pops.

    Train young; they wander. Prune winter.

    Partial shade fine here.

    Privacy curtain alive.

    What You’ll Need for This Look

    11. Compact Propane Fire Bowl Centerpiece
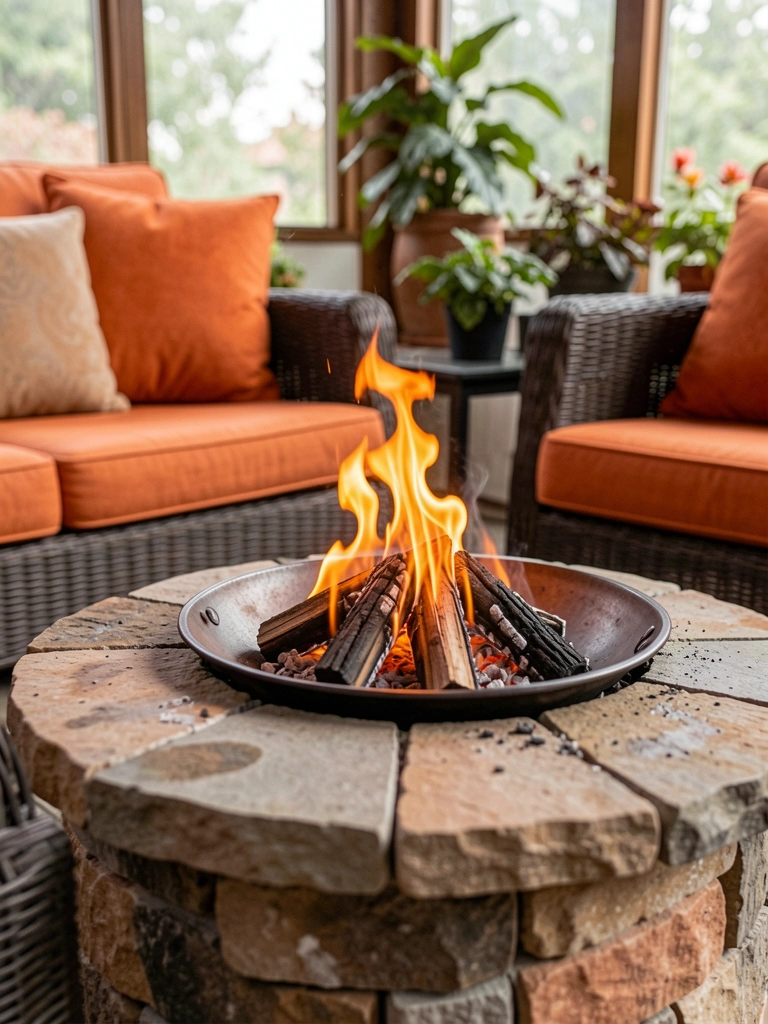
    Tiny propane fire bowl mid-table. Heat draws you in, safe enclosed. Gathers chairs natural.

    Ventilate; glass traps smoke. Short sessions.

    Low profile fits tight.

    Evening heart.

    What You’ll Need for This Look

    12. Hummingbird Feeder Nook with Flowers

    Hung feeder by fuchsia pots. Hummers buzz in, watch from chair. Flowers match nectar.

    Ferment check; clean weekly or ants invade.

    Sheltered spot—no wind spill.

    Wildlife show daily.

    What You’ll Need for This Look

    13. Storage Ottoman as Extra Seat
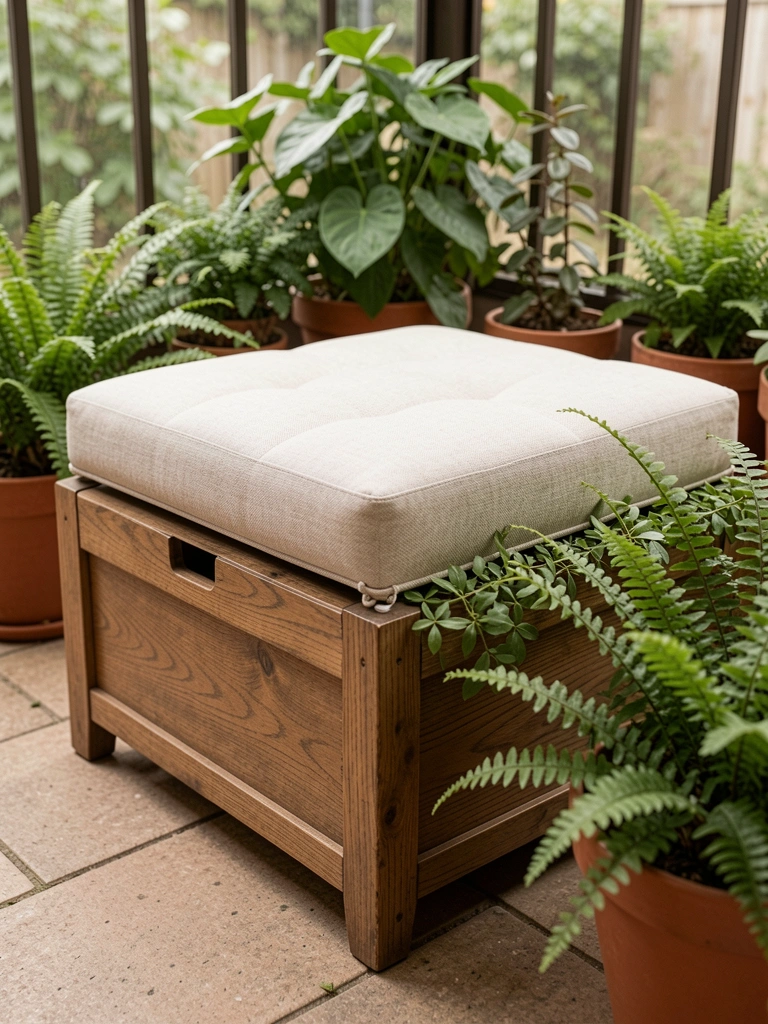
    Ottoman doubles seat and hides tools. Lid lifts easy, plants flank sides.

    Waterproof inside; cushions wipe clean.

    Pulls up to table fine.

    No clutter visible.

    What You’ll Need for This Look

    14. Skinny Potted Ficus for Tree Effect
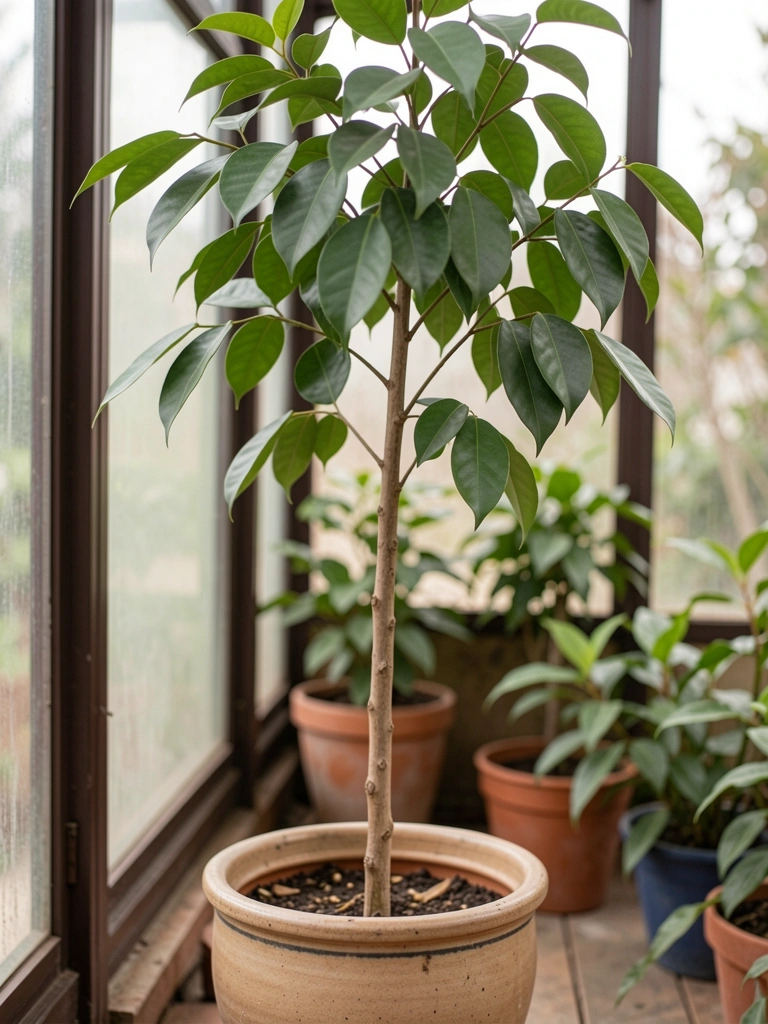
    Tall skinny ficus in corner pot. Fills height like a tree, slim base. Shade softens walls.

    Rotate monthly; leans to light. Dust leaves.

    Bright indirect best.

    Green anchor.

    What You’ll Need for This Look

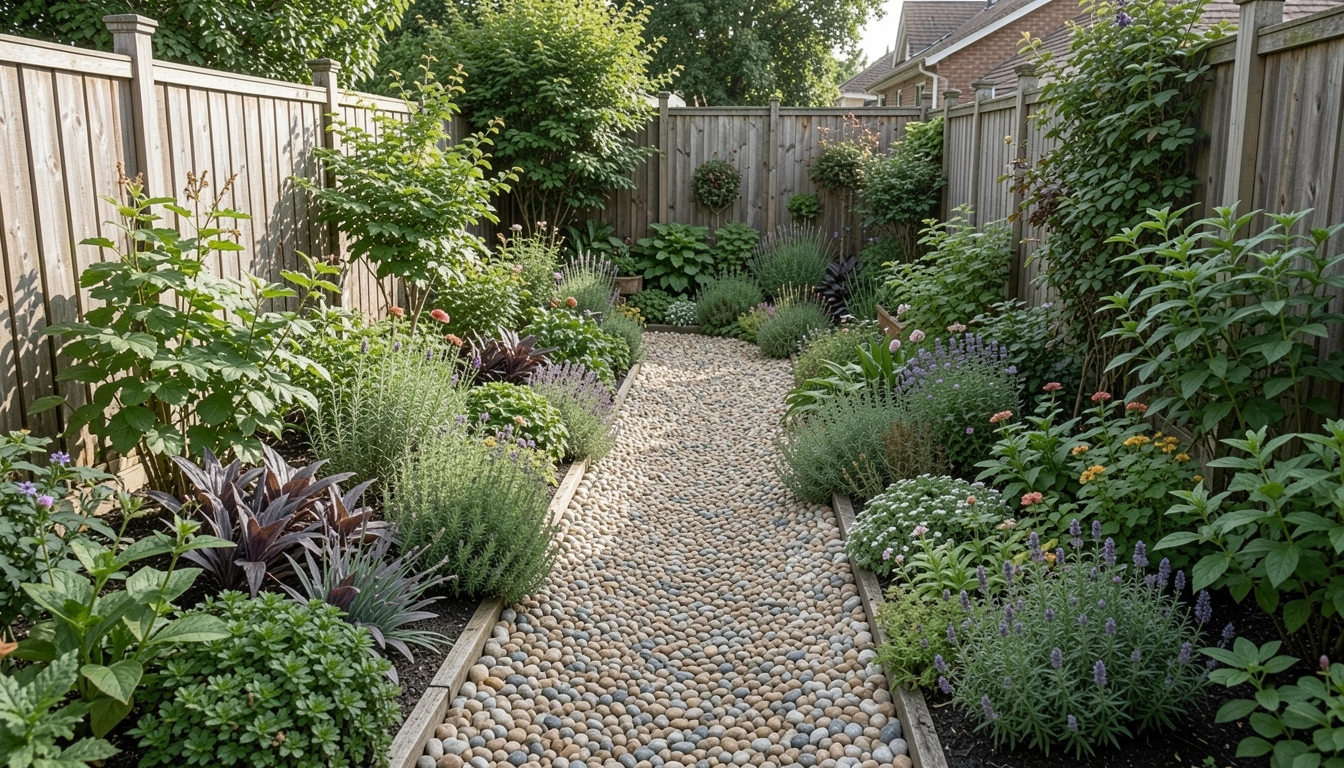
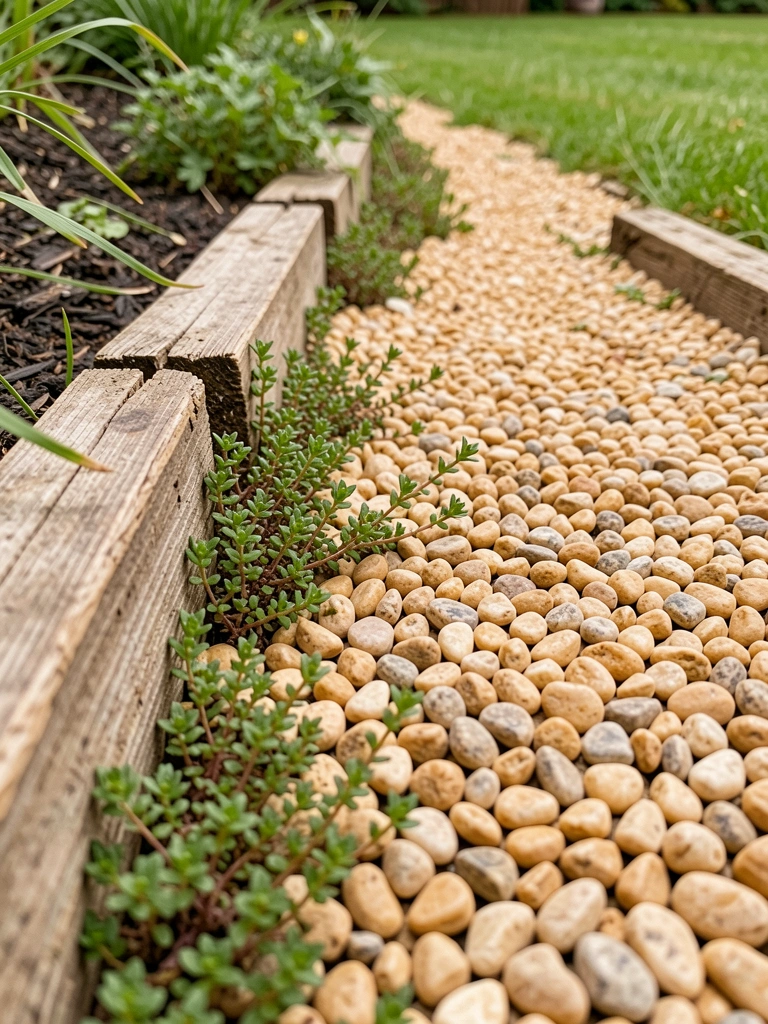
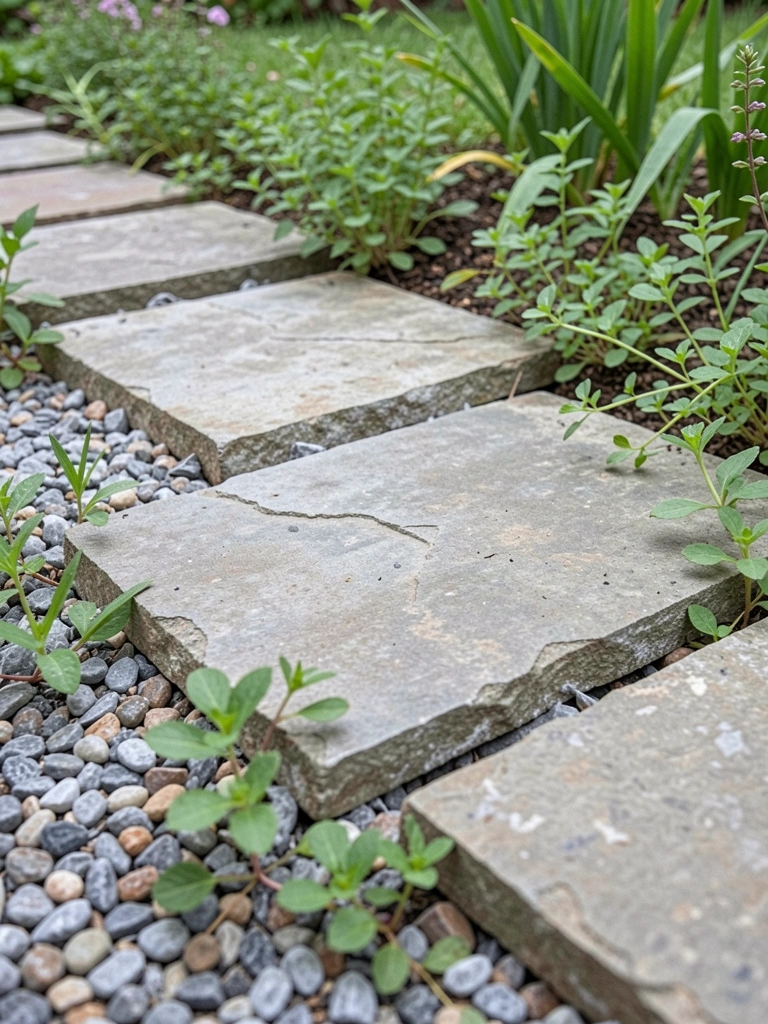
    15. Pebble Path Between Plant Zones
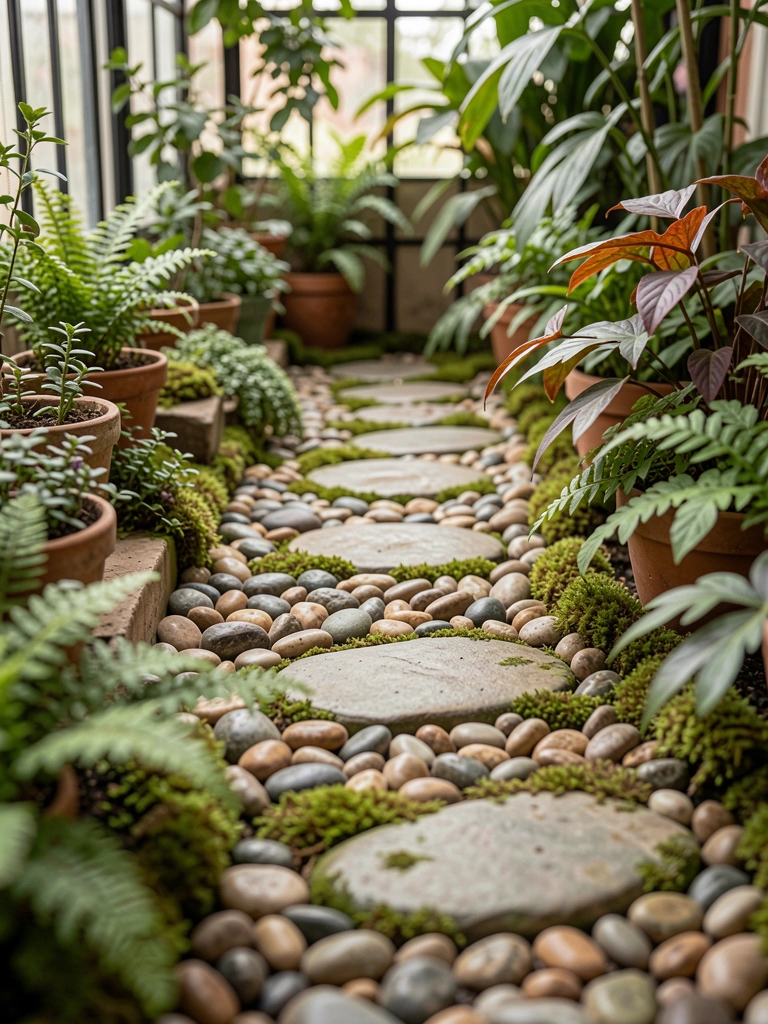
    Pebble strip divides seating from pots. Guides steps, muffles sound. Easy sweep.

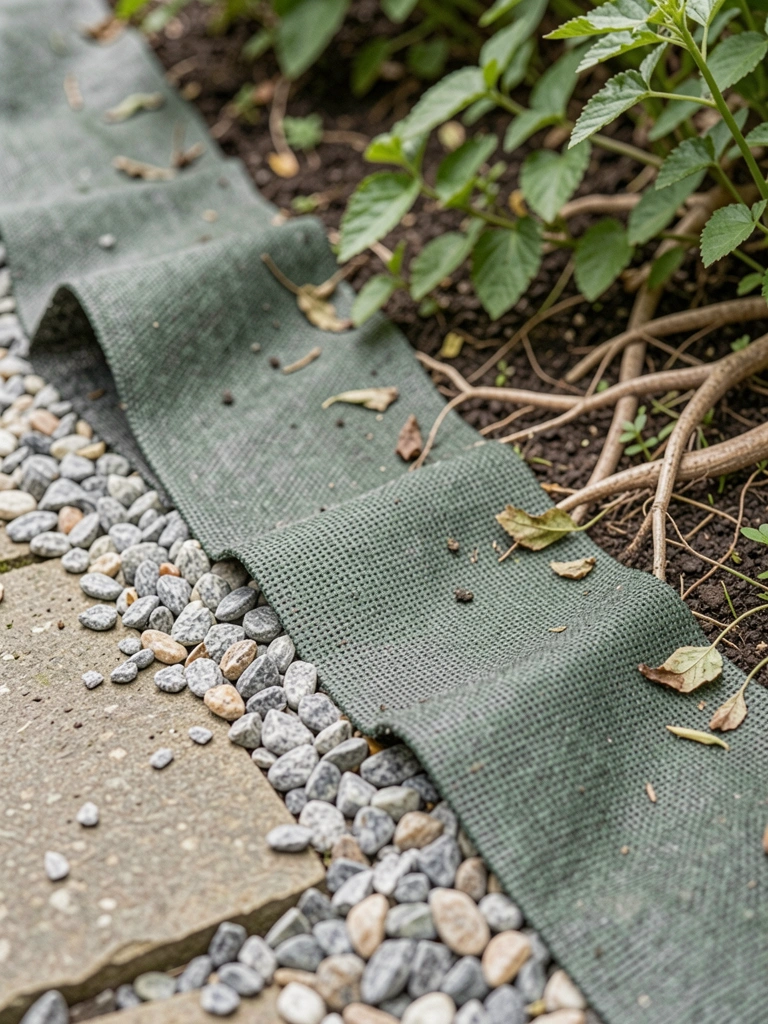
    Weed cloth under; stops sprouts.

    Mix sizes for grip.

    Invites barefoot walks.

    What You’ll Need for This Look

    16. Roll-Down Bamboo Shades for Light Control
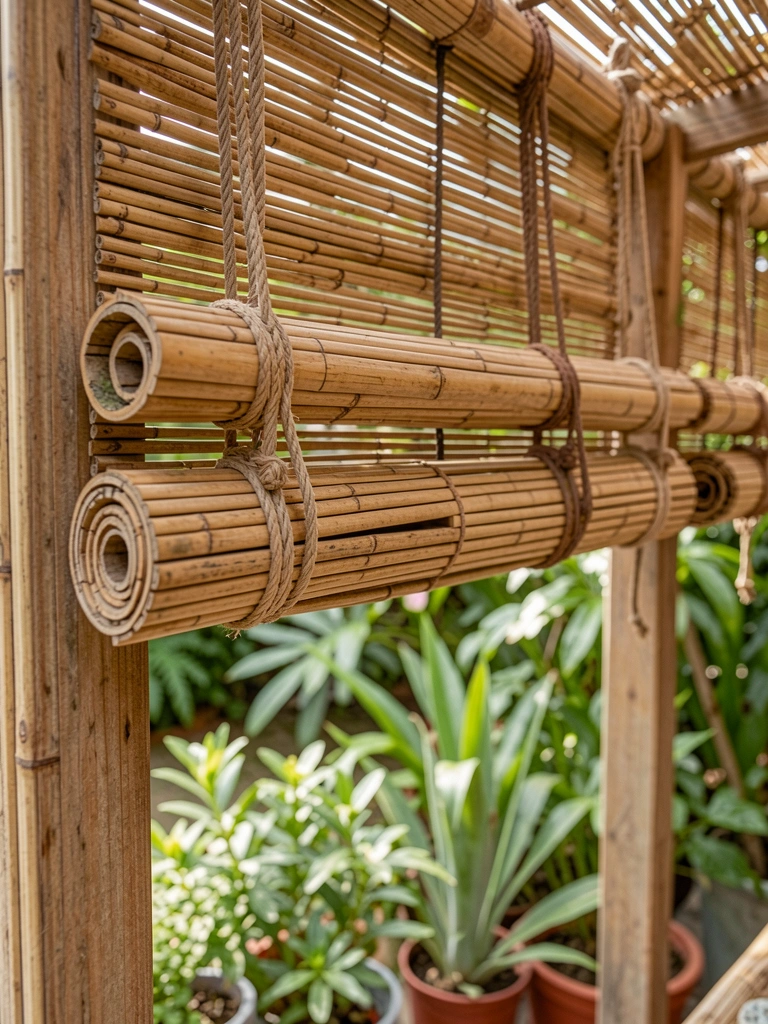
    Bamboo shades roll up daytime. Diffuses harsh sun, privacy nights. Matches wood tones.

    Tie high or low easy.

    Damp cloth clean; no bleach.

    Flexible enclosure.

    What You’ll Need for This Look

    17. Cluster of Metal Lanterns on Table
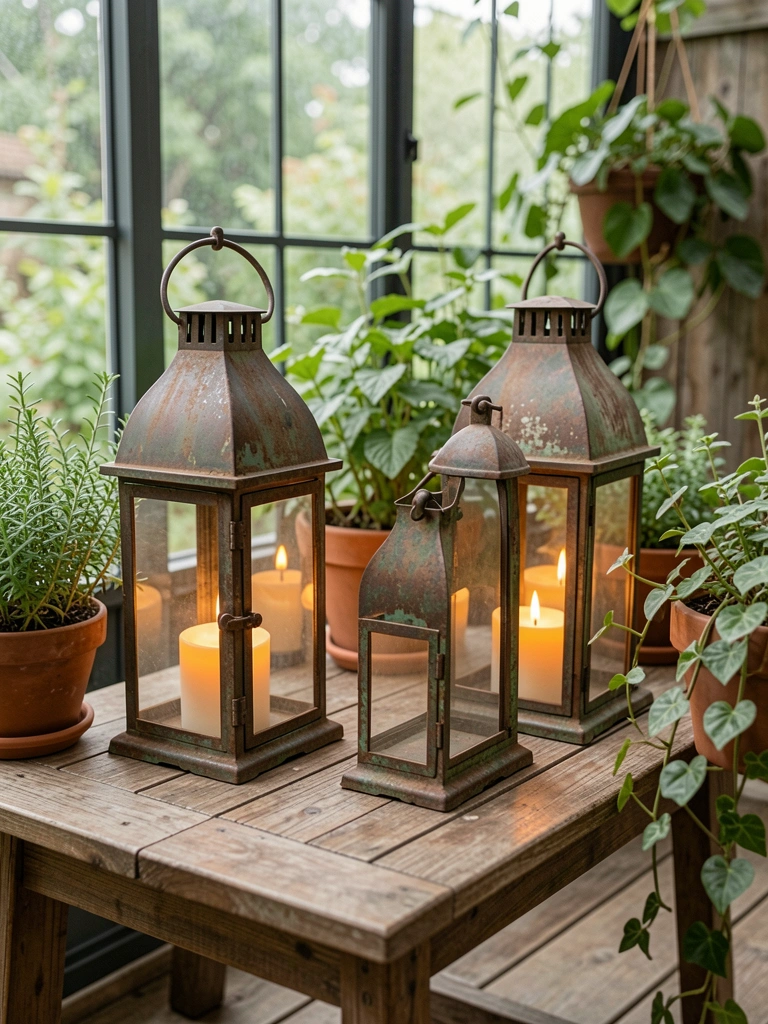
    Three lanterns mid-table. LED teas in evening flicker real. Rust patina weathers nice.

    Glass sides protect flame.

    Vary heights.

    Pooled light intimate.

    What You’ll Need for This Look

    18. Tiered Stand for Mixed Succulents
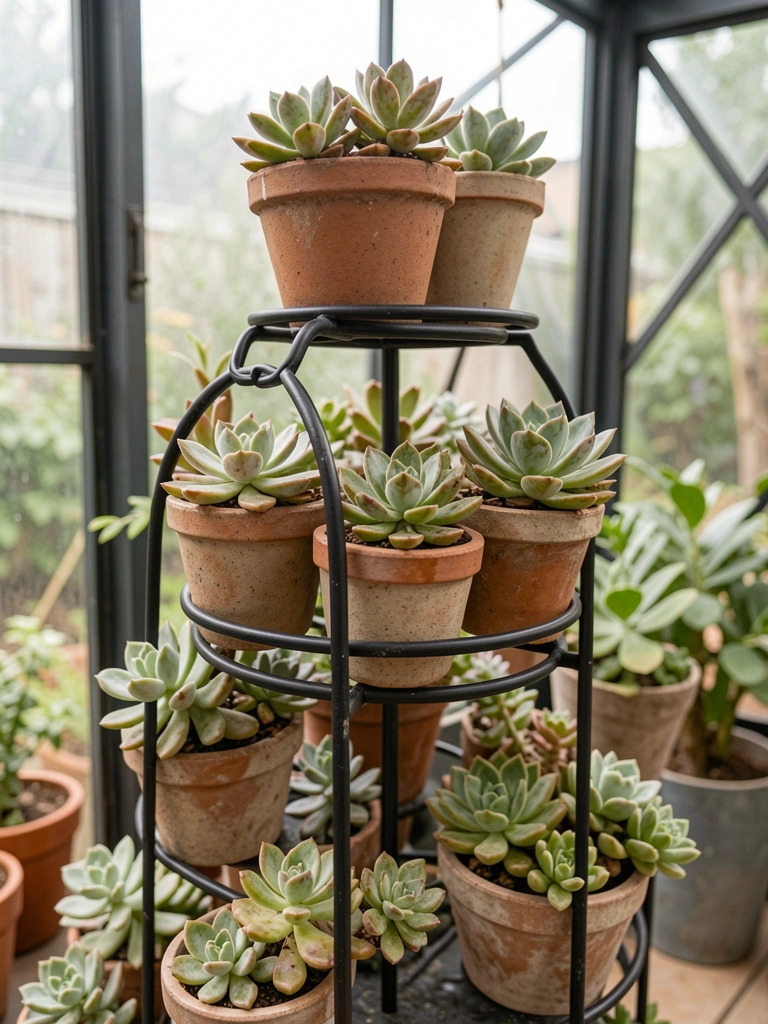
    Tiered stand holds six succulents. Layers without sprawl. Mistake: crowded too much; thinned for air now.

    Turn weekly even growth.

    Drain saucer must.

    Mini jungle stacked.

    What You’ll Need for This Look

    19. Pallet Vertical Herb Wall

    Old pallet on wall, lined with fabric, herbs tucked in. Fresh picks steps away.

    Staple liner tight; soil spills otherwise.

    Morning water, dry feet.

    Harvest often.

    What You’ll Need for This Look

    20. Picture Frame Planters on Fence
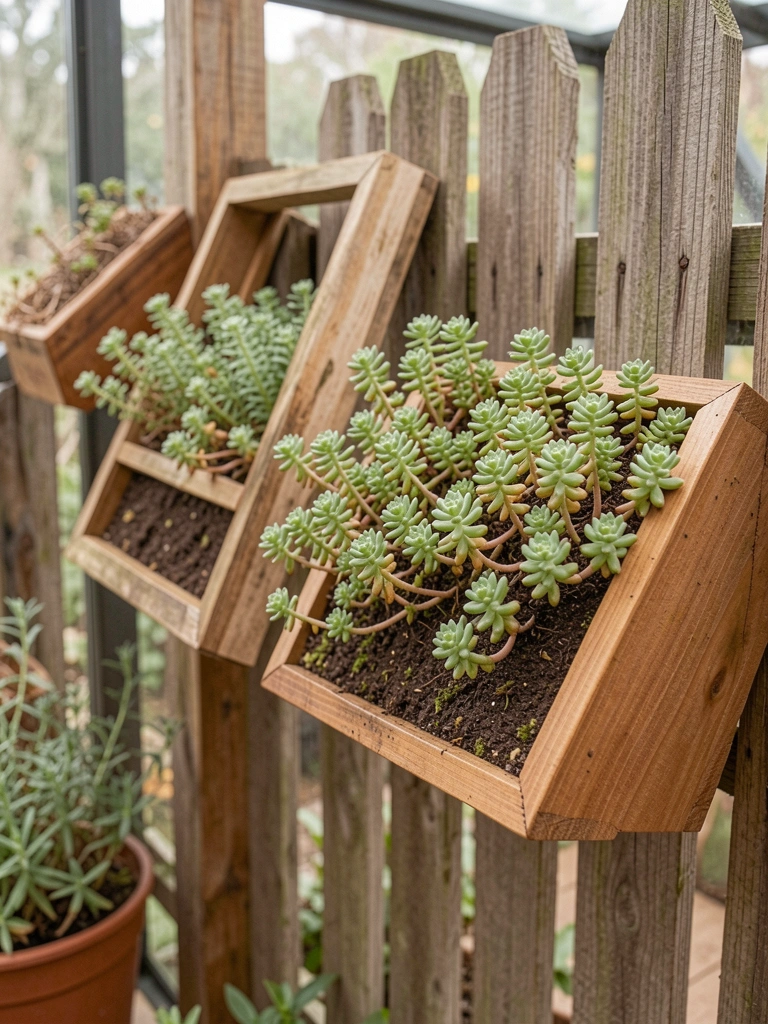
    Frames shallow-planted sedum on fence. Hang like art, trail over time.

    Mesh backs hold soil.

    Low light tolerant.

    Gallery of green.

    What You’ll Need for This Look

    21. Macrame Swing Seat with Trailing Plants

    Swing seat from beam, devil's ivy below. Gentle rock, plants brush legs.

    Strong ropes rated heavy. Eye bolts secure.

    Partial shade keeps ivy happy.

    Nestled escape.

    What You’ll Need for This Look

    Final Thoughts

    Start with two or three ideas that fit your light and habits. No need for all 21. Mine evolved slow—plants filled in over months. Yours will too. Grab a pot, sit back. You've got this.
  • 11 Enclosed Patio Ideas For Private Outdoor Spaces

    11 Enclosed Patio Ideas For Private Outdoor Spaces

    I used to dread my back porch. It sat there, open to the wind, feeling exposed and empty. Then I screened it in. Suddenly, it held still air, like a room outdoors.

    Plants thrived without battering storms. Birds sang close but stayed out. I could sit with coffee, rain tapping the roof.

    That shift hooked me. An enclosed patio pulls the garden inside, safe and yours. Here's what worked in my real yards.

    11 Enclosed Patio Ideas For Private Outdoor Spaces

    These 11 enclosed patio ideas come from my own trial-and-error gardens. Nothing fancy—just what fits tight spaces and actually grows. You'll see exactly how to make yours cozy and green.

    1. Layered Container Planting That Fills Empty Corners

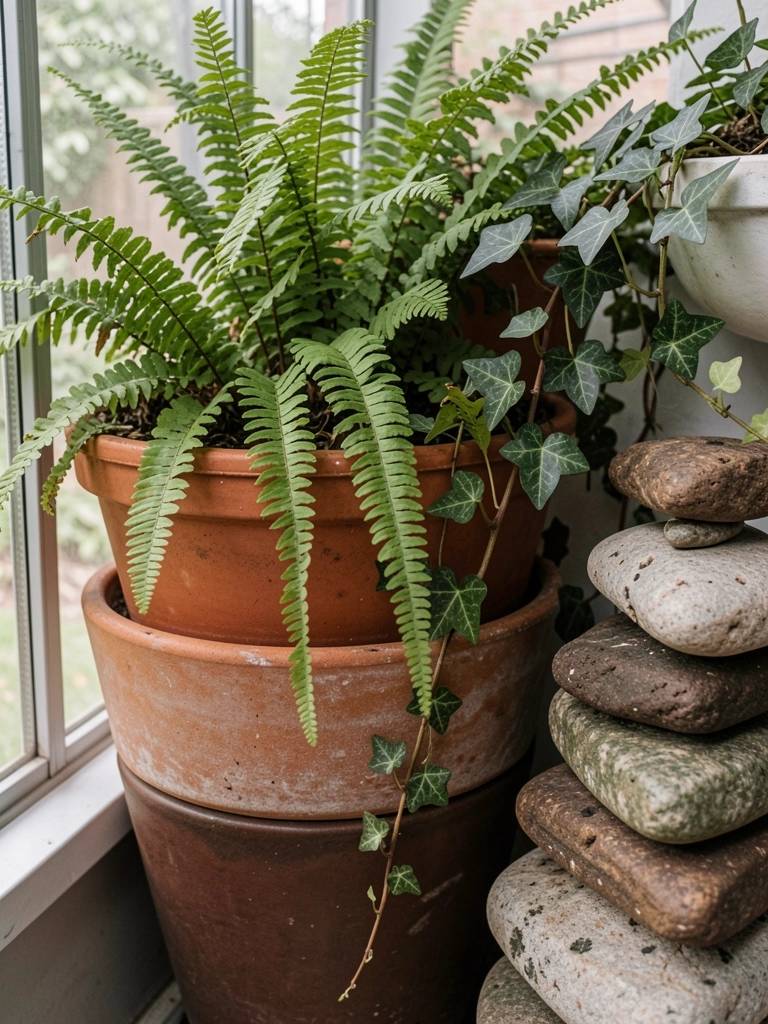
    I started with one pot in the corner. It looked lonely. So I stacked three sizes, tallest fern in back, spilling ivy mid, low sedum front. The patio went from bare to lush overnight.

    Air stays humid inside, so ferns unfurl fast—no wilting. Shadows play on leaves come afternoon. It feels deeper, like peeking into woods.

    Watch pot drainage; I once skipped saucers and got soggy roots. Elevate with bricks for airflow.

    Now that corner anchors the whole space. Sit there, and tension eases.

    What You’ll Need for This Look

    2. Hanging Baskets That Climb the Walls

    Walls wasted space until I hooked baskets high. Petunias trail down, brushing shoulders when I walk by. No floor clutter—perfect for small patios.

    Enclosed spots trap moisture, so baskets bloom non-stop. I pick flowers for salads right there. Light filters soft through leaves.

    I hung too heavy once; hooks pulled out. Use sturdy ones rated for 20 pounds.

    It turns walls green, shrinks the room in a good way. Feels wrapped in garden.

    What You’ll Need for This Look

    3. Built-In Bench with Under-Seat Planting

    I built a simple bench along the wall. Planted hostas below—low growers that hug the legs. Now it's seat and garden in one.

    Protected from wind, hostas spread thick, hiding bench feet. Afternoon shade keeps them happy. I lean back, feet on cool leaves.

    Measured wrong first time; bench wobbled. Shim with stones for level.

    This setup saves floor space. Feels grounded, like part of the earth.

    What You’ll Need for This Look

    4. String Lights Draped Over Greenery

    Lights changed my evenings. Draped them loose over vines—no harsh glare. Bulbs nestle in leaves, casting pools on the floor.

    Enclosure holds the glow in. Reads like fireflies after dusk. I linger longer with a book.

    Plugged into wrong outlet once; tripped breaker. Use outdoor-rated extension.

    It makes the patio a night room. Soft, not showy.

    What You’ll Need for This Look

    5. Vertical Herb Wall for Kitchen Reach

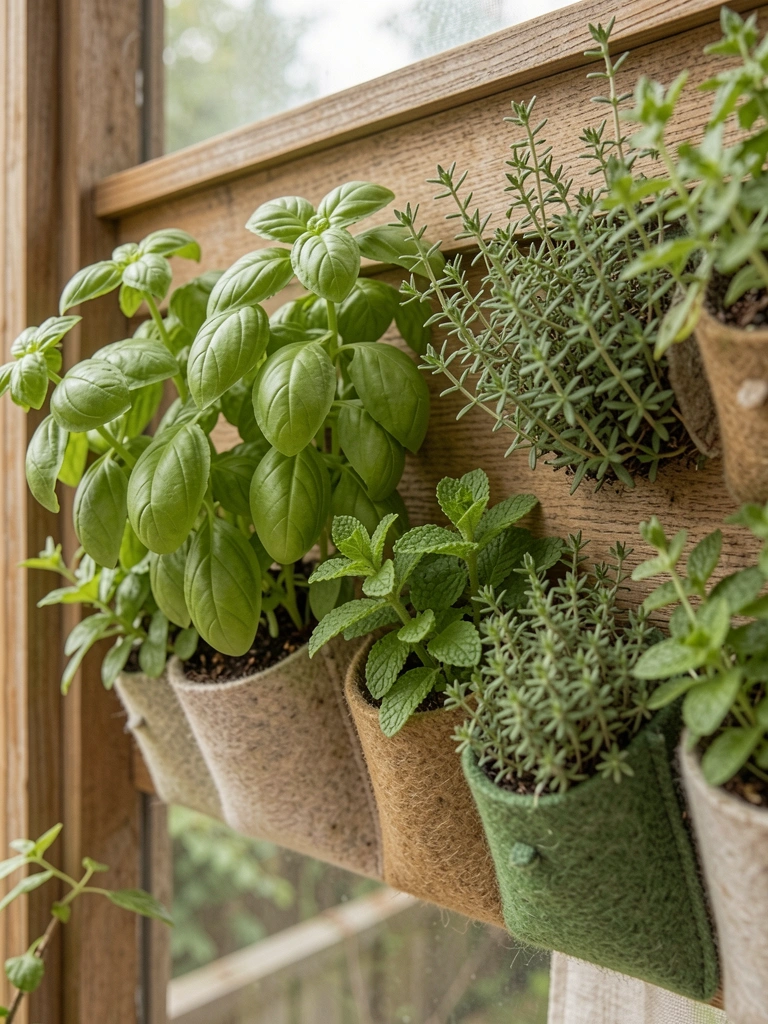
    Nailed pockets to the wall for herbs. Basil waves at eye level, mint scents the air. Snip for dinner without trekking outside.

    Sheltered walls mean steady growth—no leggy stems. Pockets catch drips, keep floor dry.

    Overwatered early; roots rotted. Let soil dry between.

    Fresh herbs daily. Patio smells like summer.

    What You’ll Need for This Look

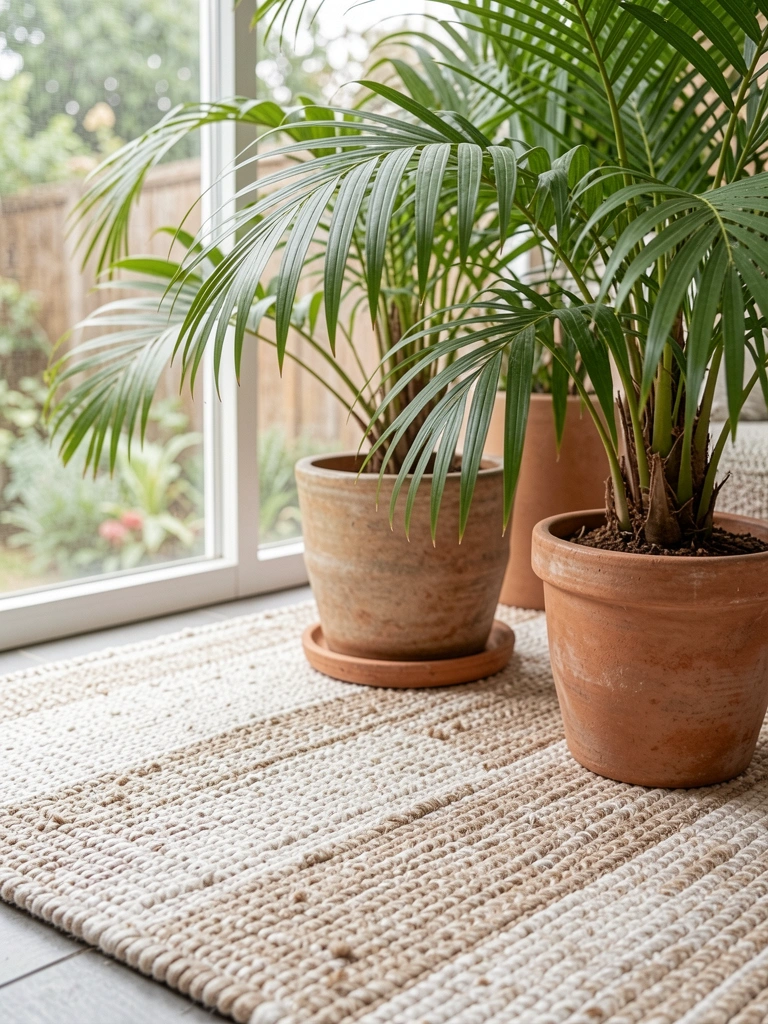
    6. Cozy Rug Layered Under Potted Palms

    Rolled out a rug, plunked palms around. Bare concrete vanished—now it's like a living room floor.

    Enclosed air suits palms; they arch without browning tips. Rug muffles steps, adds warmth underfoot.

    Rug trapped water once; mildewed. Choose quick-dry weave.

    Feet sink in soft. Patio hugs you close.

    What You’ll Need for This Look

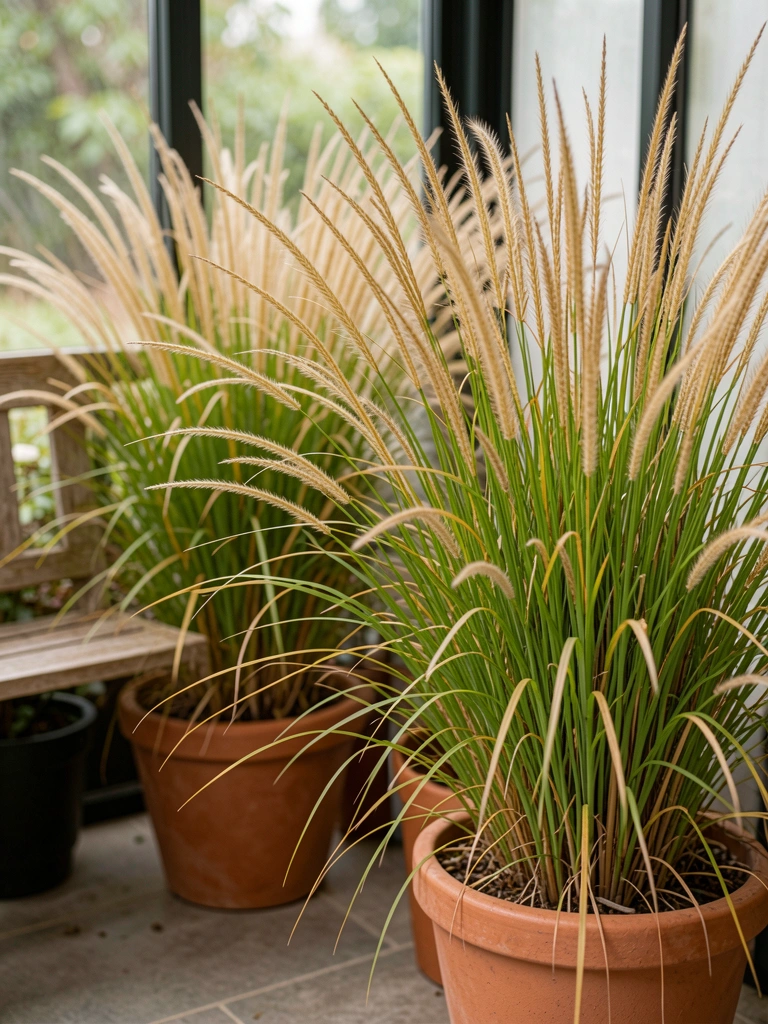
    7. Potted Grasses for Soft Privacy Layers

    Tall grasses in big pots screen the seating. They sway gentle, block views without walls.

    No wind to flatten them here. Blades rustle like whispers. Light sifts through.

    Chose short ones first; didn't screen. Go 4-foot minimum.

    Privacy without isolation. Breeze you control.

    What You’ll Need for This Look

    8. Succulent Shelves Along Low Walls

    Laddered shelves with succulents. Fat leaves catch light, make low walls pop.

    Stable temps mean no stretching. They cluster tight, like a windowsill gone wild.

    Forgot sun once; etiolated. Rotate monthly.

    Texture heaven. Touch draws you in.

    What You’ll Need for This Look

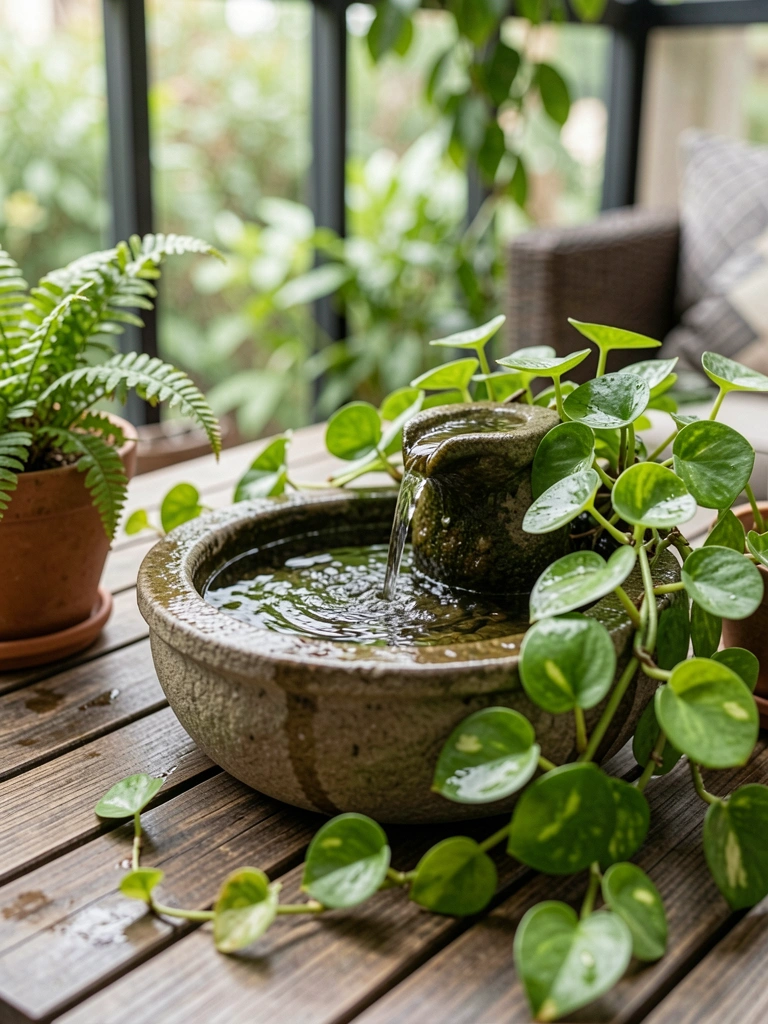
    9. Tabletop Fountain Amid Leafy Foliage

    Set a fountain on the table, pothos around. Water murmurs constant, masks street noise.

    Enclosure amplifies sound—calm bubble. Leaves quiver with mist.

    Clogged pump early; clean filter weekly.

    Peace washes over. No need for music.

    What You’ll Need for This Look

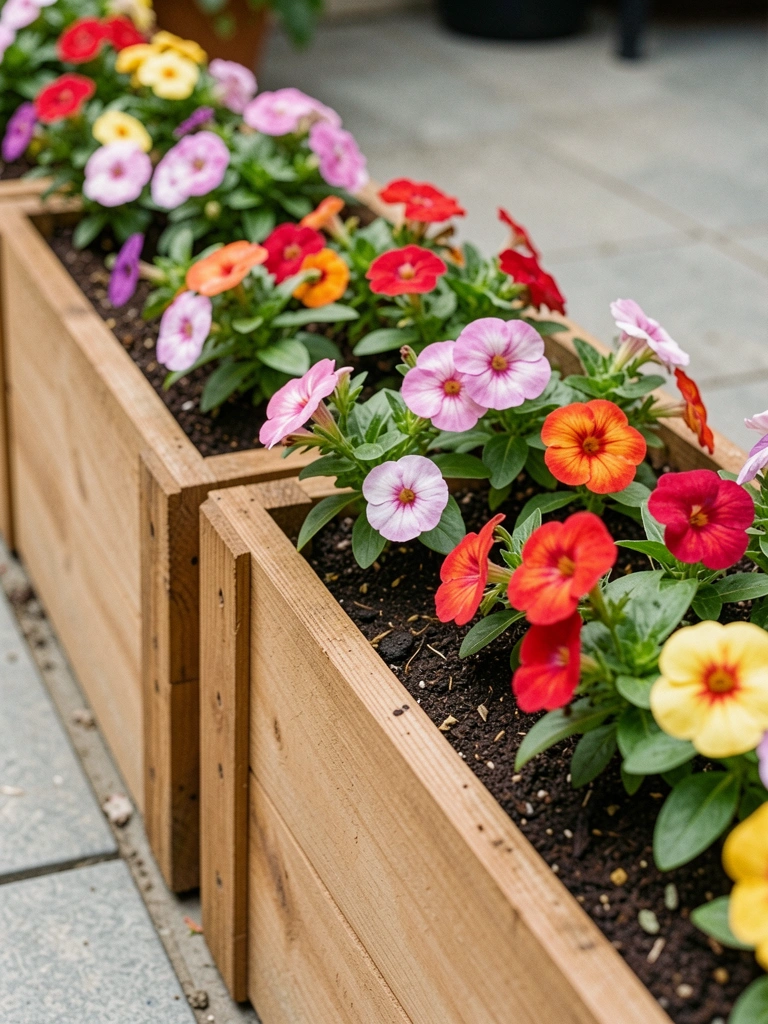
    10. Modular Planter Boxes Edge-to-Edge

    Snapped boxes along edges, filled with impatiens. Border frames the space, like raised beds.

    Humidity boosts flowers—non-stop color. Easy reach for deadheading.

    Boxes shifted; secure with brackets.

    Defines your spot. Garden contained.

    What You’ll Need for This Look

    11. Hammock Nook Tucked in Vines

    Hung a hammock in the corner, vines overhead. Sways gentle, cradled by green.

    Walls block drafts—pure lounge. Vines filter light to dapple.

    Strung too loose first; dipped low. Tension right.

    Ultimate retreat. Body unwinds.

    What You’ll Need for This Look

    Final Thoughts

    Pick one or two ideas that fit your patio's light and size. No need for all 11—start small.

    Mine evolved over years, mistakes and all. Yours will too.

    You'll end up with a private spot that feels right. Just right.

  • How To Lay A Brick Garden Path

    How To Lay A Brick Garden Path

    I stared at the muddy trail cutting through my side yard. After rain, it turned into a slick mess. Guests hesitated to walk it. My garden felt disjointed, like it lacked a quiet guide from gate to bench.

    I wanted a path that hugged the beds, not fought them. Bricks seemed right—they settle into soil like they've always been there.

    One afternoon, I laid one. Now it pulls the eye through the space, balanced and sure.

    How To Lay A Brick Garden Path

    This method creates a brick path that follows your garden's shape. You'll get a walkway that feels part of the ground. Walkable, even, inviting.

    What You’ll Need

    Step 1: Sketch the Path's Natural Curve

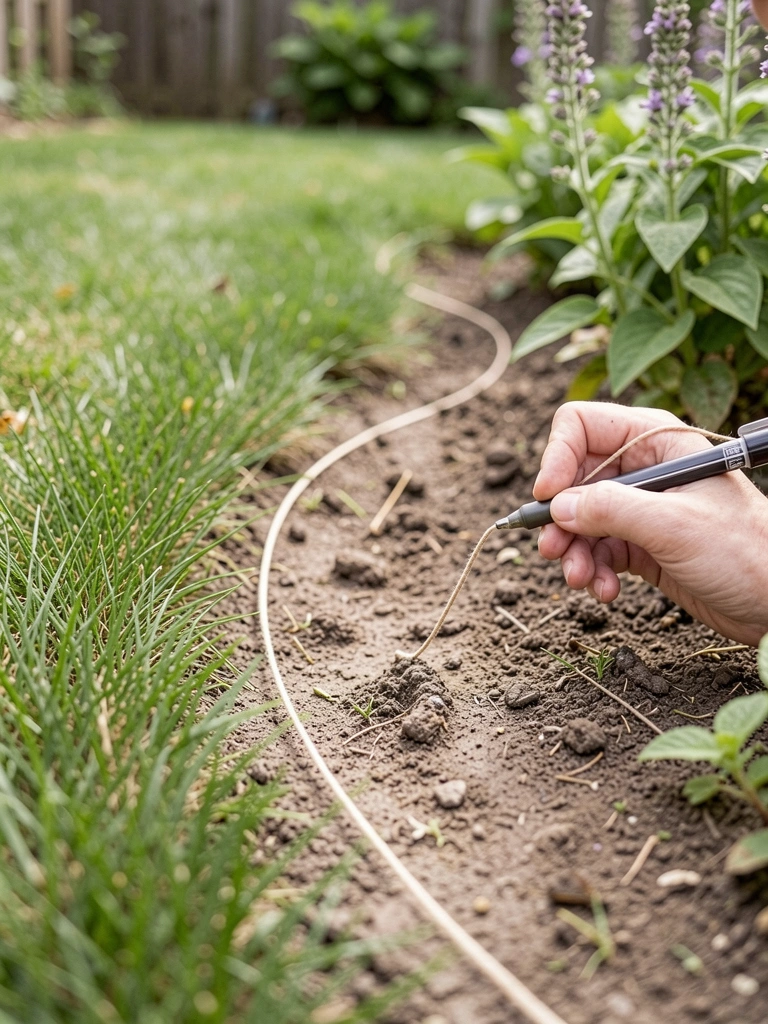
    I walk the route first, barefoot if warm. Feel where my feet want to go—around that shrub, dipping by the fence. Stake ends loosely. Pull string to trace a gentle S that mirrors bed shapes.

    Visually, the line softens hard corners. The garden starts breathing together.

    People miss how a slight wander adds calm. Straight paths shout; curves whisper. Avoid pulling string too tight—let it sag naturally, or it fights the flow.

    I adjust twice, stepping back. Now it pulls you forward without rush.

    Step 2: Dig the Trench with Even Depth

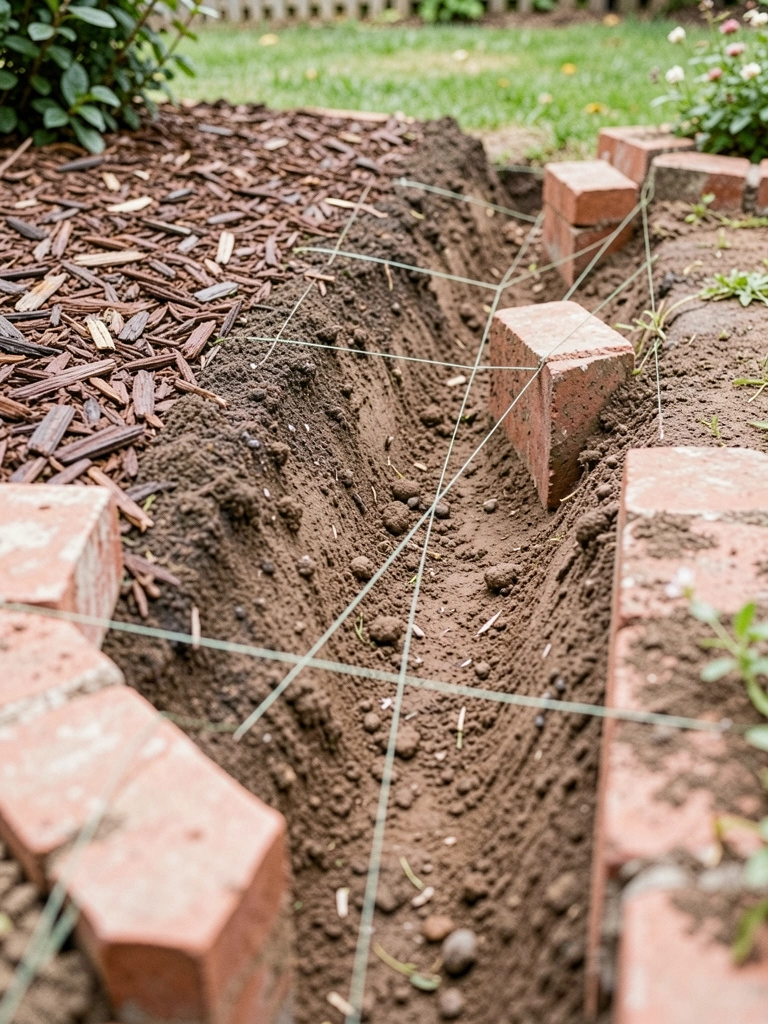
    With shovel, follow the string. Dig 4 inches deep, uniform like a shallow pan. Wider at curves for foot room. Pile soil nearby—it fills low spots later.

    The ground opens, ready. Bare earth frames future bricks, balanced against green edges.

    Insight: Test depth by laying a board across; it should sit level. Skip this, and bricks wobble later. Don't rush corners—overdig slightly, they settle better.

    I pause, rake smooth. Feels solid underfoot already.

    Step 3: Layer the Base for Stability

    Lay weed fabric first, overlapping edges. Add 2 inches gravel, tamp firm. Top with 1 inch sand, screed level with a board.

    Base turns soft dirt firm. It glows warm under sun, promising even bricks.

    Most overlook tamping gravel twice—it locks in place. Untamped shifts in rain. Avoid wet sand; it clumps. Dry pours smooth.

    I tap it down. Path base hugs the garden's contour perfectly.

    Step 4: Place Bricks in a Running Bond

    Start at one end. Lay bricks offset half, like footsteps. Tap gently with mallet, check level often. Butt tight to edging stones.

    Bricks warm the line, echoing nearby walls. Flow emerges—visual rhythm.

    Missed insight: Vary brick orientation at curves for smoother turn. All straight looks stiff. Don't force perfect rows; slight shifts feel lived-in.

    I step along half-done. It draws the eye right through.

    Step 5: Fill, Settle, and Edge

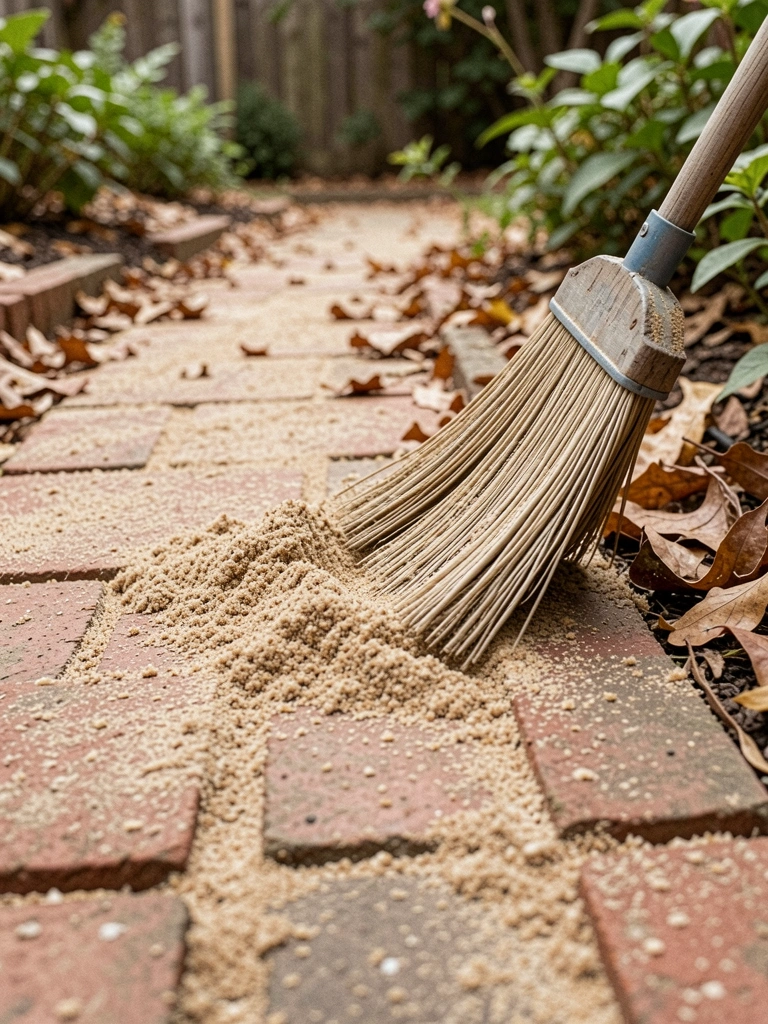
    Sweep dry sand into joints. Mist lightly, tamp again. Add edging stones along sides, backfill soil.

    Path locks, subtle sheen from damp sand. Blends seamless with beds.

    People forget second sand fill after settling. Gaps invite weeds. Avoid overwatering; it erodes base.

    I walk it end to end. Garden connects now.

    Why Curves Beat Straight Paths

    Straight paths cut gardens like rulers. Curves follow how we move—lazy, toward interest.

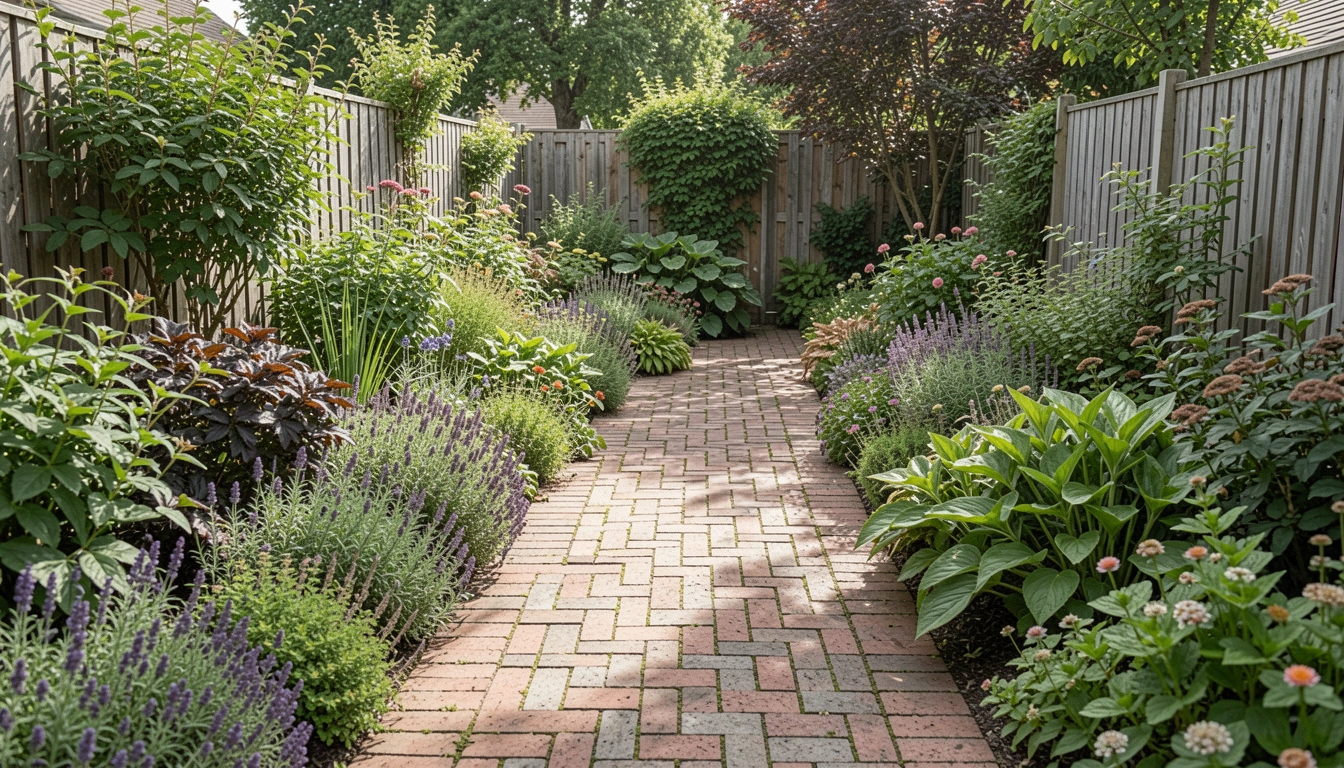
    In my yard, the bend invites pause by lavender. It balances wide beds.

    • Hug plant mounds loosely.
    • Widen for seating spots.
    • Echo fence lines softly.

    Feels comfortable, not forced.

    Planting Along the Path Edge

    Plants frame without crowding. Low growers tuck close; taller ones step back.

    I use creeping thyme between bricks. It softens edges, releases scent underfoot.

    • Sedum for dry spots.
    • Heuchera for shade.
    • Avoid tall bloomers—they block.

    Path gains layers, stays clean.

    Keeping It Settled Over Time

    Paths shift with frost. Top sand yearly.

    Weeds poke early? Pull before roots grip.

    • Hose joints monthly.
    • Re-level bricks as needed.
    • Mulch edges high.

    Mine's held five years. Simple rhythm.

    Final Thoughts

    Start with a short path, say to the shed. You'll see how it steadies the space.

    Bricks forgive small tweaks. Yours will fit your ground.

    Now your garden guides feet naturally. Walk it often.

  • How To Create A Pebble Path

    How To Create A Pebble Path

    I stared at the muddy strip between my patio and shed. Every rain turned it into a slip hazard. Walking there felt like an afterthought, not part of the garden.

    I'd tried grass, but it drowned. Mulch washed away. The path needed to fit the space, guide the eye without shouting.

    One afternoon, I laid pebbles. Now it pulls you through quietly, dry underfoot.

    How To Create A Pebble Path

    This shows you how I shape a pebble path that settles into the garden. It connects spots naturally. You'll end up with a clean line that invites steps.

    What You’ll Need

    Step 1: Trace the Path's Natural Line

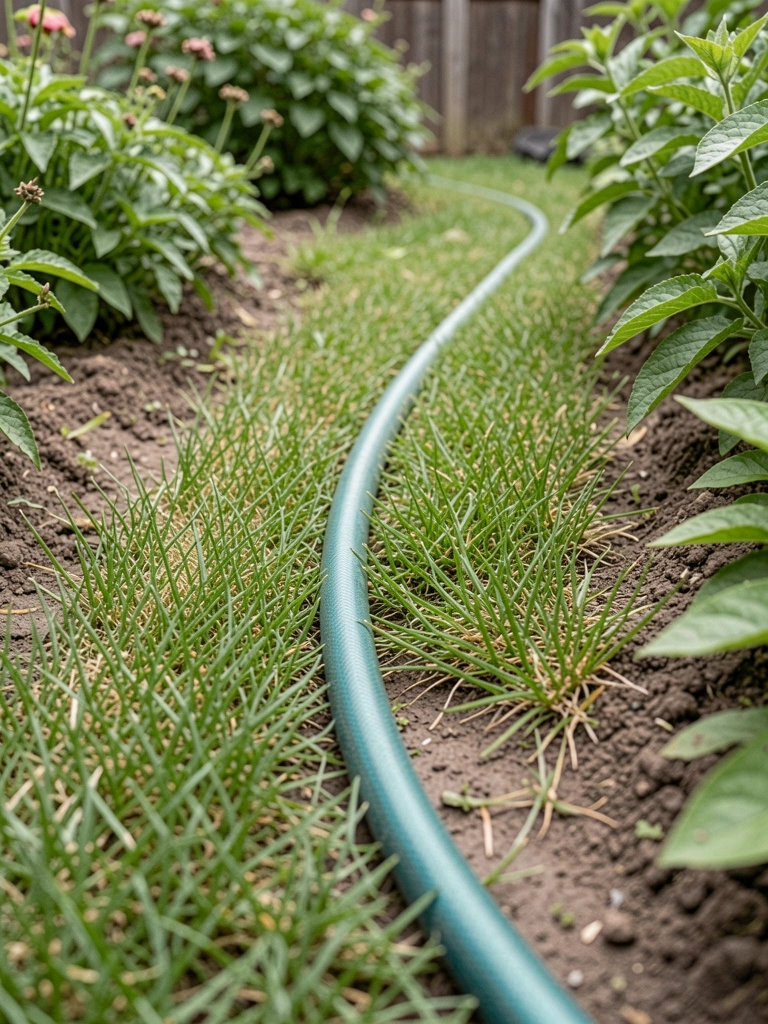
    I walk the route first, hose in hand. It snakes where my feet want to go—around that shrub, hugging the bed. This sets a flow that feels right, not forced.

    Visually, the hose paints a soft curve. The garden starts breathing, linking spots.

    People miss how a straight line jars. Curve it slightly. Avoid forcing it ruler-straight; it fights the yard's shape.

    I secure the hose with stakes. Eye it from the patio. Adjust until it pulls you along.

    Step 2: Clear and Level the Base

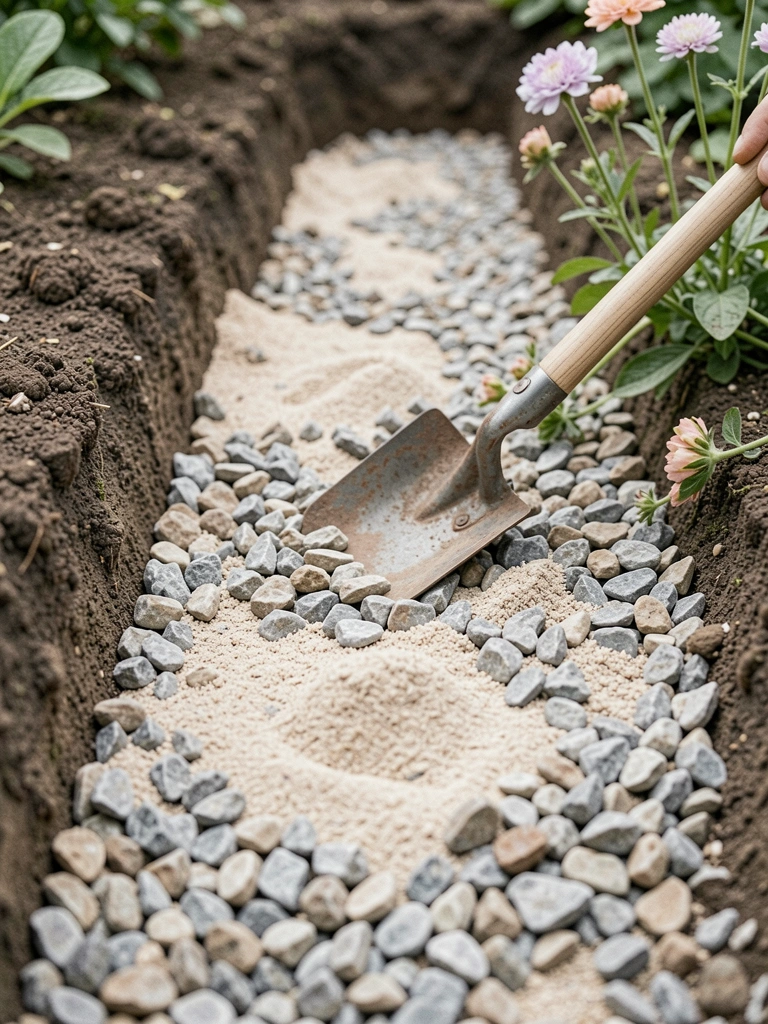
    I dig out grass and roots, four inches deep. Rake smooth. This base holds steady, no sinking later.

    The strip turns bare, ready. It frames the plants beside it better.

    Most overlook loose soil shifting. Compact it firm with your feet. Skip this, pebbles roll.

    I check level with my eye, not tools. Slight slope sheds water. Feels solid now.

    Step 3: Set the Edging for Clean Lines

    I unroll edging along the hose. Tap it in with the mallet, just proud of ground. It holds the pebbles, keeps grass out.

    Edges sharpen. The path claims its space, balanced against beds.

    Folks bury it too deep. Leave a half-inch lip for mowing. Don't butt joints tight; overlap for give.

    I step back. It echoes the garden's lines, quiet containment.

    Step 4: Layer the Base for Stability

    Fabric goes down first, stapled. Then two inches sand, raked even. This locks everything, drains rain.

    The trench fills solid. No more mud hollows.

    Insight: Skip fabric, weeds punch through. Weeds love loose pebbles. Pin it well.

    Top with gravel now? No, settle layers separate. Water it lightly. Beds nearby look framed.

    Step 5: Spread and Settle the Pebbles

    I dump gravel, rake thin layers. Walk it in. It nestles, one color blending.

    Path glows soft gray. Steps crunch right, draws you forward.

    People heap too thick. Two inches max, or it shifts. Rake from edges in.

    I hose it gentle. Pebbles lock. Sit on the patio—path fits perfect.

    Step 6: Blend with Surrounding Plants

    I tuck low growers like sedum along edges. They soften the line, spill casual.

    Path recedes, plants lead. Whole area balances.

    Missed tip: Overplant smothers it. Space three feet wide minimum. Avoid tall stuff blocking.

    Trim back once. It settles lived-in, guides without dominating.

    Choosing Pebbles That Fit Your Garden

    I pick pea gravel for its small size. It shifts less in walks. River rock works for wider paths.

    Size matters for feel. Tiny ones pack tight. Larger give more crunch.

    • 3/8-inch: Everyday paths, drains fast.
    • 3/4-inch: Bolder look, fewer weeds.
    • Match soil tone: Gray pebbles on clay yards blend.

    Test a handful. Does it feel right underfoot?

    Planting Alongside for Balance

    Plants frame the path. I use tough ones that take foot spill.

    Low evergreens hold year-round. Perennials add seasons.

    • Creeping thyme: Fills gaps, smells good.
    • Lavender: Softens edges, draws bees.
    • Avoid invasives: They overrun.

    Plant after pebbles settle. Water deep. Path looks intentional.

    Handling Slopes and Curves

    Slopes need wider bases. I add extra sand downhill.

    Curves hold with bent edging. Walk it daily first.

    • Slope over 5%: Step it or gravel deeper.
    • Tight turns: Flare ends gentle.
    • Wet areas: More drainage layer.

    It flows natural. No slips.

    Final Thoughts

    Start with five feet. See how it sits.

    Your yard knows the line. Trust your walk.

    Pebbles wait patient. One path done, the garden connects.

  • 10 Unique Stepping Stone Paths For Creative Gardens

    10 Unique Stepping Stone Paths For Creative Gardens

    I slipped in mud one too many times last spring, chasing my dog through the back patch. Shoes soaked, frustration building. Then I started with simple stones. Paths appeared, and the garden felt like home—places to pause, breathe.

    Not straight lines. Curves that pull you in.

    Years later, every tweak teaches me. These paths aren't fancy. They're real, workable.

    10 Unique Stepping Stone Paths For Creative Gardens

    These 10 unique stepping stone path ideas come straight from my gardens—mess-ups included. Easy to start small, adapt to your yard. Exactly 10 here, each with what works.

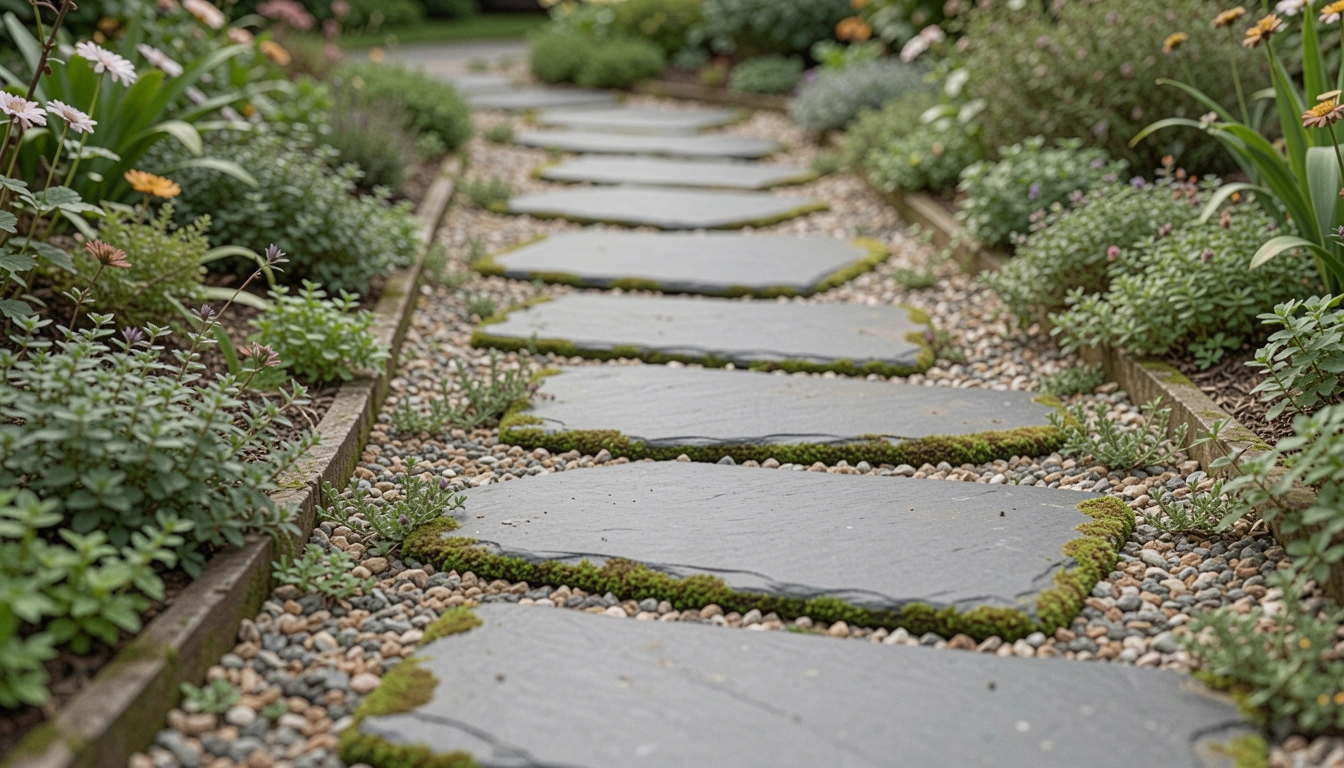
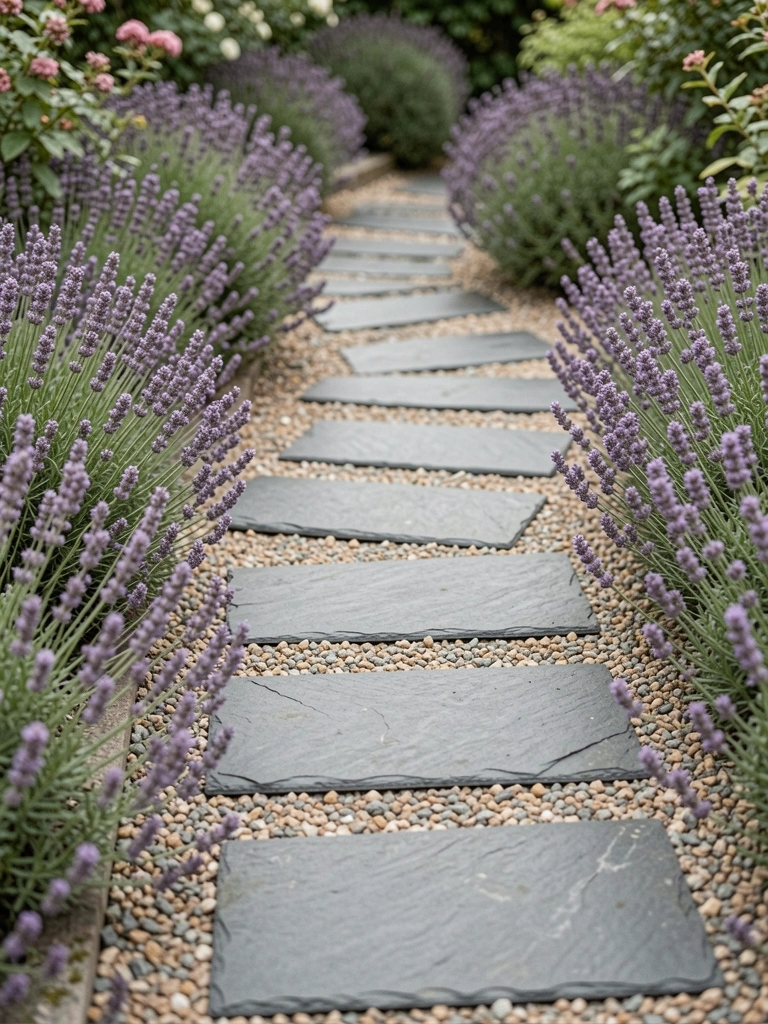
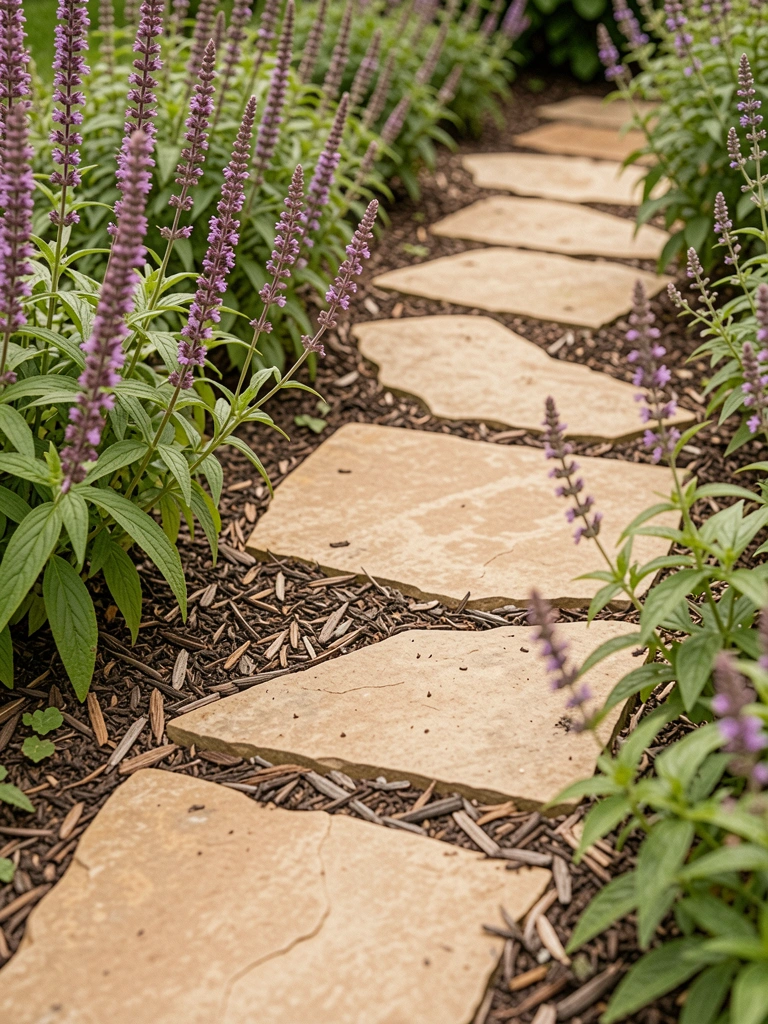
    1. Winding Slate Path Through Low Lavender

    I laid this in my side yard to connect the shed to the patio. Started straight, but curves made it cozy—slows you down, scents the air with lavender. Feet sink just right into gravel gaps, no mud after rain.

    Planted lavender along edges; it spills over softly now. One year, I spaced stones too wide—tripped carrying pots. Narrowed them to 18 inches apart.

    Feels intentional, not forced. Herbs brush your ankles as you walk.

    What You’ll Need for This Look

    Slate stepping stones (12×12 inch)
    Landscape gravel (pea size)
    English lavender plants (4 inch pots)
    Garden edging tool

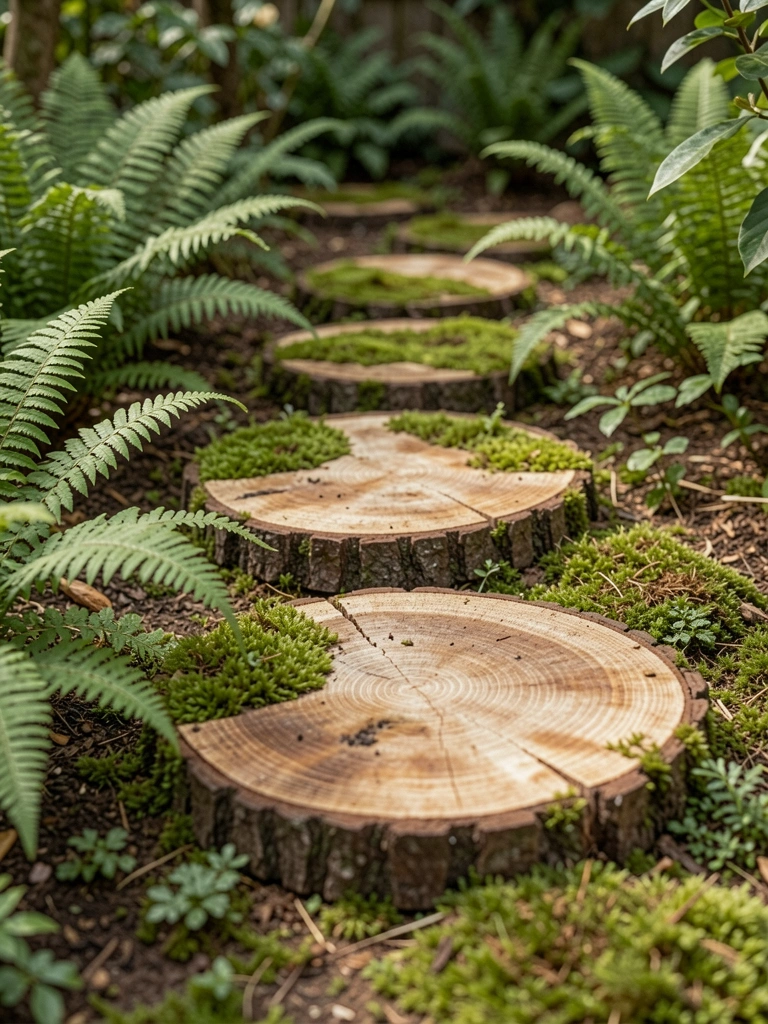
    2. Tree Slice Rounds Nestled in Moss

    Cut slices from a fallen oak in my front border. Placed them loose at first—shifted underfoot. Pressed into soil, moss filled gaps. Now it's soft, earthy, blends with woods edge.

    Walk barefoot here in summer; cool moss cushions. Surround with ferns—they arch over without crowding.

    Mistake: slices too thin, rotted fast. Go 3 inches thick, seal lightly.

    Path feels like a secret trail.

    What You’ll Need for This Look

    Wood round stepping stones (18 inch diameter)
    Live moss sheets
    Wood sealer spray
    Fern plants (1 gallon)

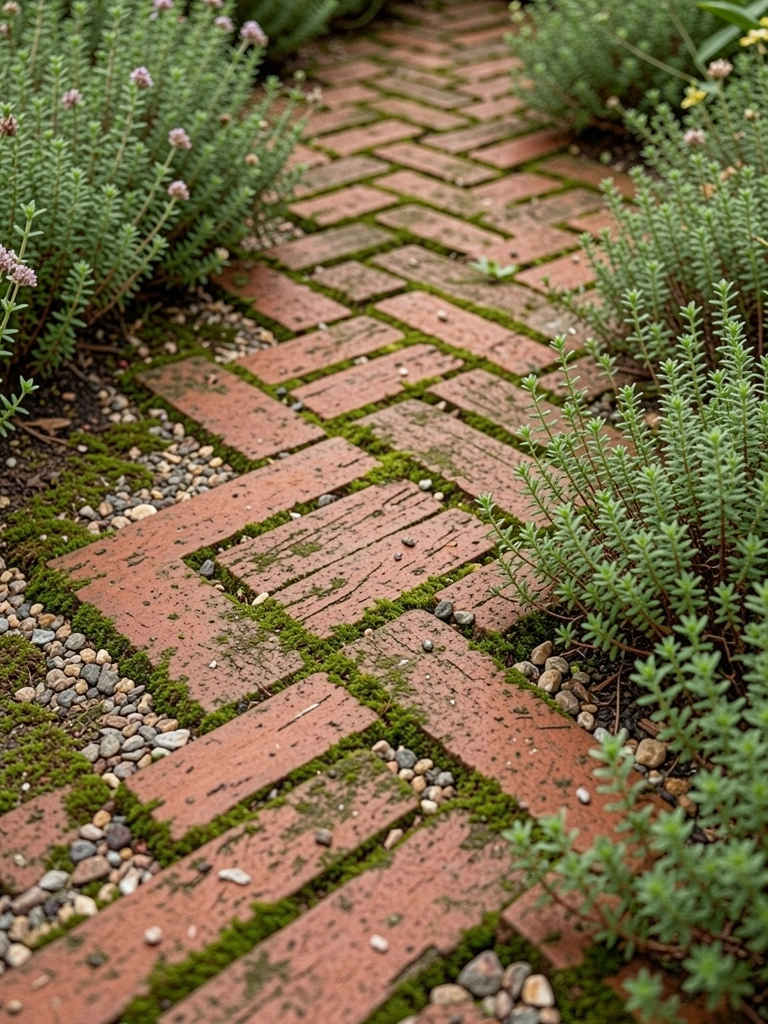
    3. Brick Herringbone Weave Around Roses

    My rose bed needed access without trampling. Herringbone bricks zigzag tight—stable, no wobble. Roses nod over the edges now, petals drop like confetti.

    Laid on sand base; weeds poke less. Spaced for drainage, dries quick after storms.

    I overdid mortar once—cracked in freeze. Dry-lay works better here.

    Tugs you closer to blooms.

    What You’ll Need for This Look

    Red clay bricks (8×4 inch)
    Landscape sand (50 lb bag)
    Knock Out rose bushes
    Rubber mallet for leveling

    4. Pebble Riverbed Curve by Hostas

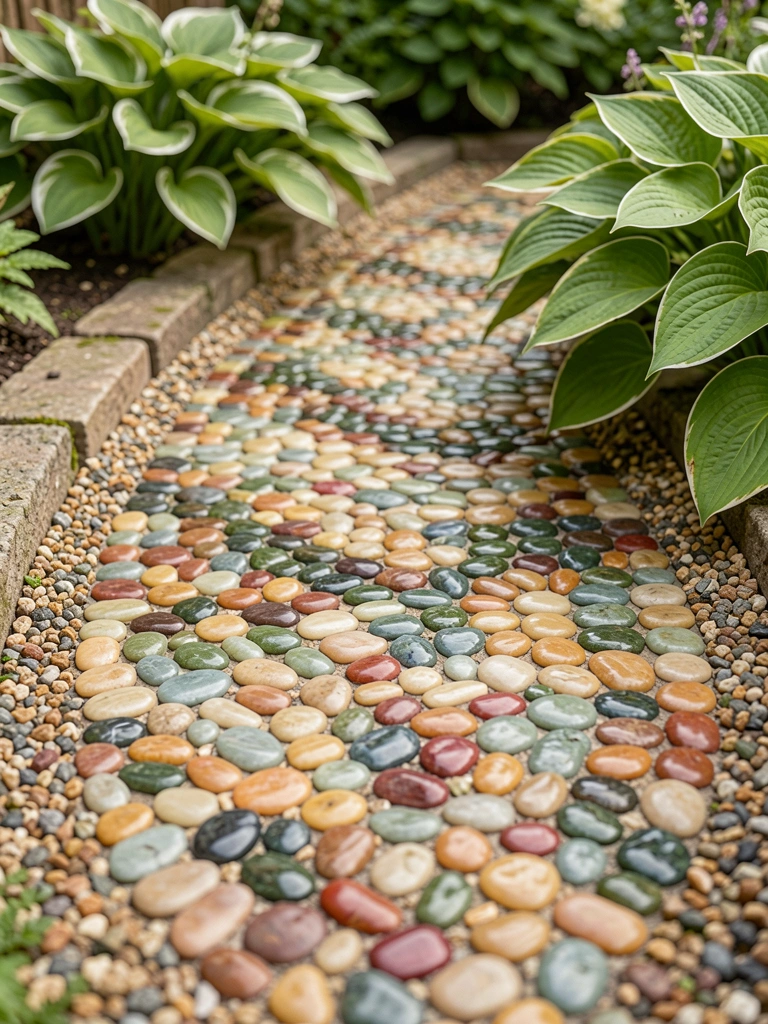
    Mimicked a stream in my shady corner. Large flat stones island in smooth pebbles—flows visually to the bench. Hostas frame it, leaves rustle underfoot pebbles.

    No edging needed; pebbles stay put. Low water use, thrives damp.

    Bought colorful pebbles—faded fast. Stick to gray tones.

    Feels calm, like a walk by water.

    What You’ll Need for This Look

    Flat river rock stepping stones
    Pea gravel (light gray)
    Hosta plants (varied sizes)
    Landscape fabric pins

    5. Solar-Glow Concrete Slabs in Grasses

    Night walks were dark to the veggie patch. Embedded solar lights in concrete slabs—glows soft gold after dusk. Grasses sway beside, whispering.

    Slabs pre-cast, easy drop-in. Lights last years.

    Planted tall grasses too close once—overhung path. Trim yearly.

    Guides without glare.

    What You’ll Need for This Look

    Concrete stepping stones with solar lights
    Ornamental fountain grass
    Soil amendment for grasses

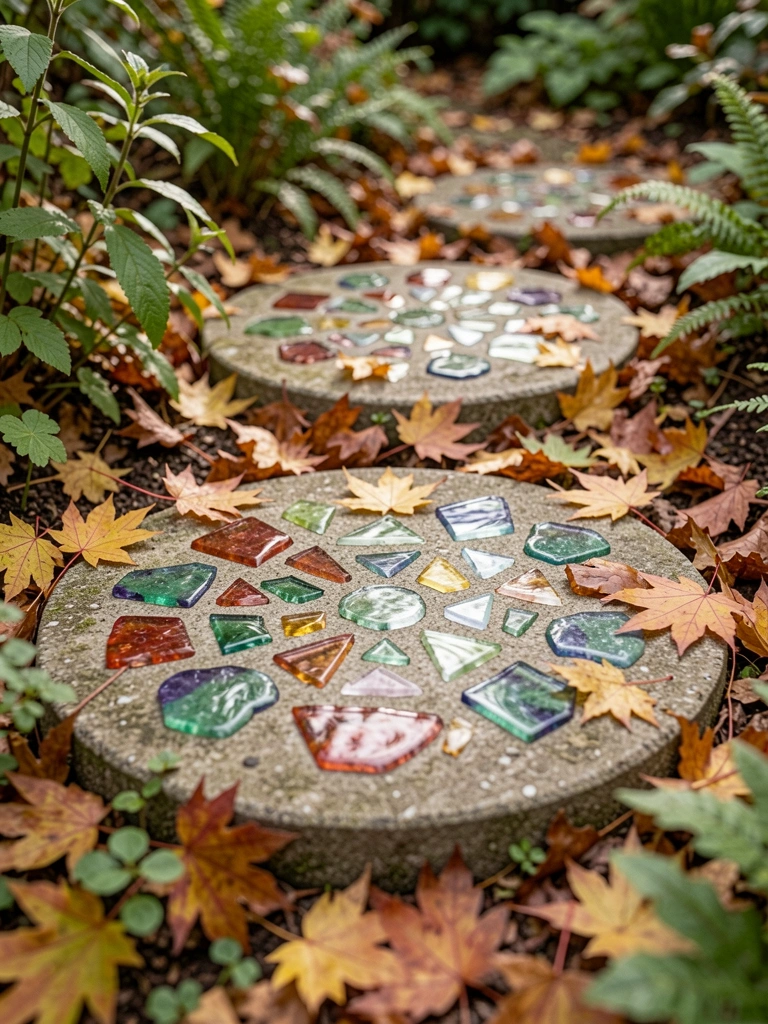
    6. Recycled Glass Mosaic Rounds Under Maples

    Smashed old bottles into rounds—sparkle catches sun under maples. Path to swing set, kids love the crunch.

    Mixed glass in wet concrete; set overnight. Edges smooth now.

    Too much glass first try—slippery wet. Half-fill molds.

    Shimmers quietly.

    What You’ll Need for This Look

    Recycled glass pebbles (mixed colors)
    Concrete stepping stone molds (16 inch)
    Quick-set concrete mix
    Japanese maple saplings

    7. Bamboo Flat Bridge Over Perennials

    Spanned perennials with bamboo flats—light, arches slight over blooms. Path to compost, smells fresh.

    Nailed to frames for stability. Weathers gray nicely.

    Bamboo warped untreated—seal ends.

    Lifts you above the plants.

    What You’ll Need for This Look

    Split bamboo stepping stones (24×12 inch)
    Outdoor wood sealer
    Perennial mix seeds (wildflower)
    Galvanized nails (2 inch)

    8. Shell-Embedded Slabs by Sedum

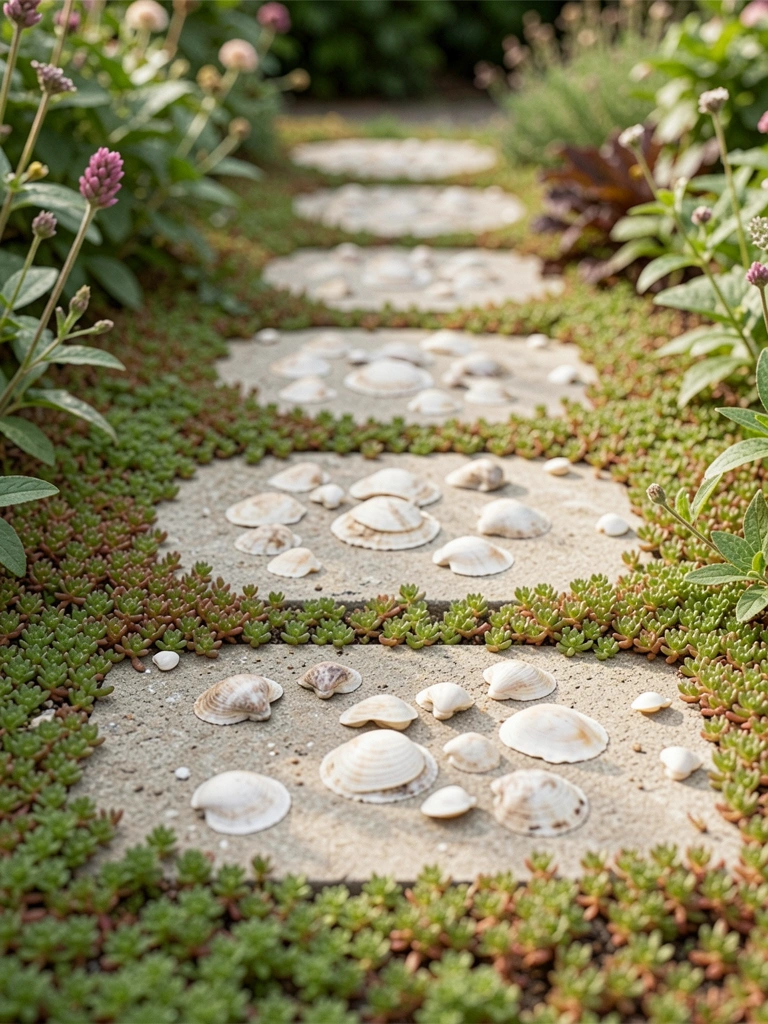
    Beach shells from vacations set in slabs—crunch softly. Leads to fire pit, sedum creeps between.

    Pressed shells deep; holds rain. Low-maintenance joy.

    Shells too big—uneven tops. Crush some fine.

    Echoes seaside calm.

    What You’ll Need for This Look

    Assorted sea shells (medium size)
    Concrete paver mold kit
    Sedum groundcover plugs
    Solar path lights (shell style)

    9. Color-Blocked Pavers in Succulents

    Blocked colors pop in sun—red to blue to my deck. Succulents tuck in gaps, drought-tough.

    Butted tight, no fill needed. Modern but warm.

    Pavers mismatched heights—shimmed with sand.

    Guides the eye easy.

    What You’ll Need for This Look

    Colored concrete pavers (12×12, red/blue)
    Succulent assortment (4 inch)
    Coarse sand for leveling

    10. Log Section Zigzag Through Ferns

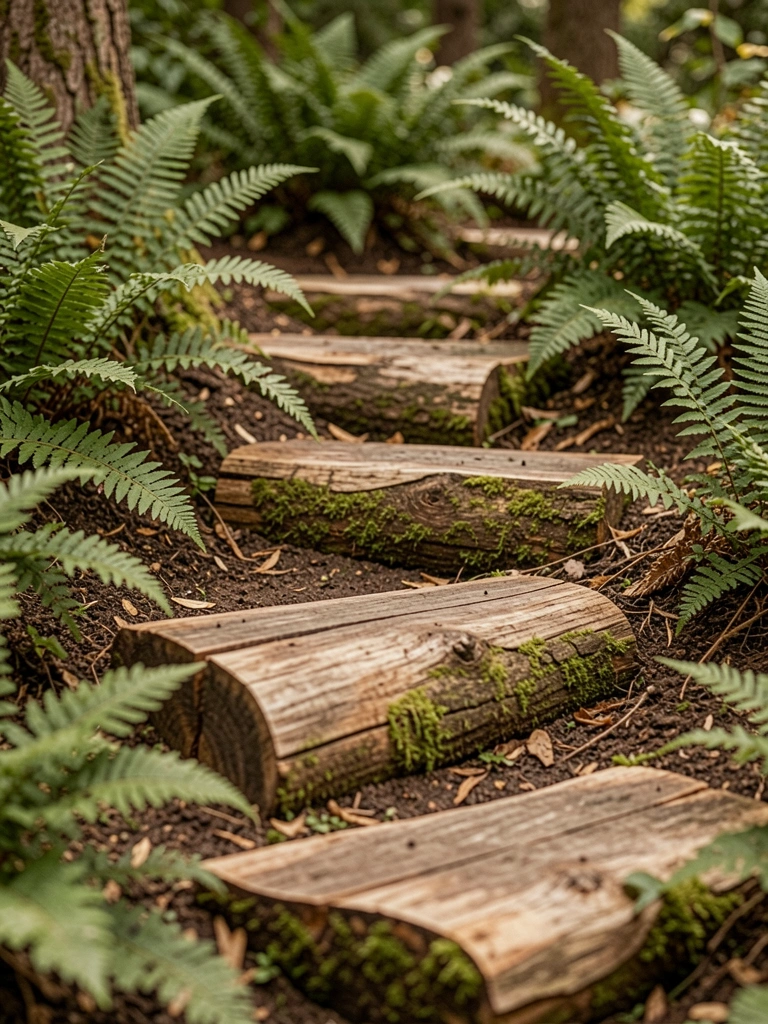
    Halved logs zigzag shady path—textured, grips wet days. Ferns fill sides, cool hush.

    Buried half-deep; stable. Moss grows natural.

    Logs rolled downhill once—stake them.

    Feels forest-fresh.

    What You’ll Need for This Look

    Log stepping stone halves (18 inch)
    Fern rhizome divisions
    Landscape stakes (wood)

    Final Thoughts

    Pick one path that fits your dirt and light. Start small—no need for the whole yard.

    Mine evolved over seasons. Yours will too.

    You'll walk it daily, glad you did.

  • 23 Luxury Garden Path Ideas For Elegant Outdoors

    23 Luxury Garden Path Ideas For Elegant Outdoors

    I remember stepping out my back door one morning, coffee in hand, and realizing my muddy trail wasn't cutting it anymore. Paths matter—they draw you in, make the garden feel like a place to linger.

    I'd hacked at layouts before, planted too close, watched grass creep over everything. But good paths? They fixed that. They guide your eye, frame the plants right.

    These ideas come from yards I've worked on, mine included. Real dirt, real fixes. Elegant, but not fussy.

    23 Luxury Garden Path Ideas For Elegant Outdoors

    Here are 23 luxury garden path ideas pulled from gardens I've shaped over years. Each one's elegant, practical for real backyards. You'll see exactly what works—no guesswork.

    1. Brick Herringbone Path with Soft Moss Edges

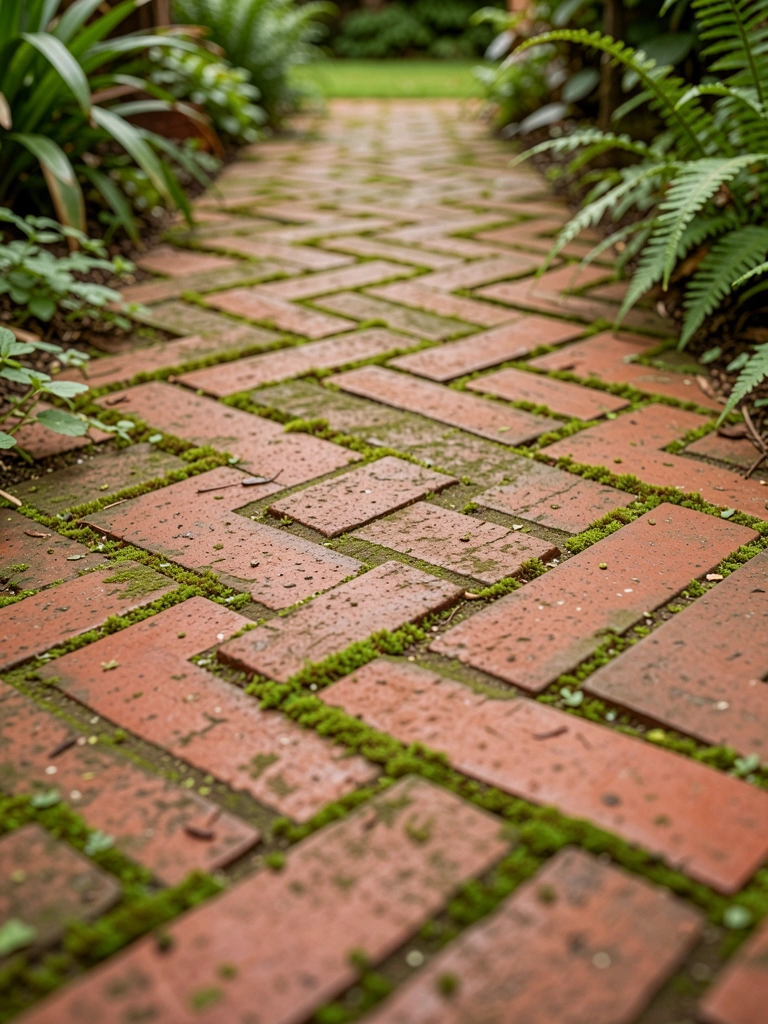
    I laid this in my side yard last spring, thinking straight lines would be easier. Wrong—herringbone grips your shoes better, looks richer as it settles. The bricks warm up underfoot by noon, and moss creeps in from the edges, softening the look without much work.

    Visually, it pulls your eye around a corner to the bench I tucked there. Feels intentional, like an old estate but smaller scale.

    Pay attention to sand base—too thin, and it shifts. I dug mine 4 inches deep, tamped it firm.

    Mix in thyme between bricks; it releases scent when you walk.

    What You’ll Need for This Look

    2. Irregular Flagstone Meander Through Perennials

    Flagstones in my front border started as a cheap fix for wet spots. But spacing them wide lets perennials spill over—salvia and echinacea now frame it perfectly. Walks slower, feels more like strolling an English garden.

    The irregularity hides settling; no perfect cuts needed. Sun hits the stones, warms them quick.

    I learned to level each one individually—bubbles ruin the flow. Set on 2 inches of gravel base.

    Leaves room for plants to mature without crowding the path.

    What You’ll Need for This Look

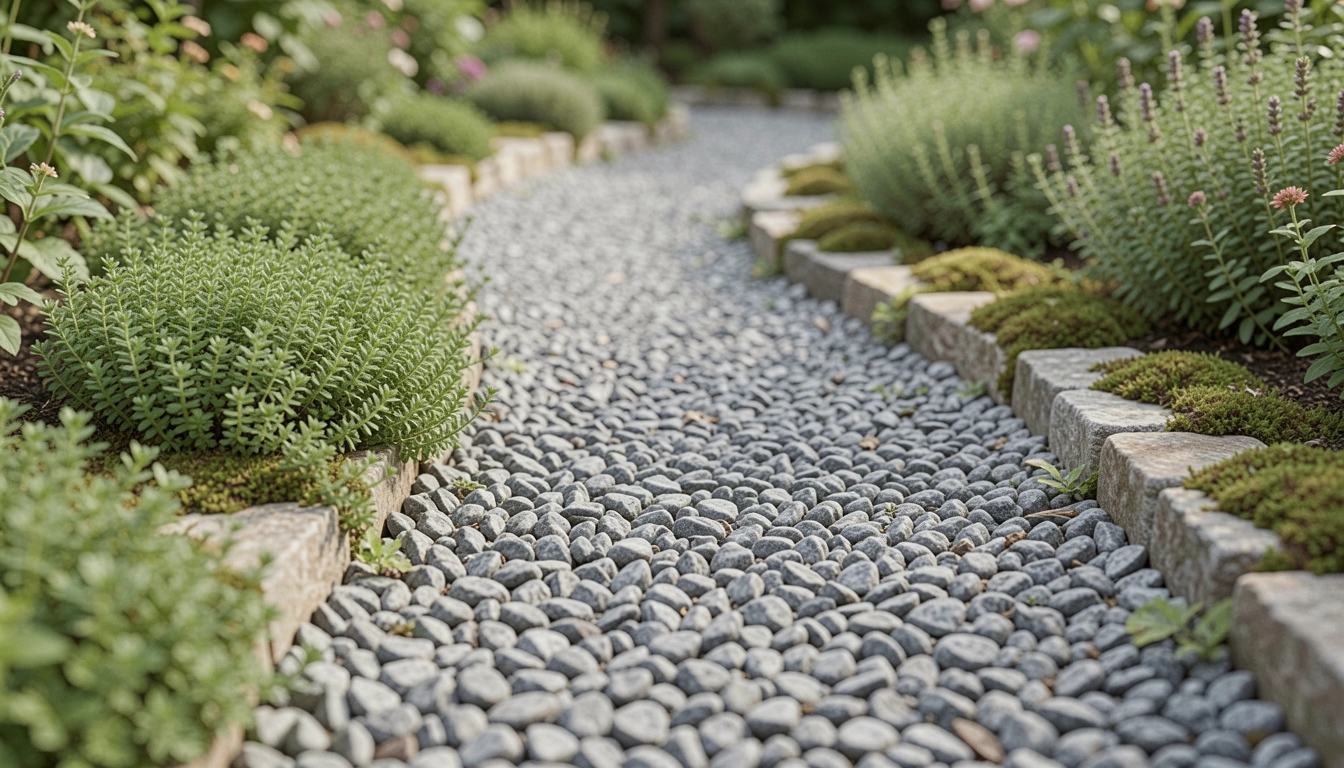
    3. Smooth Pebble Riverbed Walk with Lavender Borders

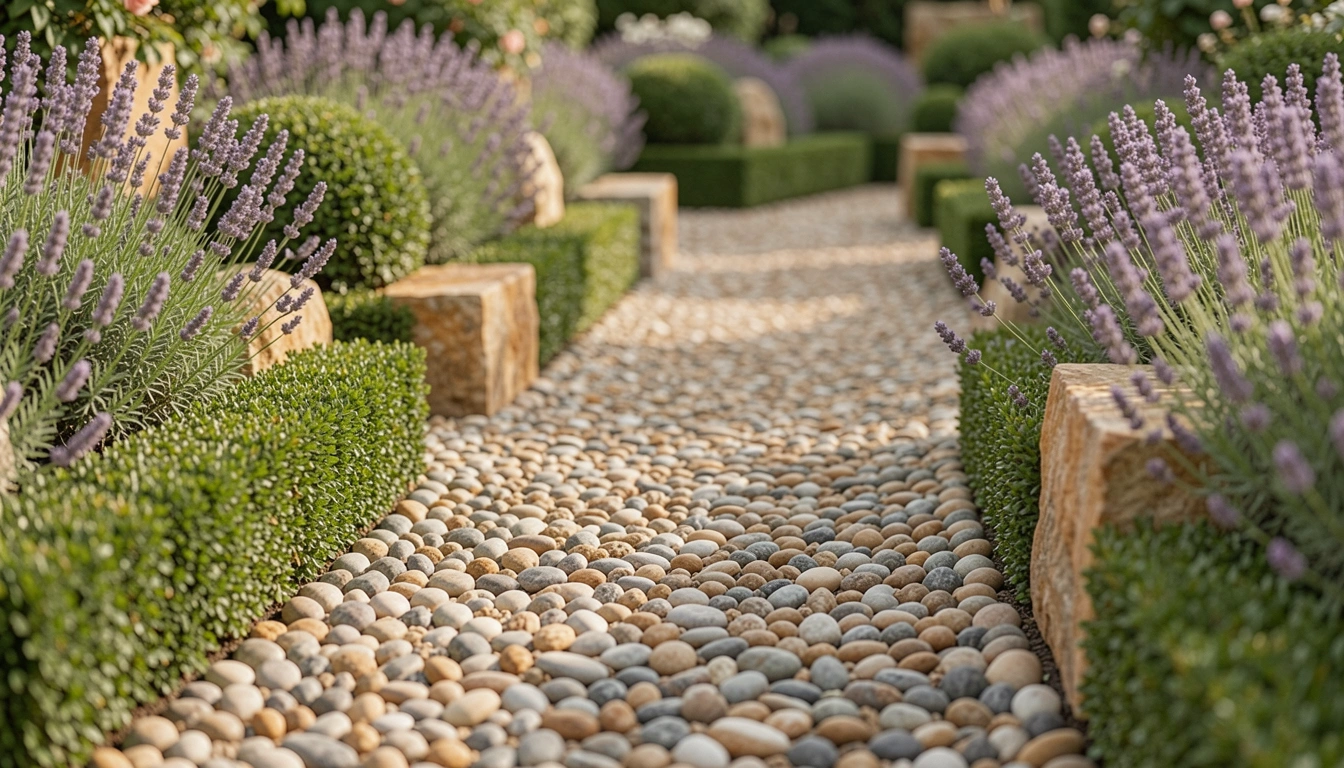
    Pebble paths in my backyard mimic a stream—I raked them smooth after a rain, and it stuck. Lavender on both sides blooms purple, scents the air as you pass. Low maintenance once edged right.

    Feels cool underfoot in summer, elegant without polish. Curves naturally around beds.

    Edging keeps pebbles in place; I used aluminum strips after plastic warped.

    Drainage is key—slight slope prevents puddles.

    What You’ll Need for This Look

    4. Polished Pebble Mosaic Inset in Gravel

    I tried a full mosaic once—too much work. Insets in gravel? Perfect balance. Polished pebbles form subtle waves, catch light at dusk. Gravel fills the rest, easy to refresh.

    Adds quiet luxury, like a custom floor outdoors. Hostas edge it soft.

    Set pebbles in mortar dots; they hold without grout lines.

    My mistake: too many colors clash—stick to three tones.

    What You’ll Need for This Look

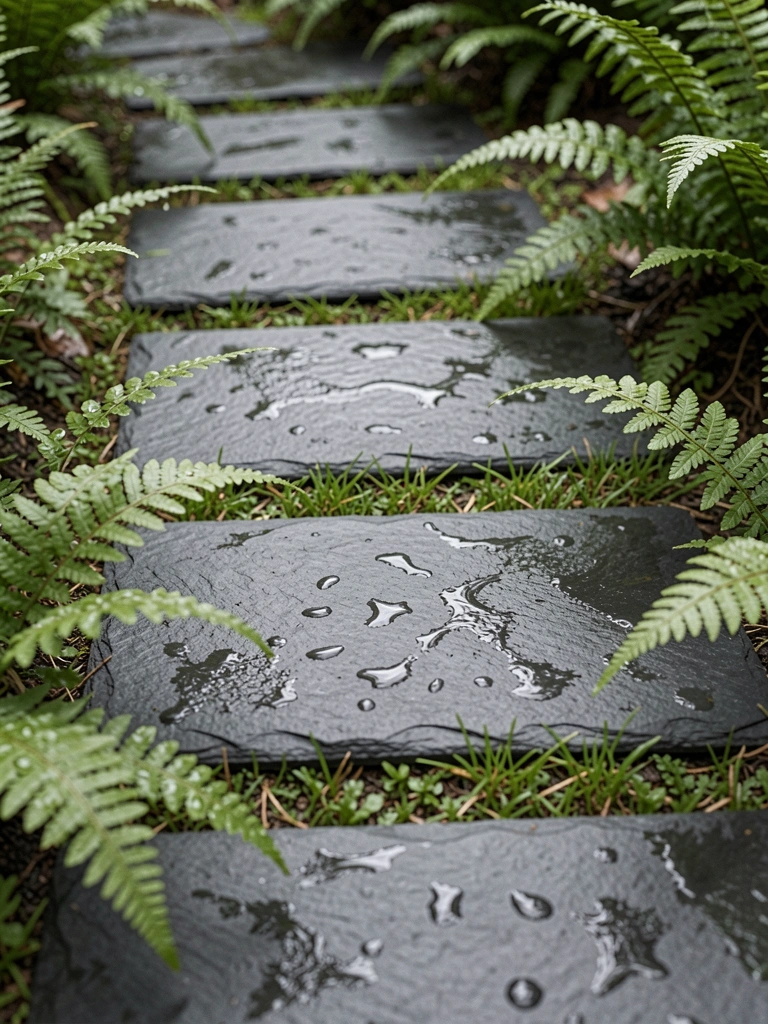
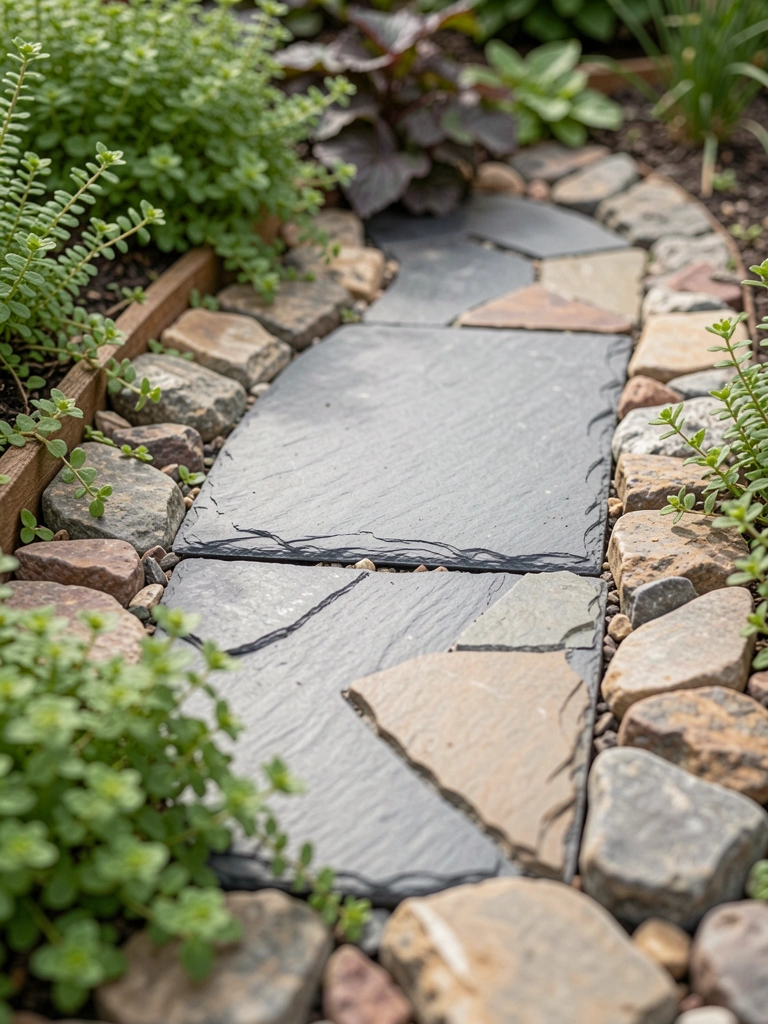
    5. Sleek Slate Stepping Stones Over Turf

    Slate stones in my lawn path saved mowing time. Wide gaps let grass grow through, but slate stays crisp. Steps feel deliberate, elegant against green.

    Dark slate contrasts beds ahead, draws you forward. Non-slip when wet.

    Sink them flush—1 inch below turf level. I propped one too high once; mower hated it.

    Ferns nearby soften edges.

    What You’ll Need for This Look

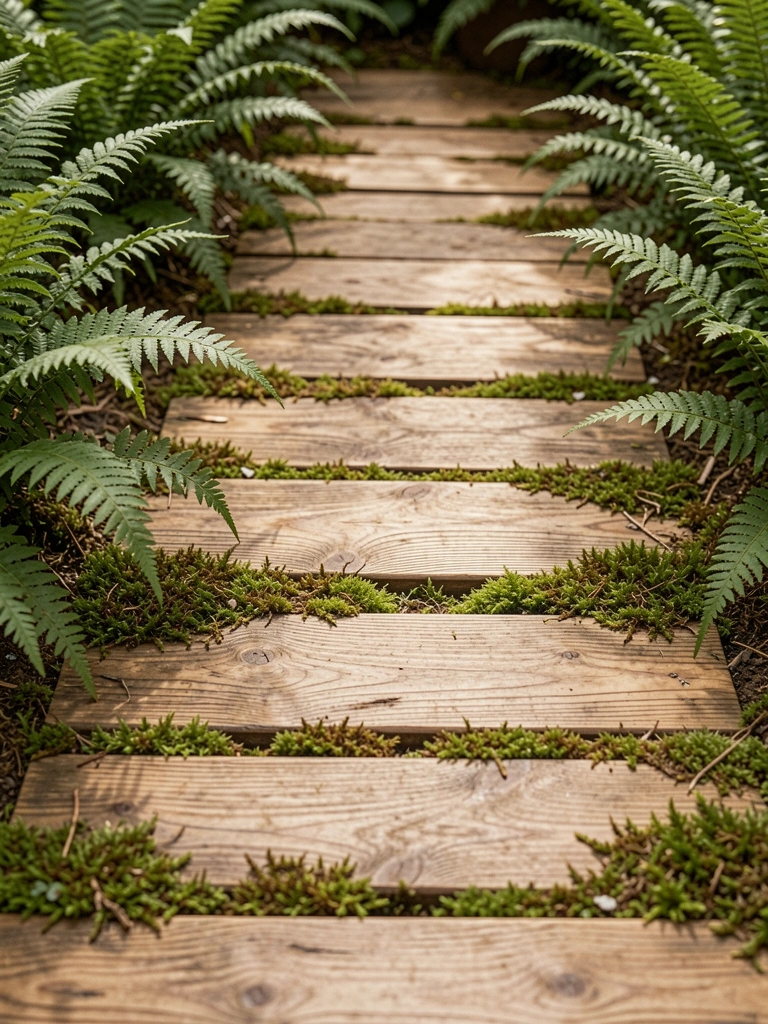
    6. Warm Timber Boardwalk Through Shade

    Cedar boards in my shady corner replaced slick concrete. Warms fast, smells good after rain. Ferns tuck under, make it feel wooded and luxe.

    Boards age to silver-gray, elegant patina. Raised slightly for drainage.

    Space them 1/8 inch—lets water run off. Sealed mine wrong first time; swelled.

    Low shade plants fill gaps.

    What You’ll Need for This Look

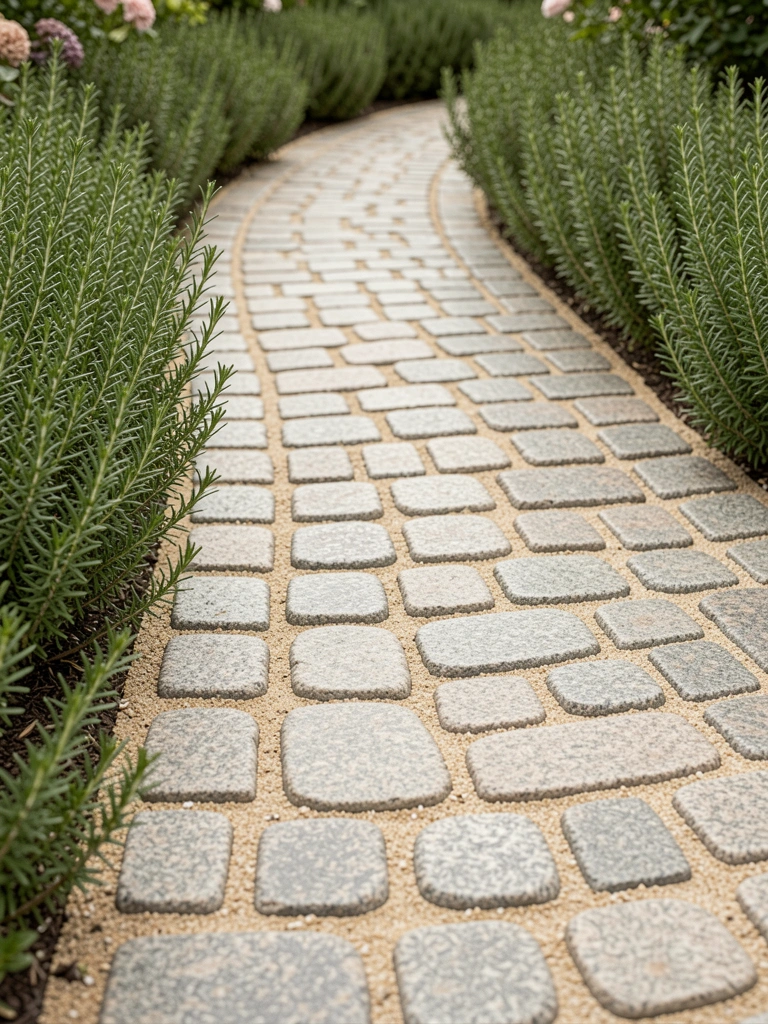
    7. Elegant Cobblestone Curve to Patio

    Cobbles curving to my patio feel like old Europe. Tight pattern hugs the turn, rosemary scents it up. Sturdy for wheelbarrows too.

    Gray tones blend with stone walls. Settles firm over time.

    Use sand joints—mortar cracks. I swept polymeric in later.

    Border plants define the edge.

    What You’ll Need for This Look

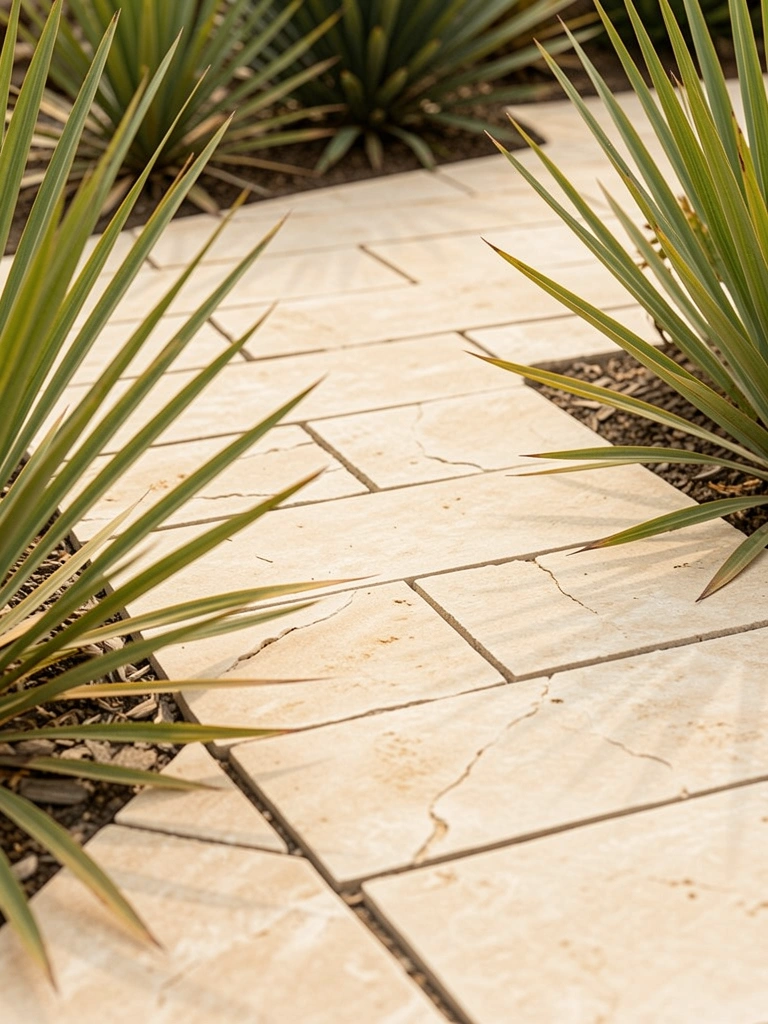
    8. Luxe Limestone Pavers in Straight Run

    Limestone straight to my shed looks clean, modern luxury. Beige warms the space, yuccas punctuate ends. Buttery under sun.

    Tight joints mean no weeds. Feels solid.

    Base with crusher fines—sand shifts. Leveled mine with a board.

    Yucca adds height without bulk.

    What You’ll Need for This Look

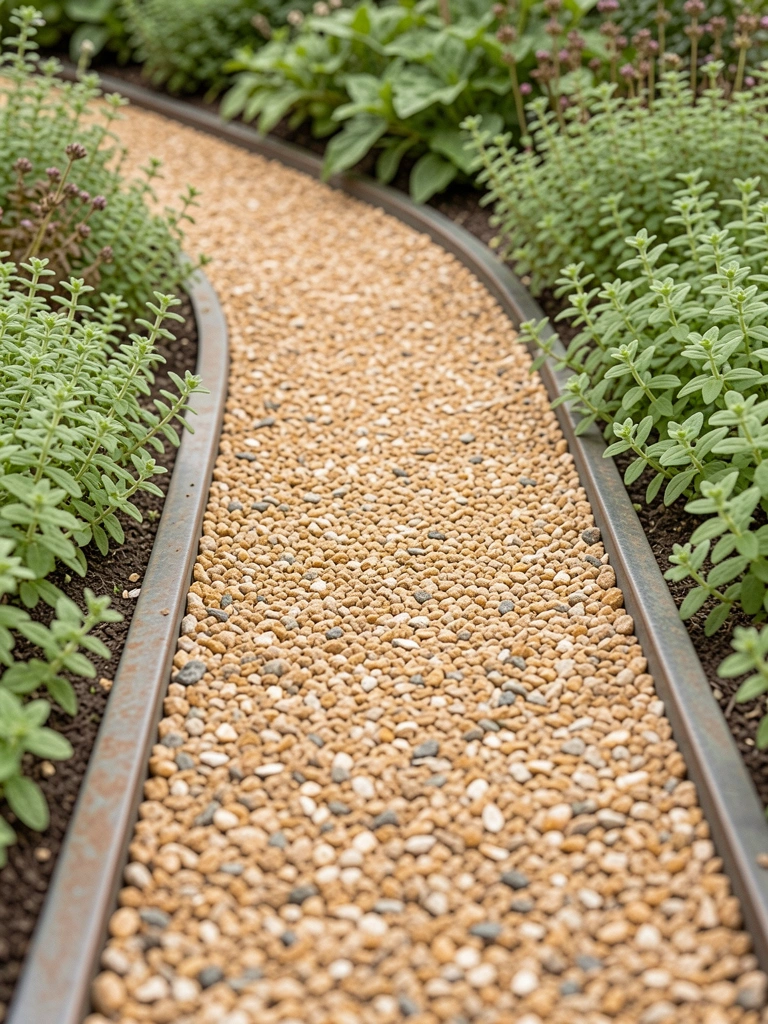
    9. Gravel Path Framed by Metal Edging

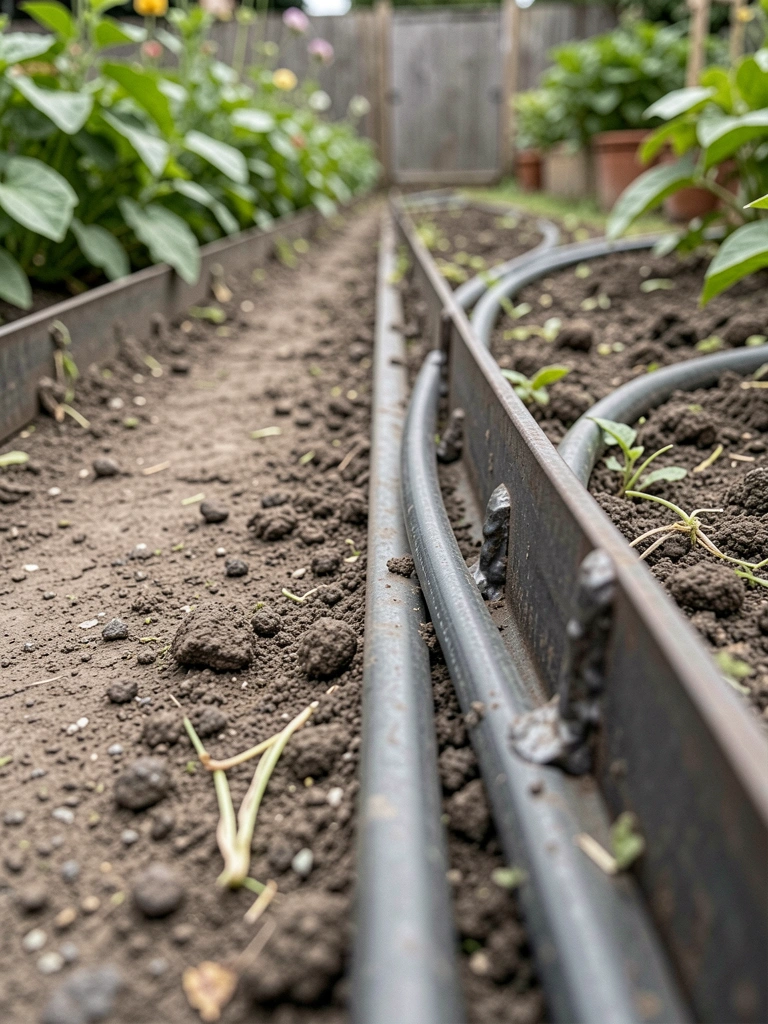
    Tan gravel with steel edging in my veggie run stays neat. Catmint softens the metal, blooms blue. Easy to rake smooth.

    Crisp lines feel upscale. Drains fast.

    Steel won't rot—plastic did for me before.

    Catmint fills borders low.

    What You’ll Need for This Look

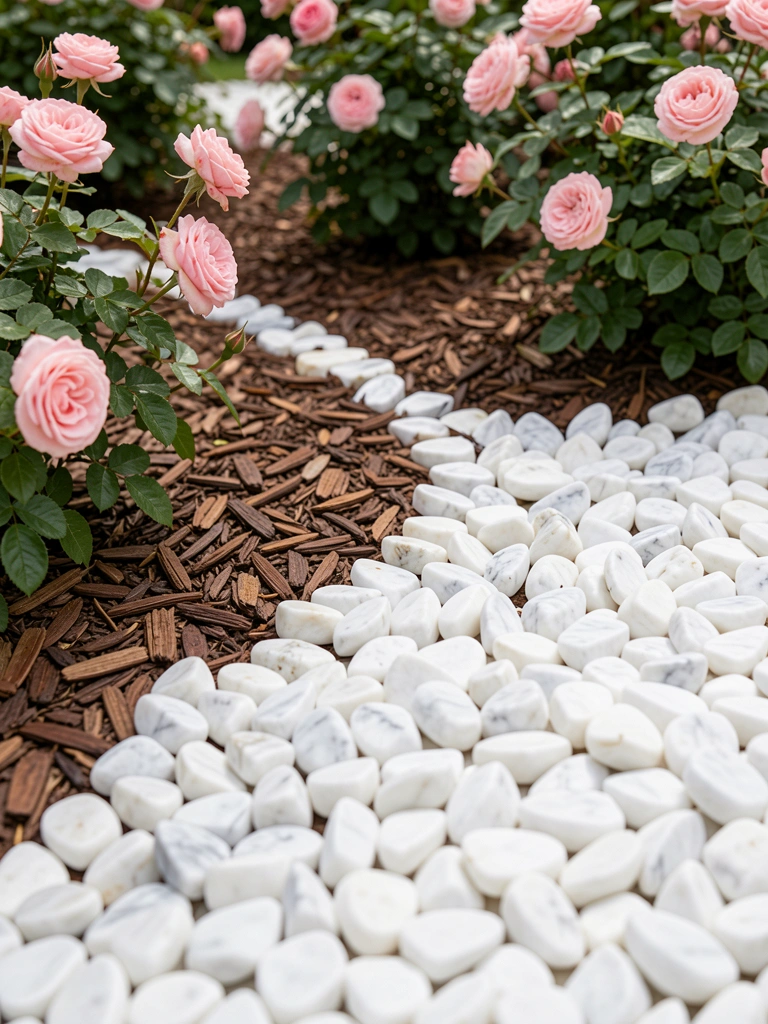
    10. Marble Chip Carpet Under Roses

    White marble chips under my roses gleam clean. Reflects light, makes blooms pop. Soft crunch underfoot.

    Feels like a formal walk. Washes easy.

    Compact it well—loose chips scatter. Raked mine weekly at first.

    Roses arch over nicely.

    What You’ll Need for This Look

    11. LED-Lit Flagstone Path at Dusk

    Recessed LEDs in flagstones light my evening walks safe. Warm glow pools underfoot, elegant after dark. Grasses sway in light.

    No glare—low voltage hides well.

    Wire before laying stones. I fished mine after; messy.

    Ornamental grasses frame it.

    What You’ll Need for This Look

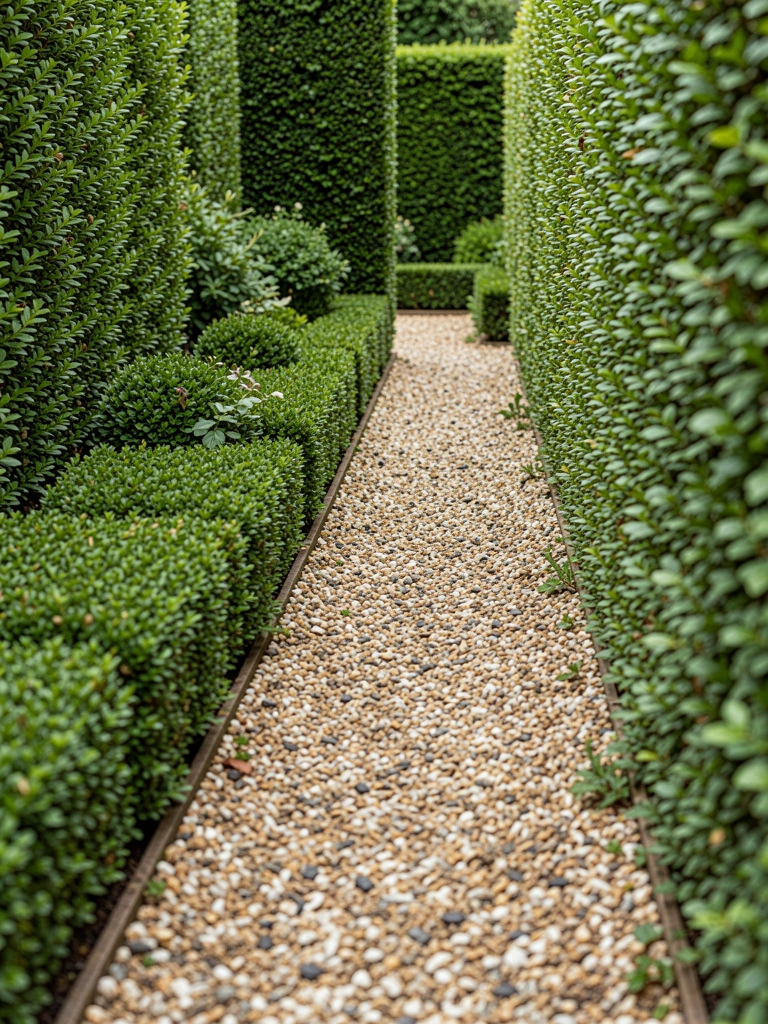
    12. Boxwood-Framed Gravel Alley

    Boxwoods frame my gravel alley tight. Green walls guide you, gravel stays put. Classic, cozy feel.

    Trims easy once established. Gravel contrasts leaves.

    Plant 18 inches apart—too close, they yellow.

    Shears keep it sharp.

    What You’ll Need for This Look

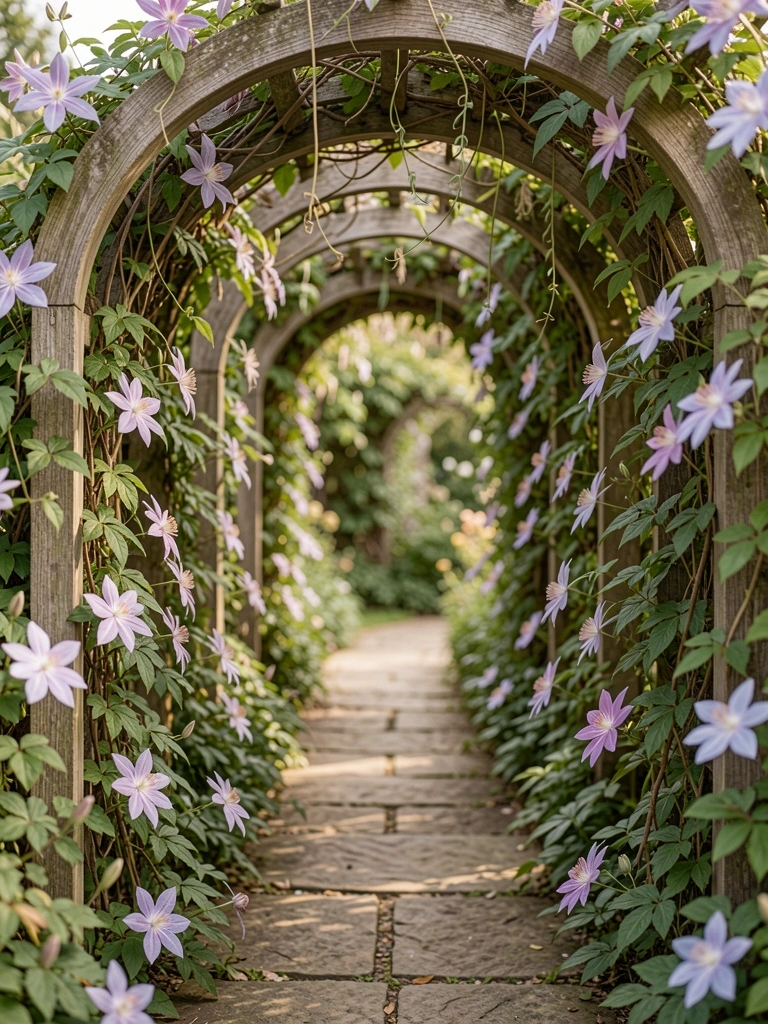
    13. Arched Trellis Over Stone Path

    Wooden arch over stone in my entry frames the door. Clematis climbs slow, shades summer walks.

    Stone base stays cool. Arch adds height drama.

    Anchor posts deep—wind took mine once.

    Vines fill in year two.

    What You’ll Need for This Look

    14. Glass Aggregate Glow in Pebbles

    Glass bits in pebbles sparkle at night in my side path. Blue tint adds subtle luxe, sedum softens.

    Mix 10% glass—more blinds. Crunches nice.

    Rinse well first; dust dulls shine.

    Sedum spreads low.

    What You’ll Need for This Look

    15. Resin-Bound Gravel for Clean Curves

    Resin gravel curves seamless to my deck. No loose stones, weeds hate it. Hebes border neat.

    Feels paved but softer. Durable rain or shine.

    Mix on site—premixed clumps. Trowel smooth.

    Hebes trim easy.

    What You’ll Need for This Look

    16. Teak Decking Strip Along Fence

    Teak strips hug my fence narrow. Golden tone warms the wood fence, bamboo nods it tropical luxe.

    Raised for air flow. Ages rich.

    Oil yearly—dry cracks. Learned that hard.

    Bamboo screens soft.

    What You’ll Need for This Look

    17. River Rock Mosaic Border on Slate

    Slate with river rock mosaic borders in my herb garden. Edges pop color, ajuga fills gaps.

    Mosaic grips tight. Feels custom.

    Mortar sets overnight—rushed mine, loose rocks.

    Ajuga carpets low.

    What You’ll Need for This Look

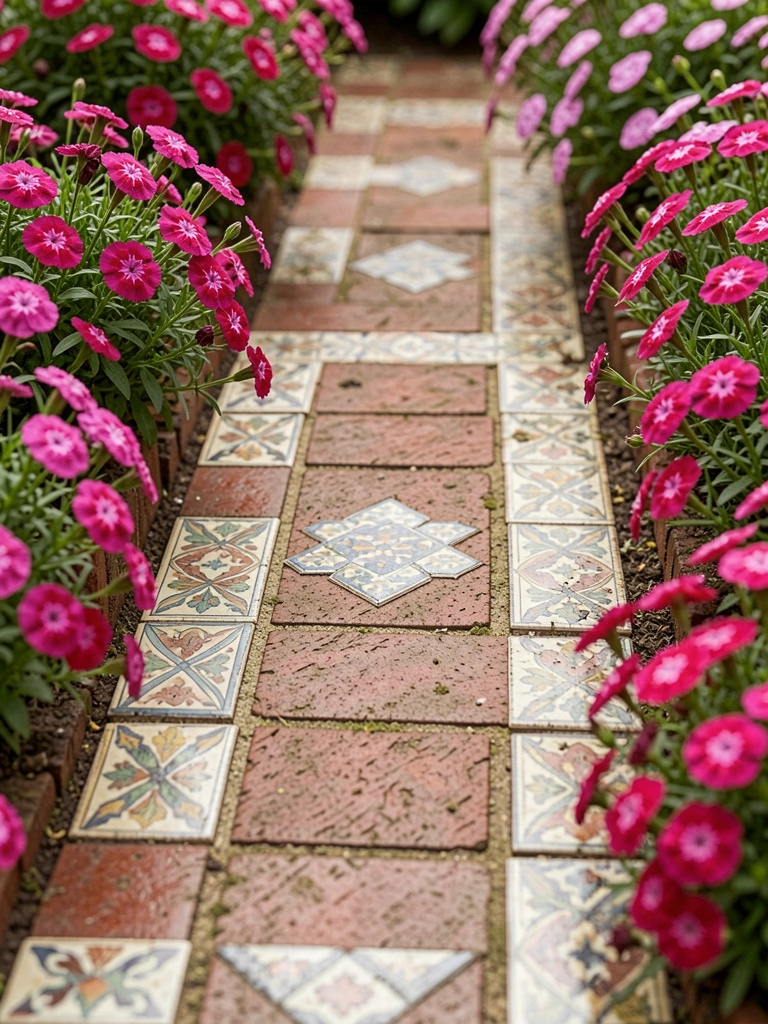
    18. Tile Inset Patterns in Brick

    Bricks with tile insets near my gate add pattern. Blues echo sky, dianthus tucks pink.

    Subtle repeat draws eye. Durable combo.

    Seal tiles—stains soak. Did that wrong first.

    Dianthus blooms long.

    What You’ll Need for This Look

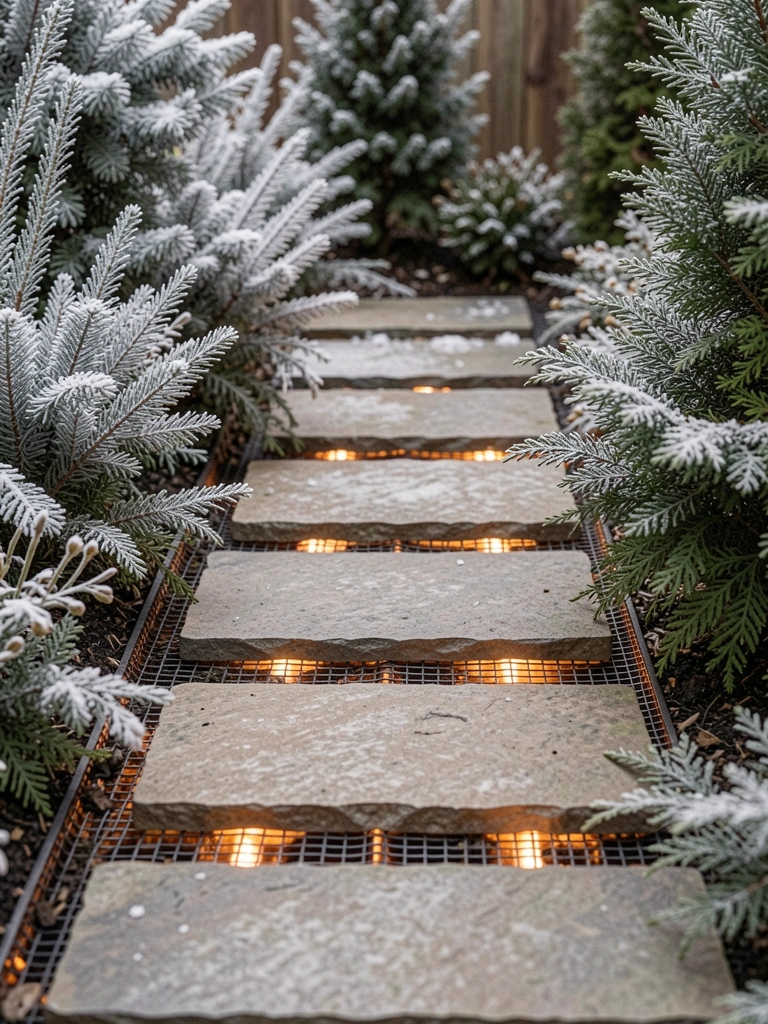
    19. Heated Stepping Stones for Winter

    Heated mats under stones melt light snow in my north path. Steps stay clear, evergreens frame cozy.

    Luxury for cold mornings. Low energy.

    Insulate base—heat escapes. Added foil later.

    Evergreens hold green.

    What You’ll Need for This Look

    20. Solar Lantern-Lined Pebble Walk

    Solar lanterns hang low over pebbles in my back path. Flicker on at dark, guide soft.

    No wires, easy add. Warm light pools.

    Face south—shade kills charge. Repositioned mine.

    Grasses sway in breeze.

    What You’ll Need for This Look

    21. Curved Sandstone Sweep to Bench

    Sandstone curves sweep to my bench smooth. Buff color blends beds, potentilla yellows edges.

    Invites sit-down. Natural curve hides joins.

    Butt tight—no mortar needed. Gaps weed up.

    Potentilla flowers summer long.

    What You’ll Need for This Look

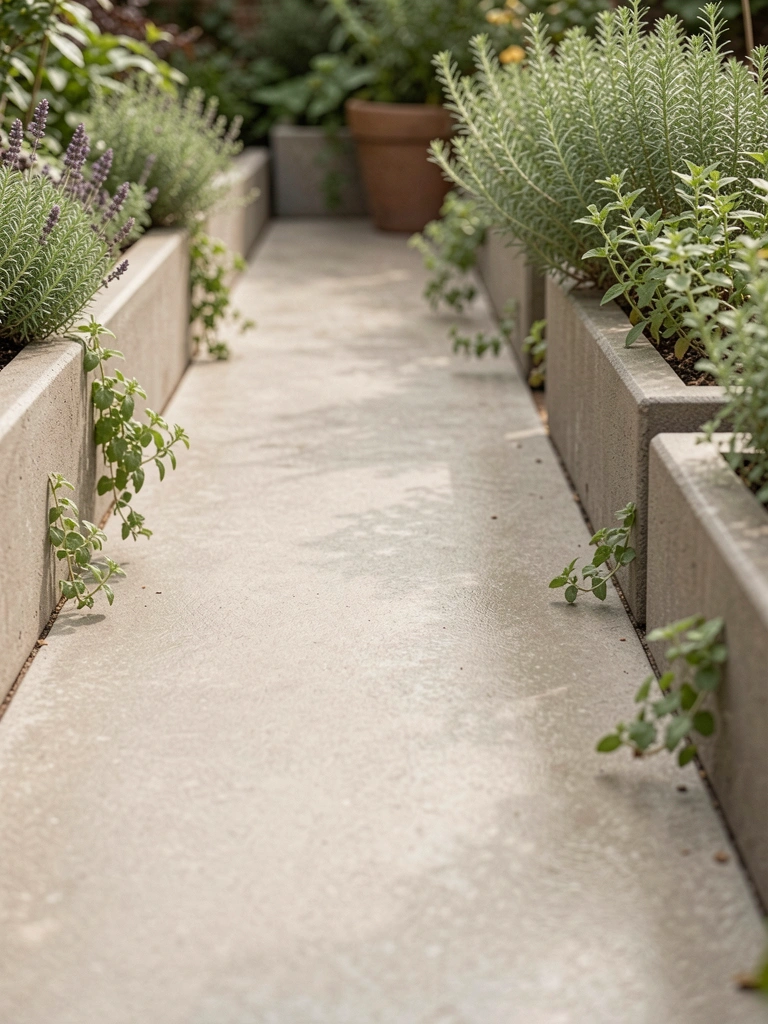
    22. Polished Concrete Run with Planter Sides

    Polished concrete narrow with planter sides holds herbs close. Clean modern, pick-as-you-go.

    Seals easy clean. Reflects light.

    Form straight—wobbles show. Used guides.

    Herbs thrive in sides.

    What You’ll Need for This Look

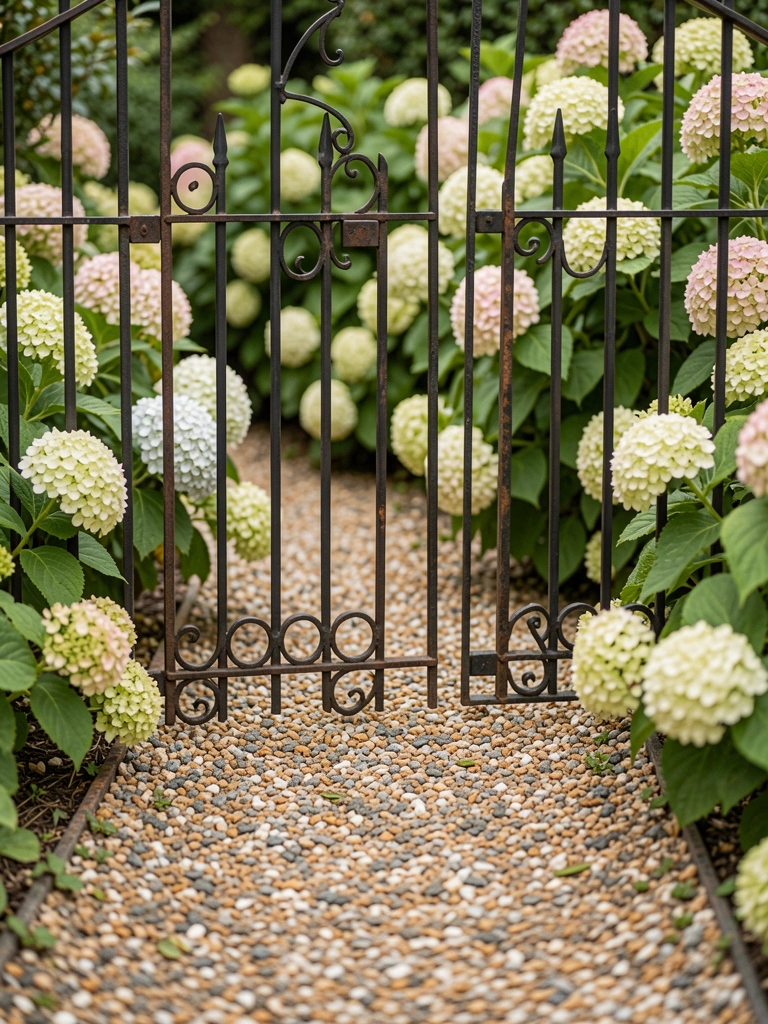
    23. Ornate Iron-Gated Gravel Entry

    Iron gate starts my gravel entry—welcomes fancy. Gravel crunches announce guests, hydrangeas backdrop.

    Gate swings easy. Frames view.

    Level gravel yearly—settles uneven.

    Hydrangeas bloom big.

    What You’ll Need for This Look

    Final Thoughts

    Pick one path that fits your yard's rhythm—start small. I've redone mine three times; each got better.

    No need for all 23. One good path changes how you use the garden.

    Yours will feel right soon. Get out there.

  • 17 Aesthetic Backyard Walkways For Stylish Yards

    17 Aesthetic Backyard Walkways For Stylish Yards

    A few years back, my backyard was a slog—mud after every rain, tripping over roots on the way to the compost. I started with one simple path. It pulled the yard together. Made it feel like a place to wander, not fight.

    Walkways do that. They guide your eye, frame the plants.

    I've laid dozens since. Some stuck, some didn't.

    Here’s what works.

    17 Aesthetic Backyard Walkways For Stylish Yards

    These 17 aesthetic backyard walkways draw from my own yards and fixes for friends. Real materials, real growth. They’re doable in a weekend or two. Start with one.

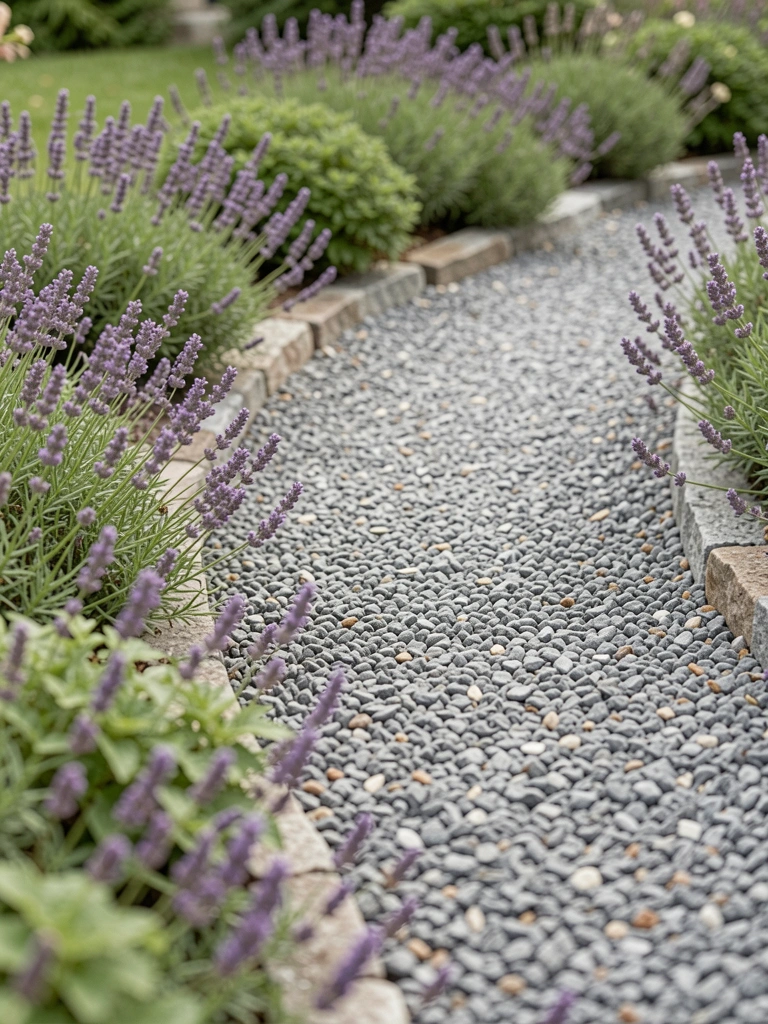
    1. Winding Gravel Path Edged with Lavender

    I laid this gravel path last spring when straight lines felt too stiff. It winds from the patio to the fence, edged with lavender I got cheap from a neighbor. The crunch underfoot pulls you along. Bees hum over the blooms in summer—cozy without trying.

    Visually, it softens the yard. No harsh edges. The lavender fills out over time, hiding wheelbarrow ruts I made early on.

    Watch the drainage. Gravel shifts if water pools. I added a slight crown in the middle.

    One tip: Compact the base well, or it'll sink like mine did first year.

    What You’ll Need for This Look

    2. Irregular Flagstone Steps in Lush Lawn

    Flagstones changed my sloped side yard. I dug them in randomly—no measuring tape. They step up through grass, inviting a slow walk. The uneven gaps let grass poke through, blending path and lawn.

    It feels natural, like the yard grew around them. Mornings, dew clings to the stones—quiet beauty.

    Set them deep so they don't wobble. Mine shifted once from frost heave.

    Pro insight: Source local stone. Heavy, but cheaper than shipped slabs.

    What You’ll Need for This Look

    3. Brick Herringbone Walkway to the Shed

    Herringbone bricks front my shed path. I laid them zigzag after plain rows bored me. The pattern holds up to boots and carts—sturdy daily use.

    It draws the eye back there, frames tools leaning nearby. Warm red tones match my fence.

    Dig a sand base deep. Bricks pop out without it—I reset half my first try.

    Lay in cool weather. Mortar sets better.

    What You’ll Need for This Look

    4. Mulch Trail Lined with Hostas

    Mulch paths suit my shady corner. I edged with logs, spread cedar chips, planted hostas along it. Soft underfoot, leads to the bench quiet-like.

    Hostas arch over, cooling the walk. Low maintenance once established.

    I overplanted at first—crowded mess. Thin to three feet apart.

    Rake yearly. Fresh mulch hides weeds.

    What You’ll Need for This Look

    5. Wooden Pallet Walkway on a Slope

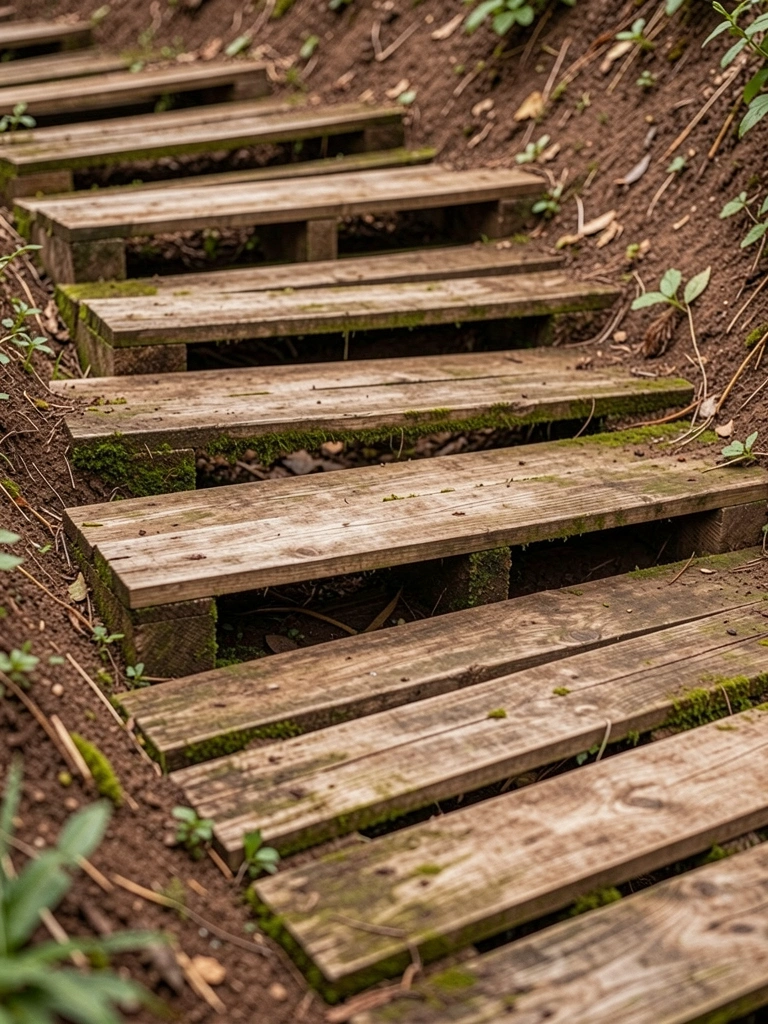
    Pallets fixed my steep bank. Disassembled, laid flat as steps. Cheap from a warehouse—holds after rains.

    Weathered gray now, ferns tuck in gaps. Feels rustic, safe footing.

    Nail boards down tight. Mine slipped first winter.

    Stain for longevity if sunny.

    What You’ll Need for This Look

    6. River Rock Bordered Dirt Path

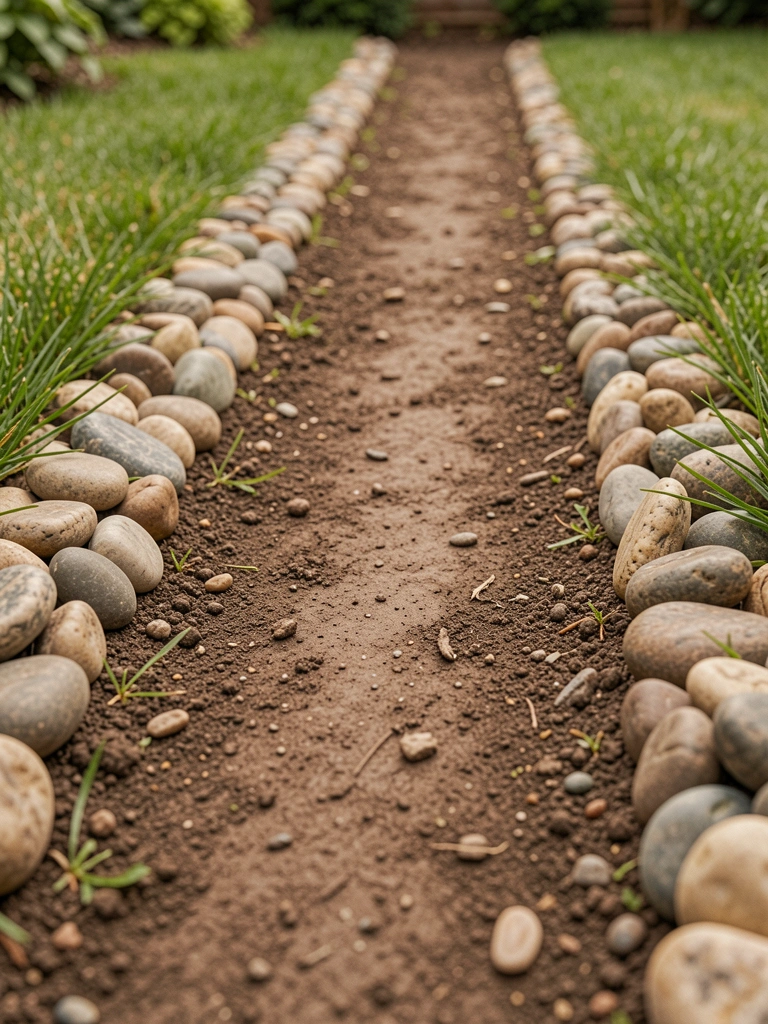
    Dirt paths with river rocks saved my budget. Packed soil center, rocks dug in as curbs. Leads to veggie beds clean.

    Rocks gleam wet, hold shape year-round.

    Compact often. Mine washed out once—added gravel topper.

    Plant sedum in rocks for color.

    What You’ll Need for This Look

    7. Stepping Stones Through Wildflower Meadow

    Stepping stones dot my wildflower patch. Set low in soil, flowers sway around. Summer explosion—poppies, daisies brushing ankles.

    Feels free, hides mower tracks.

    Space for stride. Too close cramps walks.

    Seed in fall for roots.

    What You’ll Need for This Look

    8. Creeping Thyme Between Concrete Pavers

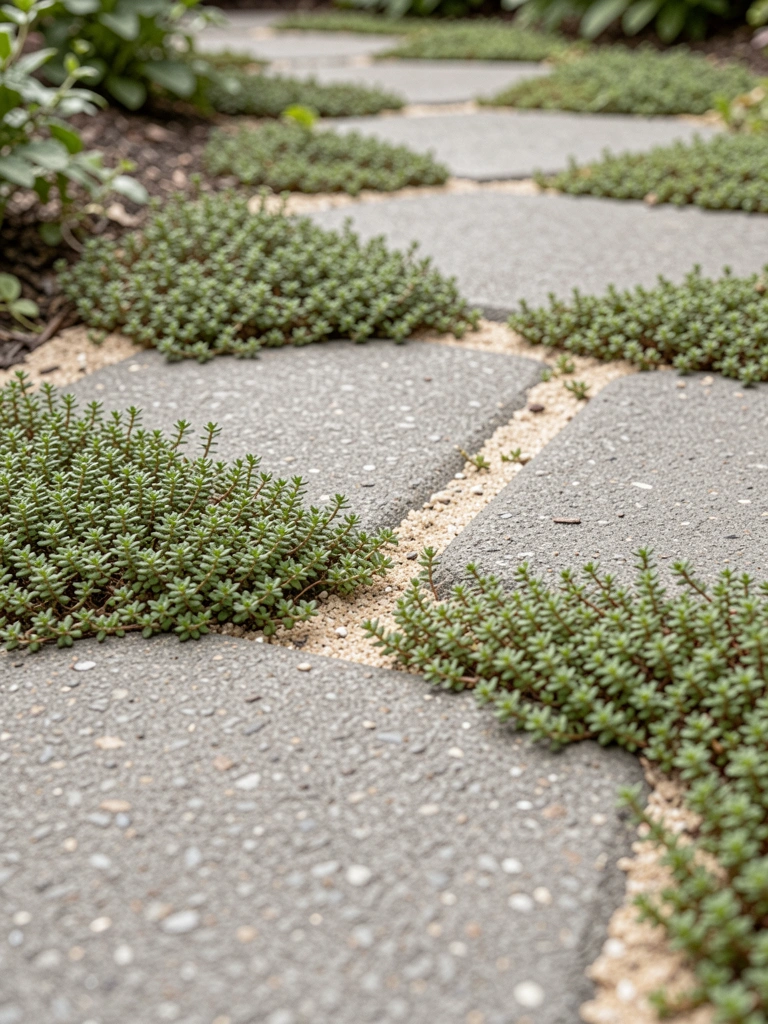
    Thyme softens my concrete pavers. Wide joints filled with plugs—it spreads, smells on steps.

    Clean modern look, no mowing needed.

    Water young plants. Mine dried first summer—learned shade cloth helps.

    Trim edges yearly.

    What You’ll Need for This Look

    9. Bamboo Mat Path for Zen Corners

    Bamboo mats roll out easy in my zen spot. Pegged down, leads to a rock bench. Light steps, tropical whisper.

    Fades nicely over time.

    Secure edges—wind flips loose mats.

    Pair with hostas.

    What You’ll Need for This Look

    10. Crushed Shell Path by the Patio

    Shells crunch bright by my patio. Coastal feel inland—raked smooth daily.

    Reflects light, brightens evenings.

    Rinse salt if near water. Mine pitted without.

    Light edging keeps tidy.

    What You’ll Need for This Look

    11. Stacked Stone Curbs on Mulch Walk

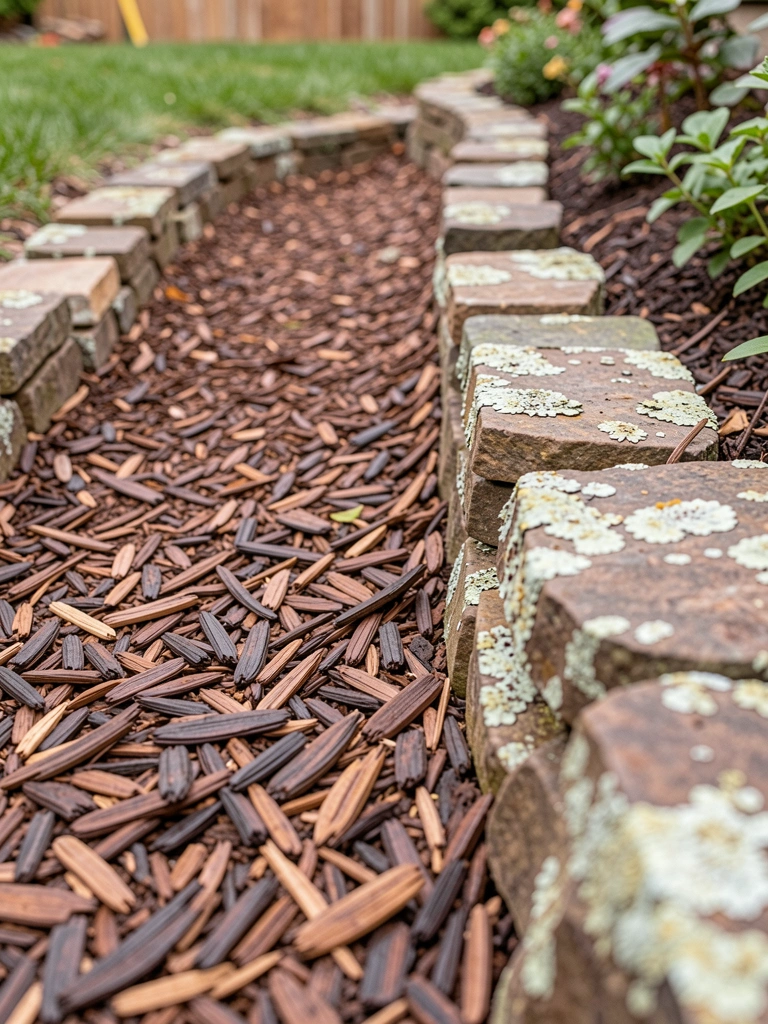
    Stacked stones curb my mulch walk. Dry-laid fieldstone—holds chips in, rustic frame.

    Ages with patina.

    Level bases. Toppled once from rush.

    Tuck thyme between.

    What You’ll Need for This Look

    12. Recycled Rubber Mulch Tire Path

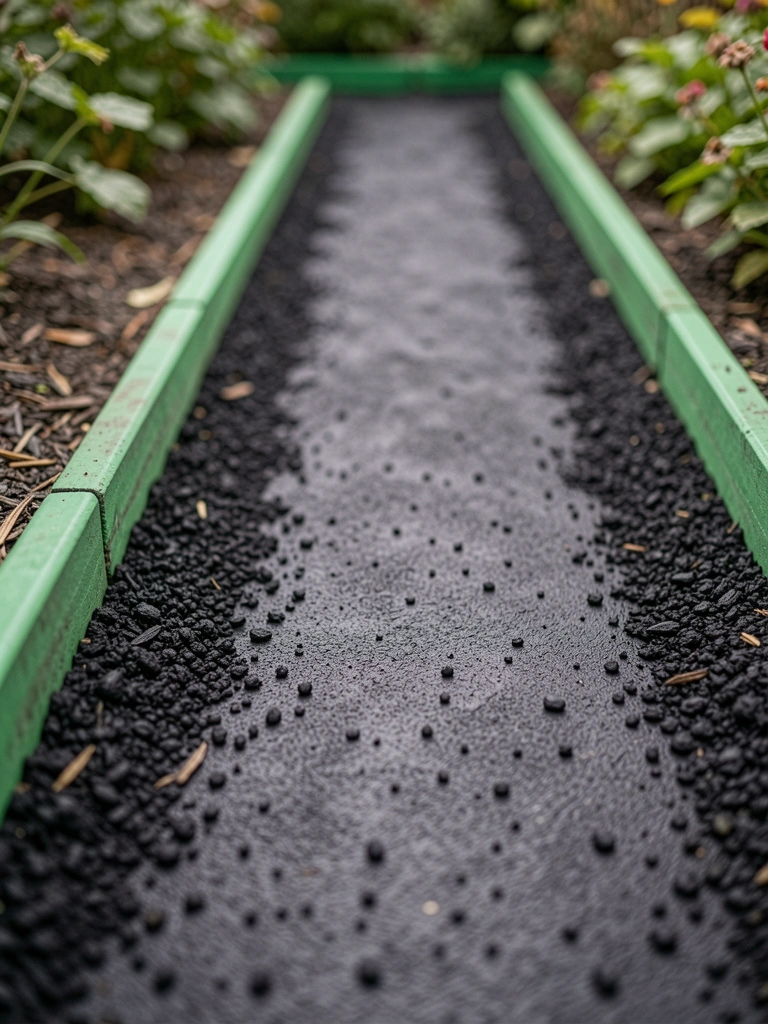
    Rubber mulch from shredded tires—soft, no splinters on my kids' path. Drains fast, low upkeep.

    Blends dark under plants.

    Heavy to spread—borrow a cart.

    Edged with bricks.

    What You’ll Need for This Look

    13. Solar-Lit Pebble Night Path

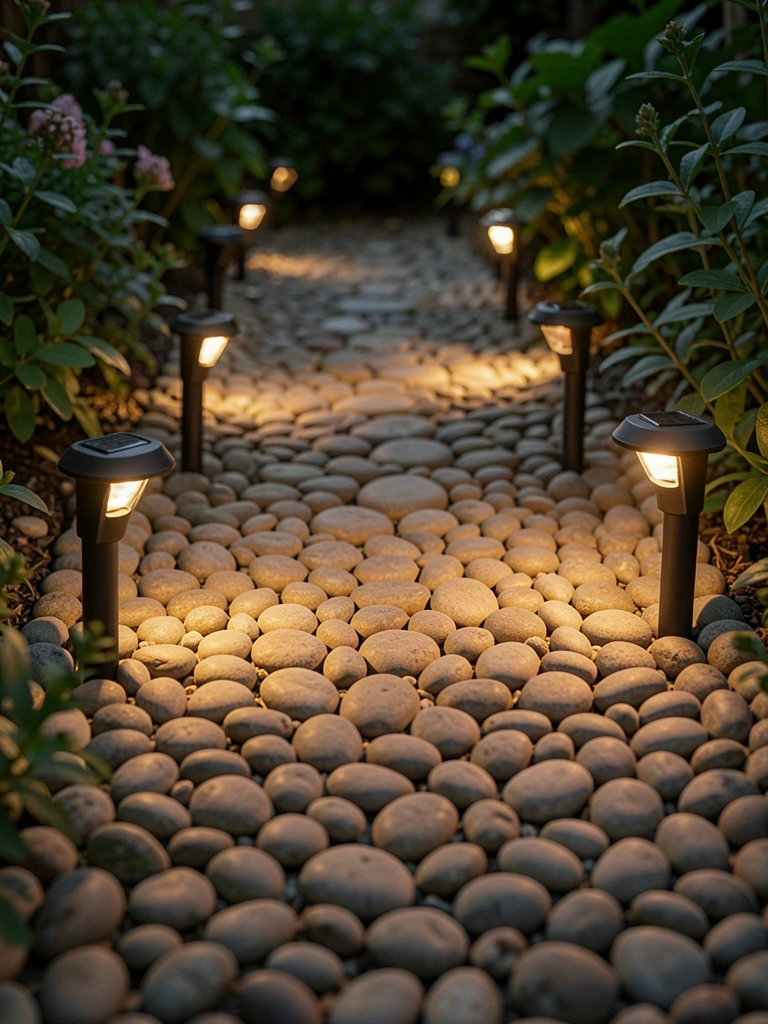
    Pebble path glows with solar stakes. Even glow guides after dark—safe to bins.

    Pebble base hides wires.

    Charge full sun. Dim ones failed.

    Space 3 feet apart.

    What You’ll Need for This Look

    14. Cottage Arched Trellis Over Brick Walk

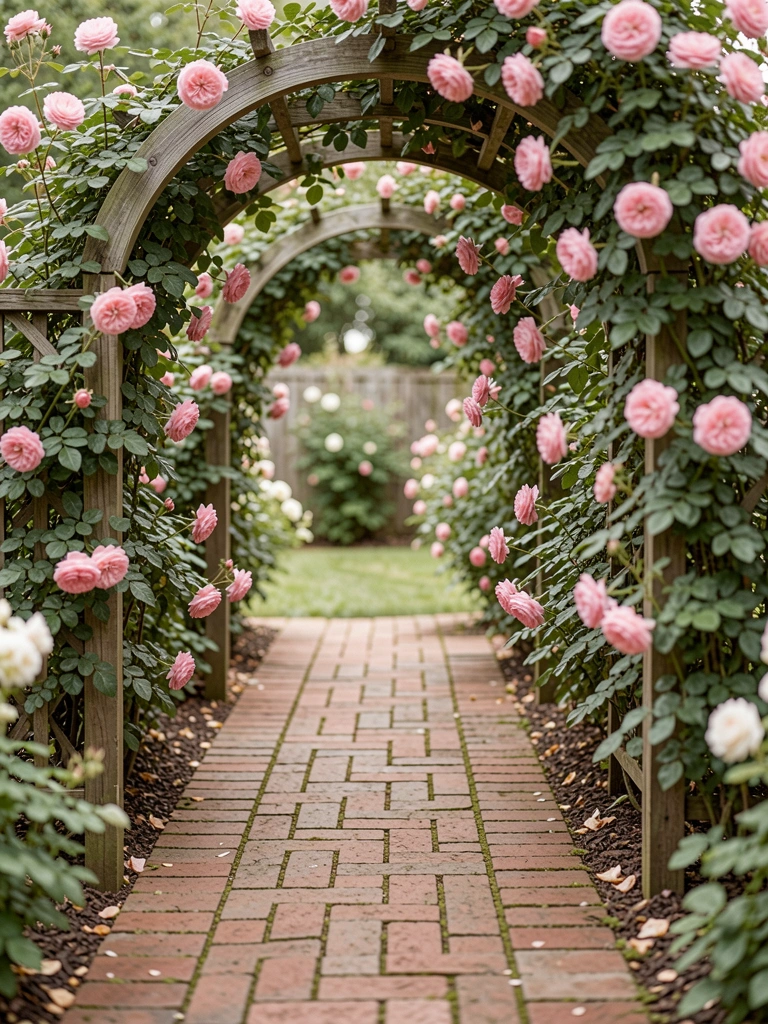
    Brick under a rose trellis—cottage entry. Arch frames gate, blooms drape summer.

    Scent hits first.

    Train climbers young. Mine tangled bad.

    Prune light.

    What You’ll Need for This Look

    15. Modern Slate Slab Linear Path

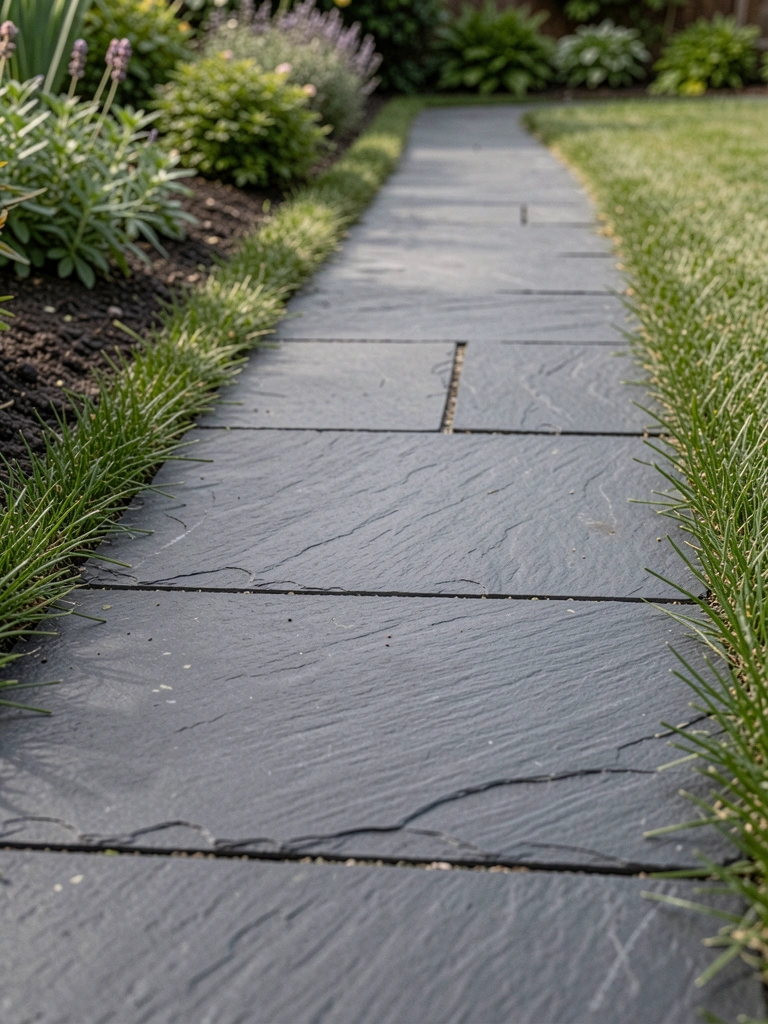
    Slate slabs in a row—clean modern to the firepit. Wide enough for two.

    Wet, they shimmer.

    Butt tight. Gaps weed fast.

    Seal yearly.

    What You’ll Need for This Look

    16. Curved Pebble Path with Daylilies

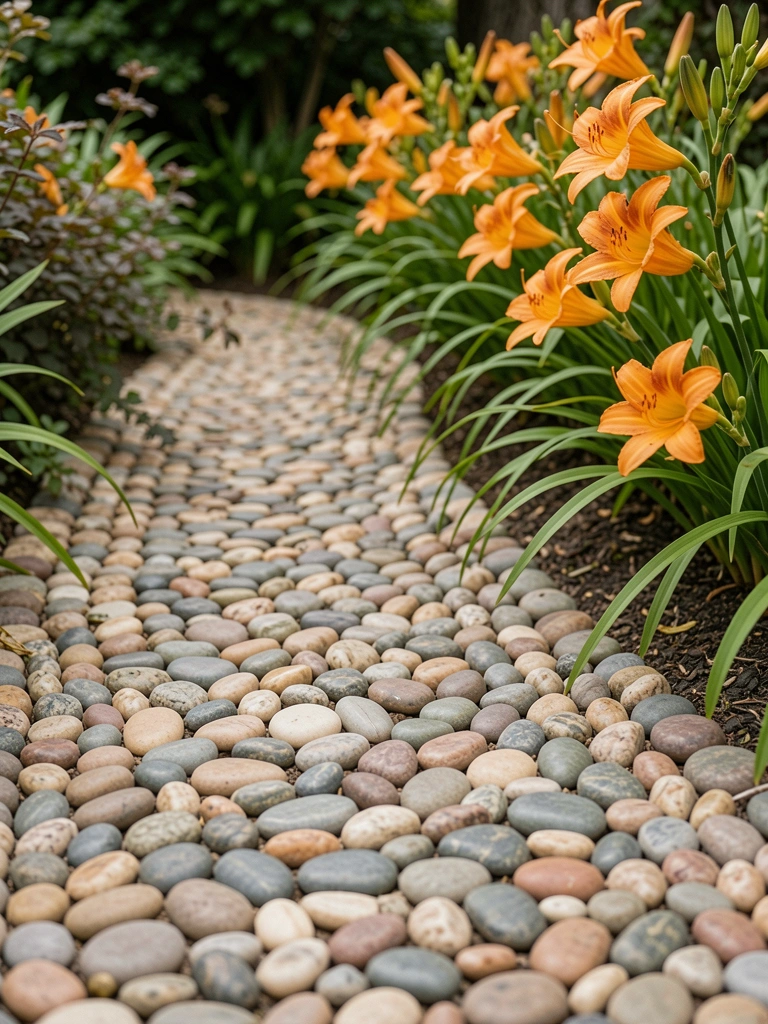
    Curved pebbles with daylilies—flows to swing. Blooms pop yearly.

    Gentle bend slows you.

    Rake curves crisp.

    Divide lilies every 3 years.

    What You’ll Need for This Look

    17. Native Grass-Fringed Stepping Path

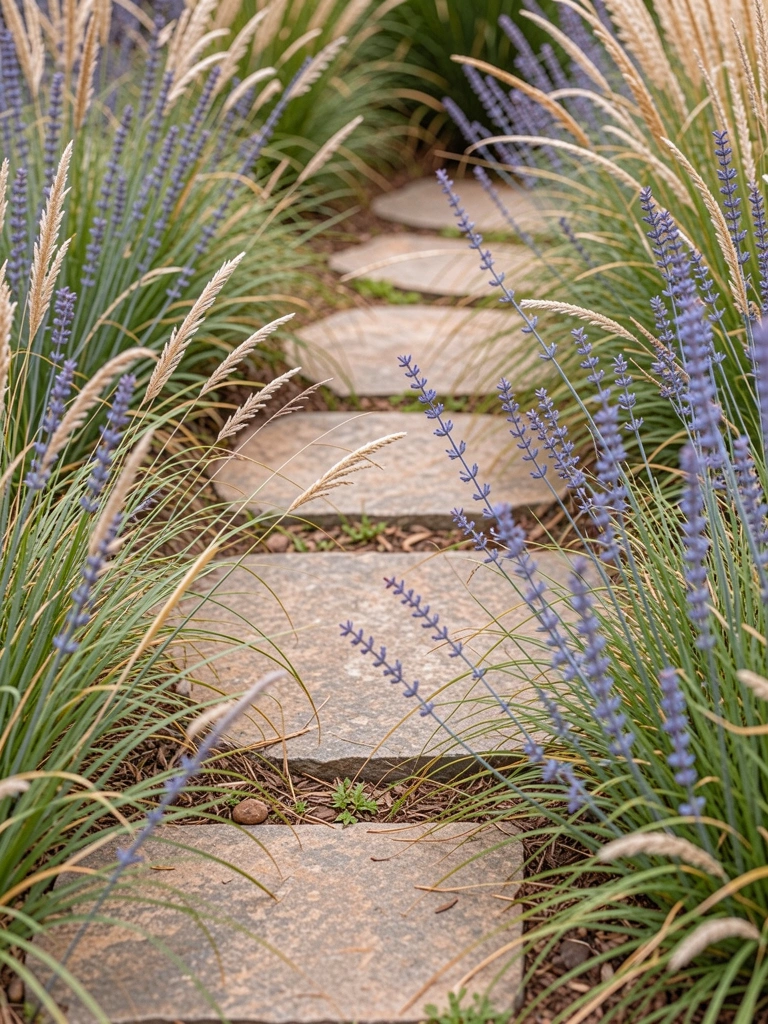
    Native little bluestem fringes my stone steps. Dryland tough, waves in wind.

    Feels prairie calm.

    No water needed.

    Cut back spring.

    What You’ll Need for This Look

    Final Thoughts

    Pick one path that matches your dirt and light. No need for all 17.

    Mine started simple—grew from there. Yours will too.

    Step out tomorrow. It'll feel good.

  • 13 Budget Friendly Garden Paths For Affordable Landscaping

    13 Budget Friendly Garden Paths For Affordable Landscaping

    A few years back, my backyard turned to slop after every rain. I couldn't even reach the veggie patch without boots. Threw down gravel one weekend – dry path, instant access. Feet stayed clean, plants got walked to more. Paths like that make a yard feel like home, not work.

    13 Budget Friendly Garden Paths For Affordable Landscaping

    These 13 paths come from my gardens and fixes for friends. All under $2 a foot, using stuff I hauled home cheap. Easy to lay yourself. You'll see exactly what works.

    1. Gravel Path Edged with Scrap Timber

    I dug a shallow trench along my side yard, lined it with old 2x4s from a torn-down fence. Dumped in pea gravel – drains fast, crunches underfoot. Changed the feel from wild to welcoming. You walk it daily now.

    Weeds stayed low because gravel blocks light. Lined the edges with thyme plugs; they root right in. No fancy tools needed.

    Watch the depth – too shallow, gravel scatters. I went 3 inches deep after the first scatter mess.

    What You’ll Need for This Look

    Landscape fabric (4 ft x 100 ft)
    Pea gravel bag (0.5 cu ft)
    Creeping thyme plants (2 inch pots)

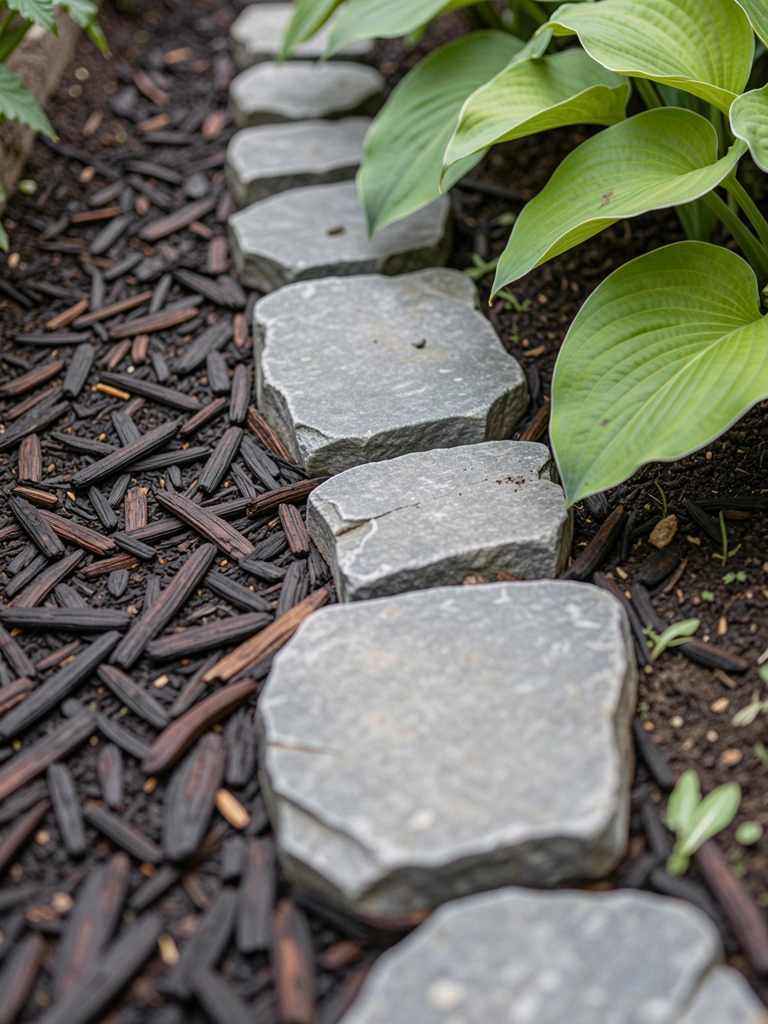
    2. Mulch Walkway Lined with Field Stones

    My front bed path was bare dirt till I spread cedar mulch thick. Picked flat stones from the woods edge to hold it in. Soft under shoes, smells good after rain. Beds feel connected now.

    Mulch fades color yearly, but cheap to refresh. Stones keep it neat without digging deep.

    I skipped stones at first; mulch wandered everywhere. Now it's locked.

    What You’ll Need for This Look

    Cedar mulch bag (2 cu ft)
    Landscape edging stones (12 inch)
    Hosta plants (1 gallon)

    3. Stepping Stones Set in Thick Lawn

    Laid flat concrete pavers where I walked most in the back lawn. No digging, just press in. Grass grows up around – cozy, not stark. Saves mowing straight lines.

    Pavers warm in sun, nice barefoot. Weeds slip through gaps less than you'd think.

    Bought squares too big once; tripped on edges. Go 12-inch rounds.

    What You’ll Need for This Look

    Concrete stepping stones (12 inch round)
    Lawn repair mix with clover seed

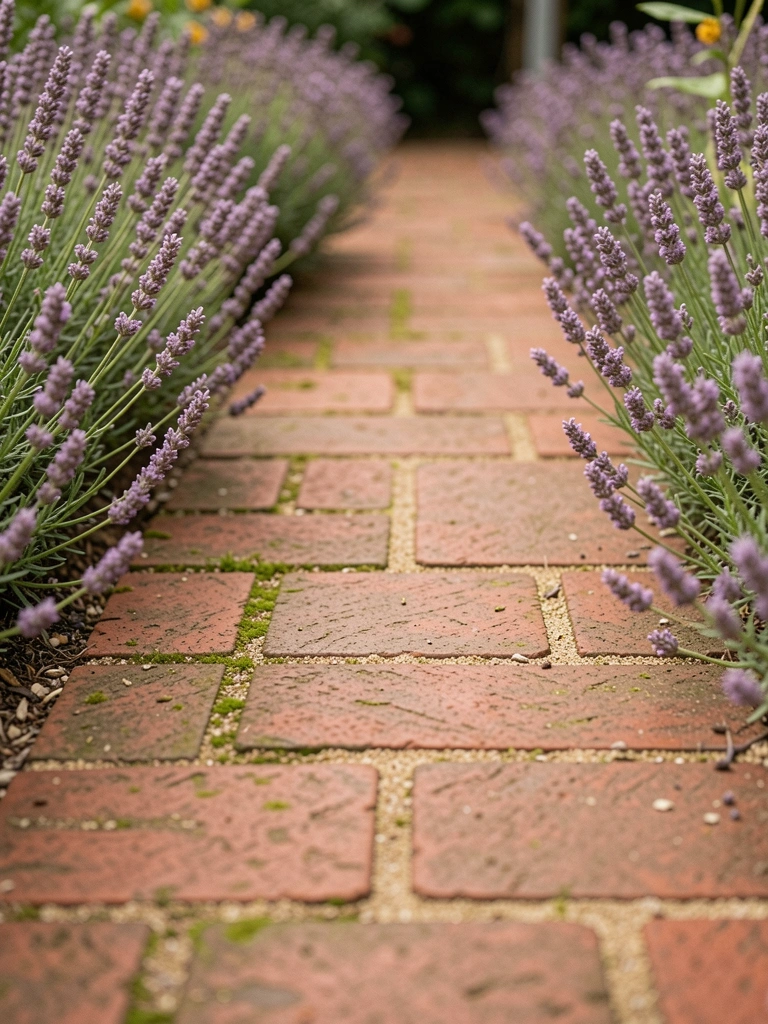
    4. Flat Brick Path from Salvaged Pavers

    Scored old bricks from a neighbor's tear-out. Laid them tight on sand base. Solid feel, lasts years. My herb garden path – smells rise as you step.

    Sand settles even; no wobble. Lavender softens edges, hides gaps.

    Laid without sand first; shifted in rain. Base is key.

    What You’ll Need for This Look

    Landscape sand bag (50 lb)
    Lavender plants (4 inch pots)
    Plastic brick pavers (8×4 inch, budget pack)

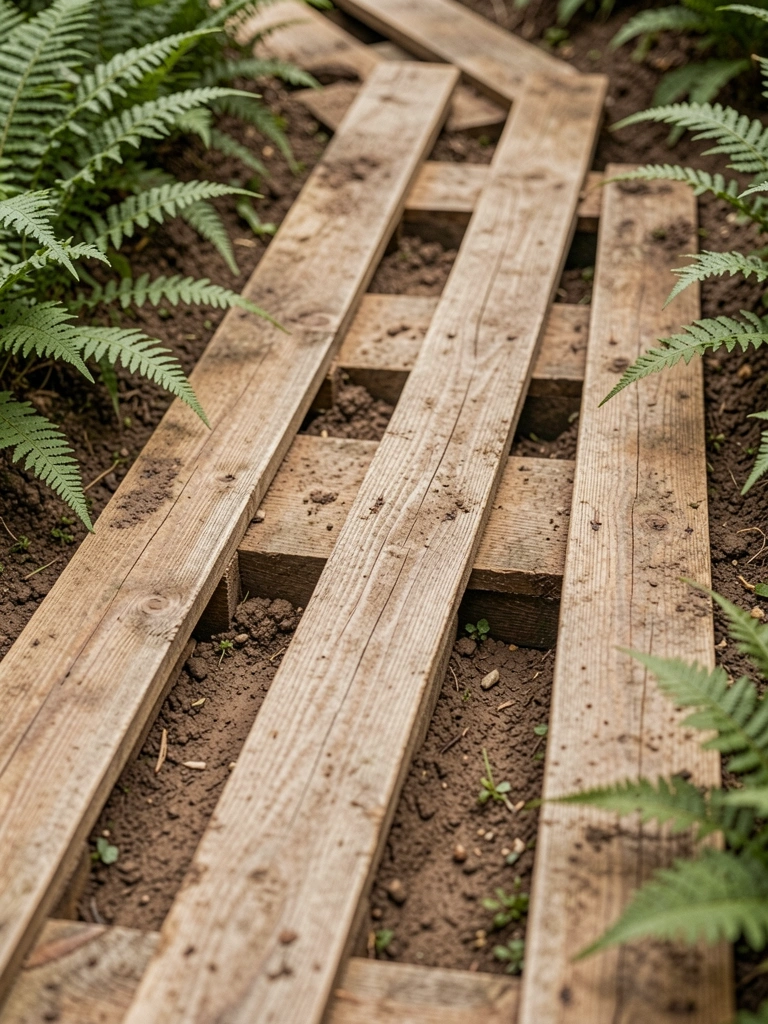
    5. Pallet Wood Slat Walkway

    Broke down free pallets, laid slats side by side on leveled dirt. Raised feel over mud. Ferns tuck under – shady path vibe.

    Wood weathers gray, blends in. Gaps let water through, no pooling.

    Nailed slats loose first; rotted fast. Space them free.

    What You’ll Need for This Look

    Pressure treated lumber slats (1x4x8 ft)
    Fern plants (6 inch pots)

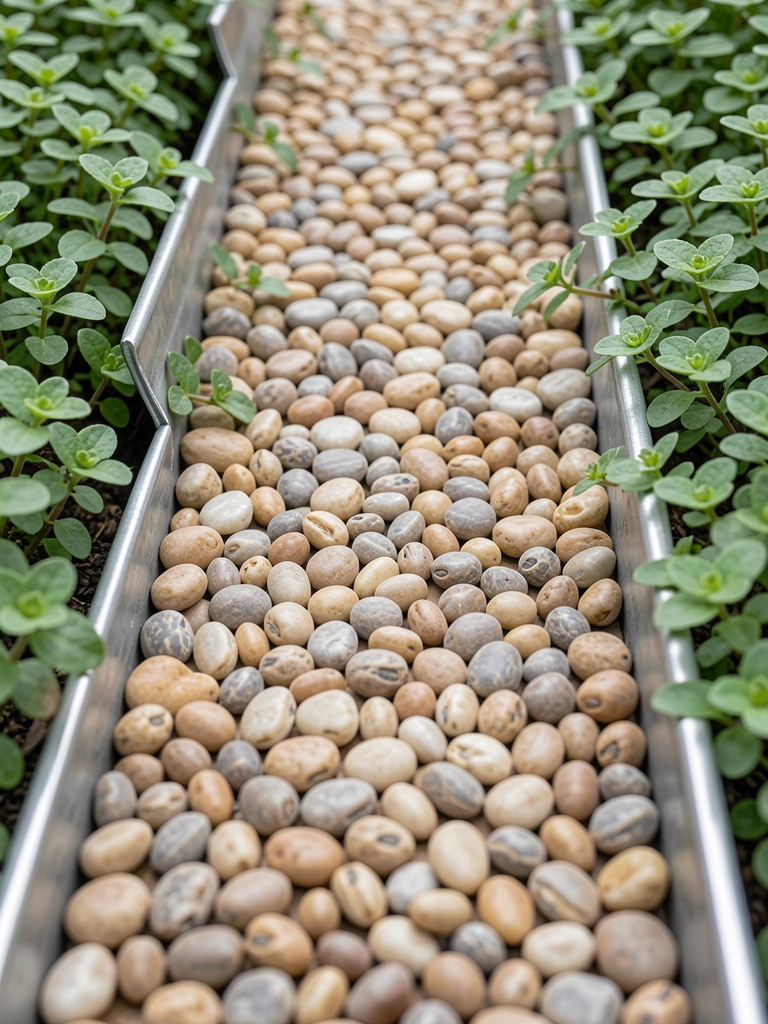
    6. Pea Gravel Strip with Metal Edging

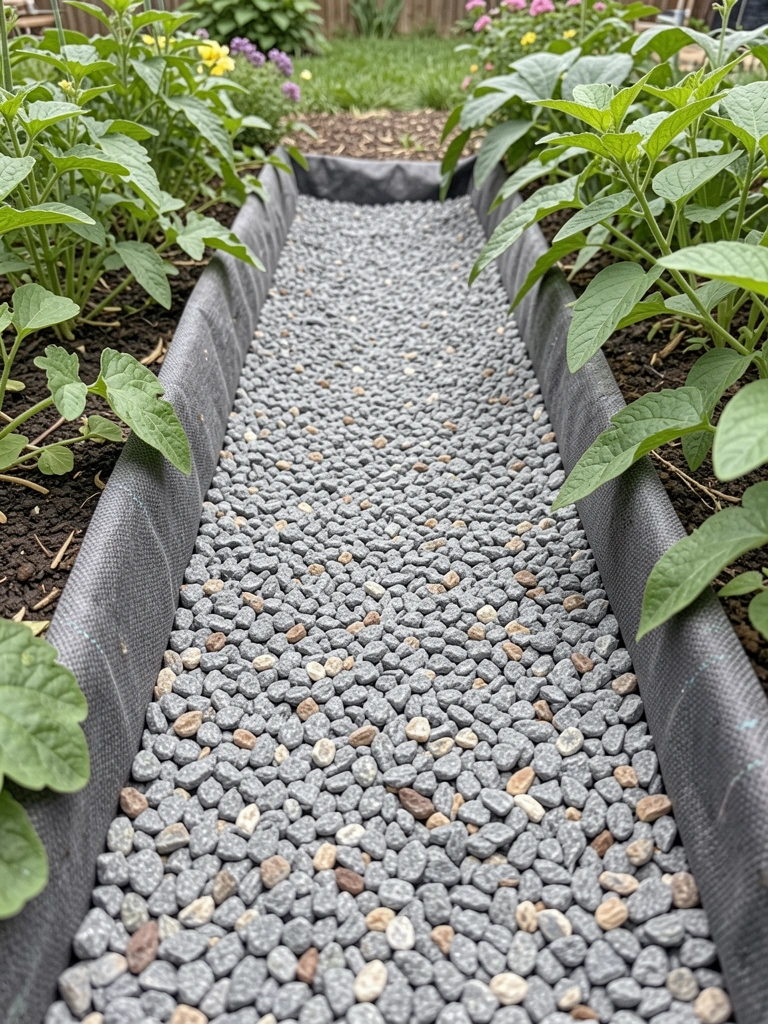
    Ran a narrow gravel line between beds with cheap steel edging pounded in. Clean lines, no spill. Ajuga spreads, fills gaps green.

    Gravel rolls satisfying. Edging lasts, straightens curves.

    Bent edging wrong once; kinked. Hammer slow.

    What You’ll Need for This Look

    Pea gravel (50 lb bag)
    Metal landscape edging (10 ft roll, 4 inch)
    Ajuga groundcover plants

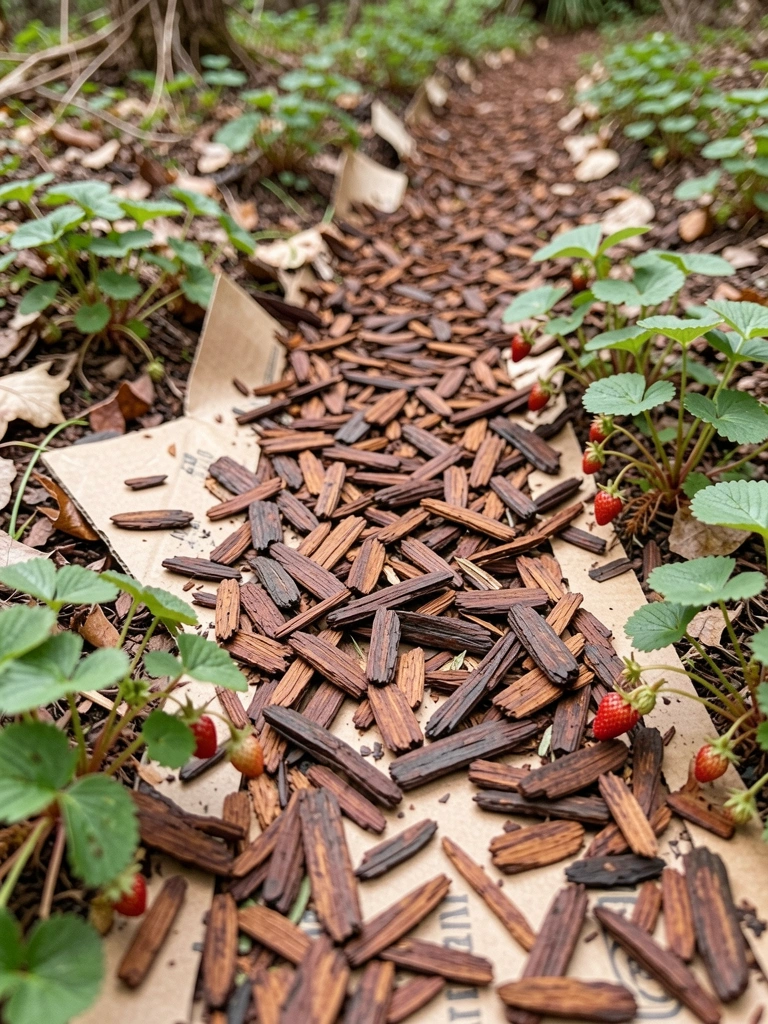
    7. Cardboard and Bark Mulch No-Dig Trail

    Layered free cardboard boxes, topped with bark chips. No shovel work. Strawberries root through – path to berries.

    Kills weeds below, mulch holds. Soft, quiet walk.

    Cardboard thin spots let weeds; double layer now.

    What You’ll Need for This Look

    Bark mulch chips (2 cu ft bag)
    Wild strawberry plants (bare root)

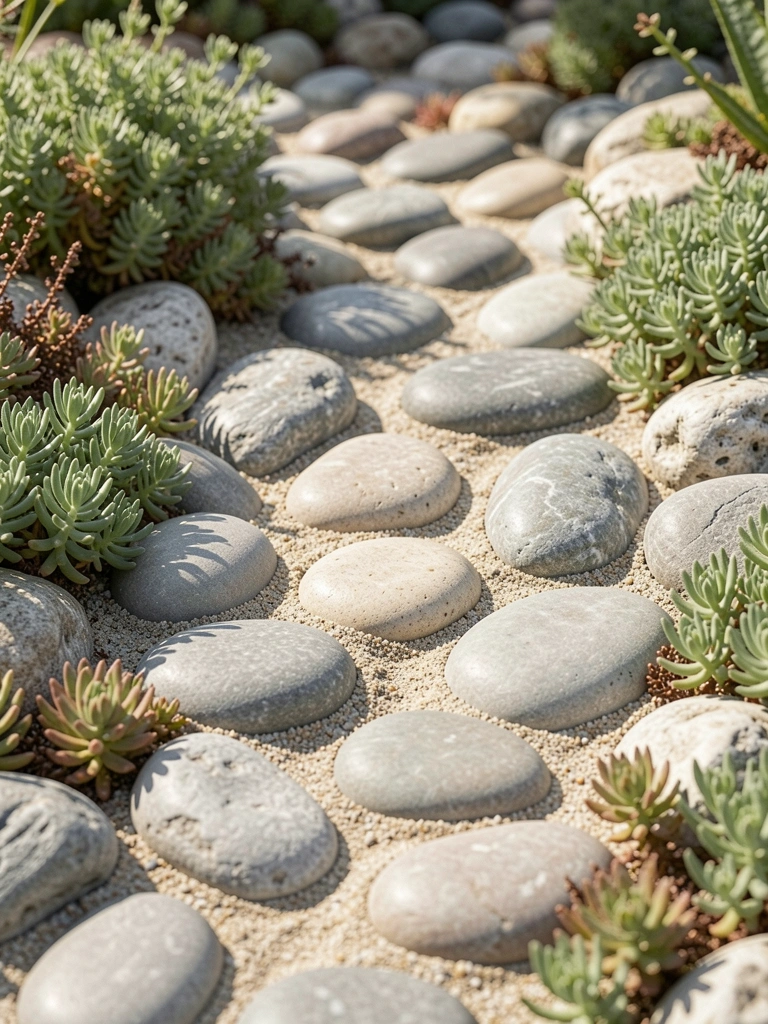
    8. River Rock Path in Sand Base

    Pressed flat river rocks into damp sand trench. Locks tight, water drains. Sedum softens sides.

    Rocks from creek bed – free, unique sizes. Feels beachy inland.

    Sand washed out first try; wet-set it.

    What You’ll Need for This Look

    All-purpose sand (50 lb)
    River rock bag (0.5 cu ft)
    Sedum plants (2 inch)

    9. Log Slice Steps Down a Slope

    Sawed branch ends into thick slices, set in slope steps. Natural drop, stable. Moss grows on top soon.

    Handles rain runoff. Ferns frame it wild.

    Slices thin; tipped. Cut 4 inches thick.

    What You’ll Need for This Look

    Hand saw for logs (24 inch blade)
    Fern starter plants

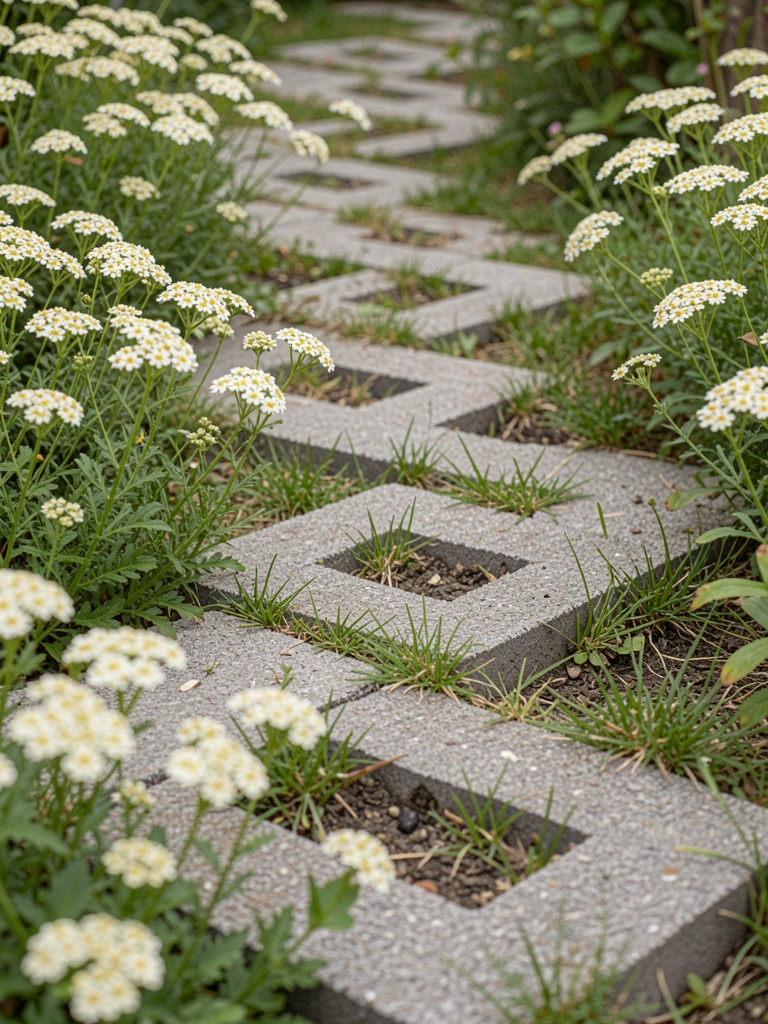
    10. Cinder Block Zigzag Through Grass

    Placed blocks zigzag where feet trod. Plant yarrow in holes. Cheap, modern edge.

    Hides mud, easy move. Grass fills gaps.

    Overlapped wrong; wobbly. Level each.

    What You’ll Need for This Look

    Cinder blocks (8x8x16 inch)
    Yarrow plants (4 inch pots)

    11. Newspaper Weed Block Under Gravel

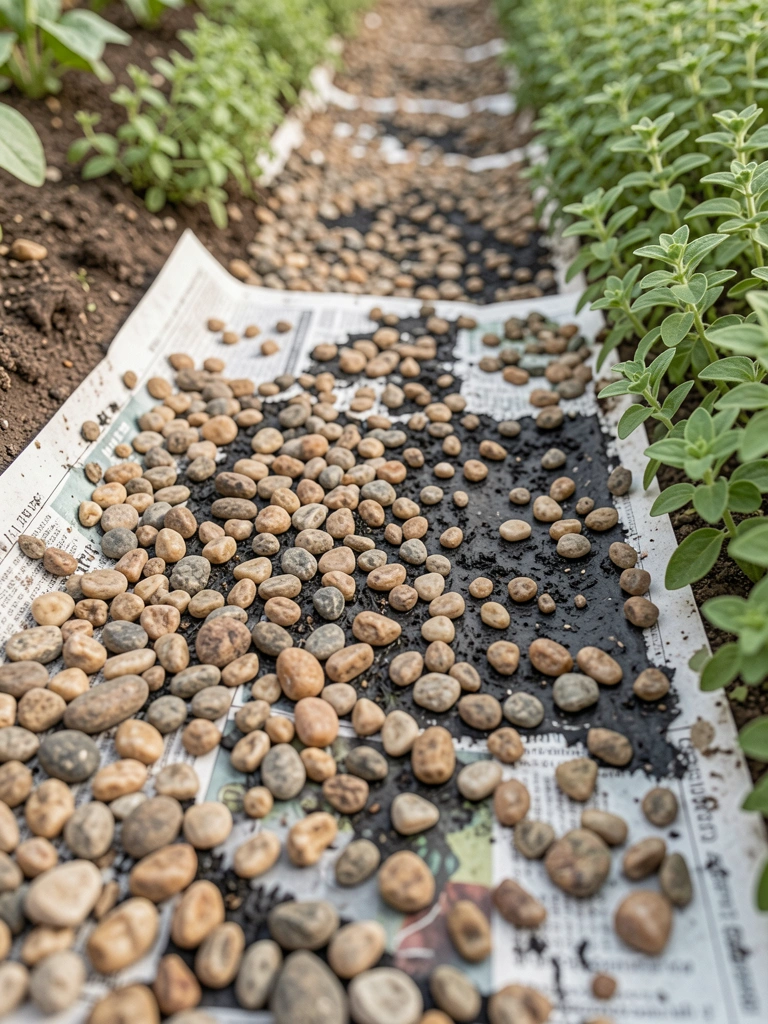
    Wet old papers thick, gravel over. Zero weeds year two. Oregano lines it.

    Breaks down slow, holds gravel. Simple.

    Papers dry-cracked; soak first.

    What You’ll Need for This Look

    Crushed gravel (50 lb bag)
    Oregano plants (2 inch)

    12. Flat Flagstone from Yard Scraps

    Used yard flat stones on sand. Fits odd shapes. Catmint spills over.

    Wears well, fits budget zero if scavenged.

    Gaps too wide; fill sand.

    What You’ll Need for This Look

    Play sand for joints (50 lb)
    Catmint plants (1 quart)
    Flagstone pavers (12×12 inch thin)

    13. Crushed Stone Dust Packed Path

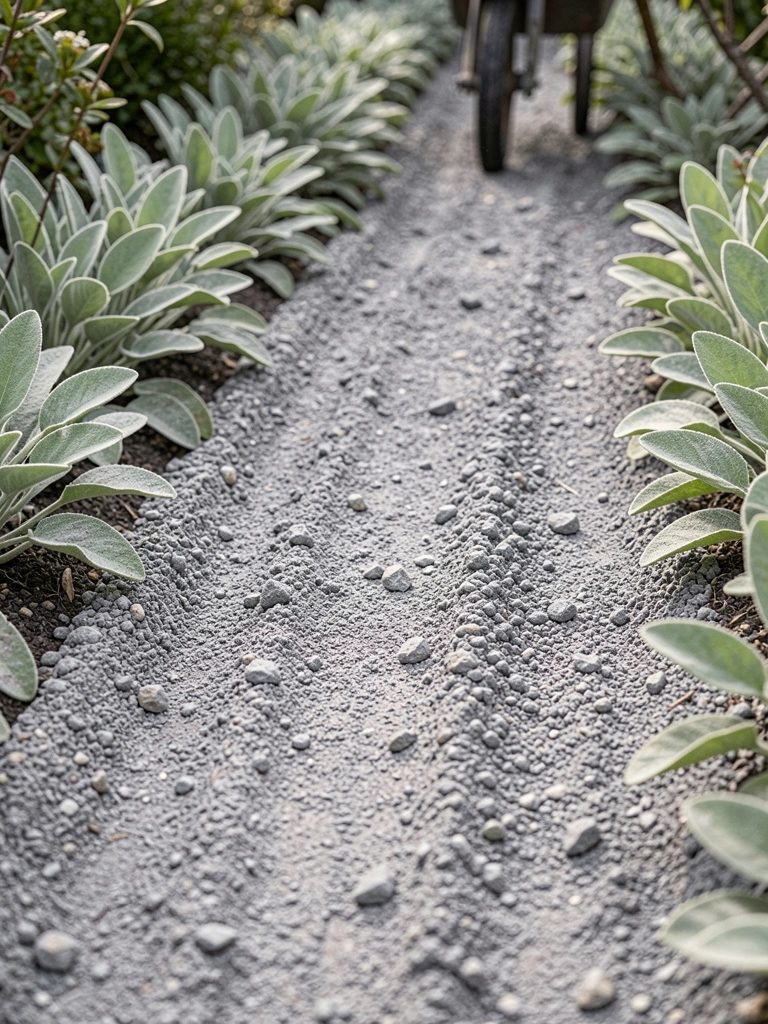
    Packed stone dust in trench, watered firm. Hardens like concrete, smooth. Lamb's ear borders fuzzy.

    Drains, no dust fly. Rains pack tighter.

    Loose first; tamp well.

    What You’ll Need for This Look

    Stone dust (50 lb bag)
    Lamb's ear plants (4 inch)
    Tamper tool (flat base)

    Final Thoughts

    Pick one path that fits your steps. Start small – 10 feet. It'll grow the garden around it.

    You've got this. Real yards come from these simple lines. Walk it tomorrow.
  • How To Build A Stone Path

    How To Build A Stone Path

    I remember staring at the muddy strip between my shed and patio. Every rain turned it into a slick mess. Walking there felt like a chore, pulling shoes out of the muck.
    I wanted a path that fit the garden's easy flow. Not straight and stiff. Something that drew the eye naturally.

    Once I figured the feel, it came together. Now that strip guides you right where you want to go.

    How To Build A Stone Path

    This shows you how I shape a stone path that settles into the garden. It curves gently, balances the space. You'll end up with a walk that feels right, pulling the garden together.

    What You’ll Need

    Step 1: Trace the Path's Natural Curve

    I walk the line first, barefoot if warm. Feel where my steps fall naturally. That's the curve—no ruler needed.

    String it out loose. Step back. It should pull your eye from start to end without forcing it. The garden breathes around it now.

    People miss how a slight bend softens the whole yard. Straight paths shout; curves invite. Don't yank the string tight—let it sag a bit for life.

    Avoid marking too wide at first. Narrow keeps it intimate.

    Step 2: Dig Just Enough Depth

    I scoop out sod and soil to about four inches. Follow that string like a riverbed. Wider spots for stepping stones feel right.

    The ground levels visually—empty trench shows the path's bones. Space opens up, ready.

    Insight: Test depth by placing a stone. It sits flush with grass nearby. Most dig too deep, making paths sink.

    Skip over-digging turns. Smooth them; harsh drops trip the flow.

    Step 3: Layer the Base for Stability

    Fabric down first, overlapping seams. Then gravel, four inches thick. Tamp it firm. It cradles stones like soil holds roots.

    Visual shift: Trench vanishes under even gray. Path shape locks in, balanced against borders.

    Missed bit: Gravel drains rain, keeps stones from shifting. Wet sand alone turns mushy.

    Don't skimp—thin base heaves in freezes.

    Step 4: Place Stones for Even Flow

    Pick largest stones for turns—they anchor. Nestle each in gravel, wiggle till level. Gaps like this? One inch max.

    Path emerges solid, stepping natural. Eye follows without jarring breaks.

    People overlook stone spacing. Too tight crowds; breathing room lets plants peek in.

    Avoid perfect rows. Offset edges mimic nature's scatter.

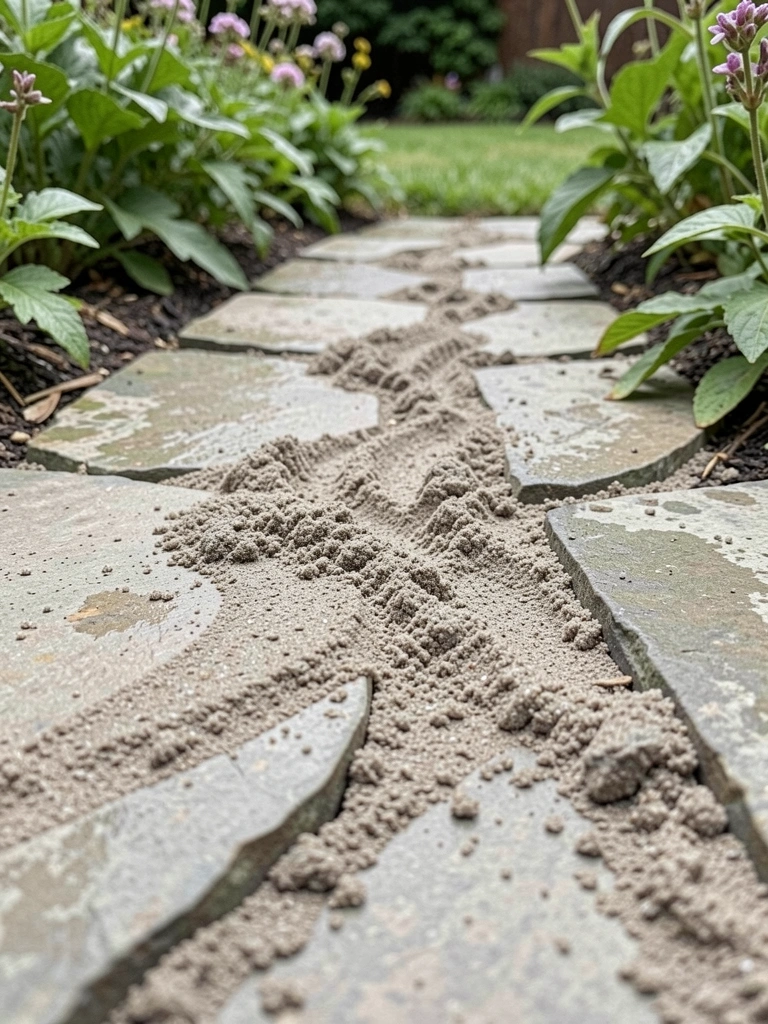
    Step 5: Fill and Settle the Joints

    Sweep sand in dry, mist light. It sets soft but firm. Edges it clean.

    Final look: Path blends, warm against green. Walk it—feels grounded.

    Insight: Sand locks but flexes. Pure dirt washes out.

    Mist gently once. Soak drowns it.

    Choosing Stones That Fit Your Garden

    I scan my yard for the garden's mood. Rough flagstone suits cottage edges. Smooth rounds work clean borders.

    Size matters for balance.

    • Larger for main paths—steady underfoot.
    • Smaller for curves—easier turns.

    Mix shapes. Uniform screams fake. Test one down first. Does it draw or distract?

    Planting Alongside for Balance

    Paths need company. Low plants frame without crowding.

    I tuck sedum or lavender in gaps. They spill soft.

    • Thyme between stones—walk on it.
    • Hostas at bends—slow the step.

    Keep heights under knee-high. Tall stuff hides the path.

    Handling Slopes and Turns

    Slopes shift feel. I step slower there, note wider stones.

    For turns:

    • Bank outer edge slight.
    • Test walk dry.

    It flows like a stream. No slips.

    Final Thoughts

    Start with ten feet. See how it sits.

    You've got this—the path will guide your steps right.

    Now your garden connects. Simple as that.

  • How To Make A Garden Path

    How To Make A Garden Path

    I stared at the muddy track between my flower beds. It collected puddles after rain and felt like an afterthought. Guests sidestepped it awkwardly.

    Paths like that pull a garden apart. They need to guide the eye and foot naturally.

    I've fixed enough to know: a good path settles the whole space.

    How To Make A Garden Path

    This shows you how I create paths that connect beds without dominating. You'll end up with a clean route that draws you through comfortably.

    What You’ll Need

    Step 1: Walk Your Intended Route

    I start by walking where I naturally go. From gate to bench, bed to shed. This sets the curve that feels right.

    The ground softens underfoot. Bare dirt shows where to go. I mark lightly with string.

    People miss how paths follow habits. Force straight lines, and it jars. Avoid marking too wide—keep it single-file for intimacy.

    Now the route breathes. It pulls the garden together visually.

    Step 2: Shape the Edges Gently

    I kneel and nudge the string. Edges hug plants closely, no harsh cuts. This keeps balance.

    Soil crumbles away. The path outline nestles in. It looks held, not carved.

    Insight: edges soften the path's line. Most dig too deep, making it rigid. Skip that—scrape lightly.

    The space quiets. Flow emerges between beds.

    Step 3: Lay the Base for Quiet Steps

    I unroll landscape fabric smooth, overlapping seams. Then a thin coarse sand layer. It muffles steps.

    Ground firms up. No weeds push through later. Visual shift: path bed gains depth.

    Missed bit: fabric breathes if pinned loosely. Pin tight, water pools. The base settles firm.

    It invites walking now. Steady underfoot.

    Step 4: Set Stones Where Feet Fall

    I drop irregular stepping stones where my steps land. Wiggle them level. Gaps stay wide for gravel.

    Stones anchor the way. Path gains rhythm, eye follows easily.

    People space even—wrong. Cluster for rest spots. Avoid burying deep; they sink.

    The line strengthens. Comfortable pace sets in.

    Step 5: Fill and Edge with Gravel and Metal

    Shovel in pea gravel, rake smooth. Bend metal edging along sides.

    Gaps glow soft gray. Edges hold it crisp. Whole path warms.

    Overfill gravel hides stones—don't. It shifts light nicely now.

    Path connects. Grounds the garden.

    Step 6: Soften with Border Plants

    I tuck creeping thyme plugs into gravel edges. Space lavender along borders.

    Greens spill over. Path gains layers, feels lived-in.

    Missed: plants lean in, not out. Plant too far, it floats. Fronds brush ankles now.

    Balance holds. Invites lingering.

    Choosing Path Curves

    Curves come from how you move. Straight paths cut harsh in cottage gardens.

    I eye the sweep. Does it frame that rose bush? Adjust until it does.

    • Gentle S-bend slows you near seats.
    • Tight turns hide surprises.
    • Wide sweeps open views.

    It settles the layout. No rush.

    Blending with Existing Plants

    Paths weave through, not over. I trim just enough.

    Plants frame it. Low growers spill, tall ones backdrop.

    Watch scale: big stones need bolder greens. Test by walking.

    Your garden holds the path. It belongs.

    Handling Wet Spots

    Rain tests paths. Mine puddle less now.

    Gravel drains fast. Slope subtle from center.

    • Lift low stones first.
    • Add sand under.
    • Regravel yearly.

    Stays dry. Reliable year-round.

    Final Thoughts

    Start with one short path. Between two beds.

    You'll see the garden shift. It guides without shouting.

    Mine get better each season. Yours will too. Just walk it daily.