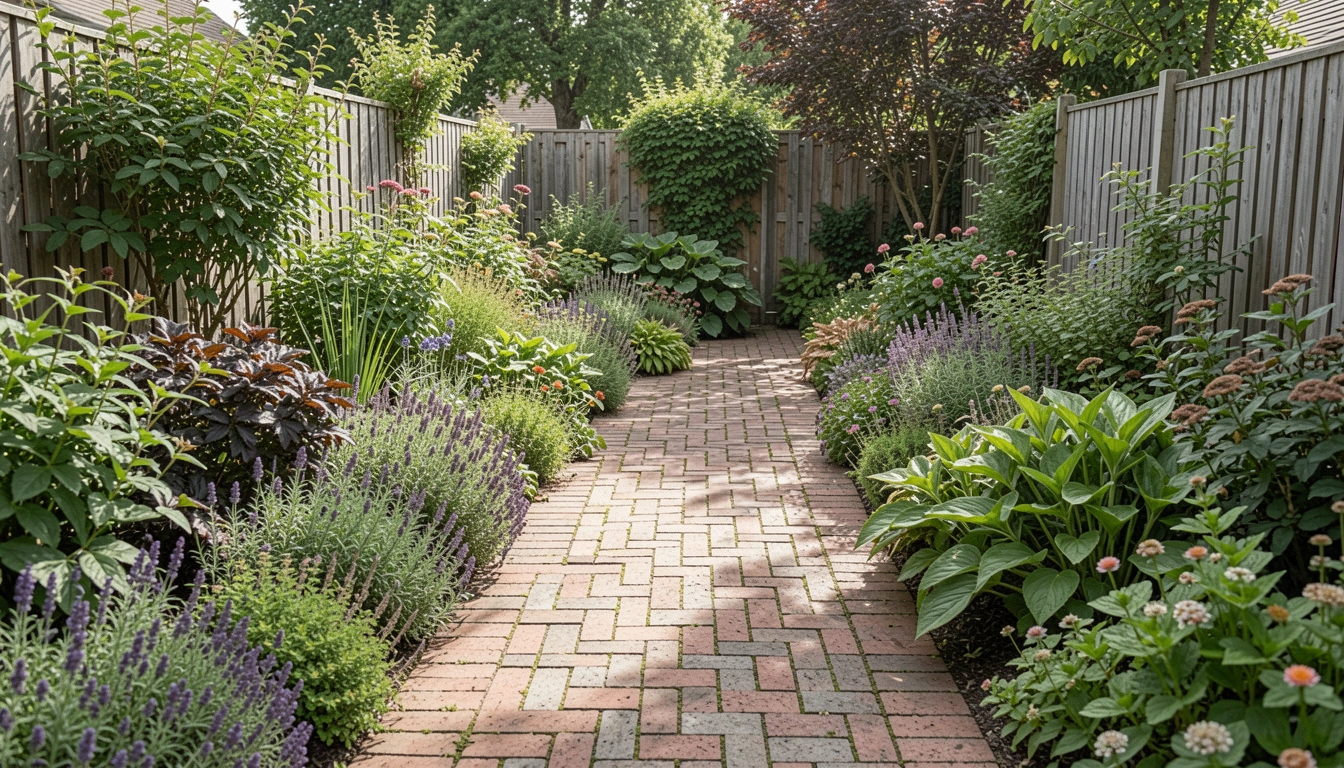
I stared at the muddy trail cutting through my side yard. After rain, it turned into a slick mess. Guests hesitated to walk it. My garden felt disjointed, like it lacked a quiet guide from gate to bench.
I wanted a path that hugged the beds, not fought them. Bricks seemed right—they settle into soil like they've always been there.
One afternoon, I laid one. Now it pulls the eye through the space, balanced and sure.
How To Lay A Brick Garden Path
This method creates a brick path that follows your garden's shape. You'll get a walkway that feels part of the ground. Walkable, even, inviting.
What You’ll Need
- 8×4-inch reclaimed red clay bricks
- 50-pound bag coarse builder's sand
- 0.5 cubic foot 3/4-inch crushed gravel
- 100-foot nylon mason's string line kit
- 16-ounce rubber head mallet
- 24-inch torpedo level
- 4×12-inch landscape edging stones
- 3×50-foot weed barrier landscape fabric
Step 1: Sketch the Path's Natural Curve
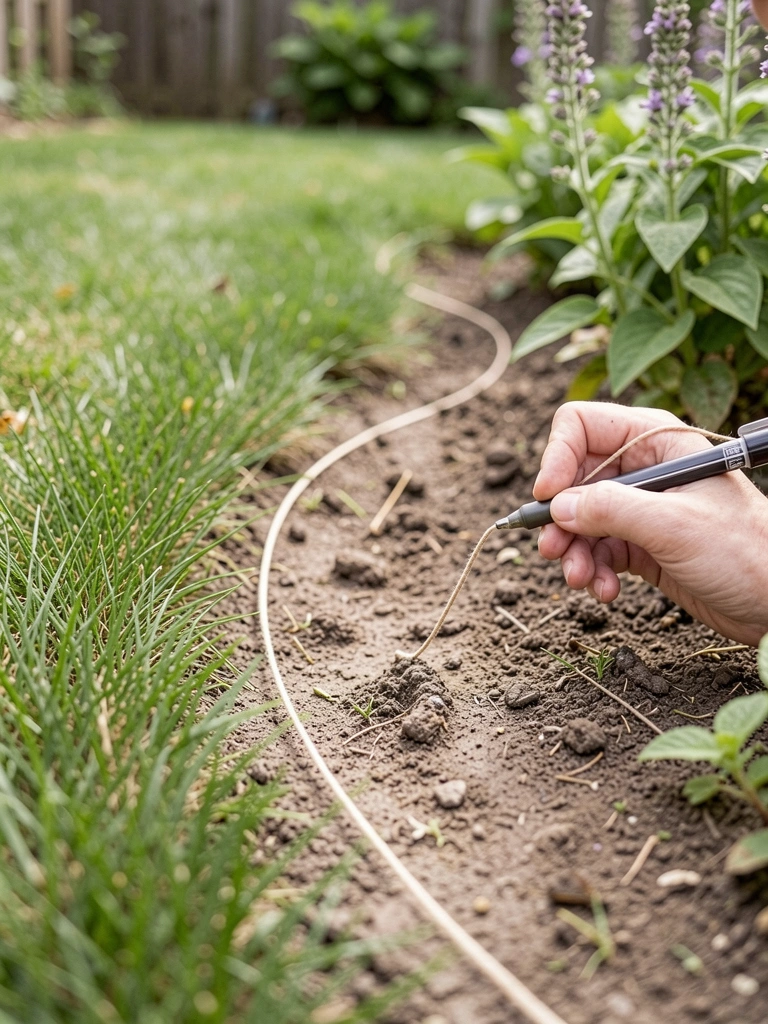
I walk the route first, barefoot if warm. Feel where my feet want to go—around that shrub, dipping by the fence. Stake ends loosely. Pull string to trace a gentle S that mirrors bed shapes.
Visually, the line softens hard corners. The garden starts breathing together.
People miss how a slight wander adds calm. Straight paths shout; curves whisper. Avoid pulling string too tight—let it sag naturally, or it fights the flow.
I adjust twice, stepping back. Now it pulls you forward without rush.
Step 2: Dig the Trench with Even Depth
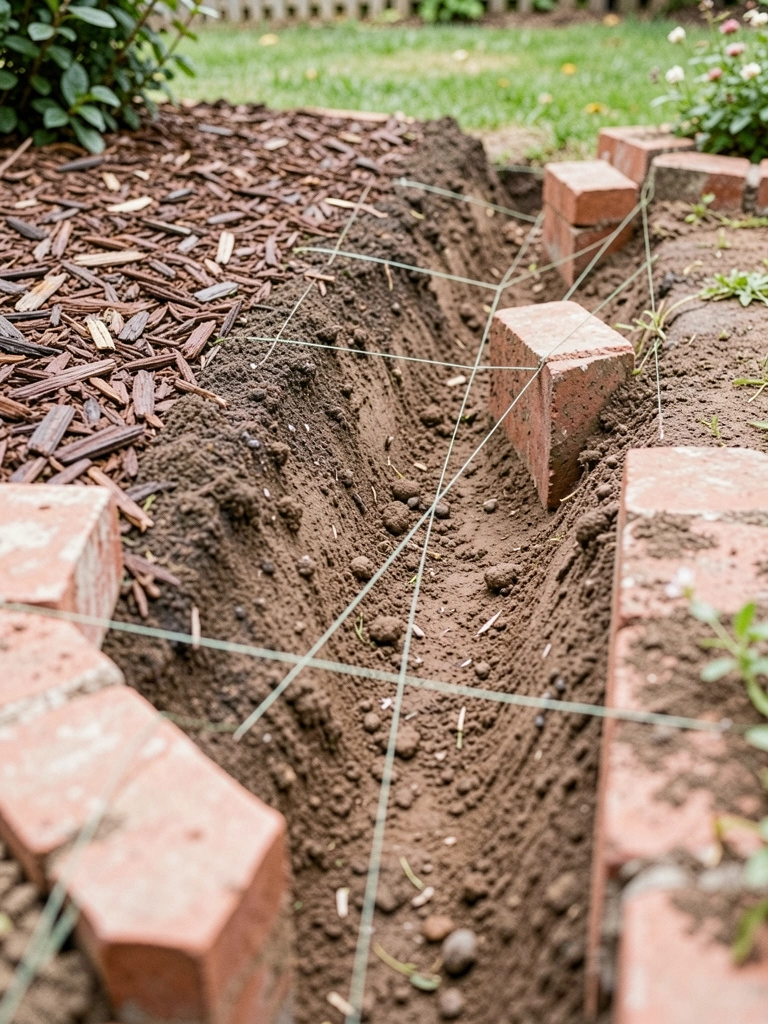
With shovel, follow the string. Dig 4 inches deep, uniform like a shallow pan. Wider at curves for foot room. Pile soil nearby—it fills low spots later.
The ground opens, ready. Bare earth frames future bricks, balanced against green edges.
Insight: Test depth by laying a board across; it should sit level. Skip this, and bricks wobble later. Don't rush corners—overdig slightly, they settle better.
I pause, rake smooth. Feels solid underfoot already.
Step 3: Layer the Base for Stability
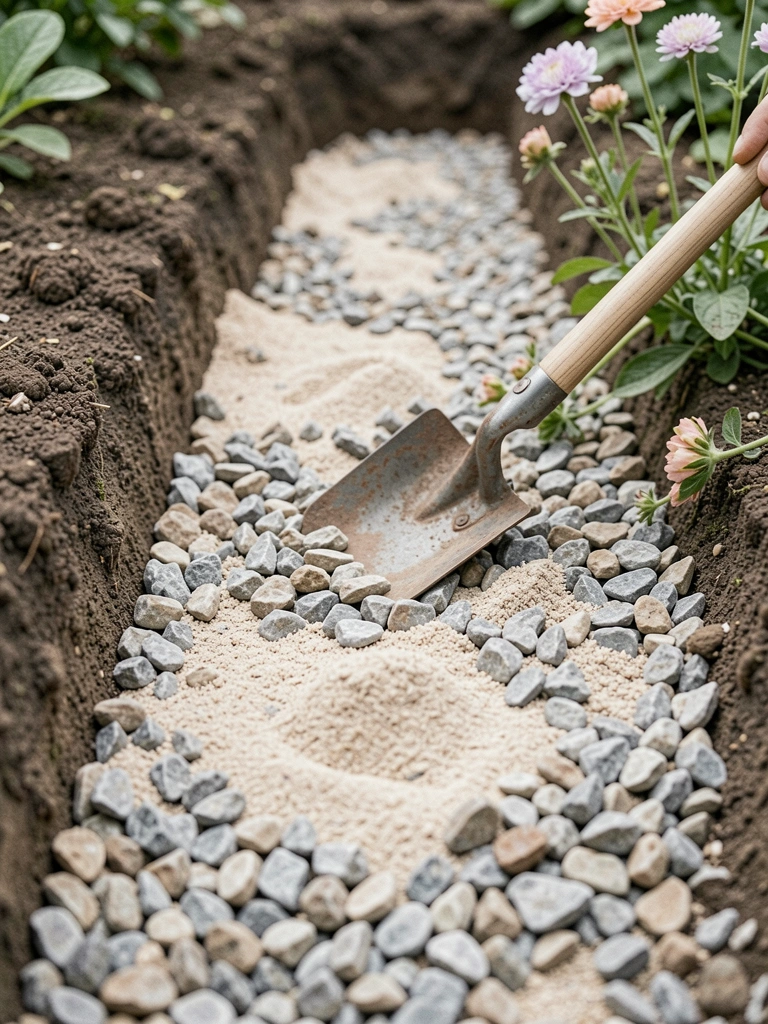
Lay weed fabric first, overlapping edges. Add 2 inches gravel, tamp firm. Top with 1 inch sand, screed level with a board.
Base turns soft dirt firm. It glows warm under sun, promising even bricks.
Most overlook tamping gravel twice—it locks in place. Untamped shifts in rain. Avoid wet sand; it clumps. Dry pours smooth.
I tap it down. Path base hugs the garden's contour perfectly.
Step 4: Place Bricks in a Running Bond

Start at one end. Lay bricks offset half, like footsteps. Tap gently with mallet, check level often. Butt tight to edging stones.
Bricks warm the line, echoing nearby walls. Flow emerges—visual rhythm.
Missed insight: Vary brick orientation at curves for smoother turn. All straight looks stiff. Don't force perfect rows; slight shifts feel lived-in.
I step along half-done. It draws the eye right through.
Step 5: Fill, Settle, and Edge
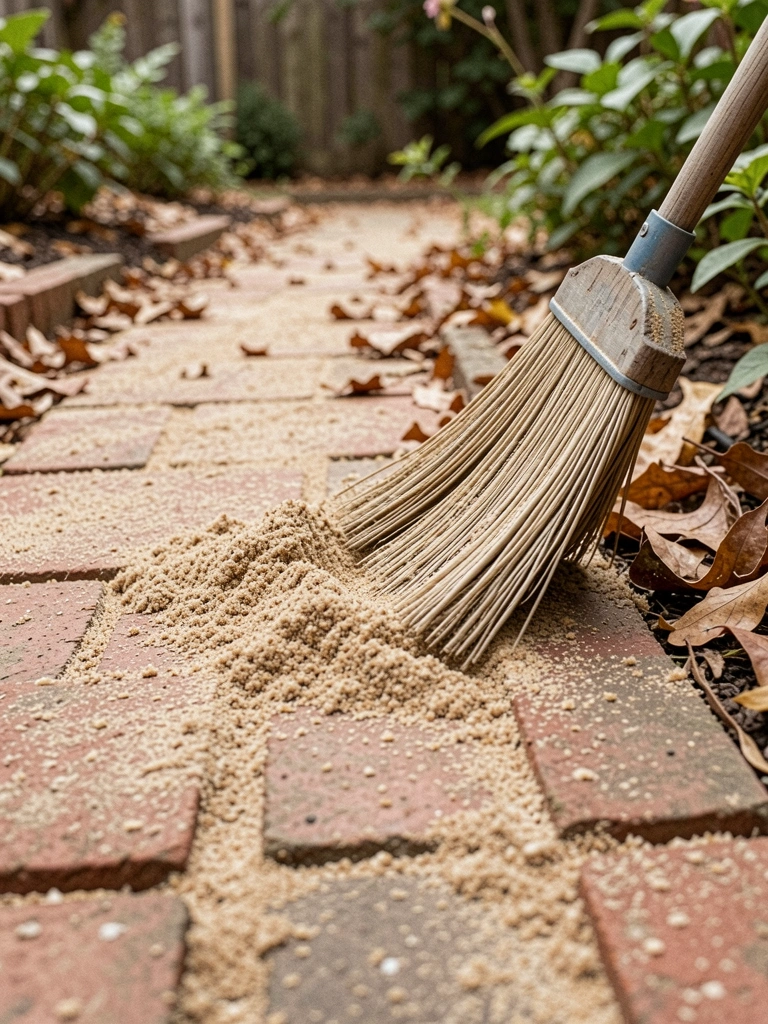
Sweep dry sand into joints. Mist lightly, tamp again. Add edging stones along sides, backfill soil.
Path locks, subtle sheen from damp sand. Blends seamless with beds.
People forget second sand fill after settling. Gaps invite weeds. Avoid overwatering; it erodes base.
I walk it end to end. Garden connects now.
Why Curves Beat Straight Paths
Straight paths cut gardens like rulers. Curves follow how we move—lazy, toward interest.
In my yard, the bend invites pause by lavender. It balances wide beds.
- Hug plant mounds loosely.
- Widen for seating spots.
- Echo fence lines softly.
Feels comfortable, not forced.
Planting Along the Path Edge
Plants frame without crowding. Low growers tuck close; taller ones step back.
I use creeping thyme between bricks. It softens edges, releases scent underfoot.
- Sedum for dry spots.
- Heuchera for shade.
- Avoid tall bloomers—they block.
Path gains layers, stays clean.
Keeping It Settled Over Time
Paths shift with frost. Top sand yearly.
Weeds poke early? Pull before roots grip.
- Hose joints monthly.
- Re-level bricks as needed.
- Mulch edges high.
Mine's held five years. Simple rhythm.
Final Thoughts
Start with a short path, say to the shed. You'll see how it steadies the space.
Bricks forgive small tweaks. Yours will fit your ground.
Now your garden guides feet naturally. Walk it often.
Leave a Reply