I used to stare at bare edges and think ground cover was just "easy filler." I planted scrappy plugs and they vanished or crowded out friends.
After years of trial I learned how to place and pace ground covers so they knit together quickly and look intentionally balanced. This guide keeps it simple and practical.
How to Plant Ground Cover Plants For Fast And Healthy Growth
You’ll learn how to place, pair, and pace ground covers so beds fill in quickly and look balanced. This is the method I use when a garden feels unfinished.
What You’ll Need
- Creeping thyme (Thymus serpyllum, low mat)
- Sedum spurium (mat-forming sedum, evergreen)**
- Ajuga reptans (deep-leaved, spreading)
- Vinca minor (periwinkle, evergreen groundcover)
- Lamium maculatum (variegated groundcover, shaded spots)
- Pachysandra terminalis (shade-loving evergreen mat)
- Native groundcover seed mix (local-friendly pollinator choices)
Step 1: Read the bed and mark the anchors
I walk the bed and look for anchor points: a shrub, a step, or a path edge. I imagine how the ground cover will meet those anchors. This tells me where to concentrate mass and where to let it trail.
Visually the bed shifts from a flat to a layered plan. You start to see the future lines. Most people plant evenly; I use anchors to avoid a uniform, planted-flat look. Mistake to avoid: don’t plant everything the same distance from the edge. That makes the bed read like a strip, not a place.
Step 2: Group by habit and contrast
I position plants by how they grow—creepers, spreaders, runners. I block the same habit into drifts and pair it with a contrasting texture nearby. That contrast makes the whole bed read as intentional.
You’ll see pockets of different leaf shapes and colors that guide the eye. People often miss matching growth rates; fast runners can overwhelm slow mat-formers. Mistake to avoid: don’t mix two aggressive runners in the same small area. They’ll fight and one will win, leaving a messy gap.
Step 3: Plant in drifts and staggered clusters
I plant in odd-numbered clusters—3s, 5s, 7s—staggered along the drift. This creates a natural rhythm and avoids a planted strip look. I also leave small gaps for the plants to breathe as they grow.
Visually the bed already reads looser and more natural. A tiny cluster looks like a tuft, not a forced planting. Insight most miss: closeness matters less than rhythm. Mistake to avoid: don’t plant a continuous line along the edge. That creates a “trimmed” look instead of a lived-in sweep.
Step 4: Tuck edges, add a soft binder, then step back
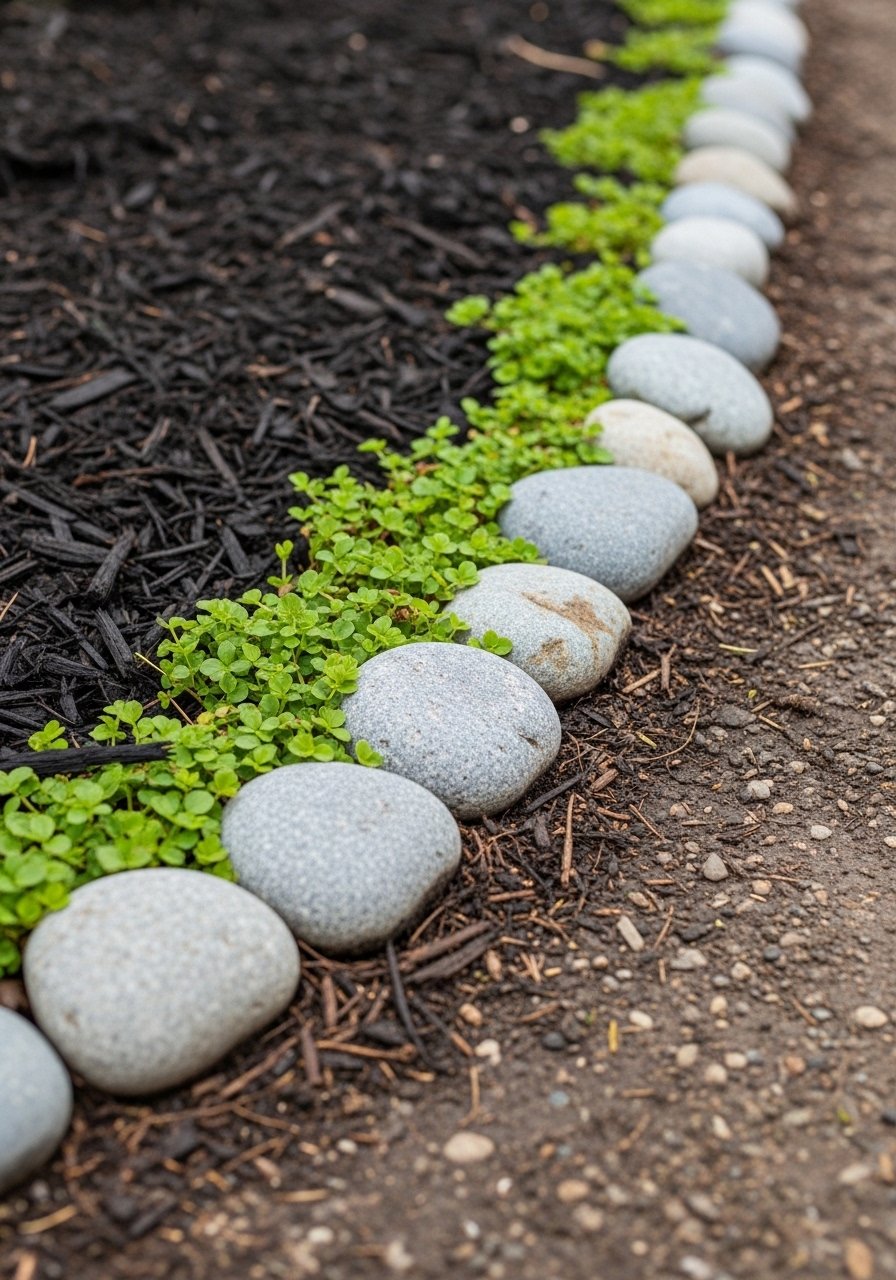
I soften transitions with a thin edge—low stones, a narrow strip of mulch, or a sweep of ornamental grass. I don’t carpet everything. The binder makes plantings read as one place rather than scattered bits.
You’ll notice how the eye follows the edge now, instead of stopping at random plants. People often overuse mulch or define edges too sharply. Mistake to avoid: don’t create hard, artificial borders that fight the casual flow of the plants.
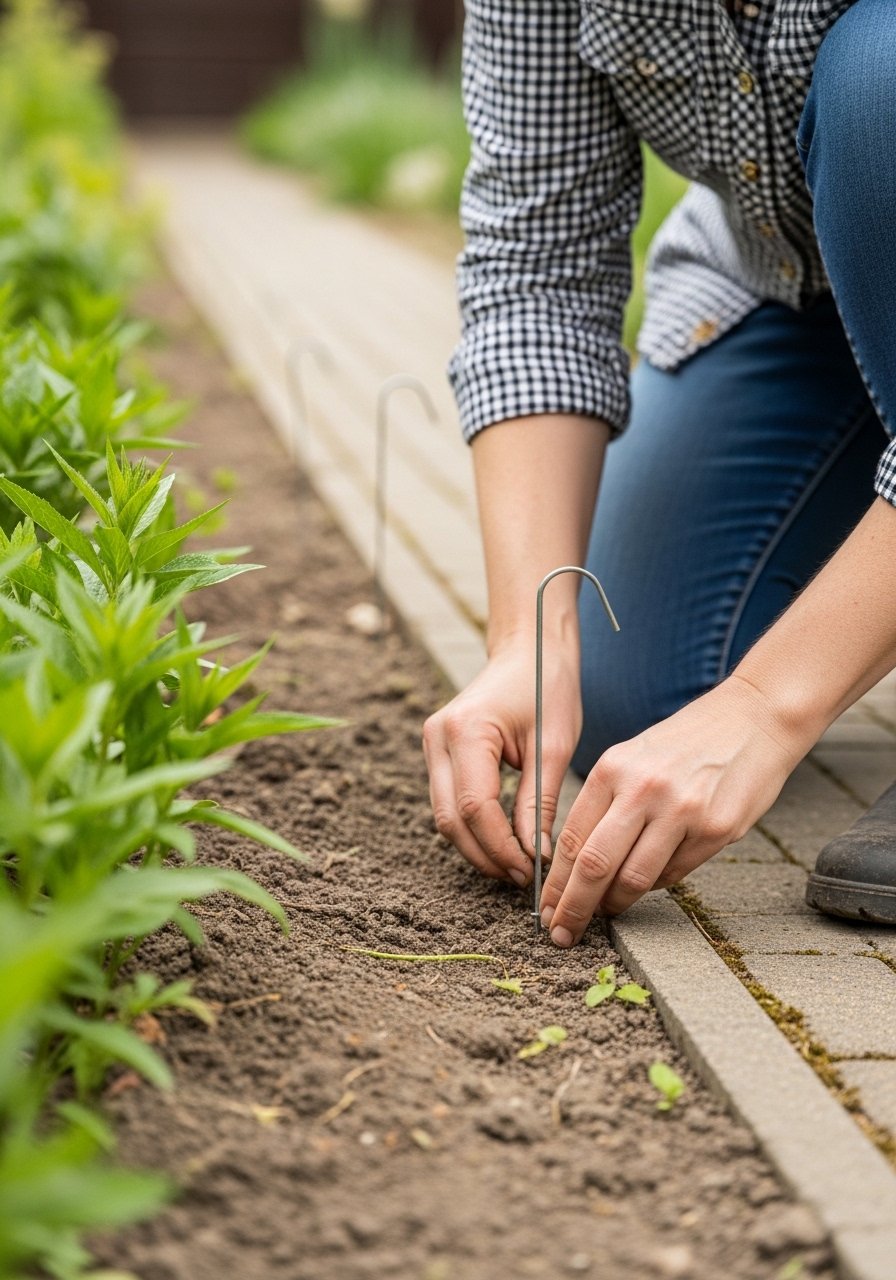
Step 5: Watch the first season and nudge as needed
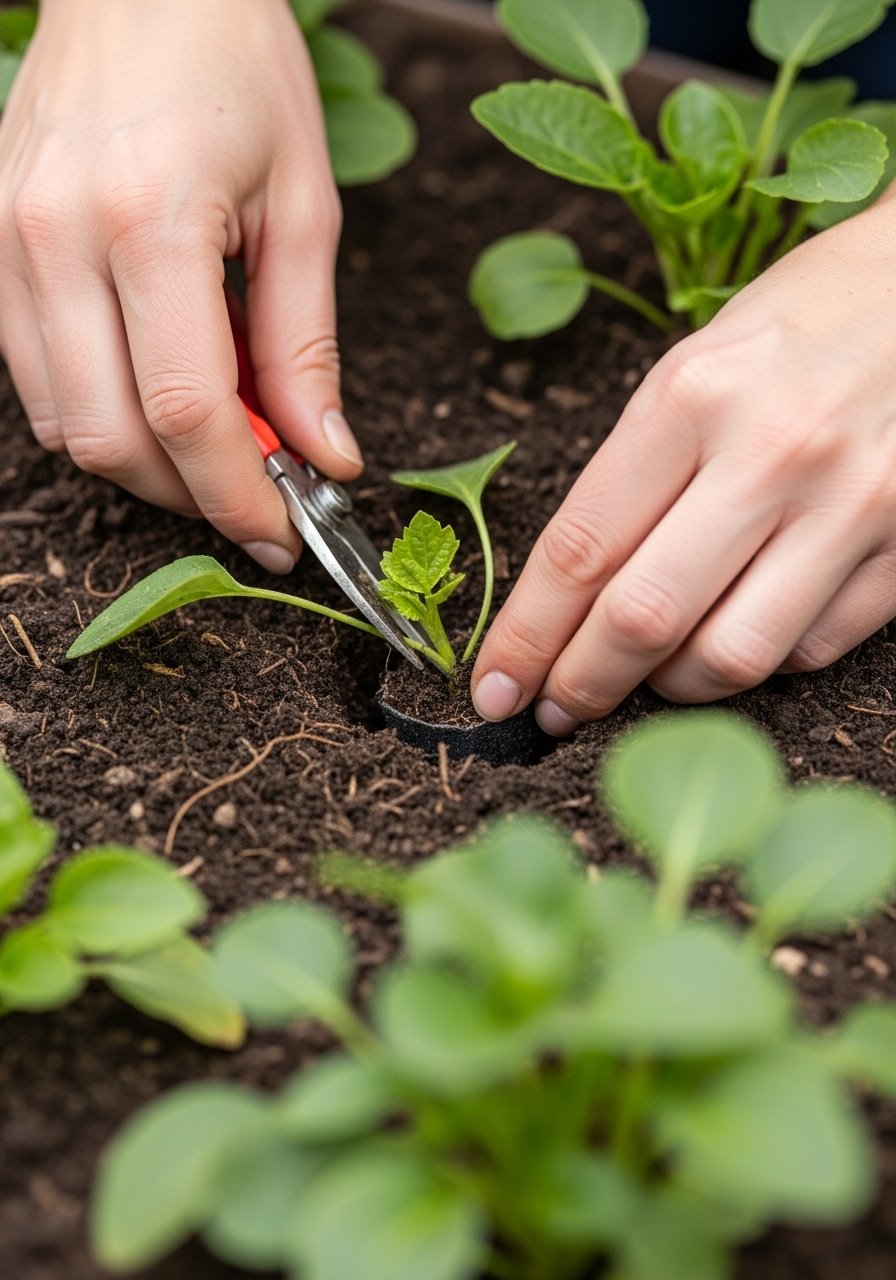
I check monthly and nudge where gaps open. I trim runners that head toward places I don’t want them. I also add a few plugs where progress stalls. Small interventions keep the pattern tidy and natural.
You’ll see the bed knit together over months rather than instantly. The common miss is impatience—expect some reshuffling. Mistake to avoid: don’t replant the whole bed after a few weeks. Make small corrections and the rhythm will settle.
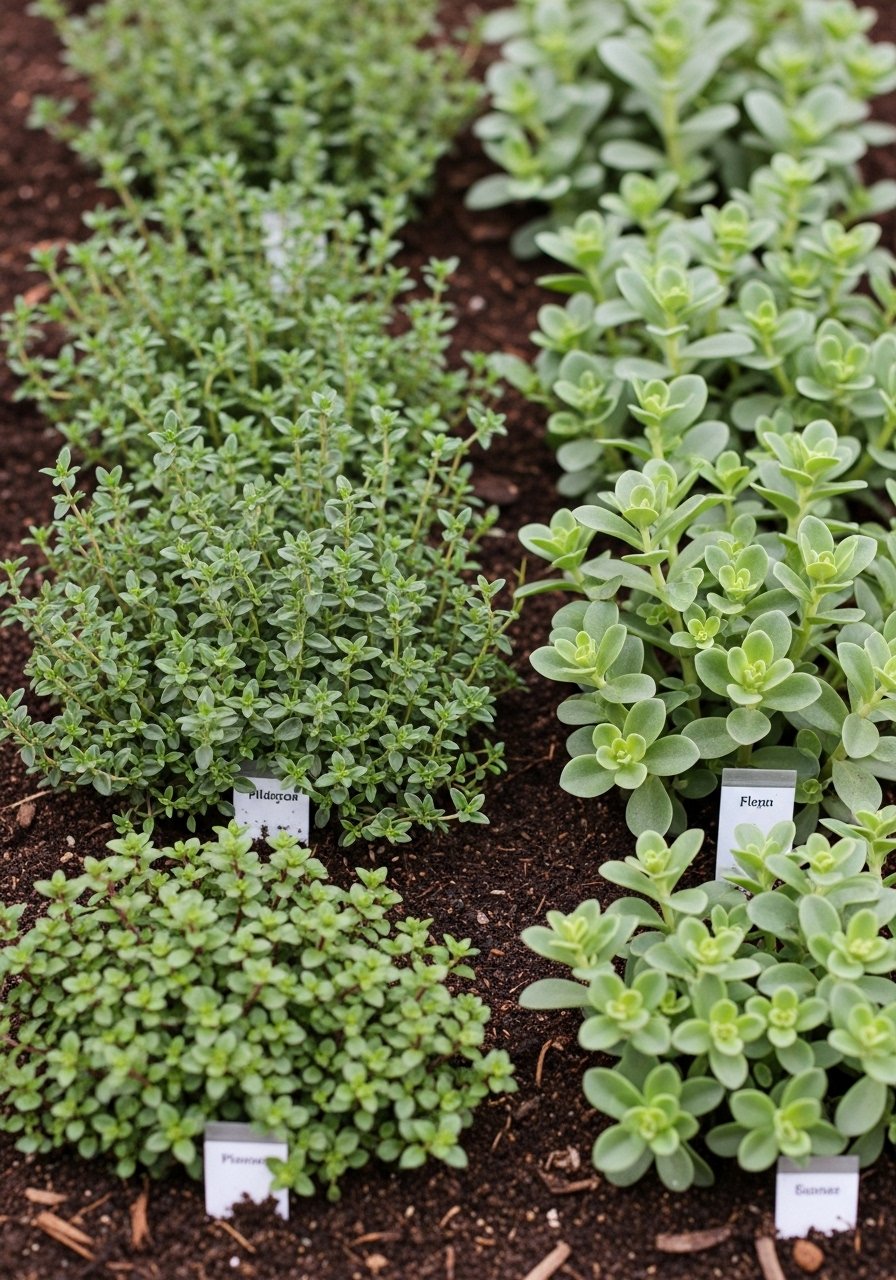
Choosing the Right Ground Cover for Your Light
I match plants to the site first. Sunny spots get thyme and sedum; shade gets lamium and pachysandra. This prevents constant replacement and saving me time.
Think in groups: sun lovers, part-shade options, and full-shade cushions. Choose one or two per exposure and repeat them for cohesion.
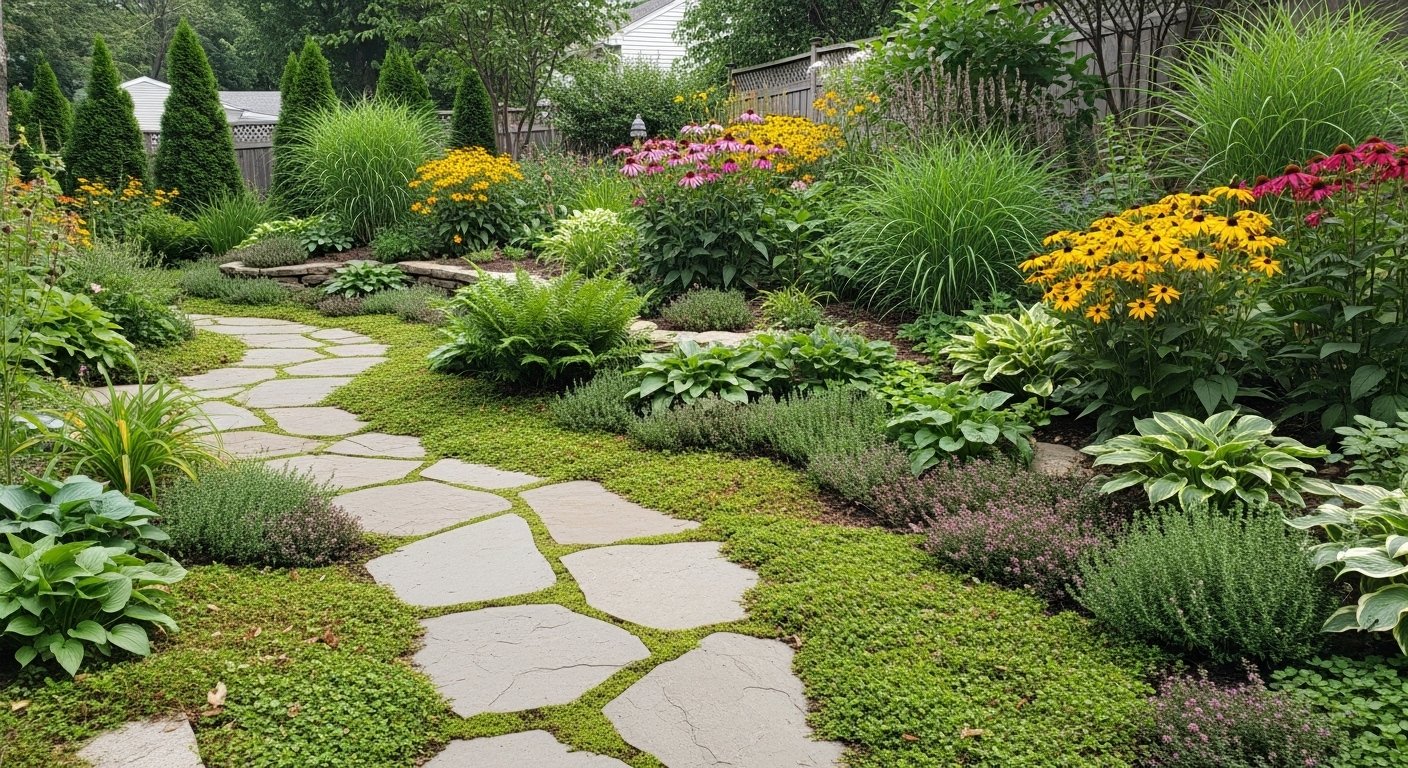
Spacing, Massing, and Visual Balance
I aim for blocks of color and texture rather than single-file lines. Drifts of 3–7 plants create readable shapes. Repeat a color or leaf shape two or three times across the bed.
If the bed is long, break it with a different texture or a low shrub to avoid monotony. Small, repeated contrasts make a place feel balanced.
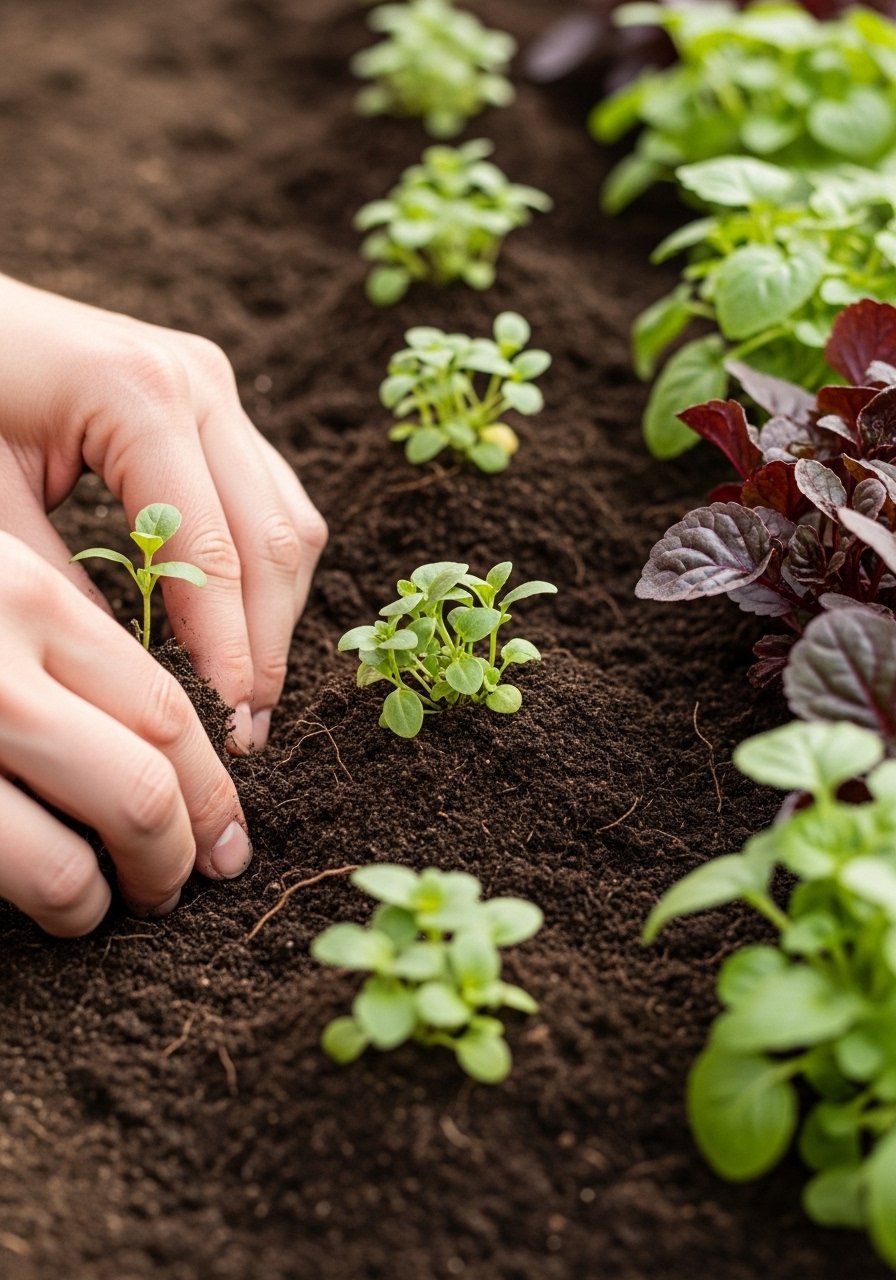
Establishing Ground Cover in the First Year
Year one is about watching and protecting more than drastic pruning. I water a little more often early on and remove obvious weeds. I let the plants show their habit.
If a plant isn’t establishing after a season, I replace just that clump. It’s faster to swap a small area than to redo the whole bed.
Final Thoughts
Start with a small area you can manage. One visible drift will teach you more than a large, rushed planting.
Be patient and make tiny adjustments. The bed will read intentional as it grows.
Trust the rhythm. Plant for how the space will feel, not how quickly it fills.
Leave a Reply