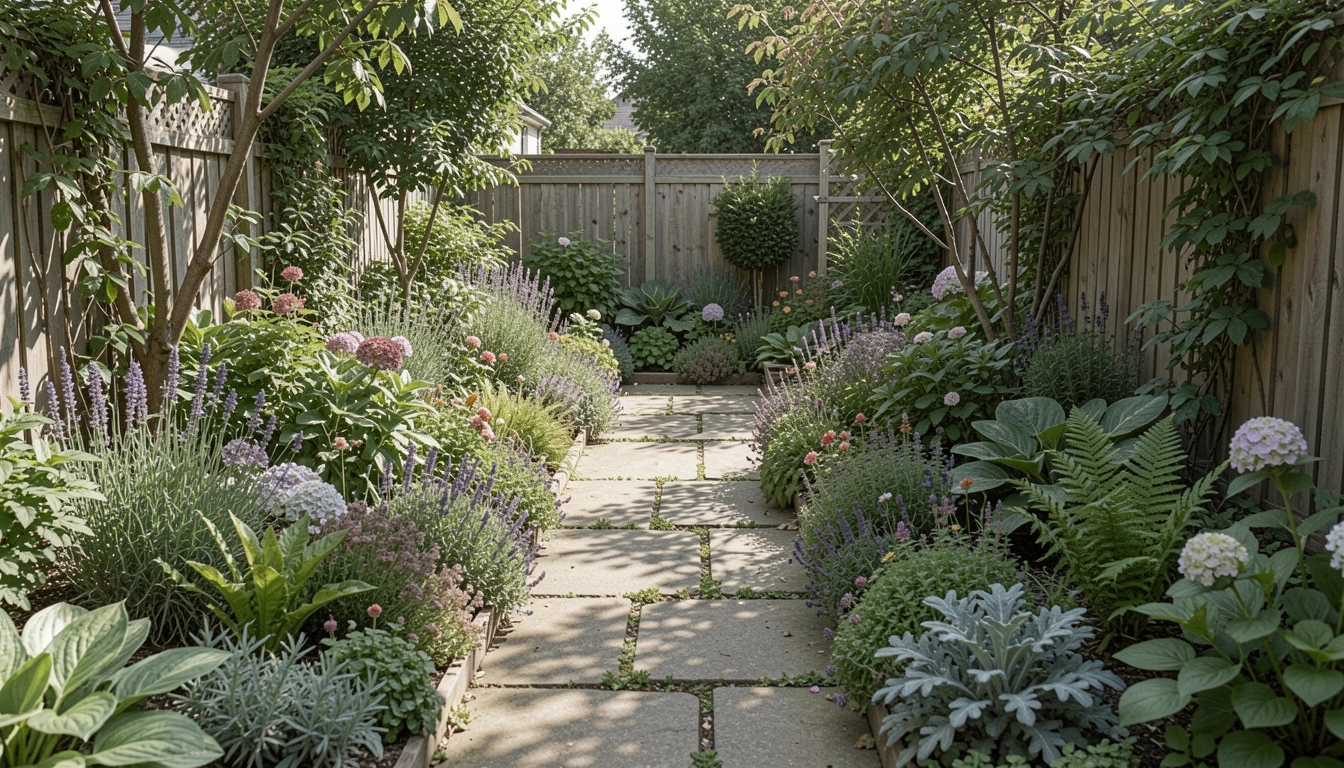
I stood in my backyard last spring, annoyed by the muddy trail from gate to patio. Grass worn thin, puddles everywhere. It broke the garden's flow—barely usable after rain.
I needed a path that felt natural, not rigid. Something that drew you in without trying too hard.
One quiet afternoon, I sorted it out. Simple changes made it balanced and walkable.
How To Make Walkaway For Outdoor Garden
This method creates a gentle walkway that connects your outdoor garden spaces. It guides movement naturally. You'll end up with a path that feels comfortable and settled.
What You’ll Need
- 12-inch natural stone stepping stones
- 50-pound bag coarse sand
- 4-foot wide landscape fabric roll
- 16-ounce rubber mallet
- 0.5 cubic foot pea gravel bag
- 24-inch black plastic landscape edging
- Low-growing creeping thyme plants
- 2 cubic foot dark mulch bag
Step 1: Walk Your Intended Path
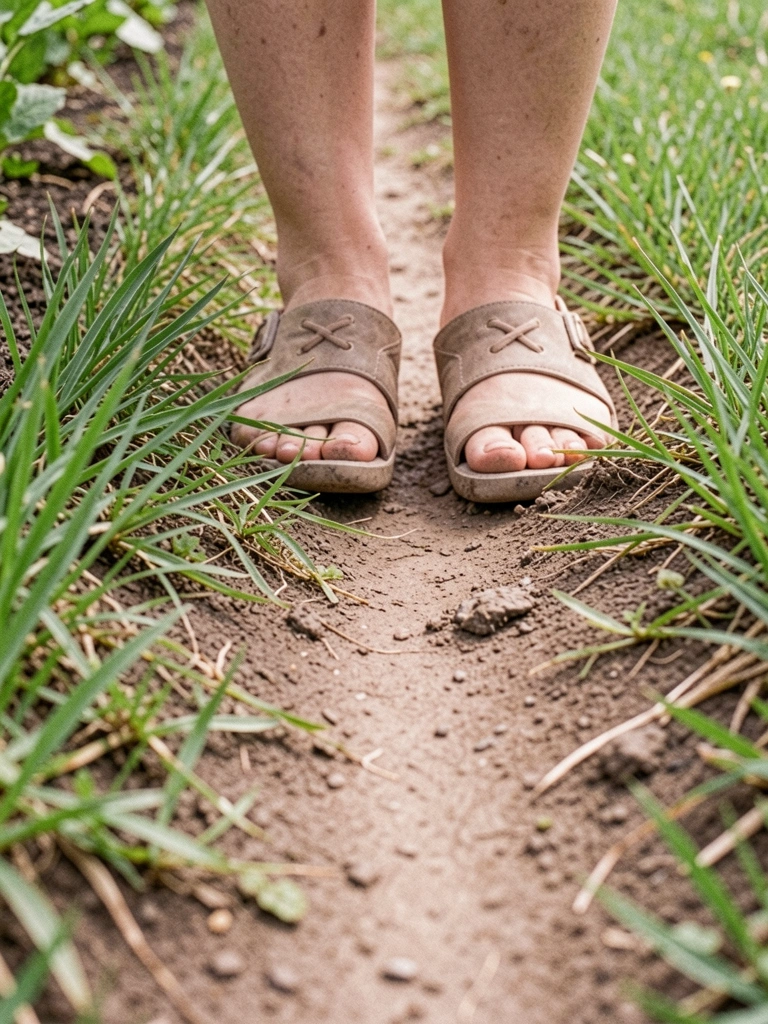
I start by walking back and forth where the path should go. From gate to patio, noting where my feet naturally fall. This sets the curve that feels right—gentle sweep, not straight line.
Visually, it reveals the garden's rhythm. The path hugs existing plants, creating flow.
People miss how a slight bend adds comfort; straight paths feel cold. Avoid forcing it through tight spots—it'll pinch the space.
Now it looks purposeful, like it grew there.
Step 2: Outline and Clear the Route
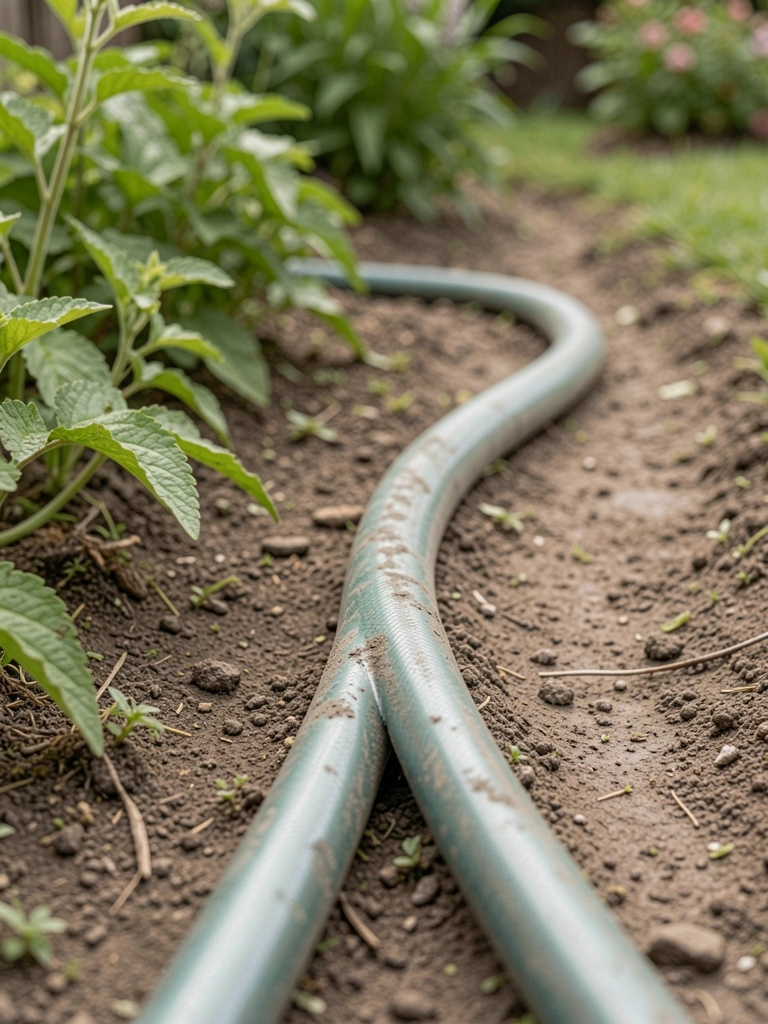
I lay a hose along the walked line, adjusting for balance. Then clear grass and weeds, keeping soil loose. This defines edges cleanly.
The ground opens up, ready for layers. Light hits the bare strip, showing potential shape.
Most overlook hose flexibility for organic curves—rigid string makes it stiff. Don't dig too deep yet; it compacts the base.
It feels settled, inviting the next layer.
Step 3: Lay the Base Layer
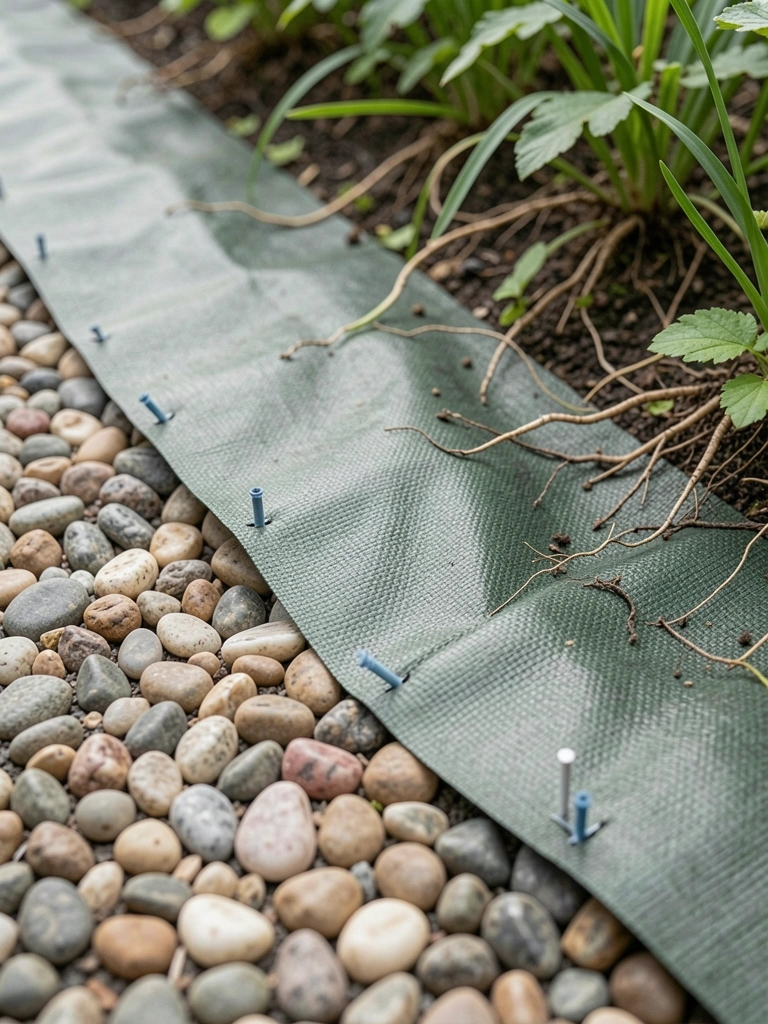
I roll out landscape fabric, overlapping edges slightly. Cut holes for drainage. Add a thin sand layer, tamping even. This stabilizes without mud.
The path firms up visually—smooth base underfoot, weeds blocked.
Folks forget fabric breathability; cheap plastic suffocates soil. Avoid skipping sand—it shifts stones later.
Now it's grounded, ready for stones.
Step 4: Place and Set the Stones
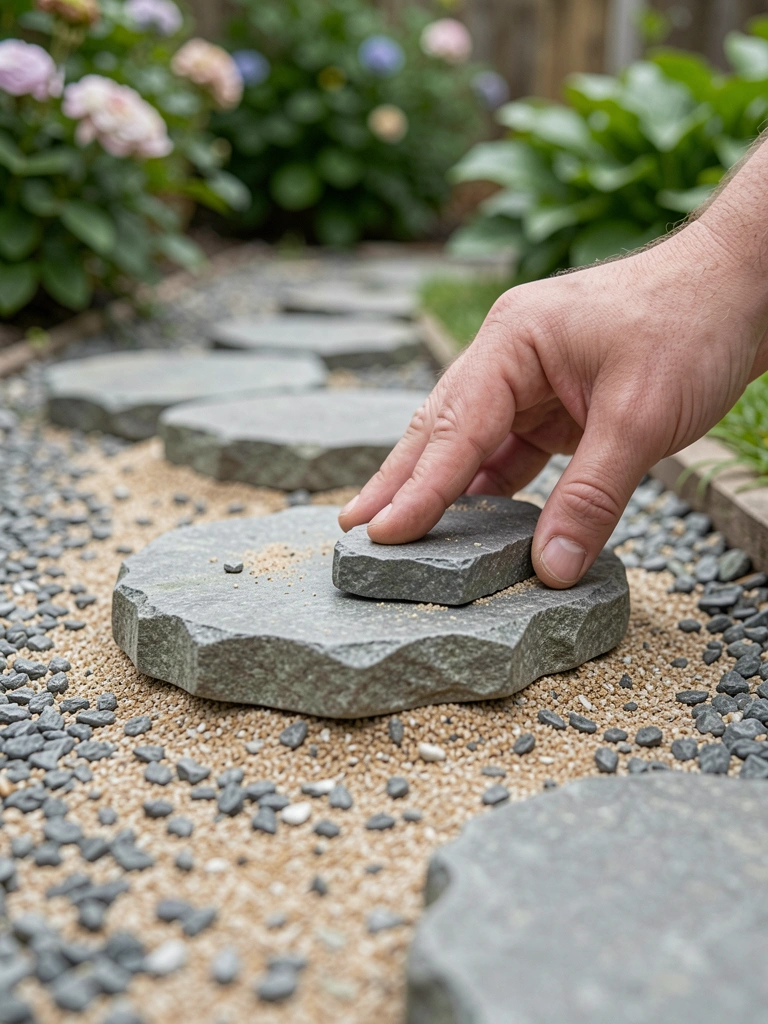
I position stones with gaps for gravel, stepping to check spacing. Tap each level with mallet. Feet land comfortably, eyes follow the line.
Stones emerge bold against base, path taking shape—balanced strides.
The insight: wider gaps soften formality. Don't butt stones tight; it looks paved, not garden.
It draws you forward naturally.
Step 5: Fill Gaps and Edge
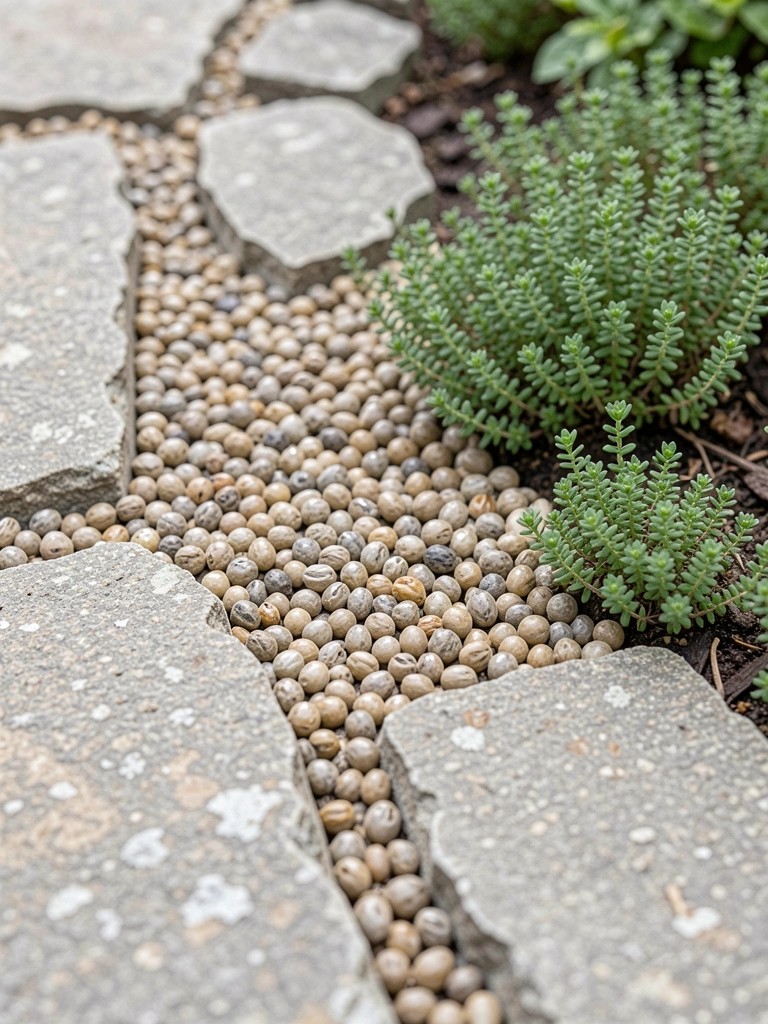
I spread pea gravel in gaps, add edging along sides. Tuck in thyme plants, top with mulch. This ties it to the garden.
The walkway blends—gravel glows soft, plants soften edges. Full balance now.
People miss plant roots needing space; overcrowd and they fail. Avoid over-mulching; it hides gravel texture.
Walk it. Feels complete.
Placement Tips for Balance
Paths work best hugging garden beds, not cutting through centers. I curve mine to frame perennials, creating pockets of calm.
Keep width to two feet—enough for one person, cozy for two. Test by walking with a basket.
- Slight downhill slope sheds water naturally.
- Avoid tree roots; they heave stones over time.
- Mirror house lines for subtle harmony.
Simple Maintenance Routine
I check after rain, raking gravel smooth. Pull weeds from fabric edges weekly.
Thyme fills gaps over summer—no mowing needed. Refresh mulch yearly.
- Hose off mud gently; no pressure washer.
- Re-level shifted stones in fall.
- Divide thyme plants every three years.
It stays lived-in with little effort.
Pairing with Nearby Plants
Flank paths with low growers like thyme or sedum. They spill over without blocking. I add taller grasses at ends for depth.
This layers texture—gravel crunch underfoot, leaves brushing ankles.
- Use drought-tolerant fillers for dry spots.
- Repeat colors from beds for flow.
- Leave breathing room; crowded paths trip.
Final Thoughts
Start with a short path section. See how it sits.
You'll gain confidence tweaking curves.
Your garden connects better. Paths like this make spaces feel whole—practical and calm. Just walk it daily.
Leave a Reply