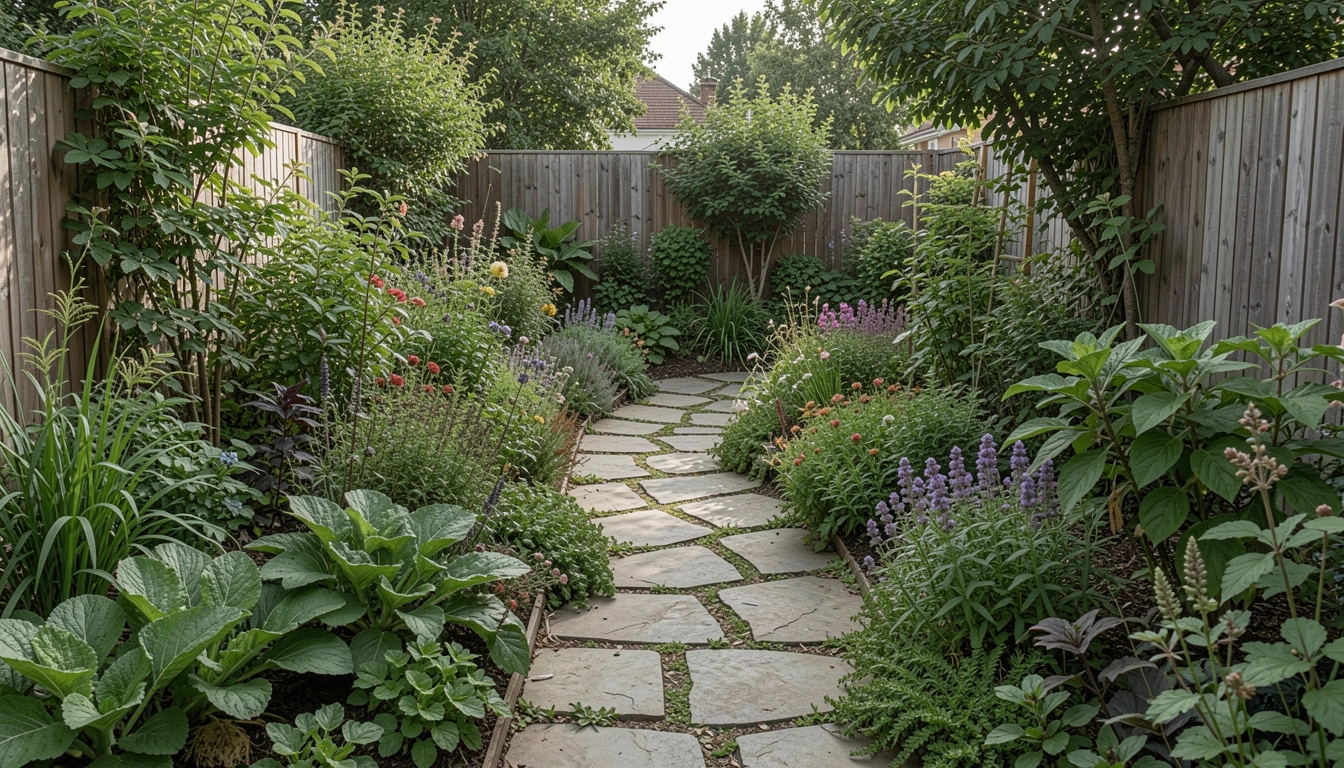
I remember staring at the muddy strip between my shed and patio. Every rain turned it into a slick mess. Walking there felt like a chore, pulling shoes out of the muck.
I wanted a path that fit the garden's easy flow. Not straight and stiff. Something that drew the eye naturally.
Once I figured the feel, it came together. Now that strip guides you right where you want to go.
How To Build A Stone Path
This shows you how I shape a stone path that settles into the garden. It curves gently, balances the space. You'll end up with a walk that feels right, pulling the garden together.
What You’ll Need
- Irregular natural flagstone pavers (12-18 inches, assorted shapes)
- Coarse gravel base (3/4-inch size, 50-pound bag)
- Landscape fabric (4-foot wide, 100-foot roll)
- Polymeric sand for joints (tan, 50-pound bag)
- Flexible garden edging (12-inch steel, black)
- Wooden landscape stakes (18-inch, pack of 12)
- Coarse sand topper (50-pound bag)
Step 1: Trace the Path's Natural Curve

I walk the line first, barefoot if warm. Feel where my steps fall naturally. That's the curve—no ruler needed.
String it out loose. Step back. It should pull your eye from start to end without forcing it. The garden breathes around it now.
People miss how a slight bend softens the whole yard. Straight paths shout; curves invite. Don't yank the string tight—let it sag a bit for life.
Avoid marking too wide at first. Narrow keeps it intimate.
Step 2: Dig Just Enough Depth

I scoop out sod and soil to about four inches. Follow that string like a riverbed. Wider spots for stepping stones feel right.
The ground levels visually—empty trench shows the path's bones. Space opens up, ready.
Insight: Test depth by placing a stone. It sits flush with grass nearby. Most dig too deep, making paths sink.
Skip over-digging turns. Smooth them; harsh drops trip the flow.
Step 3: Layer the Base for Stability
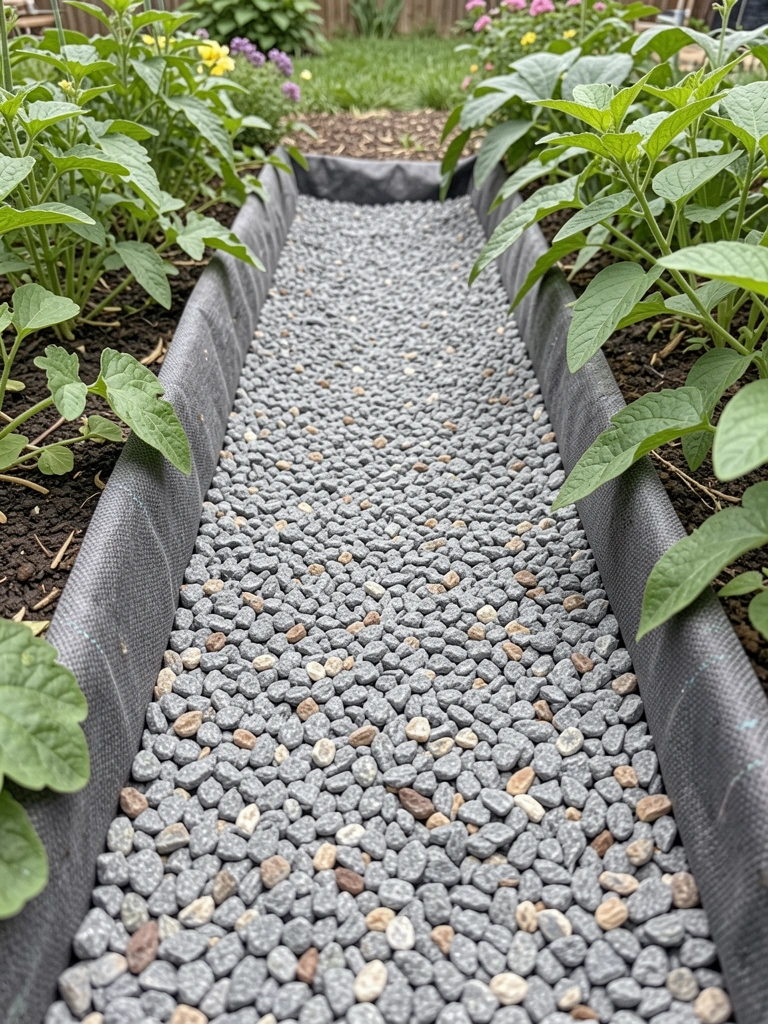
Fabric down first, overlapping seams. Then gravel, four inches thick. Tamp it firm. It cradles stones like soil holds roots.
Visual shift: Trench vanishes under even gray. Path shape locks in, balanced against borders.
Missed bit: Gravel drains rain, keeps stones from shifting. Wet sand alone turns mushy.
Don't skimp—thin base heaves in freezes.
Step 4: Place Stones for Even Flow
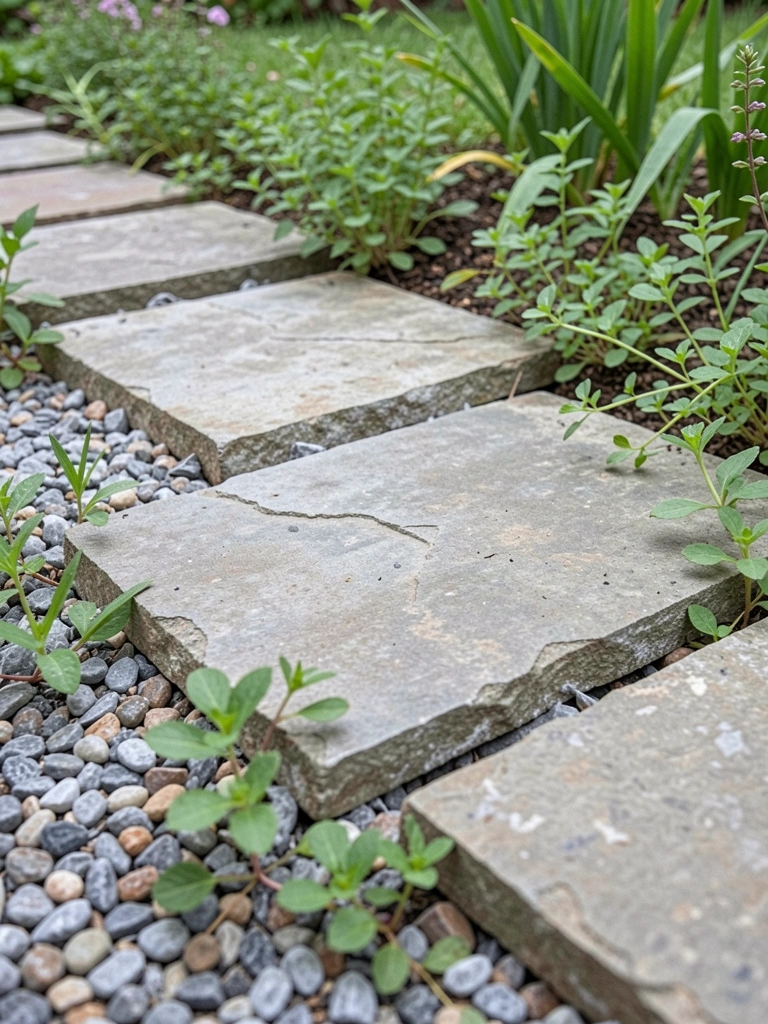
Pick largest stones for turns—they anchor. Nestle each in gravel, wiggle till level. Gaps like this? One inch max.
Path emerges solid, stepping natural. Eye follows without jarring breaks.
People overlook stone spacing. Too tight crowds; breathing room lets plants peek in.
Avoid perfect rows. Offset edges mimic nature's scatter.
Step 5: Fill and Settle the Joints
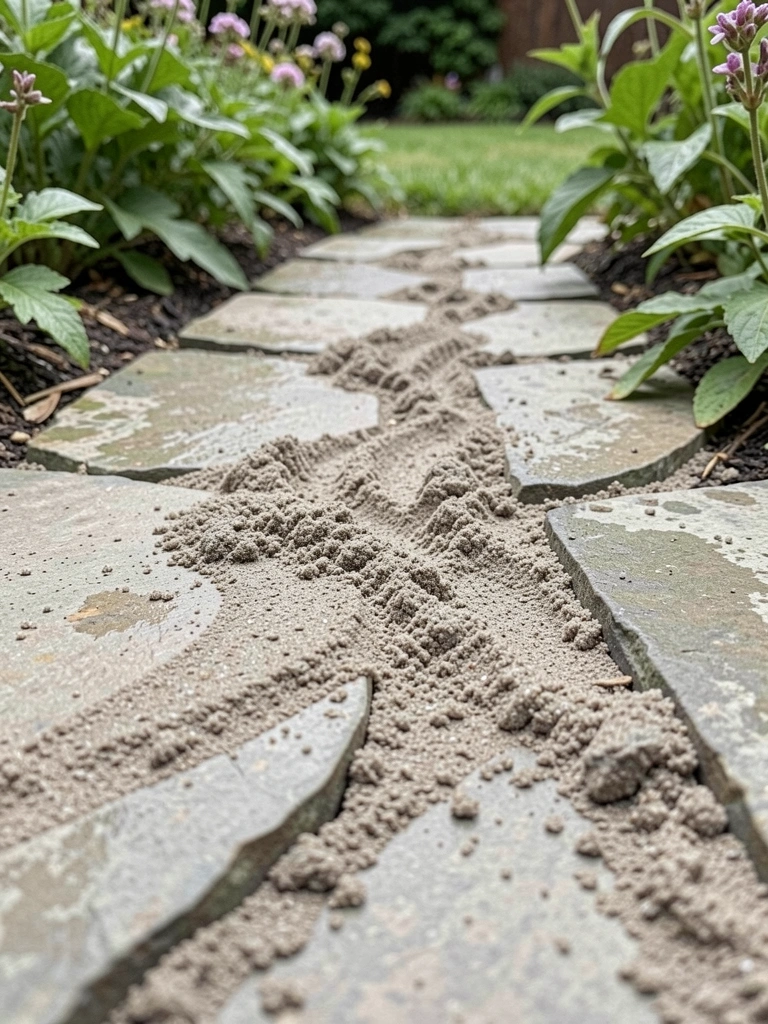
Sweep sand in dry, mist light. It sets soft but firm. Edges it clean.
Final look: Path blends, warm against green. Walk it—feels grounded.
Insight: Sand locks but flexes. Pure dirt washes out.
Mist gently once. Soak drowns it.
Choosing Stones That Fit Your Garden
I scan my yard for the garden's mood. Rough flagstone suits cottage edges. Smooth rounds work clean borders.
Size matters for balance.
- Larger for main paths—steady underfoot.
- Smaller for curves—easier turns.
Mix shapes. Uniform screams fake. Test one down first. Does it draw or distract?
Planting Alongside for Balance
Paths need company. Low plants frame without crowding.
I tuck sedum or lavender in gaps. They spill soft.
- Thyme between stones—walk on it.
- Hostas at bends—slow the step.
Keep heights under knee-high. Tall stuff hides the path.
Handling Slopes and Turns
Slopes shift feel. I step slower there, note wider stones.
For turns:
- Bank outer edge slight.
- Test walk dry.
It flows like a stream. No slips.
Final Thoughts
Start with ten feet. See how it sits.
You've got this—the path will guide your steps right.
Now your garden connects. Simple as that.
Leave a Reply