Category: Garden Ideas

  • How To Make Fairy Garden Outdoor

    How To Make Fairy Garden Outdoor

    I had this shady corner by the patio steps. Bare dirt, nothing growing right. I wanted something there, but pots felt too plain. Fairies? It sounded silly at first. Then I tried a small setup. Now it pulls the eye without trying too hard.

    That spot sits there year after year. Quiet, but alive.

    You can do this too. Even if your space feels wrong.

    How To Make Fairy Garden Outdoor

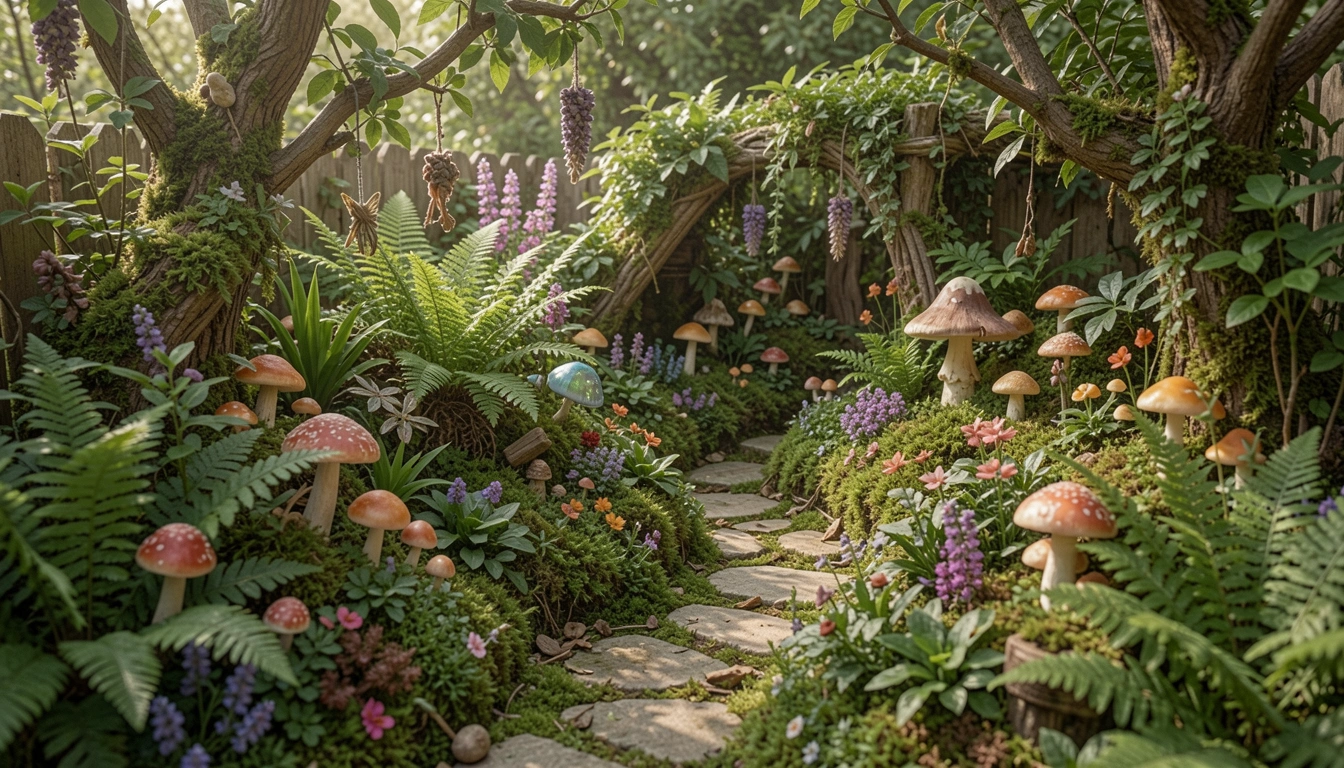
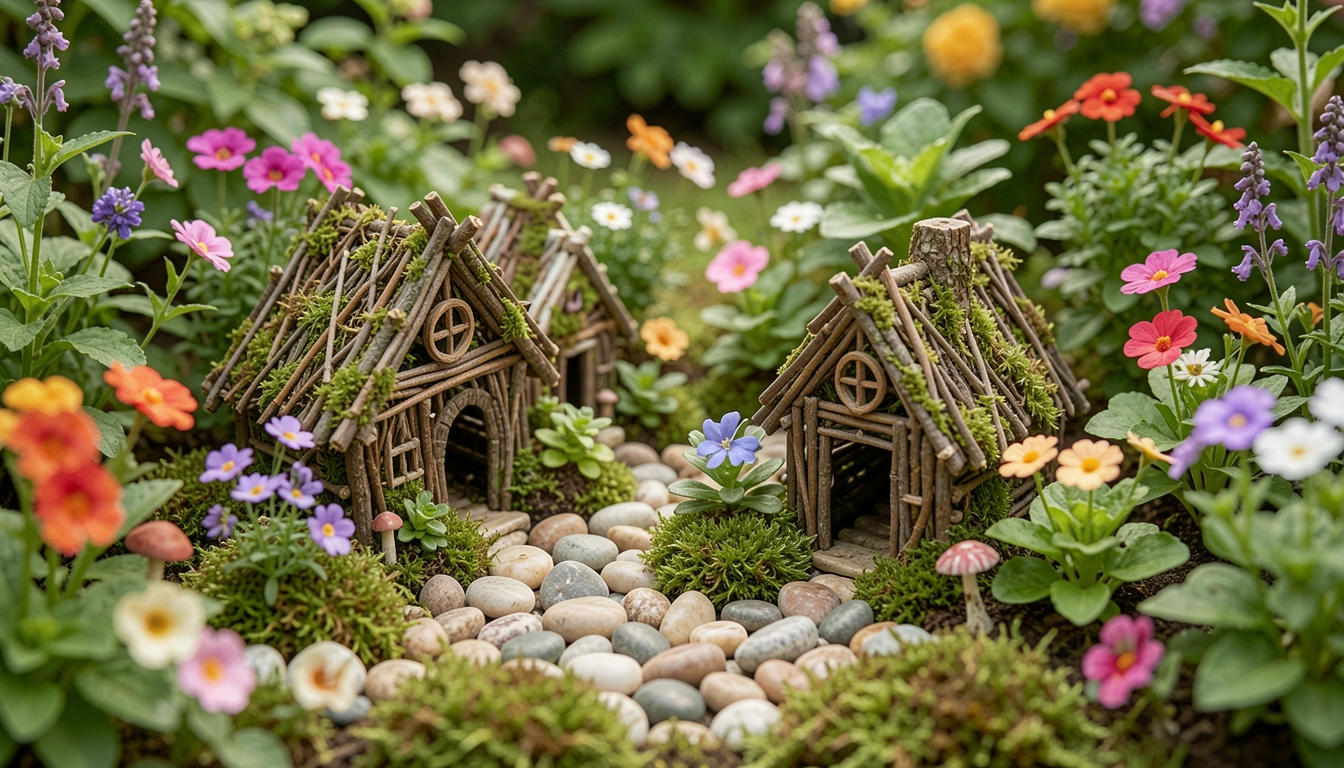
    This shows you how I settle a fairy garden outside. It ends up balanced, tucked in naturally. Fits any overlooked patch.

    What You’ll Need

    Step 1: Pick and Clear Your Spot

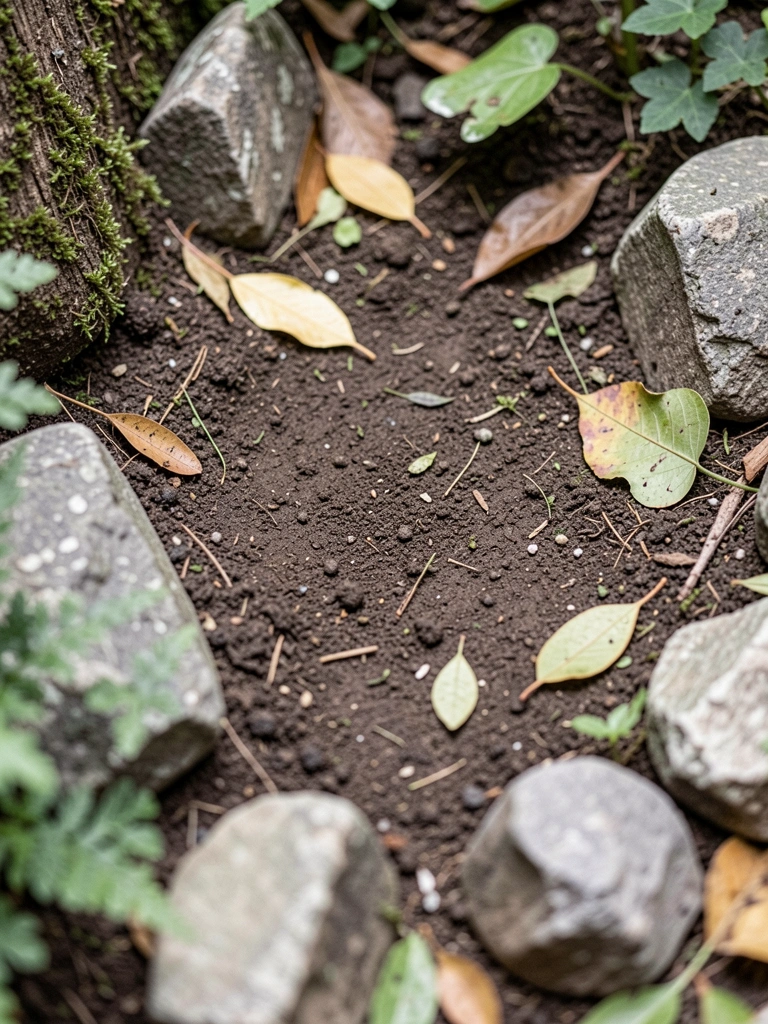
    I walk the yard looking for that forgotten place. Shady under a tree, or tucked by steps. Clears out weeds and old leaves with my hands. Why? It lets things settle even.

    Now the ground shows its shape. Empty, but ready. People miss how light hits here at different times. Test it morning and evening.

    Don't dig too deep. Just smooth the top inch. Overdoing it stirs mud that won't dry.

    I stand back. Feels open, waiting.

    Step 2: Layer the Base for Soft Ground

    I pat down soil, then lay sheet moss flat. Sprinkle Irish moss seeds light. Why? It holds moisture, keeps feet dry in tiny scale.

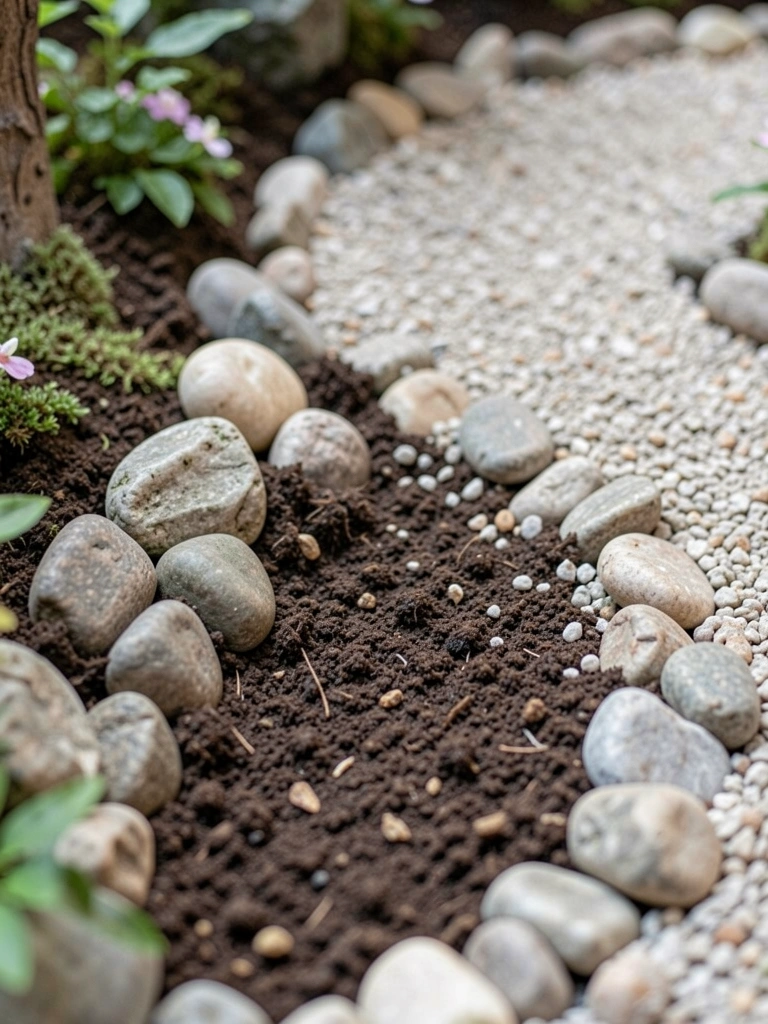
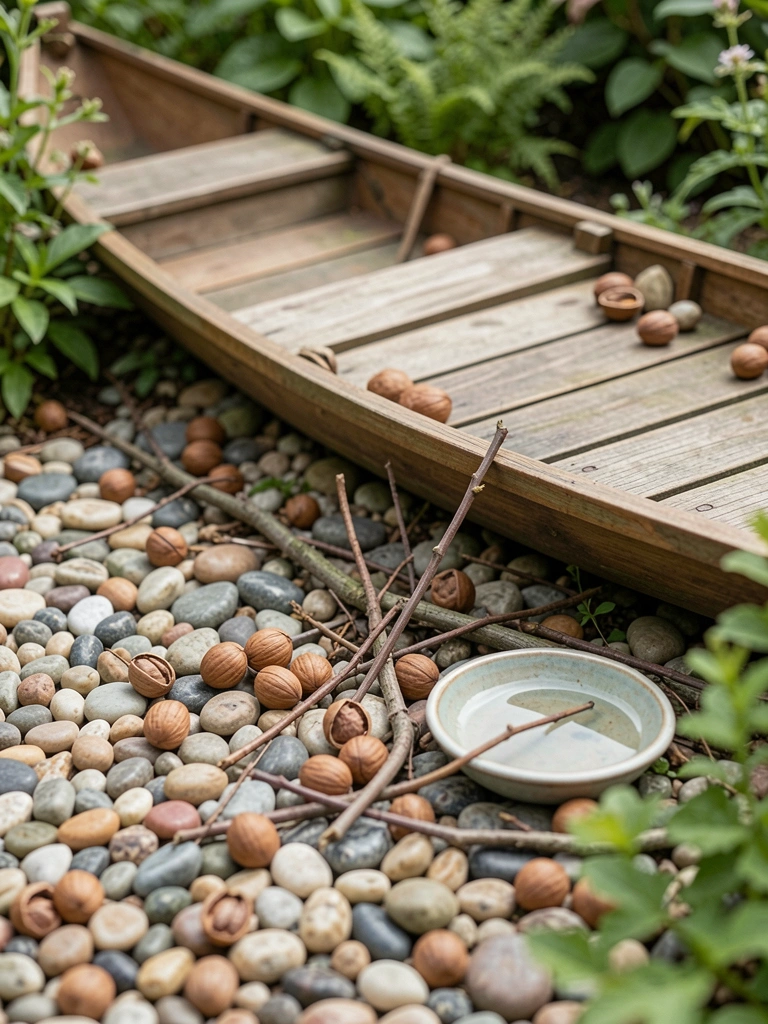
    Pebbles next, in a loose path. Visual shift: ground goes from dirt to inviting. Insight: moss softens edges, pulls it together.

    Skip thick gravel. Crushes plants later. I wet it gentle, let settle overnight.

    Now it breathes. Balanced underfoot.

    Step 3: Place the Main Structures

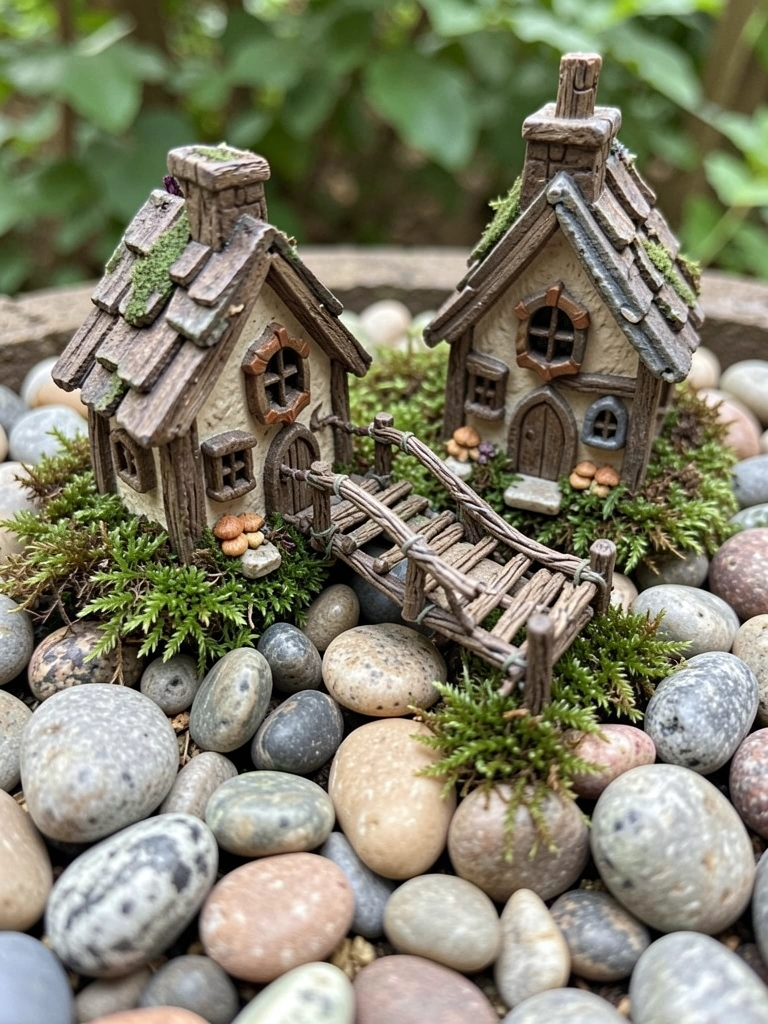
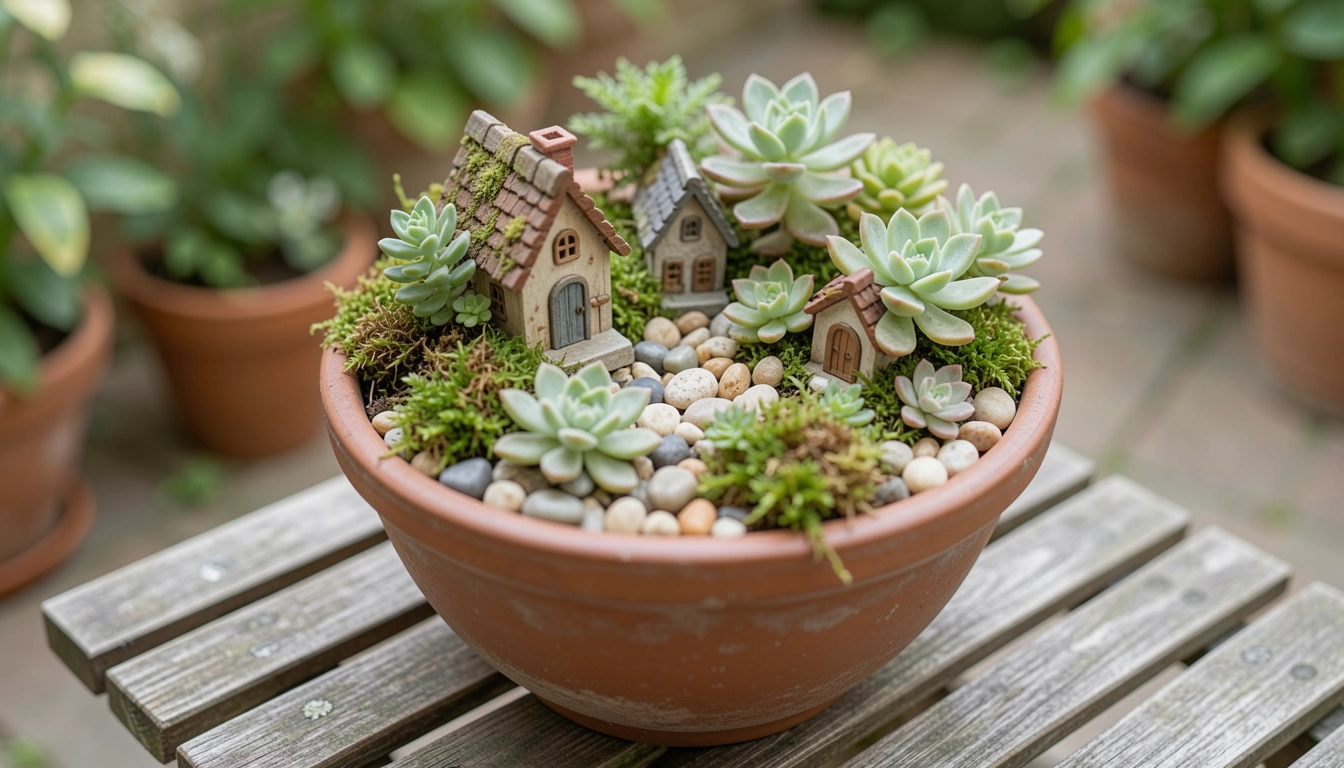
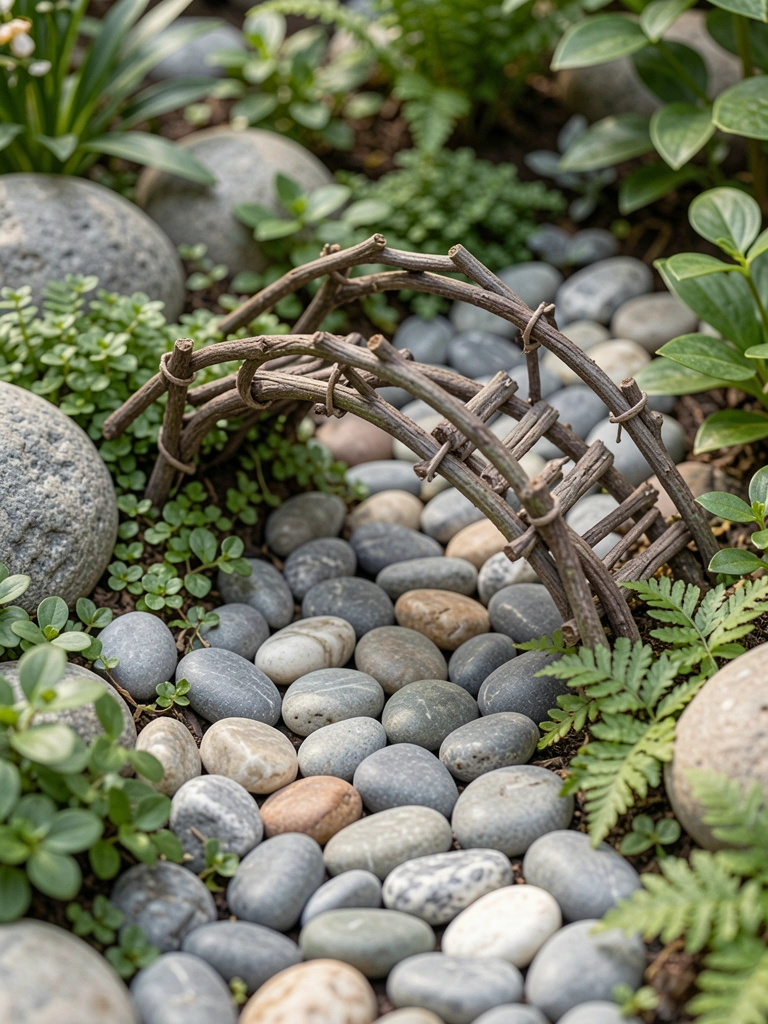
    I set the fairy house off-center first. Add mushroom houses nearby, bridge over a pebble stream. Why? Creates a path the eye follows.

    Changes everything: now there's a village feel. People overlook heights—raise one house on a pebble stack.

    Don't cluster tight. Leave air between. I nudge till it flows.

    Spot holds stories without shouting.

    Step 4: Tuck In the Greenery

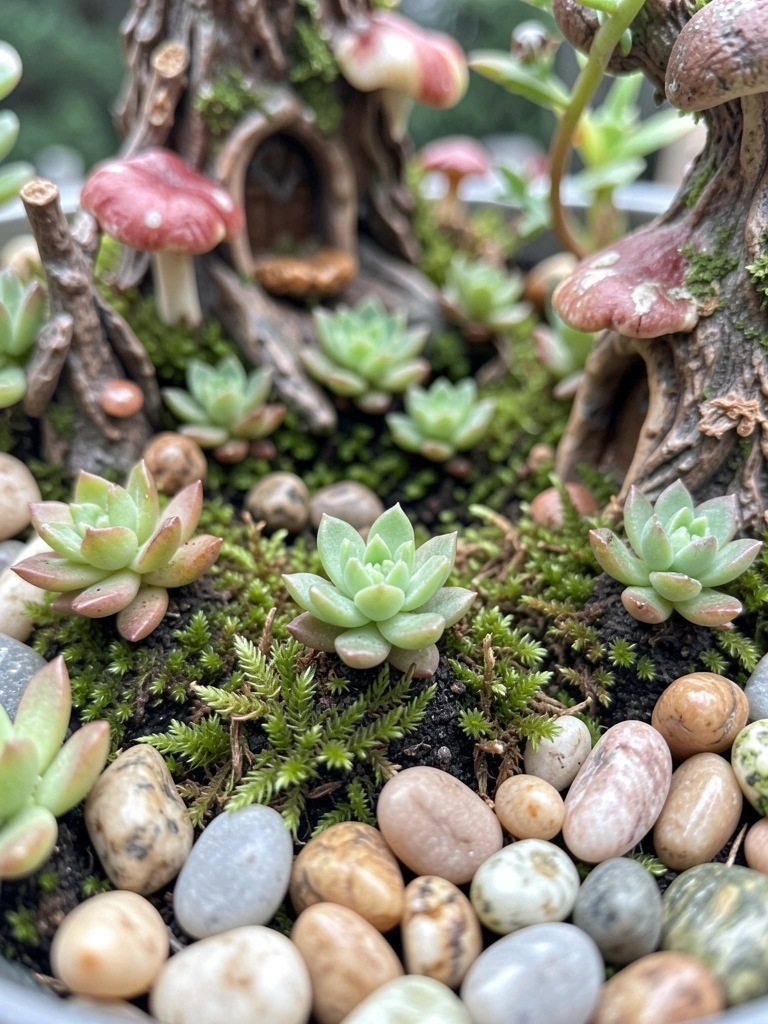
    Mini succulents go in pockets around houses. Press roots into moss. Why? They stay small, fill without overwhelming.

    Greens pop against stones now. Insight: mix heights—one tall succulent behind, low ones front.

    Avoid full sun plants here. They burn out. Water light first week.

    It greens up quiet, layers deep.

    Step 5: Add Details and Check Balance

    Tiny benches beside paths. Scatter extra pebbles. Why? Draws you in, makes it lived-in.

    Final look: cozy nooks everywhere. Miss this: step back ten feet, adjust crooked bits.

    Don't add too much. One extra piece tips it busy. I walk around, sit nearby.

    Now it's right. Stays put through rain.

    Keeping It Fresh Year Round

    I check mine weekly at first. Pull dead leaves off succulents. Moss holds up if not too wet.

    • Mist plants in dry spells.
    • Swap faded houses for fresh ones spring.
    • Let some areas go wild—it's okay.

    Winter? Pebbles stay, add pine needles. Comes back stronger.

    Fitting It to Tight Spots

    Patio corners work best for me. Or under benches.

    Scale down: one house, three plants.

    • Window box version: line with moss.
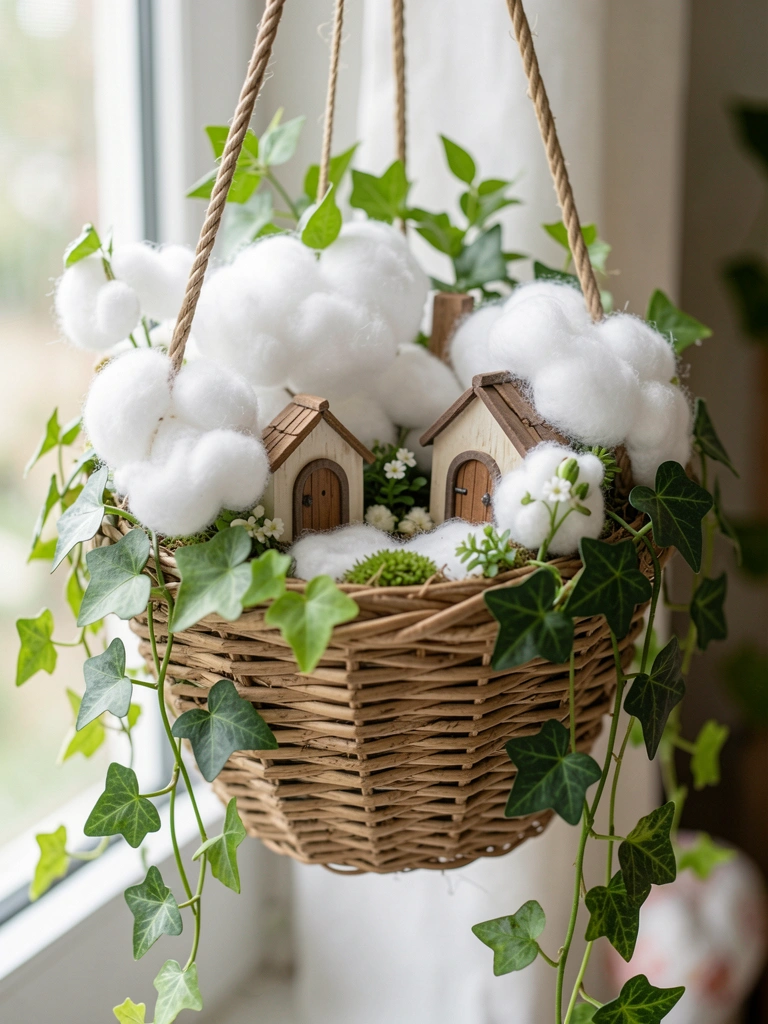
    • Hanging basket: bridge from rim.
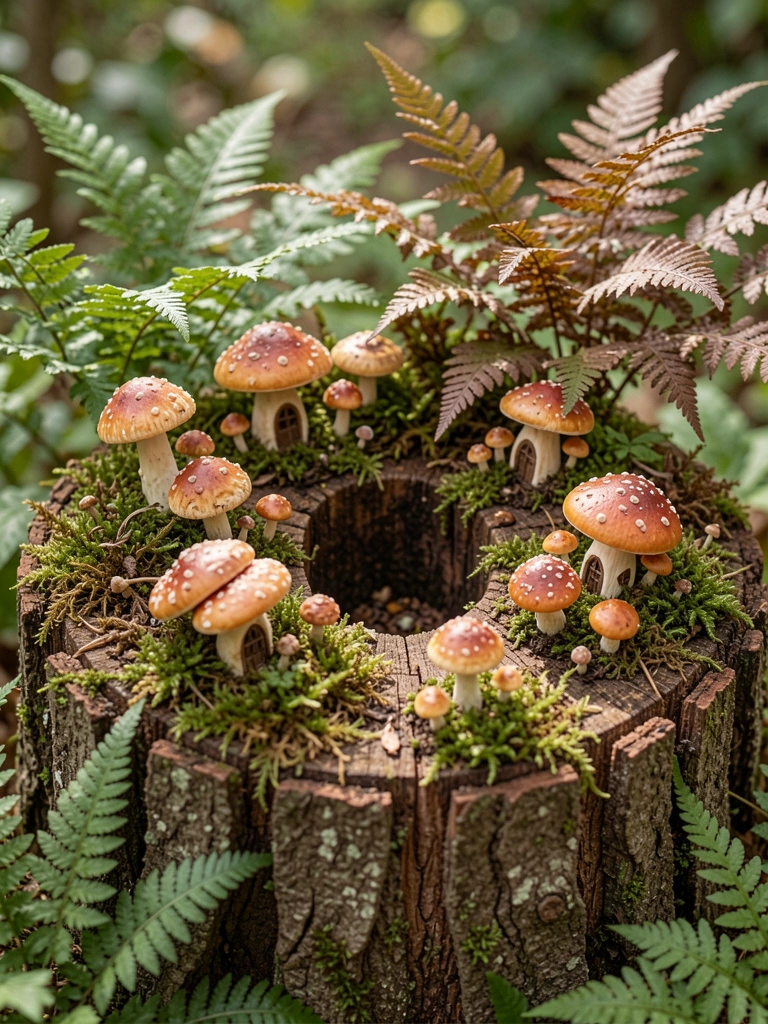
    • Tree stump hollow: perfect base.

    Keeps balance in small yards.

    Avoiding Overcrowded Looks

    Less is key. I started with too many pieces once. Felt off.

    Signs it's too much:

    • Can't see paths.
    • Plants hide houses.
    • No empty spots for eyes.

    Pull half out. Let it settle. Better every time.

    Final Thoughts

    Start with one corner. Yours might surprise you.

    It grows on you slow. Feels right after a rain.

    Your garden gets this spot now. Quiet win.

  • How To Make Fairy Garden Beautiful

    How To Make Fairy Garden Beautiful

    I'd set up a fairy garden last spring in an old pot by the patio. It started flat—bare soil, a tiny house dumped in the middle. Looked crowded or empty, no matter what I added. I stepped back, saw the problem: no sense of place, no flow.

    You know that feeling. Your spot looks like scattered toys, not a hidden world.

    I fiddled until it settled. Now it draws the eye, holds together through rain.

    How To Make Fairy Garden Beautiful

    This is the way I settle a fairy garden so it feels right—balanced paths, soft layers, quiet corners. You'll end up with a spot that pulls you in, steady and alive.

    What You’ll Need

    Step 1: Settle the Base Layer

    I start low, right in the pot or bed. Spread fine soil, then edge it with pebbles. This grounds everything—holds the wet in, keeps edges clean.

    Visually, the base shifts from mud to a quiet floor. It invites the next pieces.

    People miss how the edge pebbles echo real forest floors. Skip big rocks; they overwhelm. They make it feel like a rock pile, not a garden.

    Push them in firm, but leave gaps for paths. That one gap changes the pull of the whole spot.

    Step 2: Place the Main House Off-Center

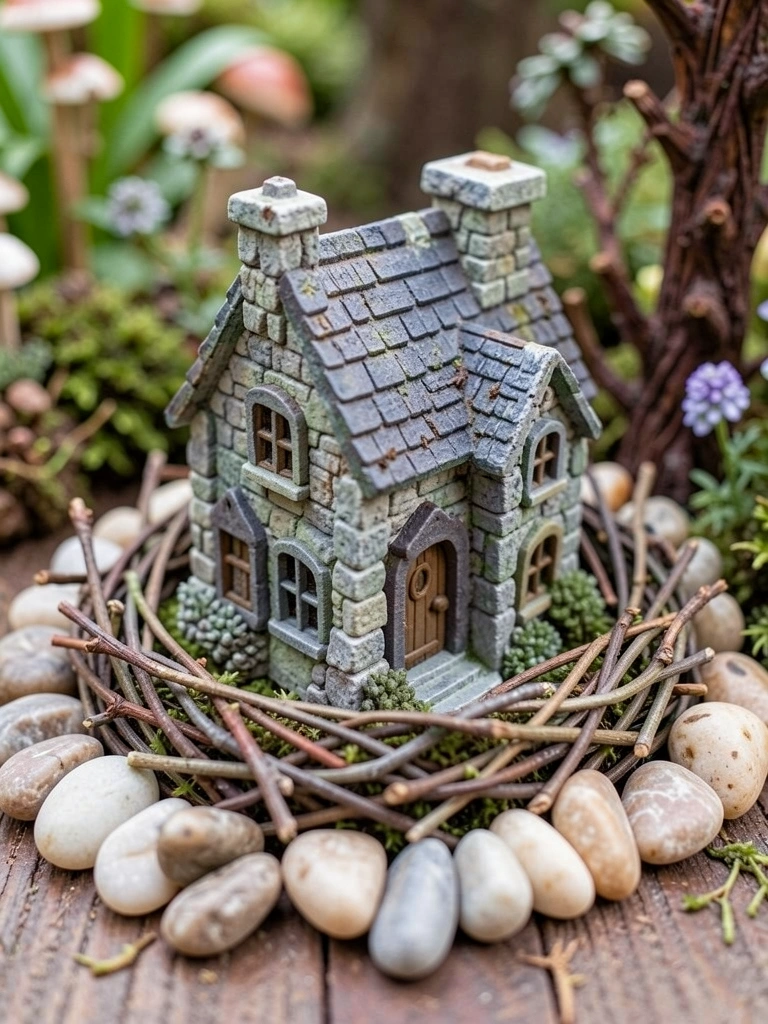
    I tuck the fairy house to one side, not smack in the middle. Lean it into a twig fence or soil mound. Why? Center feels forced; off-side makes room breathe.

    Now the space opens up—one side empty for paths, the other cozy.

    Most overlook the lean—it softens the house, like it's grown there. Don't glue it straight; tilt draws the eye around.

    Test from two angles. If it blocks flow, shift an inch. That nudge settles it.

    Step 3: Wind in a Path

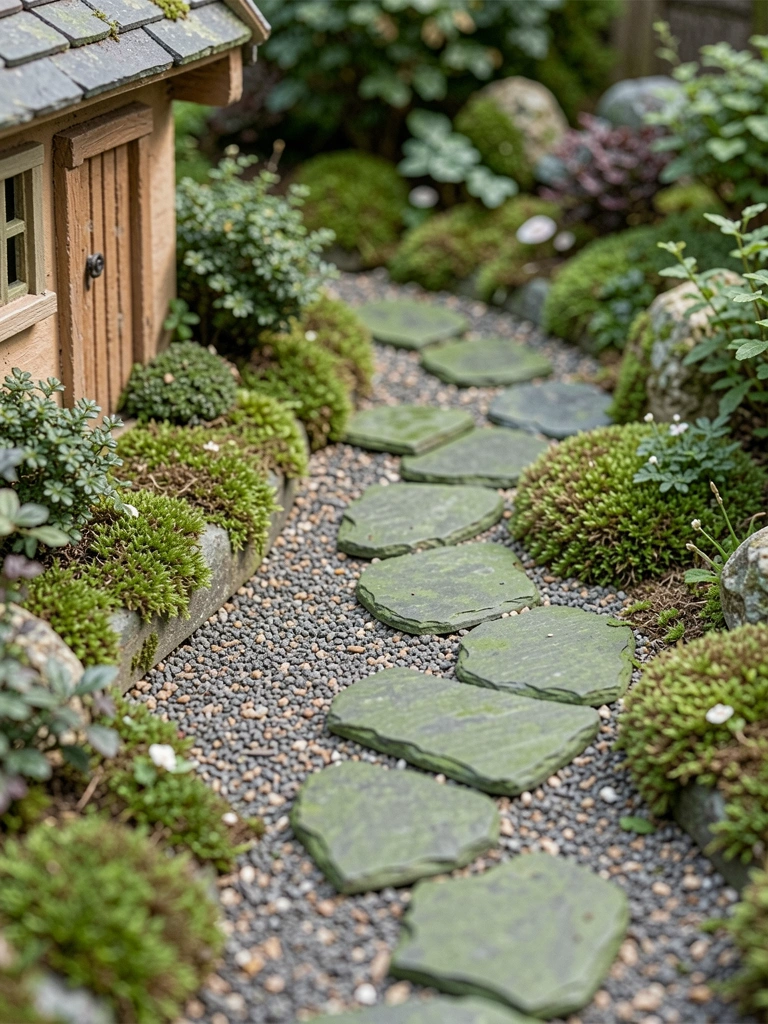
    I lay stepping stones in a loose curve from the house door. Space them wide enough for a fairy's step, fill gaps with gravel. This pulls your eye through, creates direction.

    The garden gains depth—front feels entered, back hidden.

    Folks forget paths need bends; straight lines box it in. Avoid lining them tight; gaps let moss creep, add life.

    Walk it yourself. Does it guide without rushing? Adjust one stone, feel the shift.

    Step 4: Layer Low Plants Around Edges

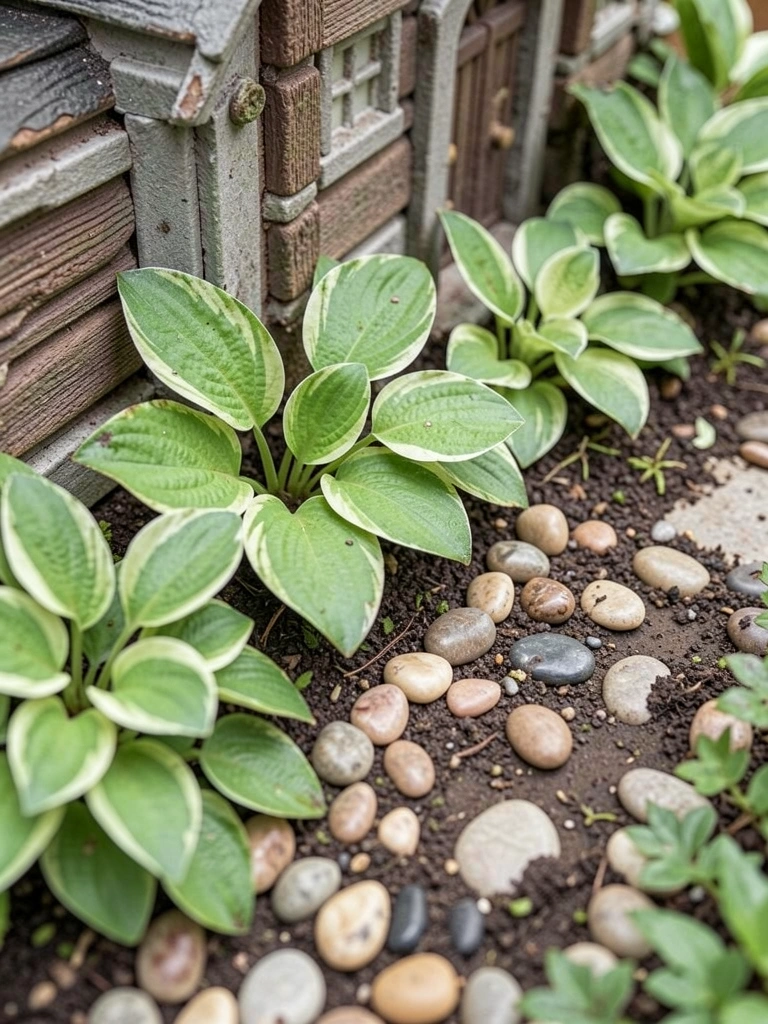
    I plant mini hostas or ferns along the back and sides, not front. Pat soil firm, mulch lightly. They frame without crowding, soften hard edges.

    Colors warm up—greens hug the house, make paths pop.

    The miss is planting too full; thin spots let light play. Don't overwater new ones; soggy kills the balance quick.

    Stand back. Plants should whisper, not shout. Trim a leaf if it pokes.

    Step 5: Add Quiet Accents for Balance

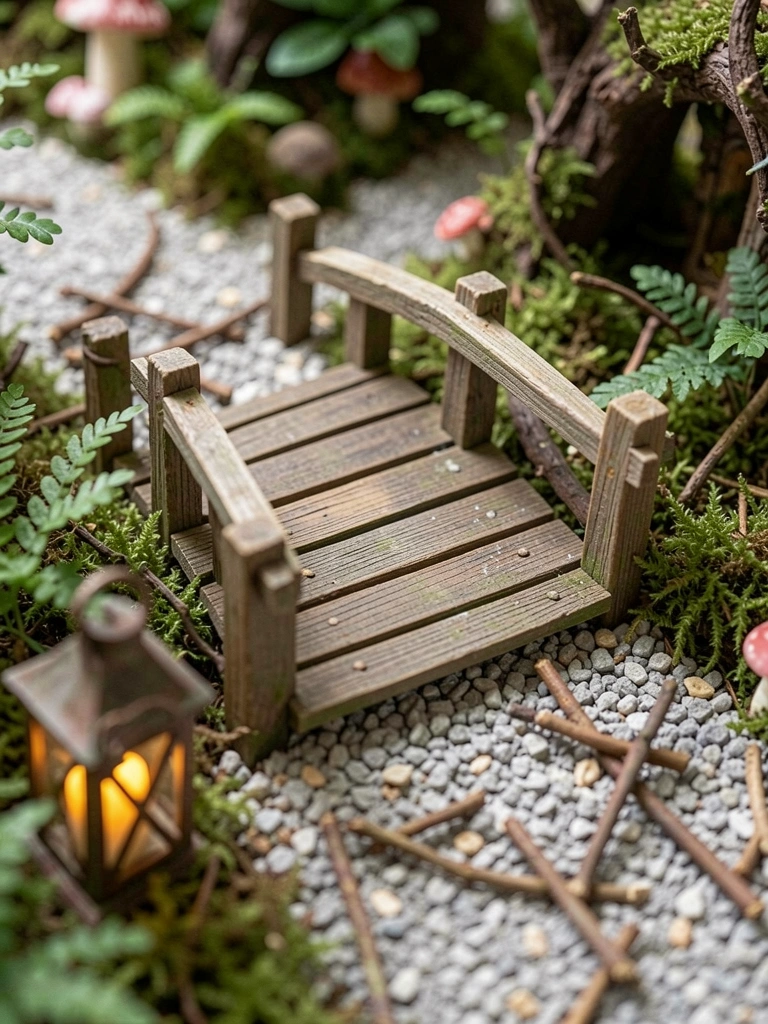
    I drop in the bridge over a path dip, lantern by a plant base, a few twigs loose. Place for echo—bridge answers the house curve.

    Now it holds together, every bit in talk.

    People pile accents center; spreads them out instead. Skip shiny bits; they jar the calm.

    Step away, water light. Does it settle or fight? One less twig often fixes it.

    Handling Uneven Spots

    I've got sloped beds where fairy gardens slide. I level with extra soil first, then pebble walls.

    • Build low berms on down slopes—holds plants steady.
    • On flats, mound center slight for drainage feel.

    Watch rain first week. Adjust if pools form. Keeps the lived-in balance.

    Scaling for Containers

    Pots cramp fairy worlds. I pick wide, shallow ones—room without tall sides blocking.

    Short plants front, house mid. Paths hug curves.

    Test scale: house half pot height max. Oversize kills cozy pull.

    Keeping It Through Seasons

    Rain fades gravel, weeds sneak. I refresh mulch twice yearly, pull strays gentle.

    Winter, tuck dry moss over beds. Spring, new hostas revive.

    No big cleans—patina builds the real feel.

    Final Thoughts

    Start with one pot corner. Mess it up, shift pieces—it's yours.

    You'll see the flow click. That quiet pull comes from nudges, not perfection.

    Now your spot sits right, draws a longer look. Get hands in soil.

  • 7 Diy Fairy Garden Ideas In Pots For Small Spaces

    7 Diy Fairy Garden Ideas In Pots For Small Spaces

    I remember squeezing a fairy garden into a rusty pot on my fire escape years back. No room for big beds, just this urge to make something alive and tucked away. It drew my eye every morning, pulling me outside.

    Those first tries taught me pots keep things contained—no sprawl, just focus. Now I do them for patios, counters, even windowsills.

    They make tight spots feel breathed into. You can too, starting small.

    7 Diy Fairy Garden Ideas In Pots For Small Spaces

    Here are 7 DIY fairy garden ideas in pots, made for balconies, patios, or counters. They're straightforward, forgiving, and fit where space is short. Let's get into them.

    1. Mossy Hamlet Tucked in a Shallow Tray Pot

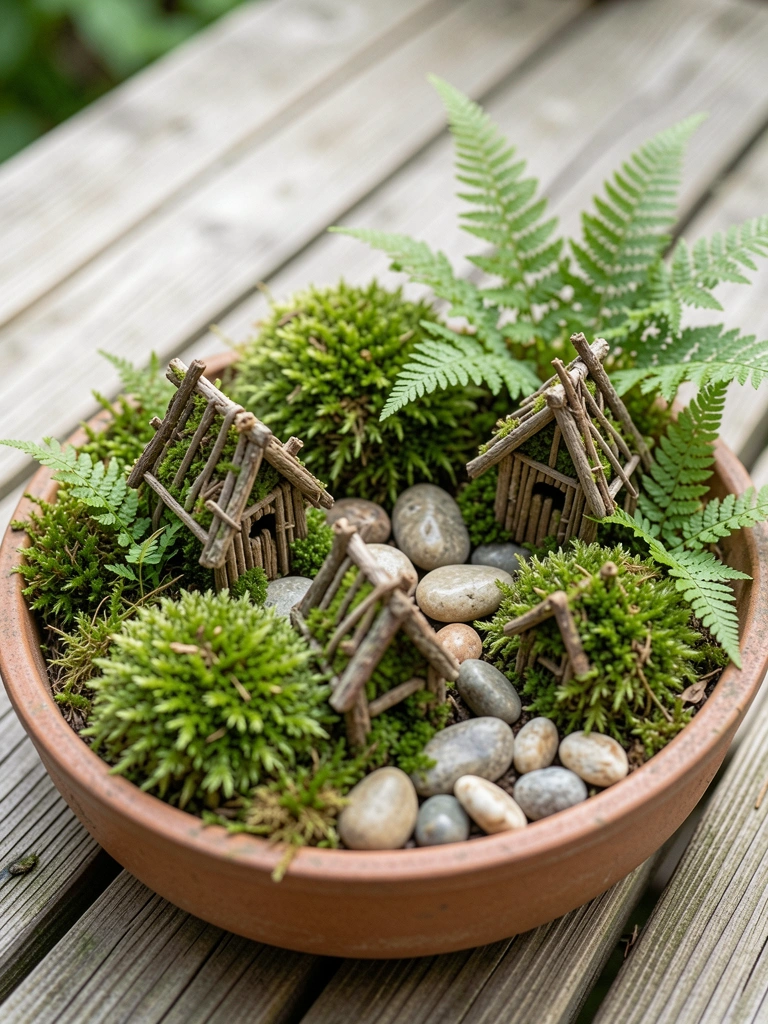
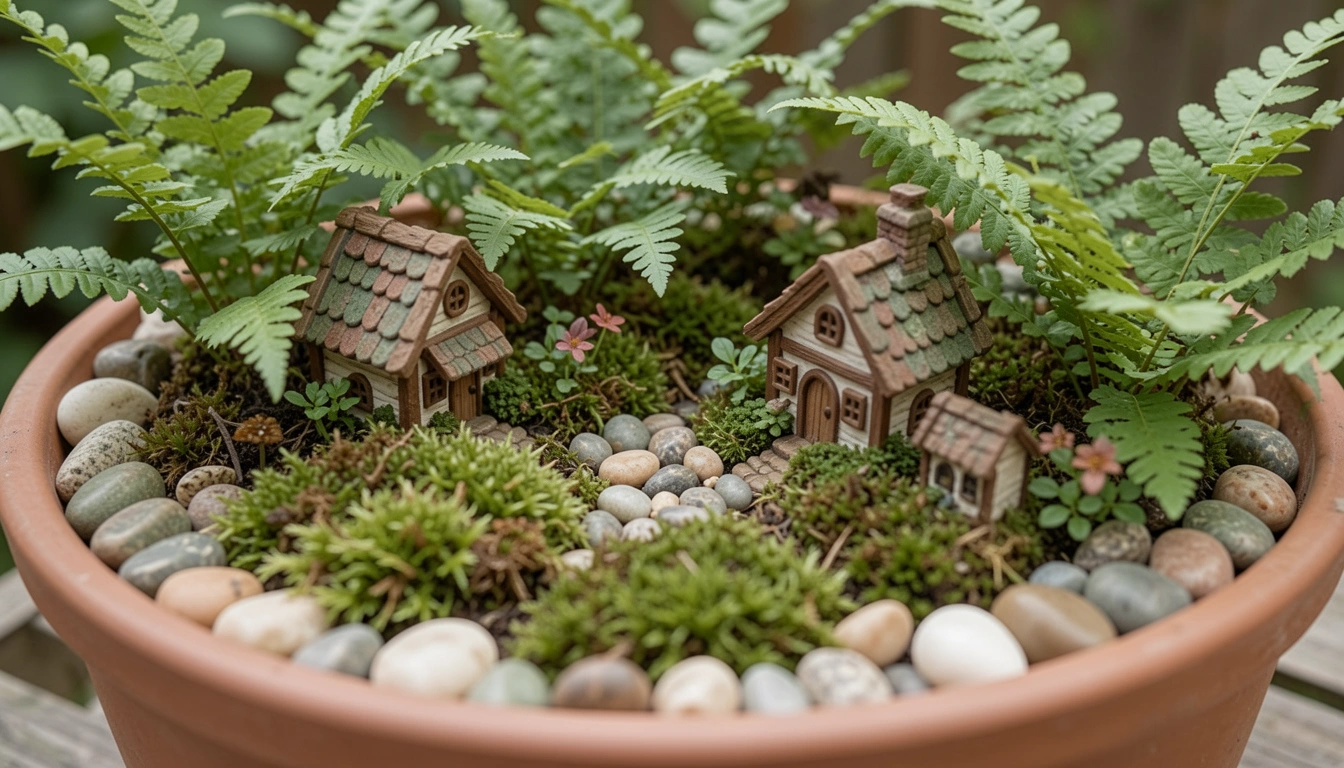
    I grabbed a wide, shallow pot for my back steps last spring, piled in sheet moss from the yard, and dotted it with little twig shelters. The moss softened everything, like a forest floor shrunk down. It pulled the concrete area into something softer, more inviting to sit by.

    What surprised me was how the moss held moisture just right—no daily watering needed. Fern fronds uncurled slow, adding height without crowding.

    Watch the drainage holes; I skipped rocks once and got soggy spots. Layer gravel first.

    Keep it damp, not wet, and it'll green up your corner reliably.

    What You’ll Need for This Look

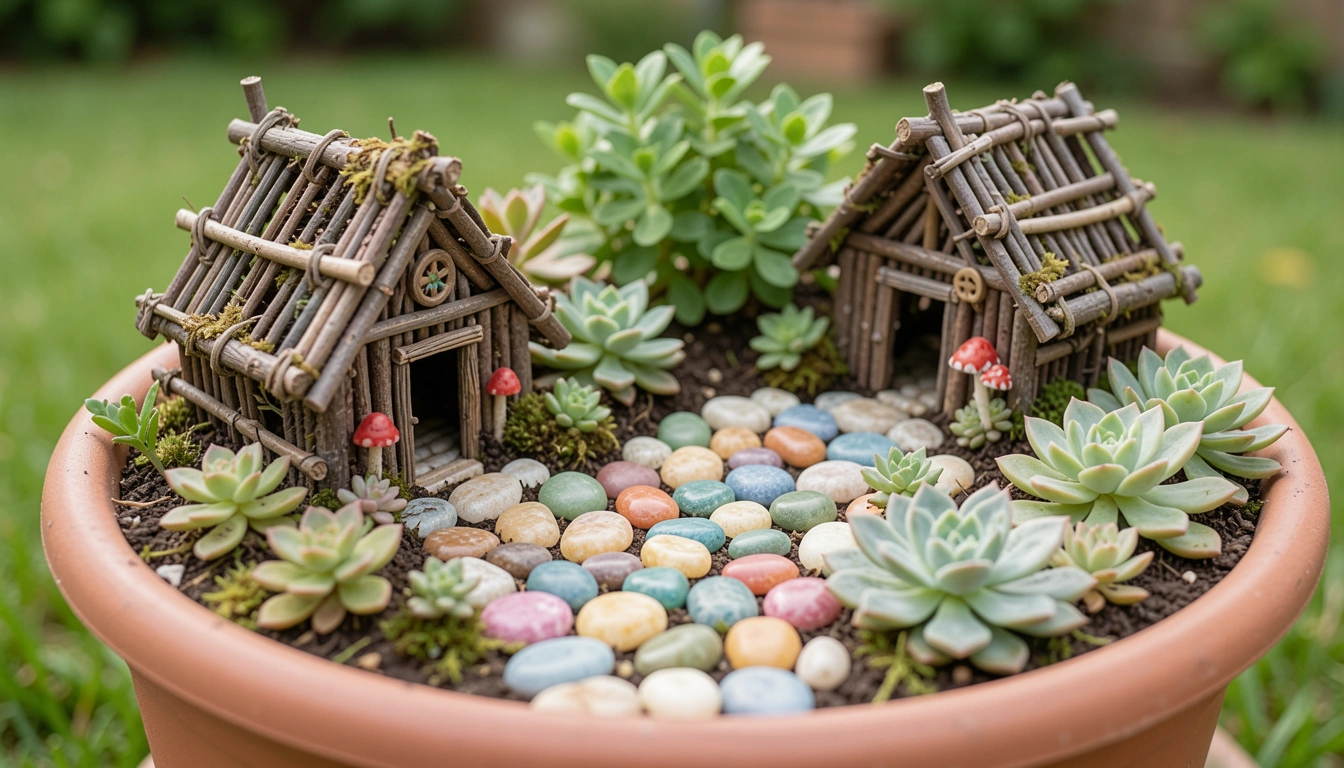
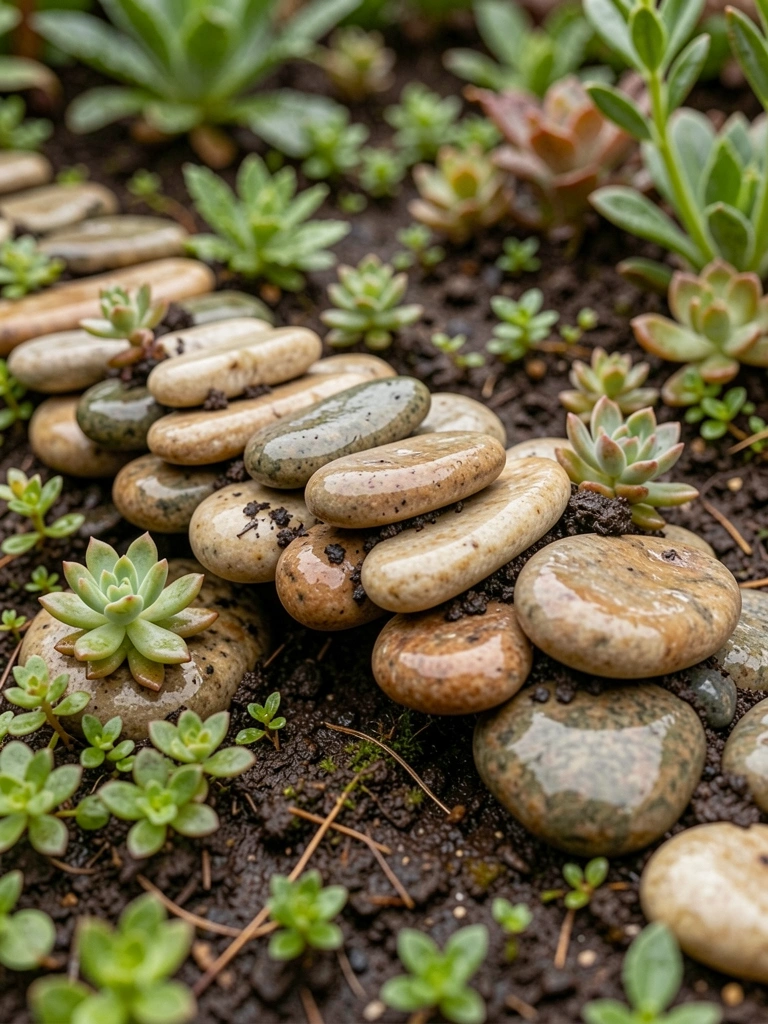
    2. Succulent Village with Pebble Pathways

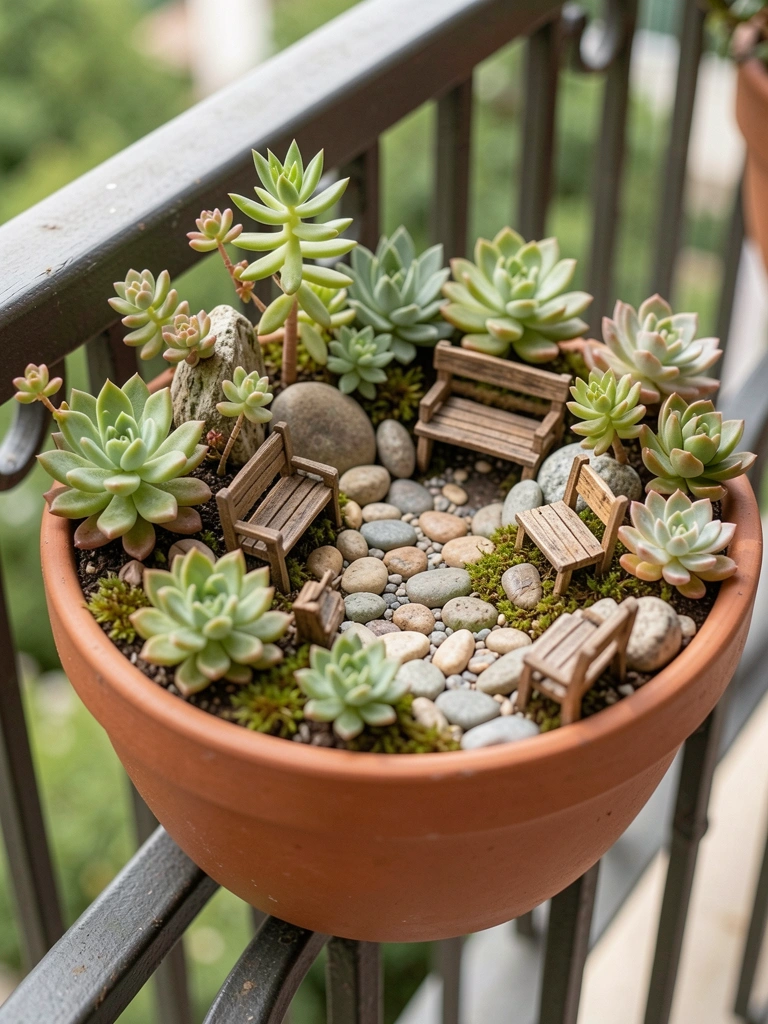
    My apartment balcony got this low pot of echeverias and haworthias, edged with winding pebble lines like tiny roads. I added benches from acorn caps—simple glue job. It turned a bare rail into a scene that caught sun all day.

    The succulents stayed plump through heat waves, needing water just weekly. Colors deepened, pinks and blues popping against gray stones.

    I overpacked once, so they leaned—space them loose now. Paths keep it from looking messy.

    Feels calm, like a spot fairies might rest.

    What You’ll Need for This Look

    3. Herb Patch Retreat with Stone Circles

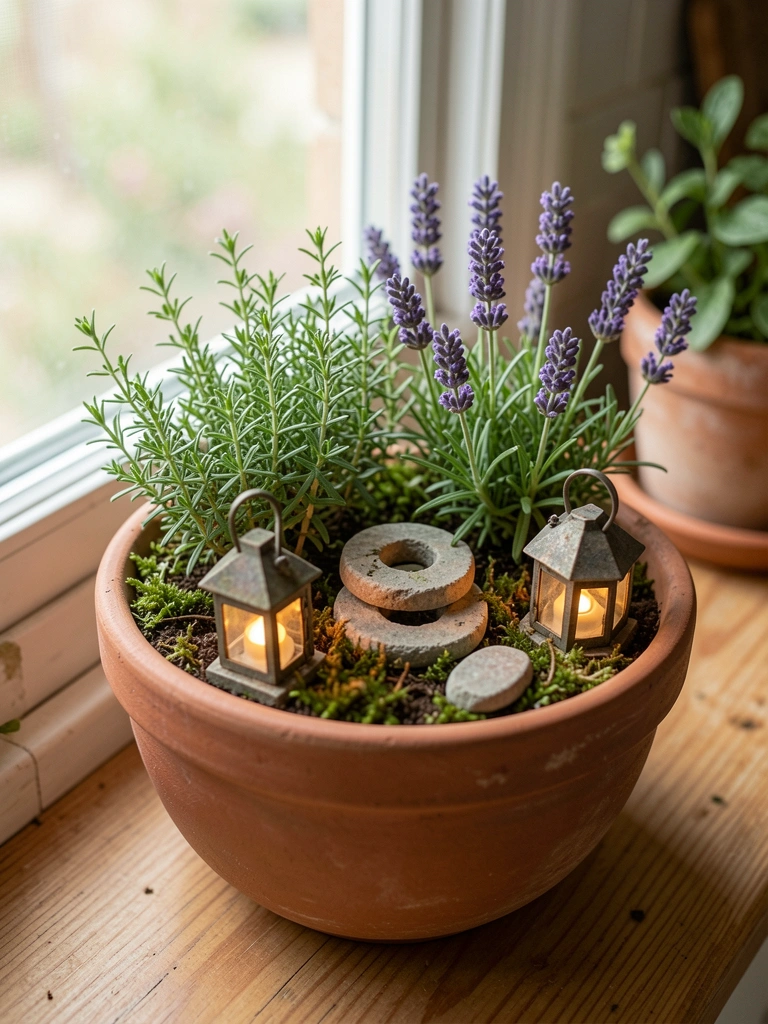
    I set a deep pot by the kitchen door with creeping thyme and baby lavender, ringed by flat stones into little clearings. Fairy lanterns from nuts tucked in. The scent hits when you brush past—fresh, everyday magic.

    Herbs bounced back from my forgetting to trim once; now they mound neat. Greens softened the pot's edge.

    Drainage matters—thyme hates wet feet. Mix in sand.

    It smells better than it looks, drawing you close.

    What You’ll Need for This Look

    4. Wildflower Meadow in a Rustic Crate Pot

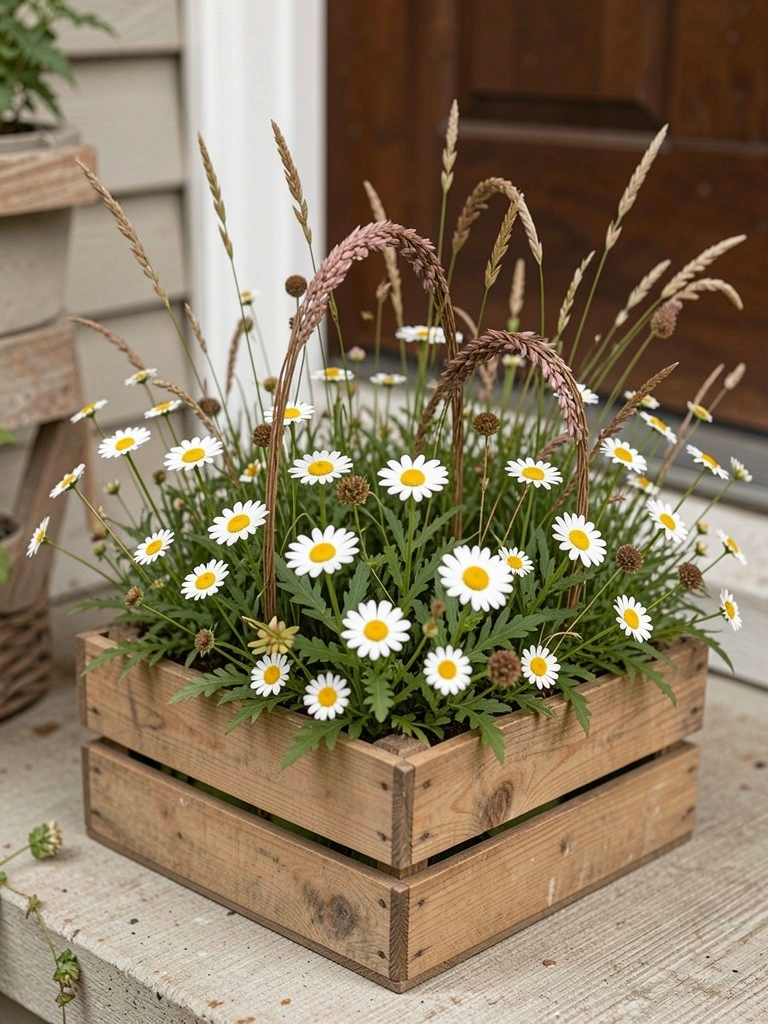
    An old crate pot on the porch steps got wild daisy seeds and fescue grass, with twig arches over paths. Blooms came uneven at first—charming, not polished. It waved in breeze, making the entry feel open.

    Grasses filled gaps where flowers lagged. Self-seeds now.

    I planted too deep once; surface-sow seeds. Mist daily till up.

    Brings birds close, softens hard lines.

    What You’ll Need for This Look

    5. Pebble Pond Fairy Oasis

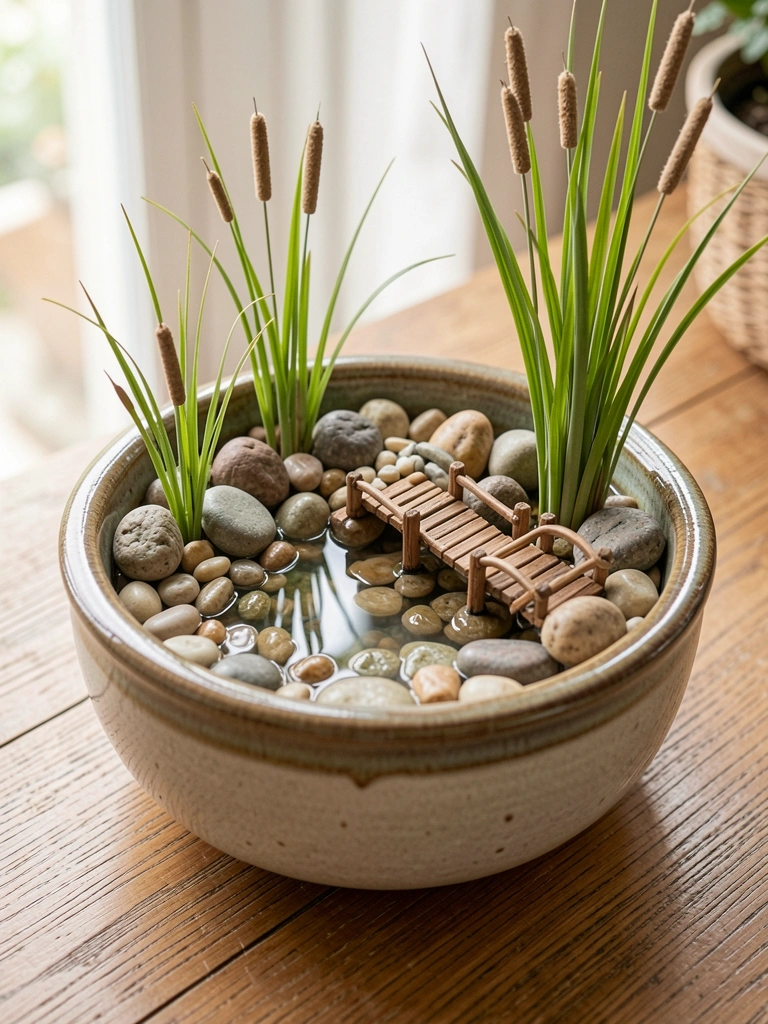
    I hollowed a pot's center for a pebble-lined water dish, ringed with dwarf reeds and a twig bridge. On the patio table, it reflected light, drawing dragonflies. Kept moist, plants thrived.

    Reeds grew taller than expected—trimmed them back. Balance water level.

    Don't let it dry out fully. Algae? Shade cloth helps.

    Sounds trickle if wind hits—peaceful.

    What You’ll Need for This Look

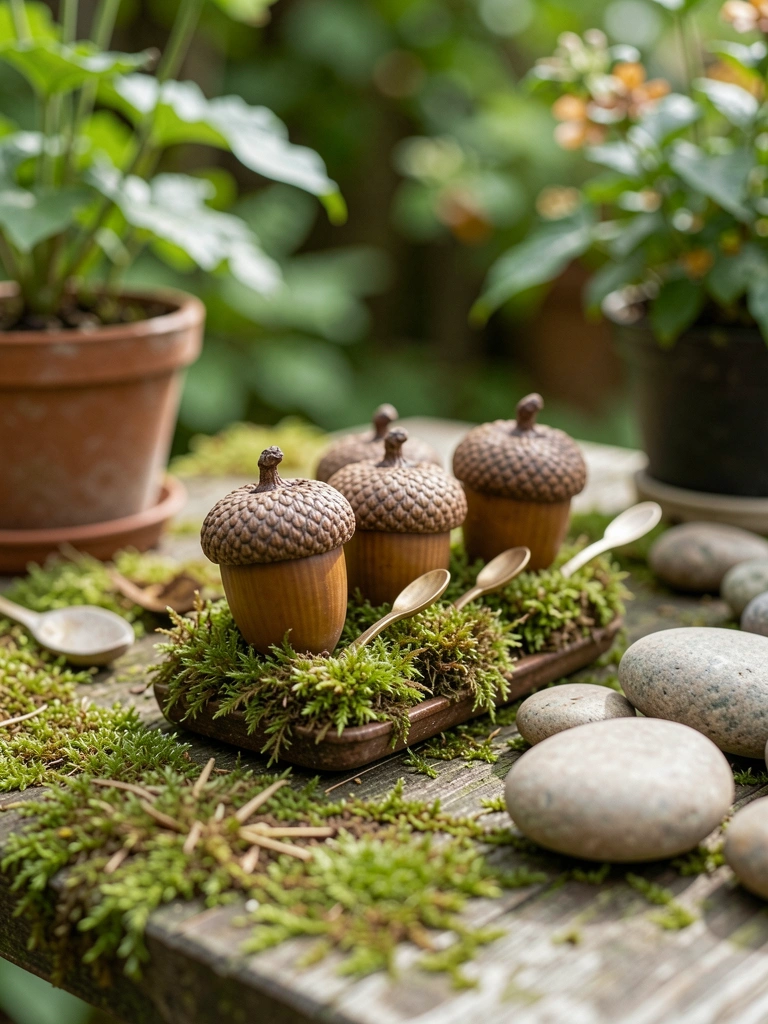
    6. Acorn Cottage Cluster on a Hill

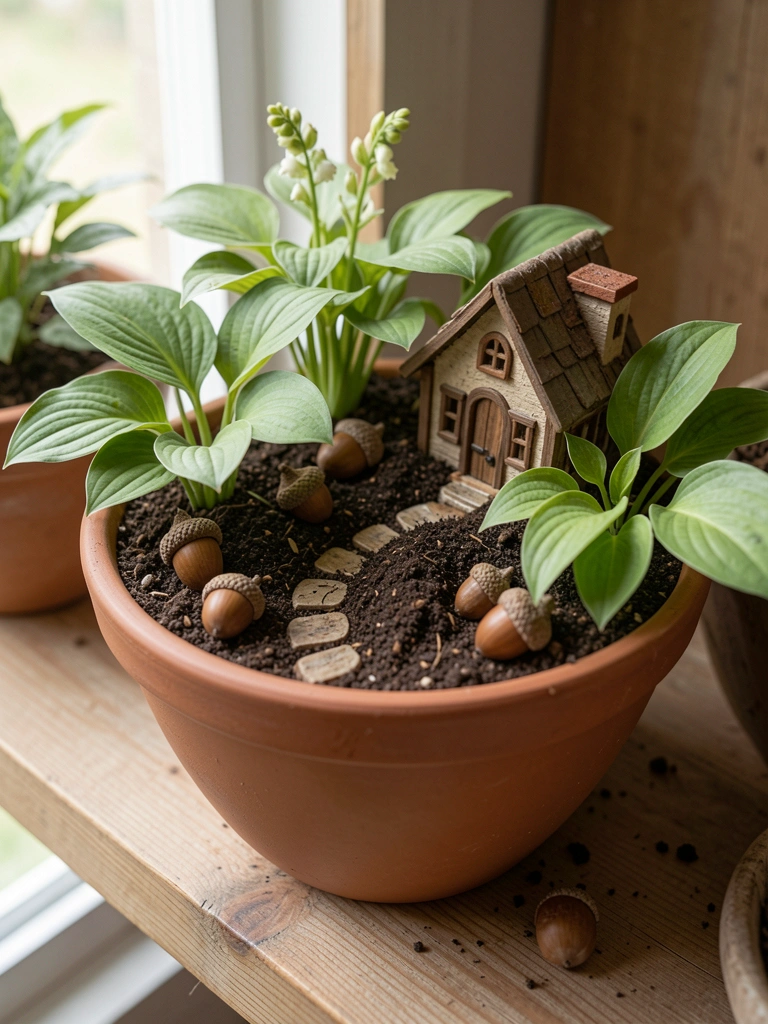
    A sloped pot on the shed shelf got mounded soil for hills, acorn halves as cottages, pathed with bark. Mini hostas greened it up. Felt like a hillside village from afar.

    Hostas shadowed paths nicely. I glued acorns wrong once—use hot glue sparingly.

    Mound soil firm. Water from bottom.

    Tucks anywhere, grows cozy.

    What You’ll Need for This Look

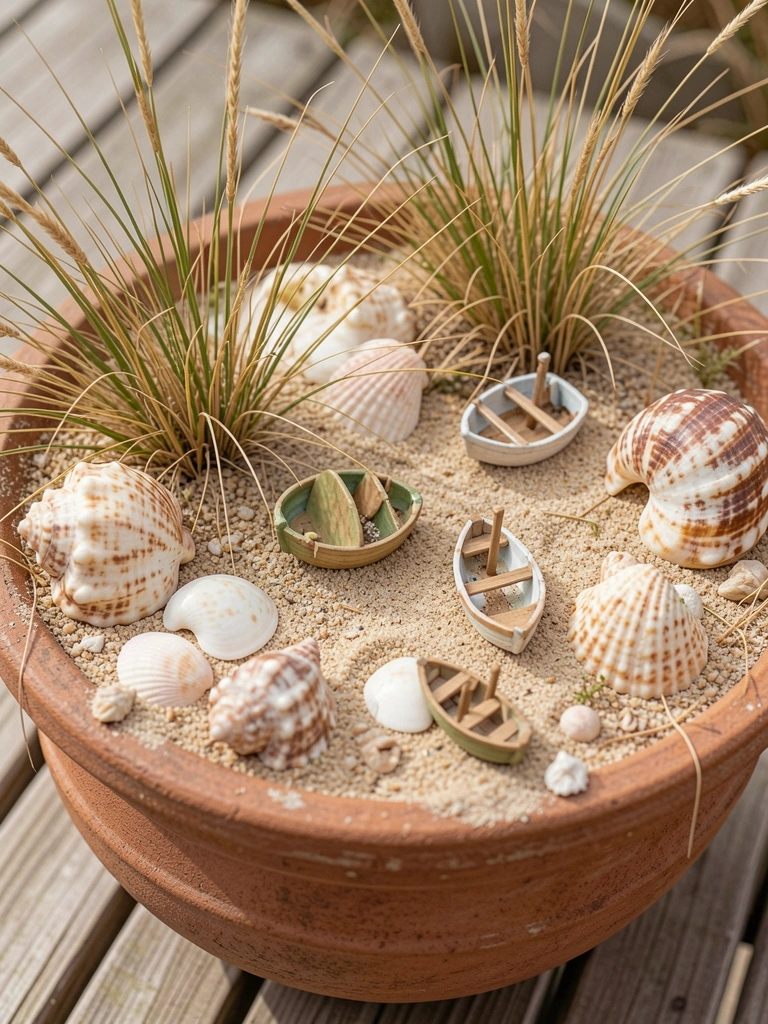
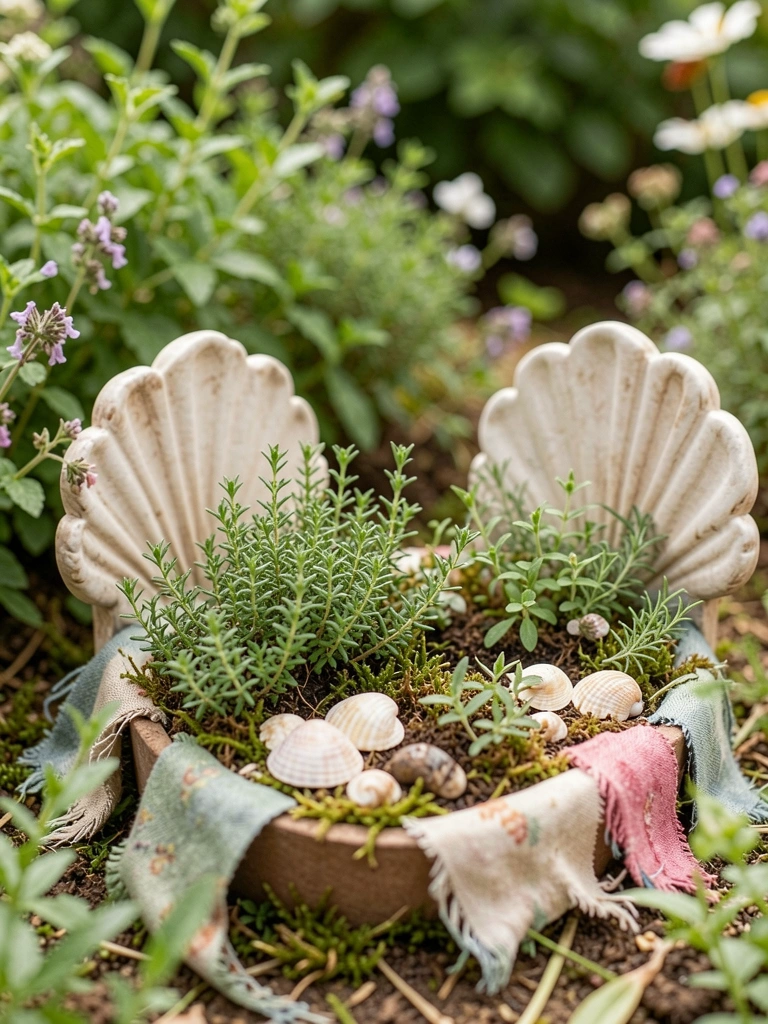
    7. Seashell Cove with Dune Grasses

    Wide pot on the deck mimicked a cove—coarse sand base, shells for homes, dune grass tufts, leaf boats. Wind shaped the grasses soft. Brought beach feel inland.

    Grasses rooted shallow; easy. Sand drained fast—no rot.

    Packed shells tight once; space for growth. Refresh sand yearly.

    Feels like escape in a pot.

    What You’ll Need for This Look

    Final Thoughts

    Pick one idea that fits your spot—no need for all seven. Start small; they'll settle in over weeks.

    Mistakes happen, like mine did, but pots forgive quick tweaks. Yours will feel right soon.

    You've got this—grab a pot and dig in.

  • 21 Diy Fairy Garden Ideas For Kids For Creative Play

    21 Diy Fairy Garden Ideas For Kids For Creative Play

    Last spring, my nephew hauled a cracked pot into the yard, demanding fairies live there. I laughed, then knelt down with him. We poked holes for roots and added sticks. Hours later, he guarded it like treasure.

    That mess turned into his favorite spot. Kids don't need fancy—they need dirt under nails and a spot that feels theirs.

    I've built dozens since. Real gardens, real play. No perfection.

    21 Diy Fairy Garden Ideas For Kids For Creative Play

    These 21 DIY fairy garden ideas for kids come straight from my backyard trials. Simple builds with stuff you have or grab cheap. Tough for rough play. Exactly 21 ideas ahead—pick one and start today.

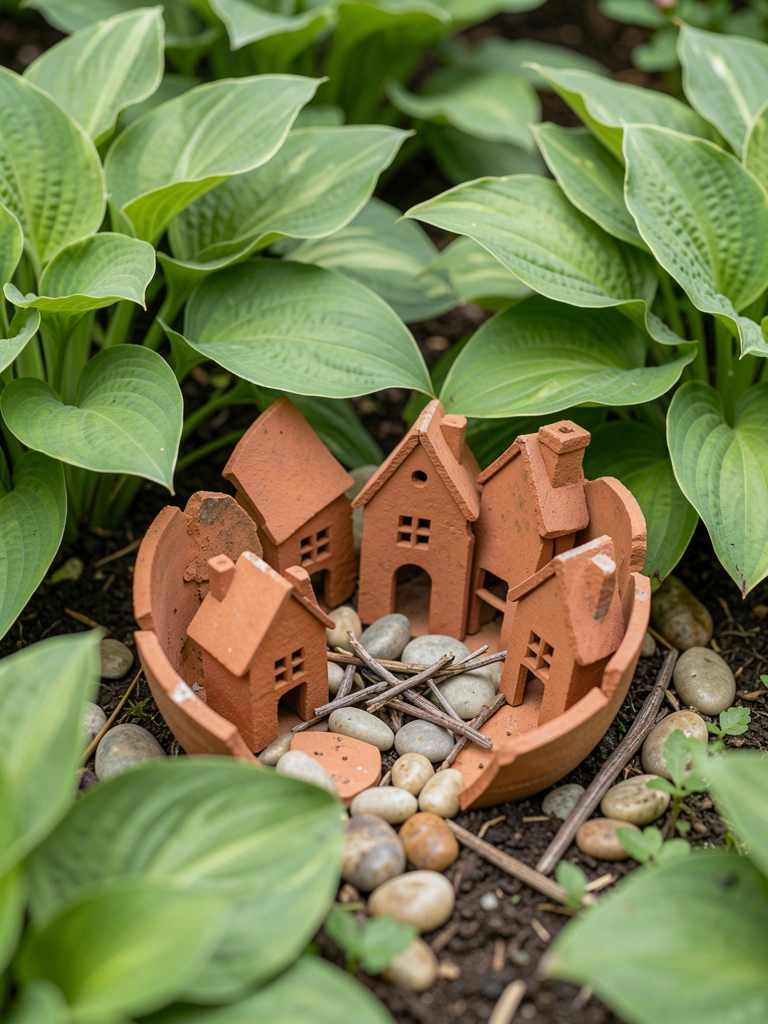
    1. Broken Pot Shard Village in the Hostas

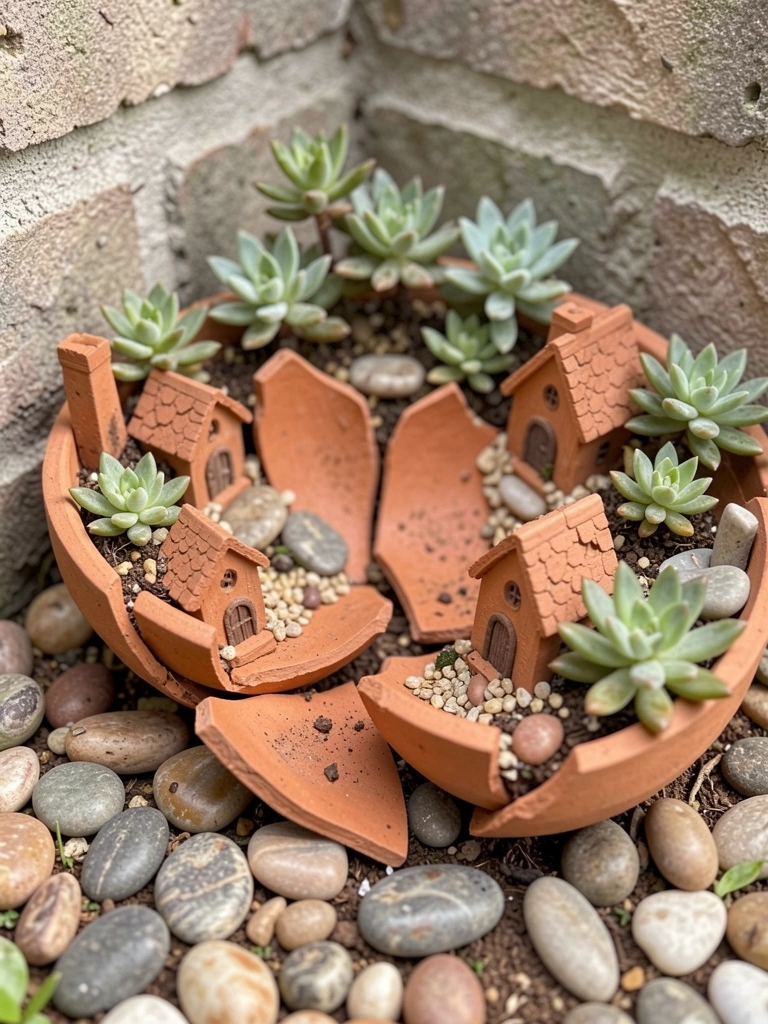
    I tucked shards from a dropped terracotta pot under my hostas last year. Kids stacked them into lopsided houses, added pebble doorsteps. The green leaves overhead make it feel hidden, like a secret camp. Sun filters through, warming the soil without scorching.

    One kid jammed a stick roof too high—it toppled in rain. Now I wedge shards firm into dirt first. Hostas grew around, holding everything snug. Mornings, dew clings to edges, sparkling for them.

    Feels cozy, not fussy. They play for hours, rearranging without wrecking plants.

    What You’ll Need for This Look

    6-inch terracotta planters (for breaking into shards)
    river pebbles 5 lb bag
    hosta bare root plants

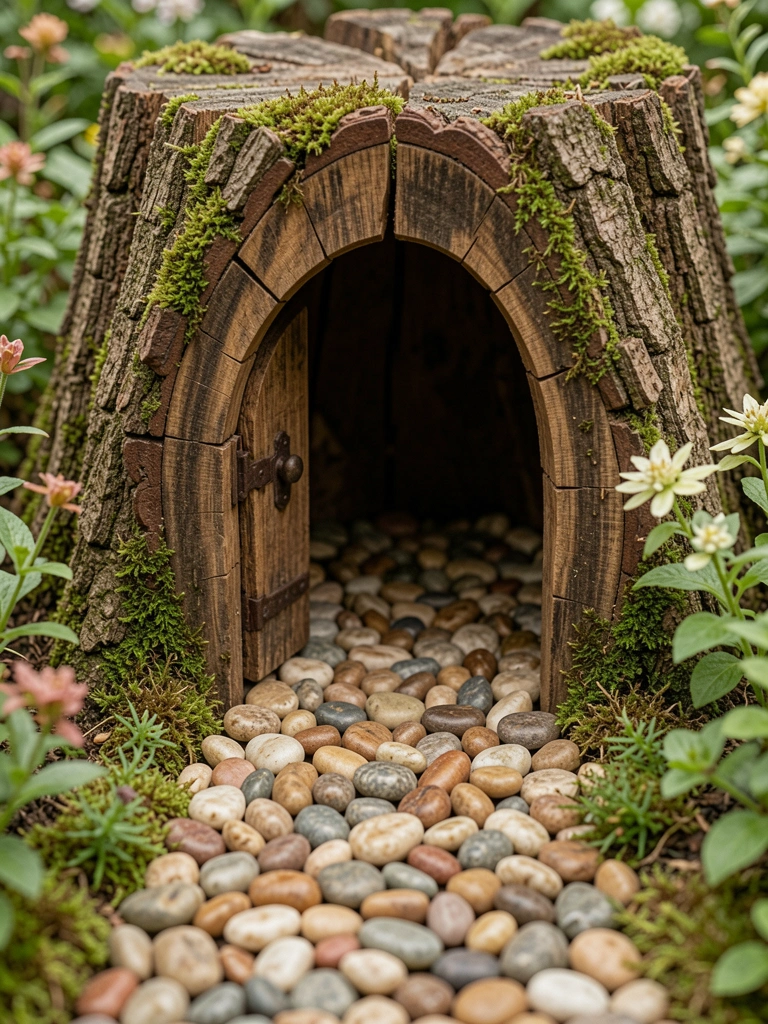
    2. Tree Stump Doorway with Pebble Approach

    Old stump in my side yard begged for something. I carved a door with a pocket knife, kids laid pebbles leading up. Feels like stepping into woods. Moss crept in naturally, softening edges.

    They crouch there, whispering stories. Stump's rough bark scratches knees a bit, but that's real. Rain beads on pebbles, making paths shine.

    Watch stump height—too tall, kids can't reach. Mine's knee-high, perfect.

    What You’ll Need for This Look

    small white river pebbles
    pocket garden knife
    dried sheet moss

    3. Bottle Cap Roundabout with Twig Benches

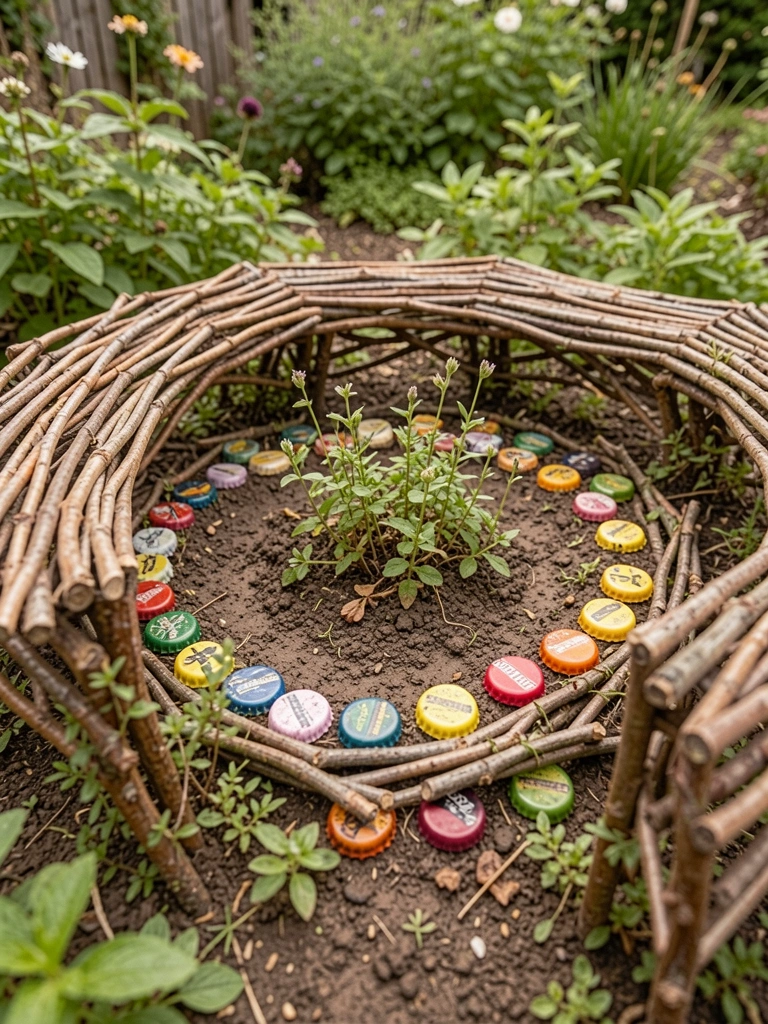
    Kids collected caps from picnics—I pressed them into a dirt circle for a village square. Lashed twigs for benches around. Bright colors pop against soil. They "drive" bottle caps around it.

    Wind scatters loose ones, so I half-bury now. Feels lived-in, like a real town square. Low thyme fills gaps, smells good when stepped on.

    Their laughter echoes there afternoons.

    What You’ll Need for This Look

    creeping thyme plants
    natural garden twine

    4. Acorn Cap Mushroom Cluster Under Ferns

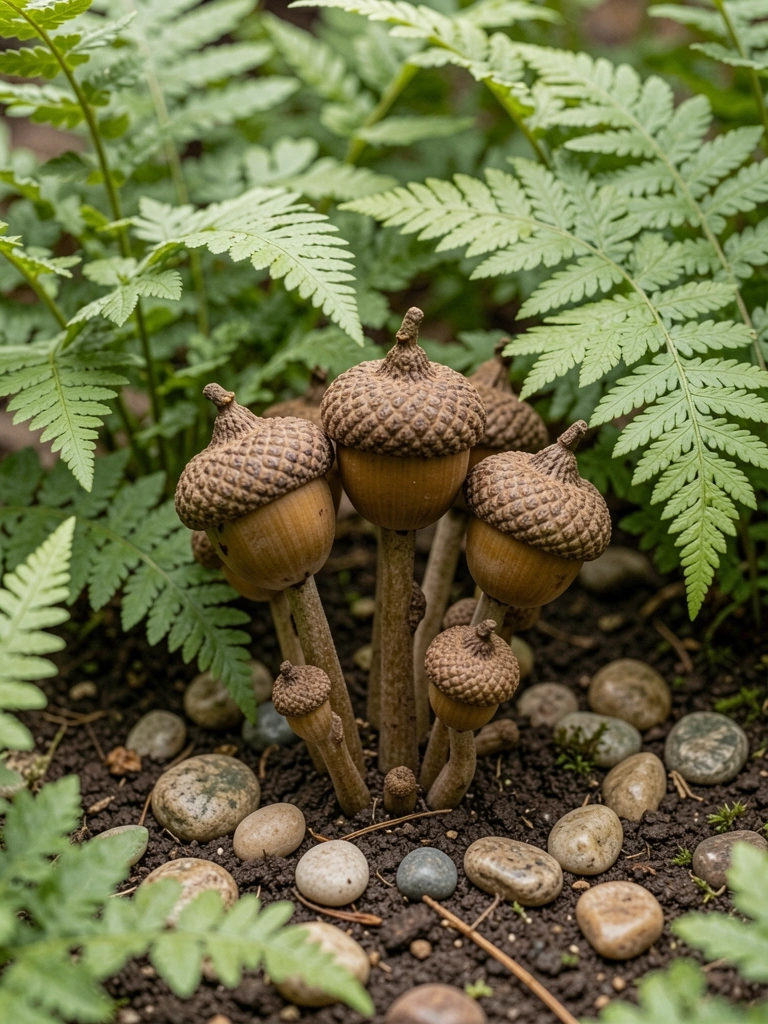
    Gathered acorns after fall walks, glued caps upside down on twig stems. Tucked under ferns. Kids call them toadstools. Fern fronds drape like roofs, shady and cool.

    Glue melted once in heat—switched to hot glue dots. Now sturdy. Dew sits in caps mornings, realistic touch.

    They hunt "mushrooms" daily, gentle with ferns.

    What You’ll Need for This Look

    fern bare root pack
    hot glue sticks
    natural twig bundles

    5. Twig Bridge Over Shell Creek Bed

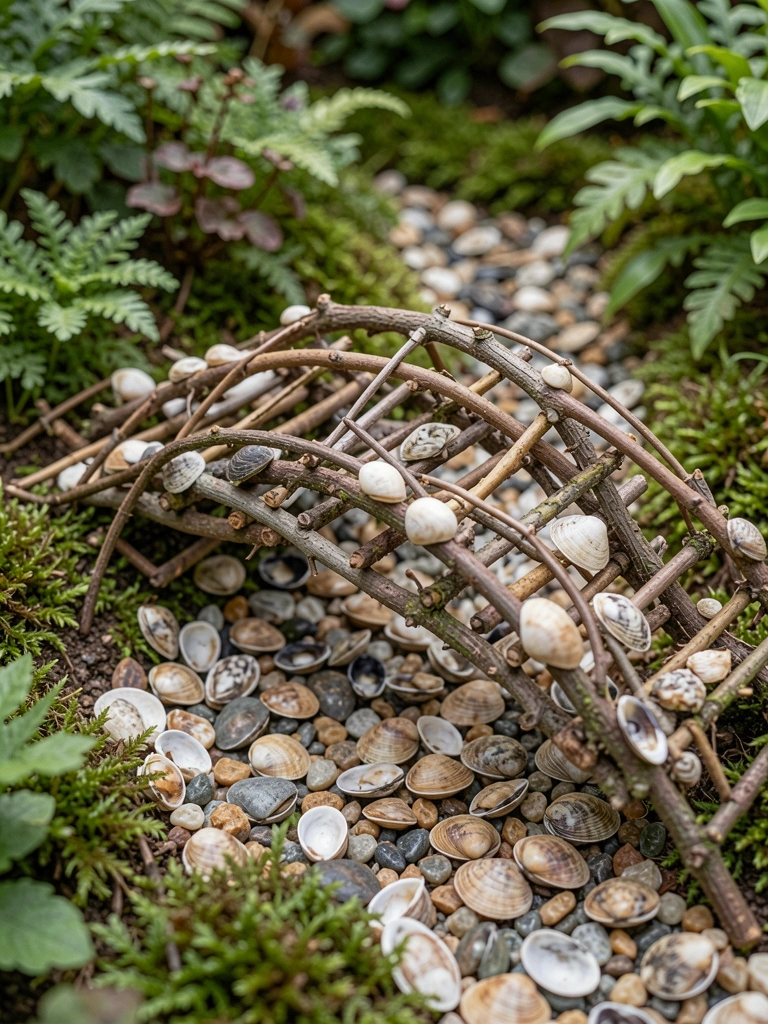
    I arched twigs over a gravel "creek" lined with beach shells. Kids cross with tiny figures. Watered it looks wet. Mistake: loose gravel washed away—added clay soil base.

    Shells gleam after rain. Bridge sways a touch, exciting. Moss edges soften it.

    Feels adventurous, backyard stream.

    What You’ll Need for This Look

    small seashells bulk
    pea gravel 20 lb
    jute garden twine

    6. Pinecone Shingled Hut Row by the Fence

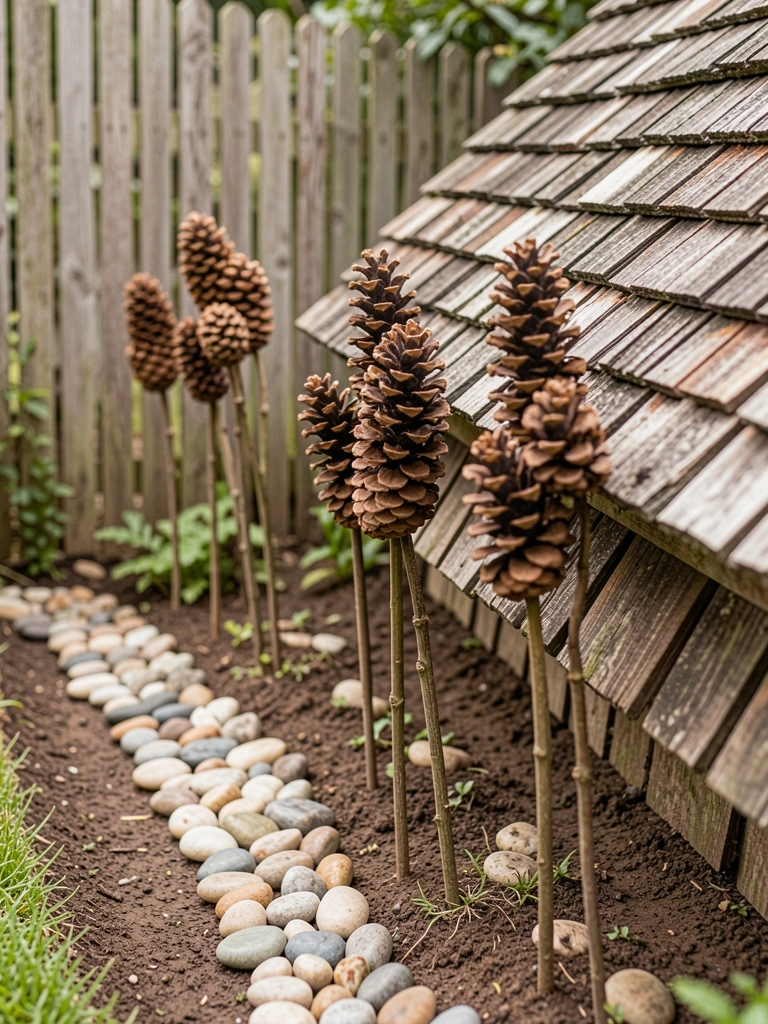
    Pinecones from park overlapped on stick walls, row along fence. Kids added pebble paths. Textures rough, real. Fence hides it, private play spot.

    They scale fence to "visit" fairies. Cones shed scales slowly, natural wear.

    Cozy nook grows on you.

    What You’ll Need for This Look

    bulk pinecones
    mixed decorative pebbles

    7. Recycled Jar Lid Lantern Line

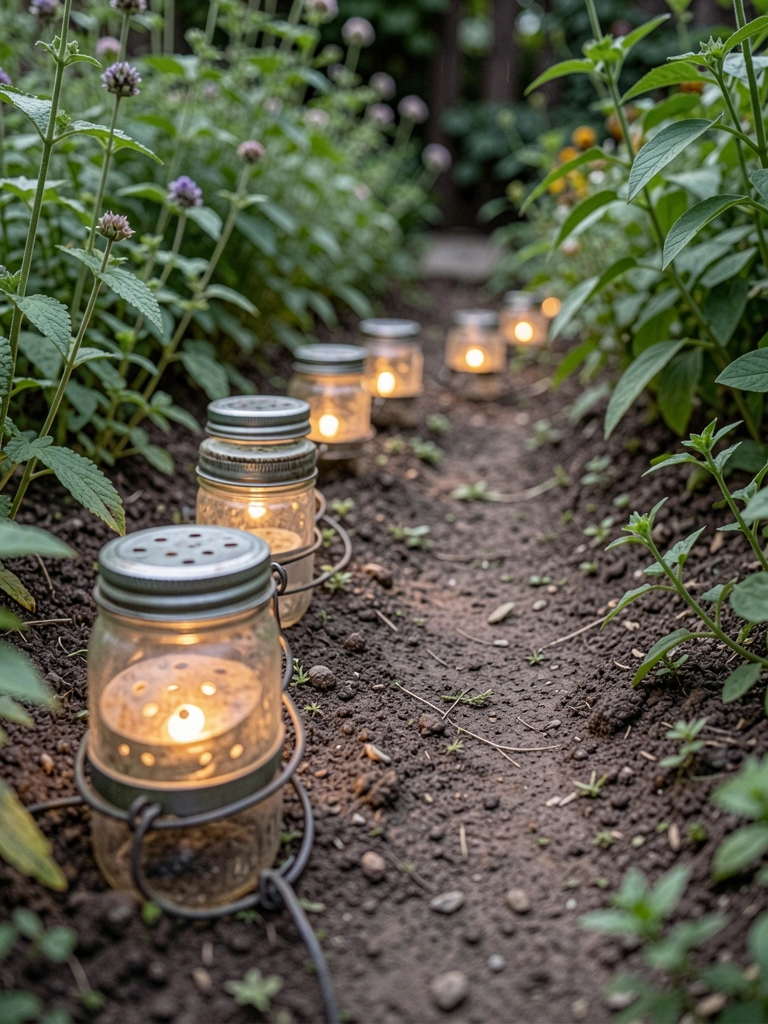
    Punched holes in lids, wired to stakes along path. Kids strung beads inside for glow. Dusk lights up soft. No batteries.

    Forgot sealant first—rusted. Now painted. Path feels welcoming.

    They "light" fairy ways nightly.

    What You’ll Need for This Look

    small solar stake lights
    22 gauge craft wire
    assorted glass beads

    8. Succulent Mini Forest in Wood Tray

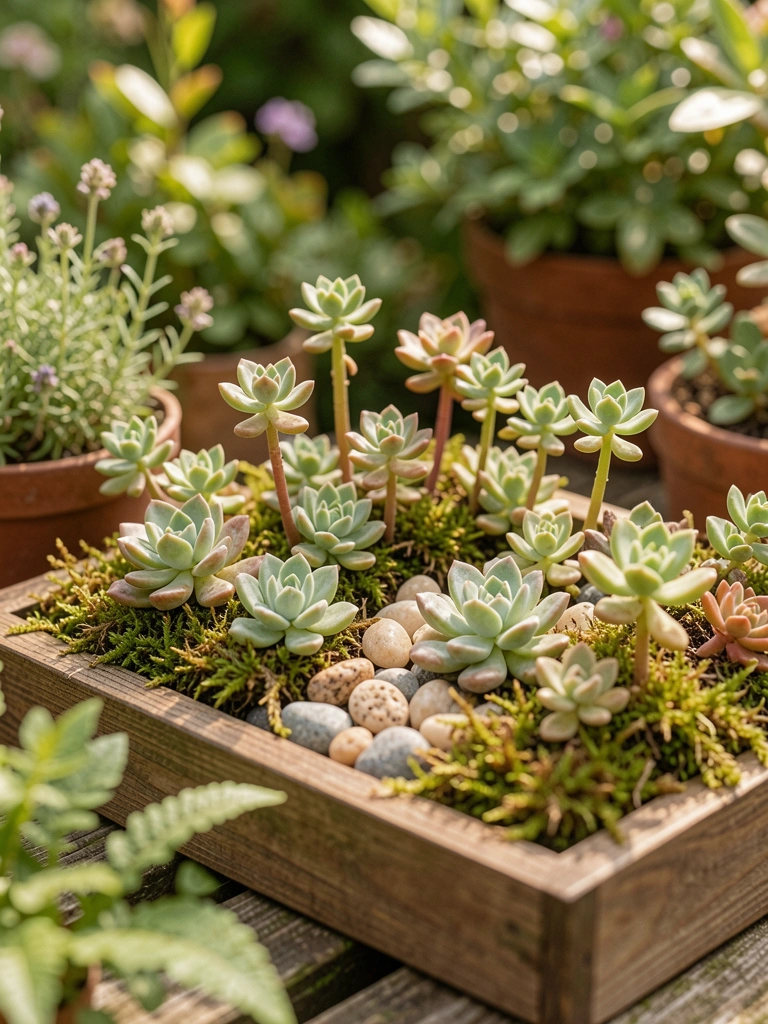
    Wood tray from scrap, planted baby succulents as trees. Pebbles for ground. Kids weave twig paths. Drought-tough, survives play.

    Succulents plump up slow, reward. Tray portable, move to shade.

    Forest feels vast in small space.

    What You’ll Need for This Look

    assorted mini succulents pack
    12×8 wood tray planter
    preserved sheet moss

    9. Rock Cairn Towers with Clover Base

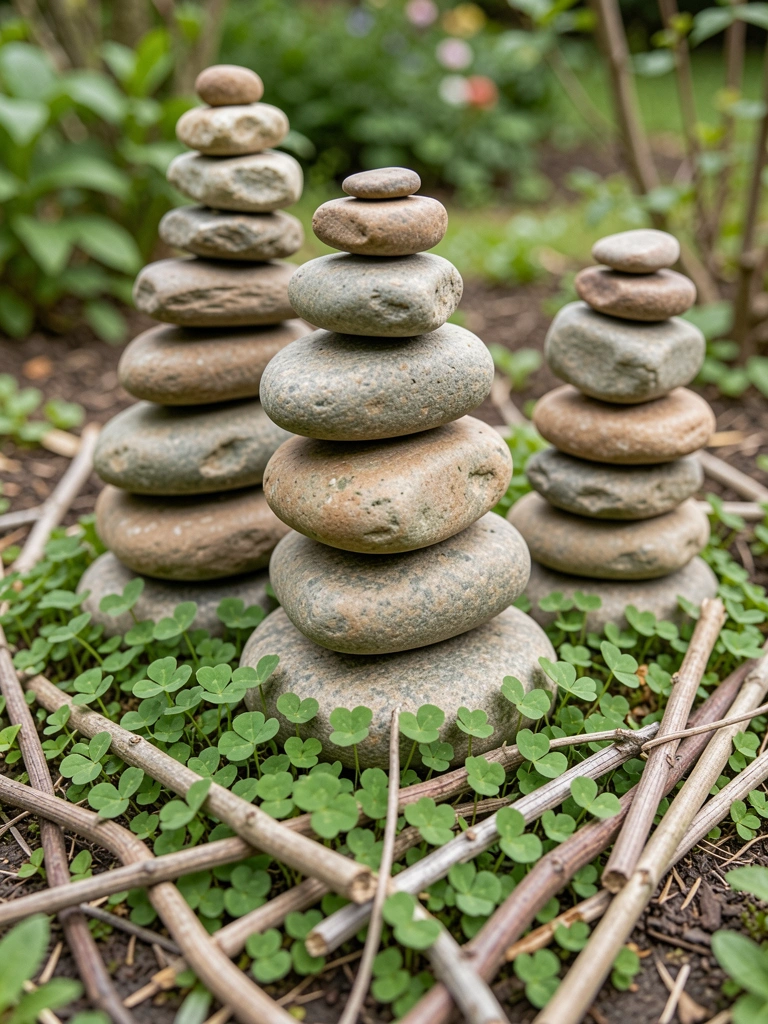
    Kids stacked flat rocks into towers, clover grew around bases. Wobbly fun, rebuild daily. Clover soft underfoot.

    Towers lean in wind—smaller rocks steady them. Feels ancient, mysterious.

    Play builds patience.

    What You’ll Need for This Look

    assorted river rocks
    white dutch clover seeds

    10. Stacked Clay Pot Turret Castle

    Stacked pots small to large for castle. Kids poked windows, trailed vines. Sturdy, won't tip easy. Mistake: unglazed pots cracked freeze—used indoors first.

    Vines climb real. Pebbles moat. Grand from path.

    What You’ll Need for This Look

    mini clay flower pots set
    trailing ivy plants
    gray decorative gravel

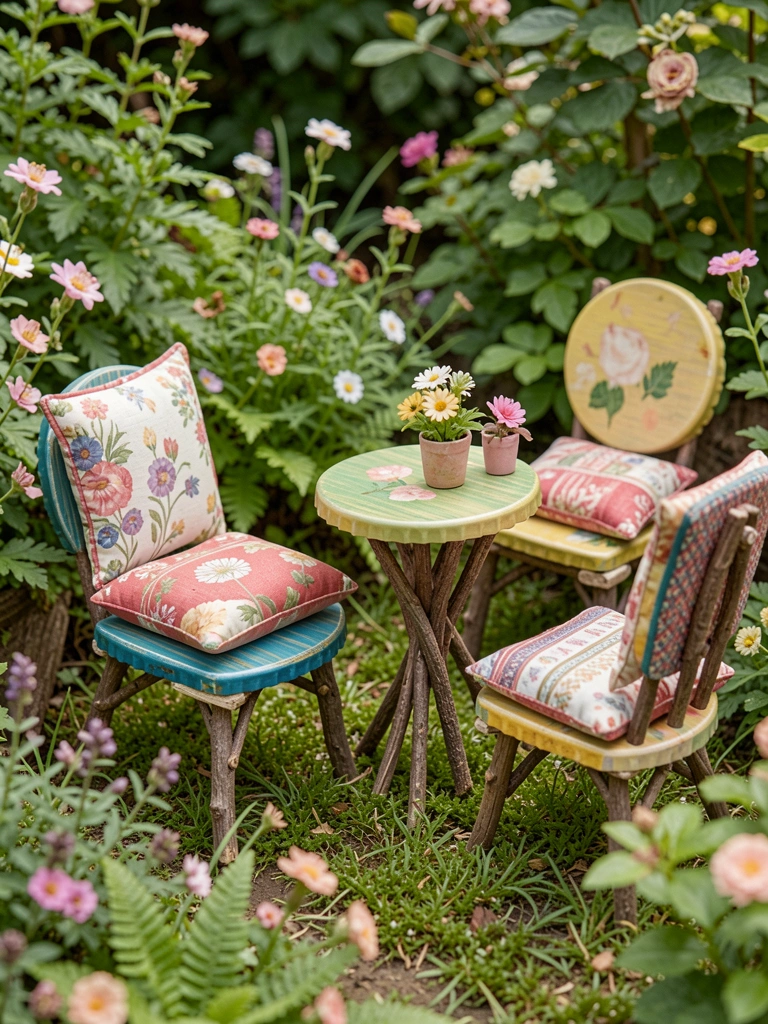
    11. Bark Slab Picnic Table Set

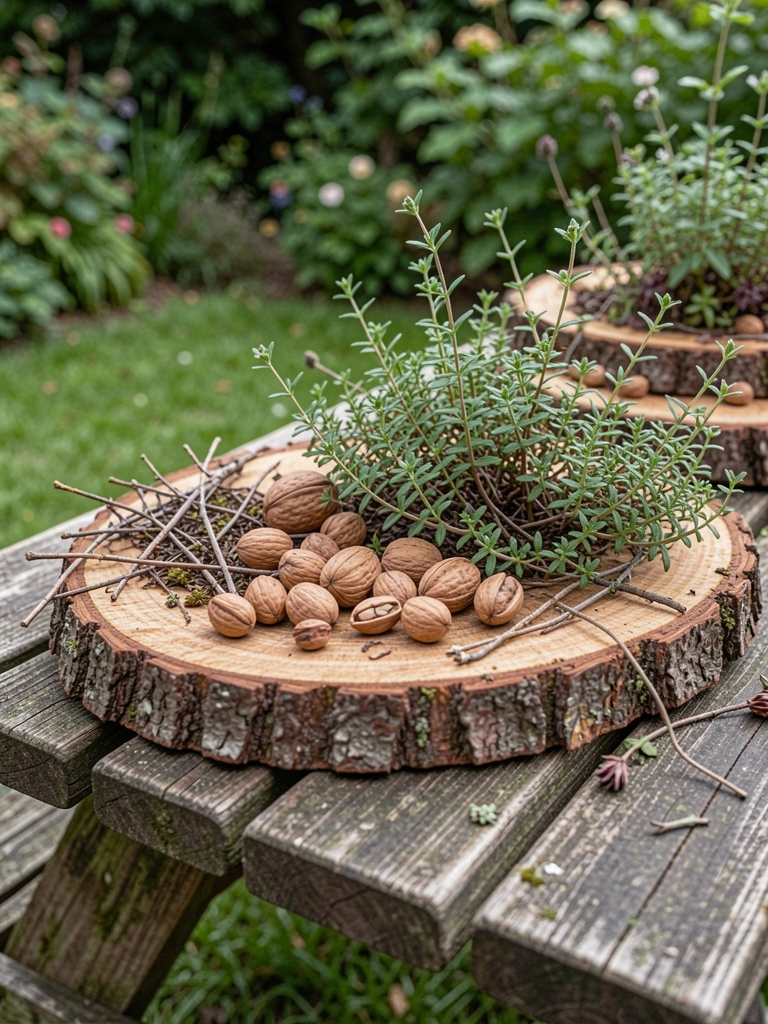
    Bark slabs flat for table, nut shells as stools. Kids set twig plates. Herbs around scent air.

    Slabs warp if wet—dry spots only. Feels rustic picnic.

    Gatherings happen here.

    What You’ll Need for This Look

    flat bark slabs craft
    half walnut shells bulk
    chives potted plants

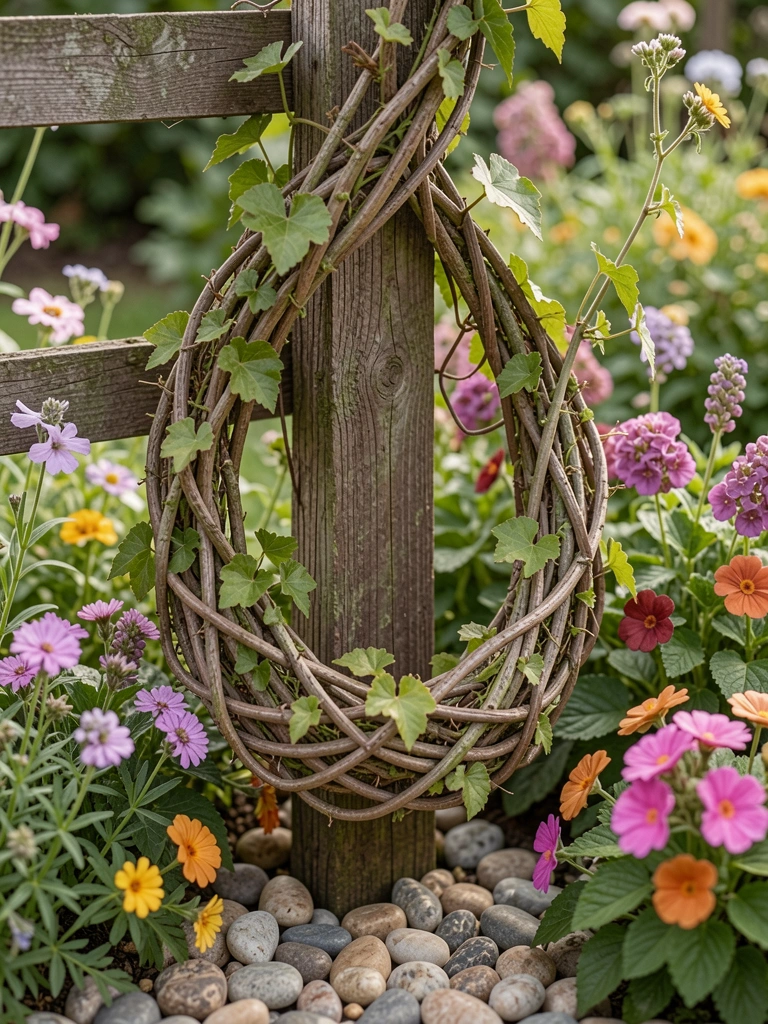
    12. Vine Loop Swing from Fence Post

    Looped thick vines around post for swing. Kids sway with dolls. Flowers below cushion falls.

    Vines fray—check monthly. Gentle sway comforts.

    Backyard thrill.

    What You’ll Need for This Look

    dried grape vine garland
    mixed annual flower seeds

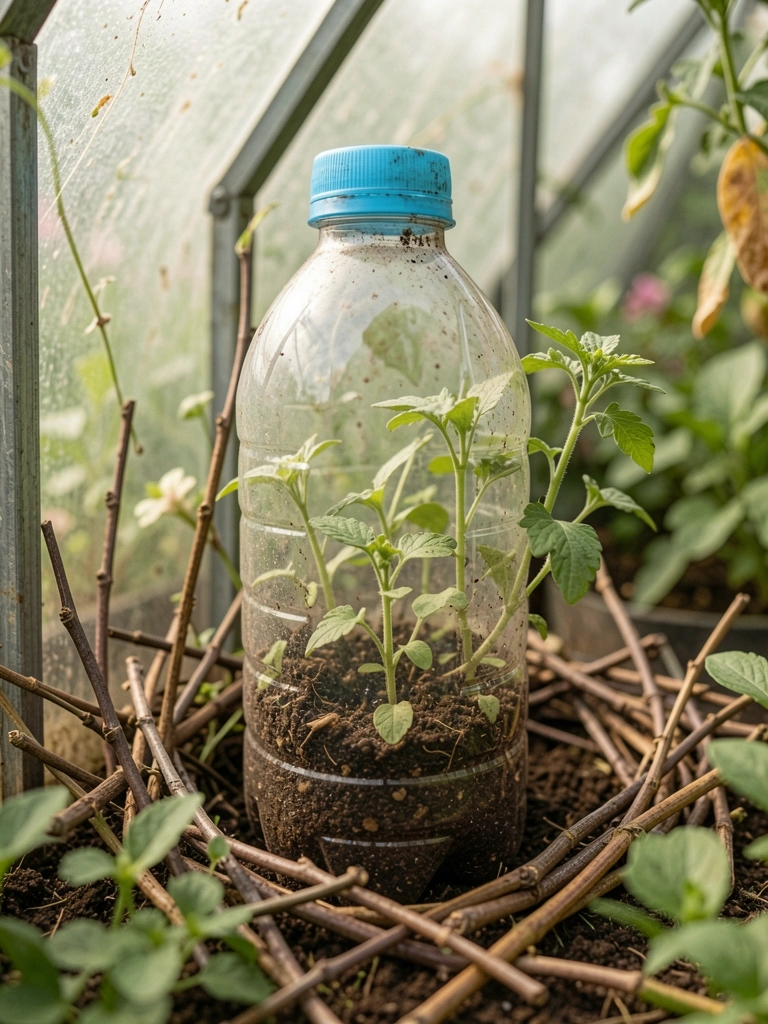
    13. Bottle Half Greenhouse Hideout

    Cut two-liter bottle in half, propped for greenhouse. Kids plant inside, watch grow. Traps warmth.

    Condensation fogs fun. Mini world.

    What You’ll Need for This Look

    mini herb seeds variety
    sharp garden scissors

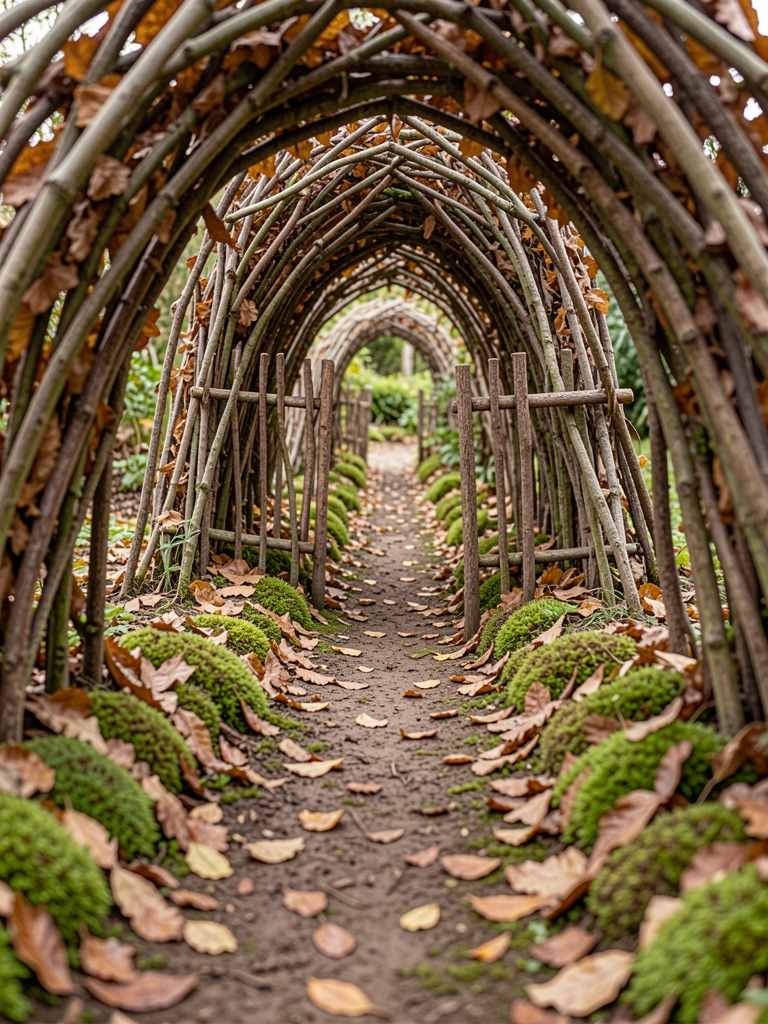
    14. Leaf Tunnel Path with Stick Gates

    Layered fallen leaves into tunnel, stick arches hold. Kids crawl through. Decays slow, refresh easy.

    Earthy smell draws them. Secret passage feel.

    What You’ll Need for This Look

    preserved moss patches
    straight craft sticks bundle

    15. Herb Bed Fairy Hamlet

    Planted low herbs, kids built pebble huts between. Scents mix with play. Harvest bits for "fairy food."

    Herbs spread, fill gaps. Kitchen garden play.

    What You’ll Need for This Look

    lemon thyme plants
    creeping oregano
    small polished pebbles

    16. Pebble Shore with Nut Boat Dock

    Pebble "beach" around dish pond, nut halves as boats. Kids push with twigs. Water reflects.

    Evap quick—top off. Lakeside village.

    What You’ll Need for This Look

    bulk acorn shells
    12-inch shallow saucer dish

    17. Log Slice Cabin Village

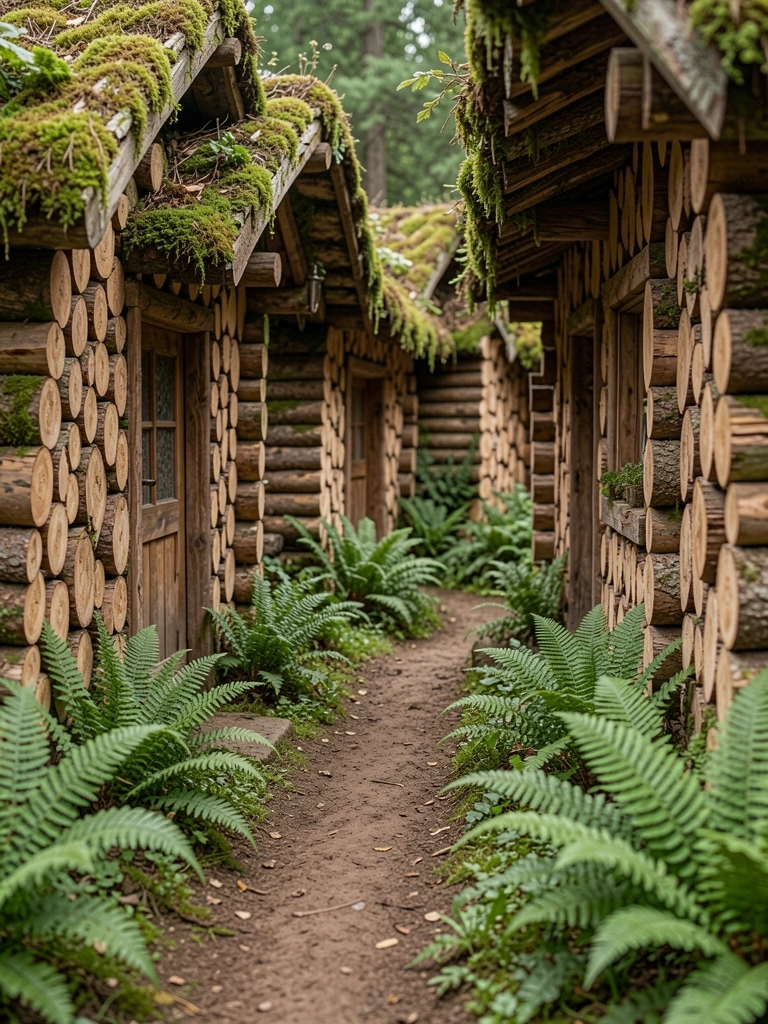
    Stacked thin log slices for cabins. Moss roofs. Kids added doors. Mistake: fresh wood rotted—dried first.

    Solid now. Woodland cluster.

    What You’ll Need for This Look

    1-inch craft log slices
    green reindeer moss

    18. Petal Parasol Over Rock Seats

    Stuck petal "umbrellas" on twigs over rock chairs. Shade play. Petals fade pretty.

    Refresh weekly. Garden tea party.

    What You’ll Need for This Look

    smoothed field rocks
    mixed dried flowers

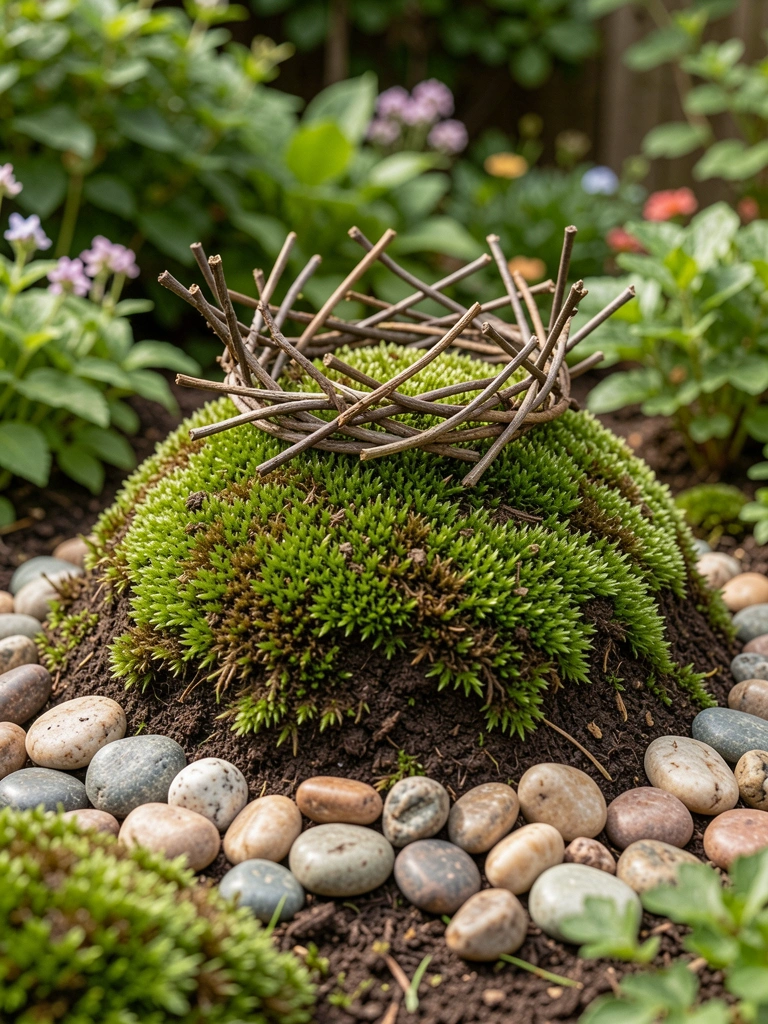
    19. Moss Carpet Throne Mound

    Mounded dirt, patted moss carpet. Stick throne top. Kids rule from there. Soft seat.

    Moss needs shade. Royal spot.

    What You’ll Need for This Look

    assorted live moss patches

    20. Walnut Gondola Fleet in Mirror Pond

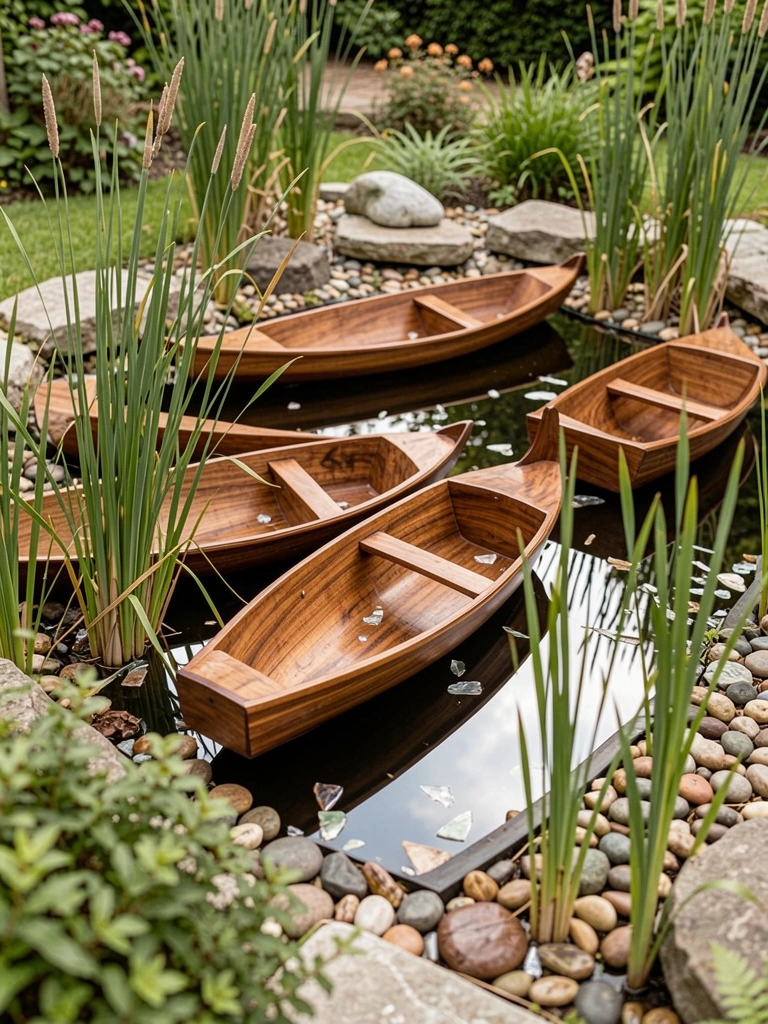
    Walnut halves as gondolas in mirror-bottom dish. Twig oars. Reflects sky.

    Mirror scratches—clean gentle. Venice backyard.

    What You’ll Need for This Look

    small craft mirror tiles
    bulk unshelled walnuts

    21. Stick Tepee Circle in Gravel Clearing

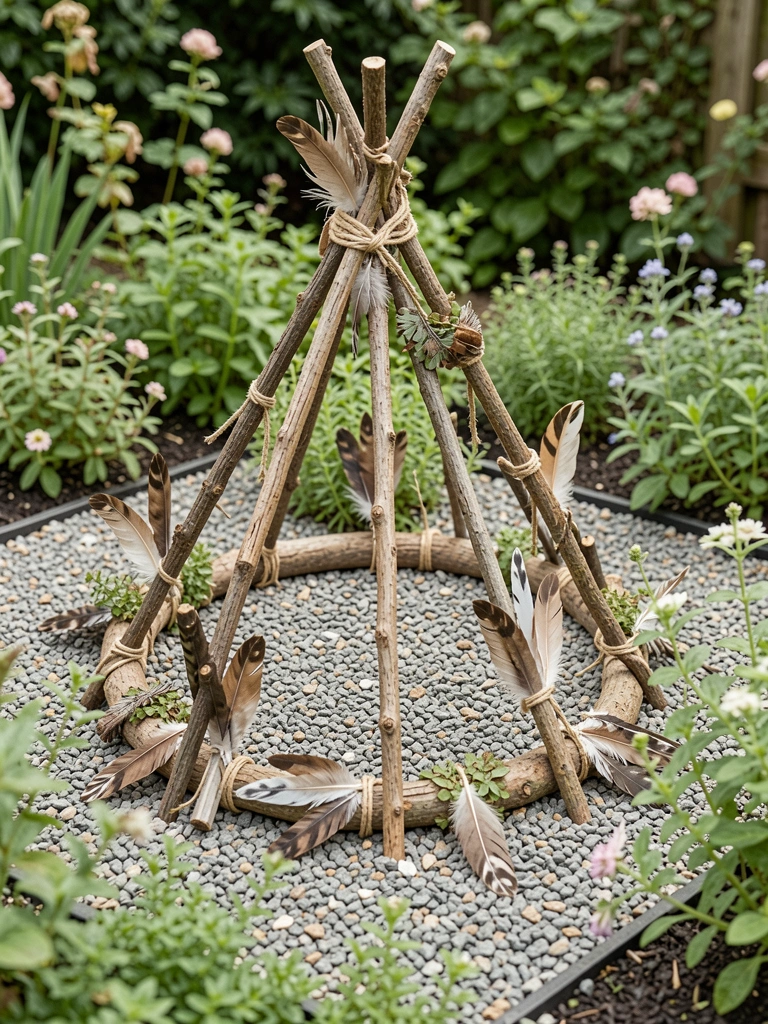
    Lashed sticks into tepees, circle in gravel. Kids hang feathers. Camp vibe.

    Gravel drains good. Tribal gathering.

    What You’ll Need for This Look

    40 lb pea gravel bag
    natural craft feathers
    12-inch bamboo sticks

    Final Thoughts

    Pick one idea that matches your yard. Kids love tweaking them anyway. No rush to build all.

    Mine evolve with seasons, tougher each year. You'll see that spark. Get dirt on hands—it's worth it.

  • 11 Diy Backyard Fairy Garden Ideas For Outdoor Magic

    11 Diy Backyard Fairy Garden Ideas For Outdoor Magic

    Last summer, I cleared a corner of my backyard that nothing would grow in. Just dirt and weeds. I dropped in a cracked pot and some twigs. Next morning, it felt different. Alive, almost.

    My kids spotted it first. They added pebbles. Now it's our spot to sit and watch bees.

    Fairy gardens started as play for us. But they pull you in. They make the yard feel like home.

    11 Diy Backyard Fairy Garden Ideas For Outdoor Magic

    Here are 11 DIY backyard fairy garden ideas I've built in my own yard over the years. Each one uses stuff I had or grabbed cheap. You'll see exactly how to pull them off without fuss.

    1. Broken Pot Village Tucked in a Sunny Corner

    I had this old pot that split in a freeze. Instead of tossing it, I set it down in a bare spot by the fence. Filled the bottom with soil, wedged in tiny houses from twigs and acorns. Added hens-and-chicks around the edges.

    It changed that dead corner overnight. The plants softened the edges, and the "ruins" gave it depth. Mornings, sun hits the shards just right.

    Watch the drainage—pots crack for a reason. Poke holes if needed. In my yard, it lasted two seasons before I refreshed the plants.

    Kids love hiding "fairy mail" in the shards. Keeps them out there longer.

    What You’ll Need for This Look

    Mini ceramic fairy houses (set of 4)

    Hens-and-chicks succulent pack (6 plants)

    River pebbles (5 lb bag)

    2. Tree Stump Mushroom Cluster Under Shade

    Cut down a dying maple last year. Stump sat there ugly. I hollowed the top a bit, packed in moss from the woods, and glued on mushroom caps from craft foam.

    Now it's cozy under the oaks. Moss spreads slow but steady, ferns unfurl each spring. Feels like it grew there.

    I overdid the glue once—mushrooms peeled in rain. Use outdoor adhesive now.

    Sit a tiny bench nearby. Bees visit the ferns. It's my coffee spot.

    What You’ll Need for This Look

    Foam mushroom house kit (12 pieces)

    Dried sheet moss (8×12 inch sheets)

    Resin fairy benches (2 pack)

    3. Pebble Path Leading to Twig Bridge

    My path to the shed was mud. Lined it with pebbles, bent twigs into a bridge over a "stream" of blue glass. Planted creeping thyme between stones.

    Walks feel slower now, intentional. Thyme blooms pink in summer, smells when you brush it.

    Bridge collapsed first try—twigs too green. Dry them first.

    Draws butterflies. Kids cross it daily.

    What You’ll Need for This Look

    Creeping thyme starter plants (10 pack)

    Decorative pebbles (20 lb bag)

    Blue sea glass mix (1 lb)

    4. Hanging Basket Cloud Village in the Breeze

    Old basket moldy on the porch. Lined it with coco fiber, tucked fairy doors into sides, added cotton for clouds. Trailing ivy hangs down.

    Sways gentle, catches light. Ivy grew faster than I thought—trim monthly.

    Forgot to water once, ivy yellowed. Hang where hose reaches.

    Porch feels welcoming now.

    What You’ll Need for This Look

    Coco fiber hanging basket liner (12 inch)

    Resin fairy doors (set of 6)

    Trailing ivy cuttings (4 pack)

    5. Succulent Rock Pile with Hidden Doors

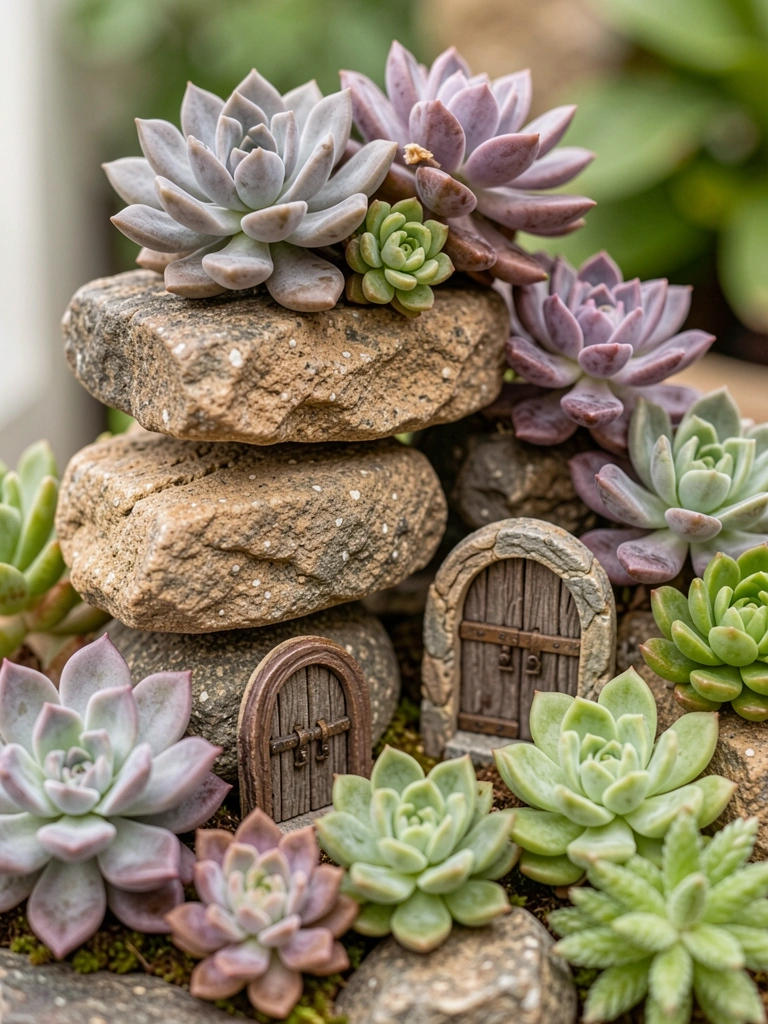
    Piled fieldstones from the yard, glued doors at base. Wedged in echeveria and sedum—they root easy.

    Rocks warm in sun, plants plump up. Looks ancient, settled.

    Pile shifted once—use landscape adhesive. Less in wet spots.

    Tough as nails, no fuss.

    What You’ll Need for This Look

    Assorted echeveria succulents (12 pack)

    Small fieldstone rocks (25 lb)

    Outdoor rock adhesive (10 oz tube)

    6. Birdbath Basin Fairy Pool Gathering

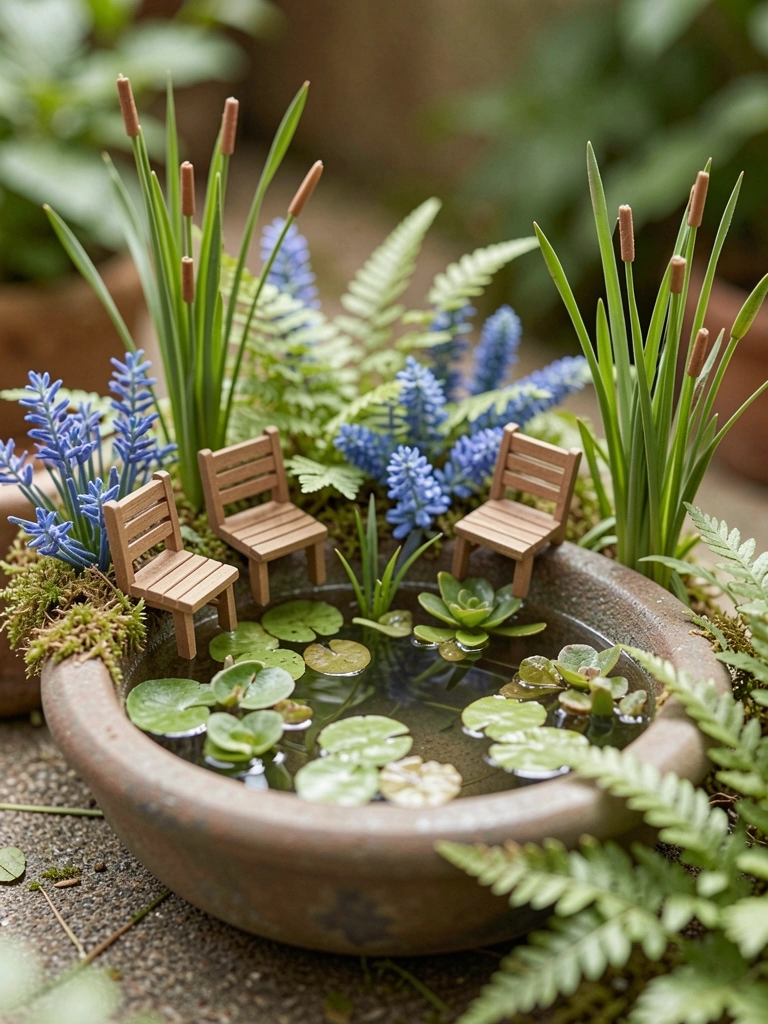
    Cracked birdbath leaked. Filled shallow end with water plants, ringed with reed huts and chairs.

    Frogs visit, water sparkles. Reeds sway, hides the crack.

    Overfilled once, overflowed. Keep shallow.

    Quiet spot for evenings.

    What You’ll Need for This Look

    Mini resin chairs (4 pack)

    Dwarf water lilies (3 pack)

    Dried reed bundles (12 inch)

    7. Log Slice Table and Chair Patio

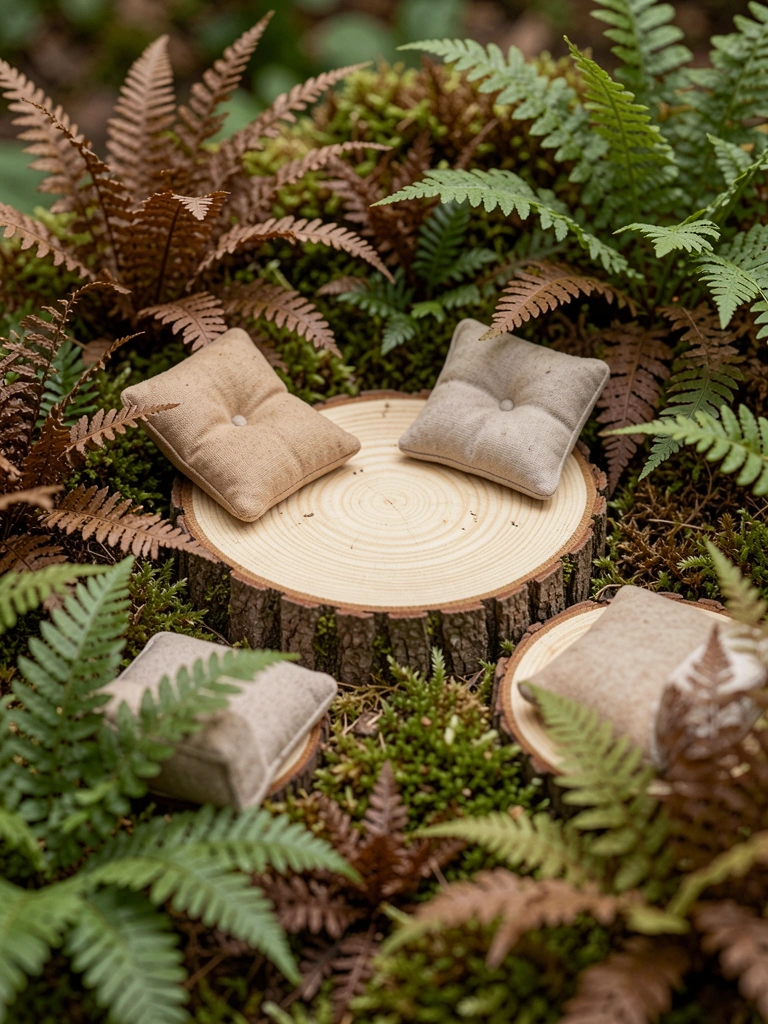
    Sawed old logs into rounds, sanded flat. Added mini cushions, surrounded with moss.

    Feels like a deck for dolls. Moss carpets soft.

    Sanded too smooth—logs slipped. Rough one side.

    Bees love it too.

    What You’ll Need for This Look

    Fabric fairy cushions (6 pack)

    Preserved moss mat (12×12 inch)

    8. Bottle Cap Steps Up a Mound

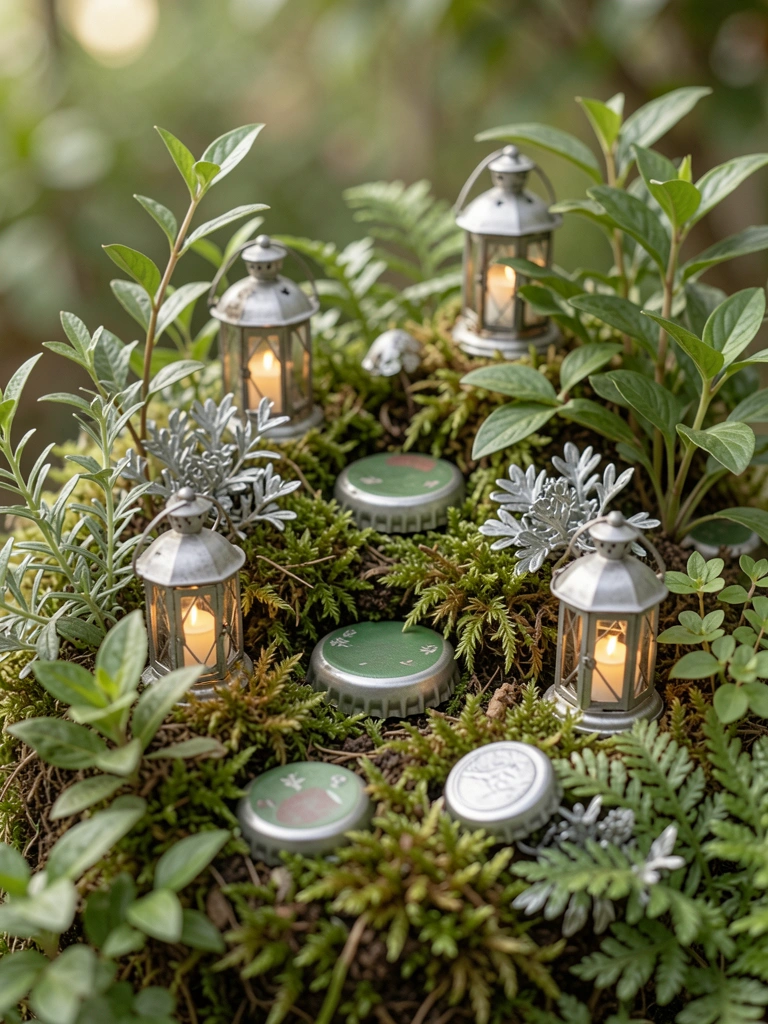
    Mounded soil, pressed clean caps into steps. Planted sedum between, topped with lanterns.

    Steps gleam wet, plants fill gaps. Mound gives height.

    Caps rusted—use plastic coated. Easy fix.

    Playground for ants, kids.

    What You’ll Need for This Look

    Sedum groundcover plugs (20 pack)

    Solar mini lanterns (10 pack)

    Plastic bottle caps (1000 count)

    9. Mossy Hollow in a Hollow Log

    Found a rotted log section. Lined hollow with moss, floored with pebbles, added fern starts.

    Dark, snug inside. Moss thrives damp.

    Log dried out—mist weekly.

    Secret hideout feel.

    What You’ll Need for This Look

    Live sheet moss (4 sq ft)

    Mini fern plants (6 pack)

    Small pebbles (5 lb)

    10. Bamboo Fence Fairy Hamlet

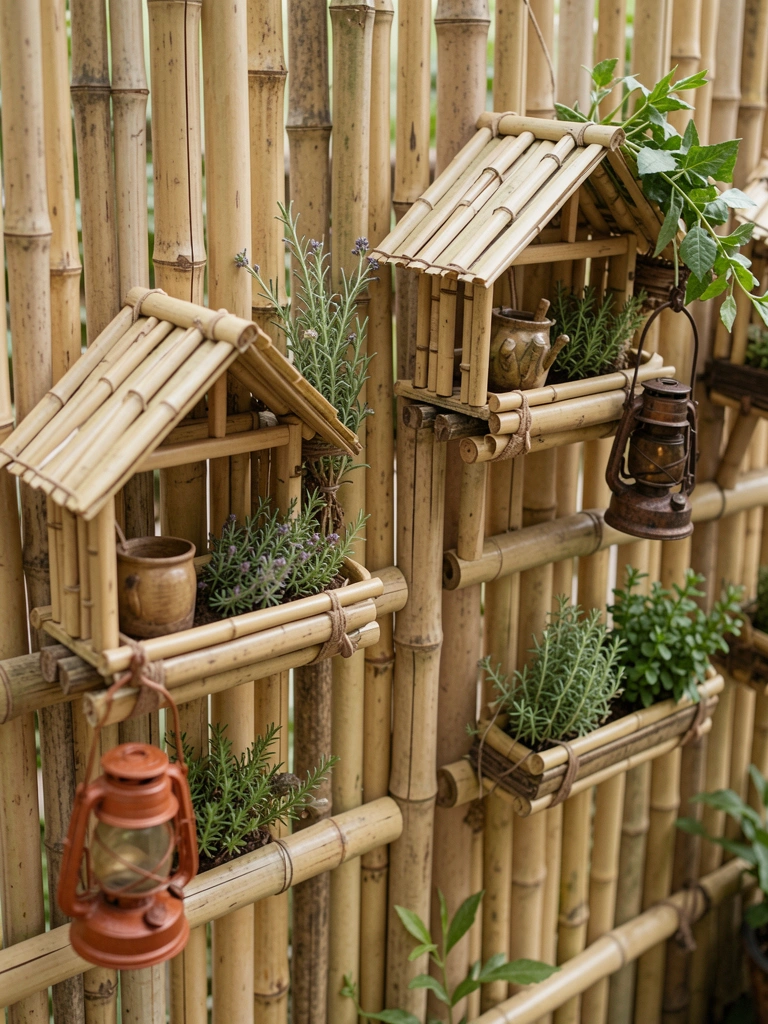
    Split bamboo poles into fence, glued roofs on posts. Herbs at base, lanterns hang.

    Fence screens compost pile. Herbs scent air.

    Bamboo split crooked—practice cuts.

    Wind chimes from it now.

    What You’ll Need for This Look

    Split bamboo poles (6 ft lengths)

    Thatch roof accents (8 pack)

    Herb starter kit (9 plants)

    11. Herb Patch Fairy Farmstead

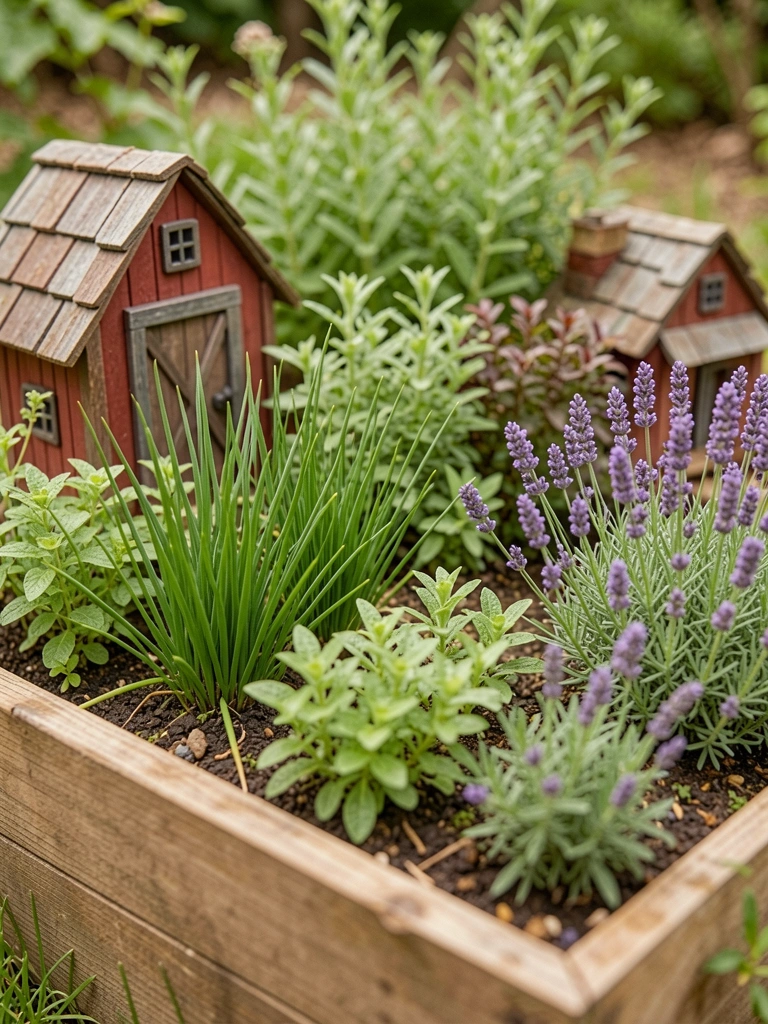
    Built low bed from scrap wood, added barn shapes from bark. Chives and lavender border.

    Harvest smells mix with visual. Practical too.

    Overplanted chives—spread wild. Thin yearly.

    Dinner table view.

    What You’ll Need for This Look

    Small cedar raised bed kit (2×2 ft)

    Lavender plant starts (4 pack)

    Resin mini barns (3 pack)

    Final Thoughts

    Pick one idea that fits your yard's light and space. Start small—mine grew from there.

    They pull the family outside without pushing. Yours will too.

    You've got this. Just dig in.

  • 10 Diy Broken Pot Fairy Garden Ideas For Upcycled Style

    10 Diy Broken Pot Fairy Garden Ideas For Upcycled Style

    I broke my favorite clay pot last spring, dropping it while weeding. Shards everywhere. Felt wasteful, but I glued a few together and wedged in some creeping Jenny. It greened up fast, hiding the cracks. That spot draws my eye now—feels secret, alive.

    These little worlds started as fixes for me. No fancy supplies. Just pots that cracked from freeze or my clumsiness.

    They slow you down, make the yard feel deeper.

    10 Diy Broken Pot Fairy Garden Ideas For Upcycled Style

    Here are 10 diy broken pot fairy garden ideas I've built in my real yard. They use busted pots you already have. Easy steps, no perfection needed—each one took me an afternoon.

    1. Stacked Shards into a Leaning Fairy Tower

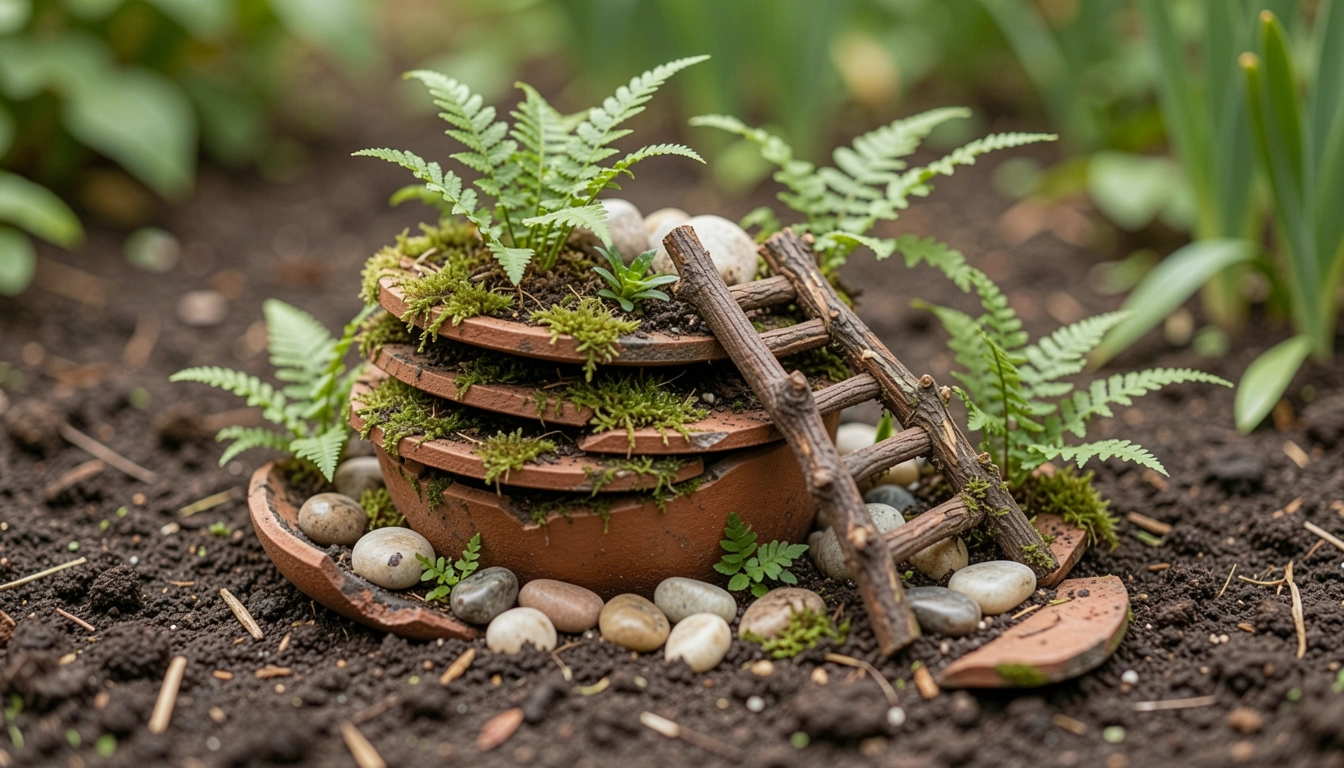
    I had three cracked pots from winter heave. Stacked the biggest bases first, leaning them like a wonky chimney. Tucked baby tears grass into gaps—it spills soft and green. Added flat stones for steps. Now it catches rain, stays damp without fuss.

    The lean makes it look settled, not stiff. Pulls you close to spot the details. Changed my patio corner from bare dirt to a quiet hideout.

    Watch the stack's balance—test with dry soil first. I tipped one over early on.

    What You’ll Need for This Look

    2. Broken Pot Base with Pebble Fairy Pool

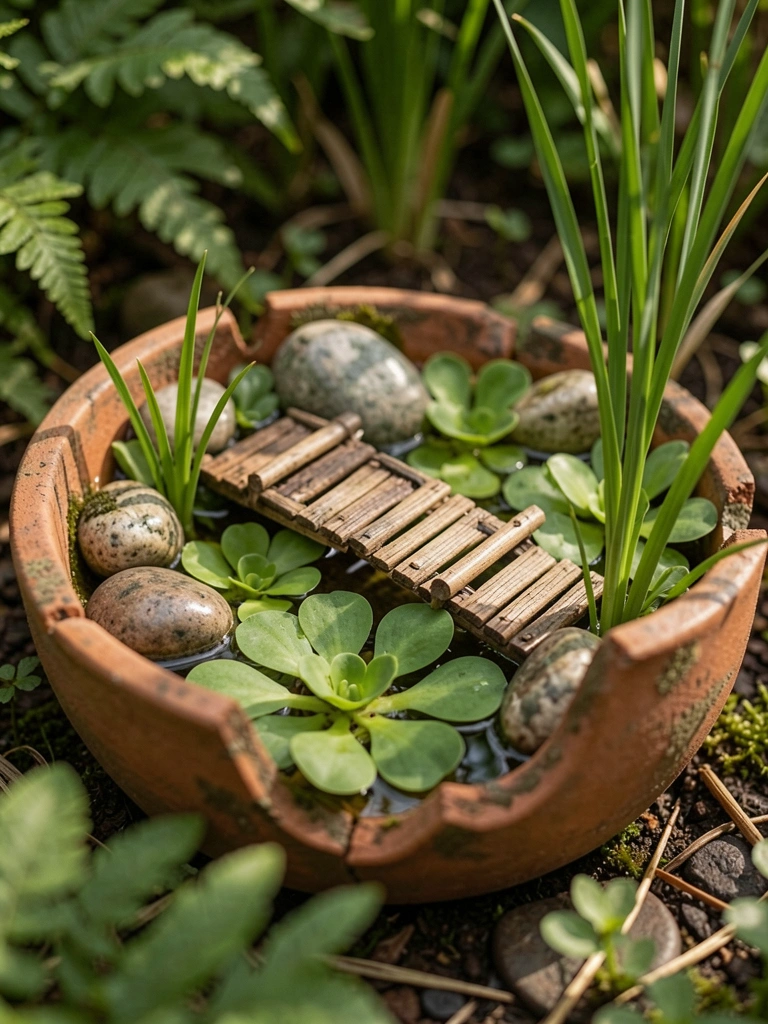
    Took a pot split clean in half. Set the bottom in soft soil, lined cracks with liner scrap. Filled shallow with rain water, floated water lettuce. Pebbles around the rim make it look like a natural dip.

    Frogs visit now. The water moves just enough in breeze—calms the whole bed. My side yard feels cooler there.

    Don't overfill; it spills and erodes. Learned that after mud everywhere.

    What You’ll Need for This Look

    3. Shard Pathway to a Hidden Fairy Door

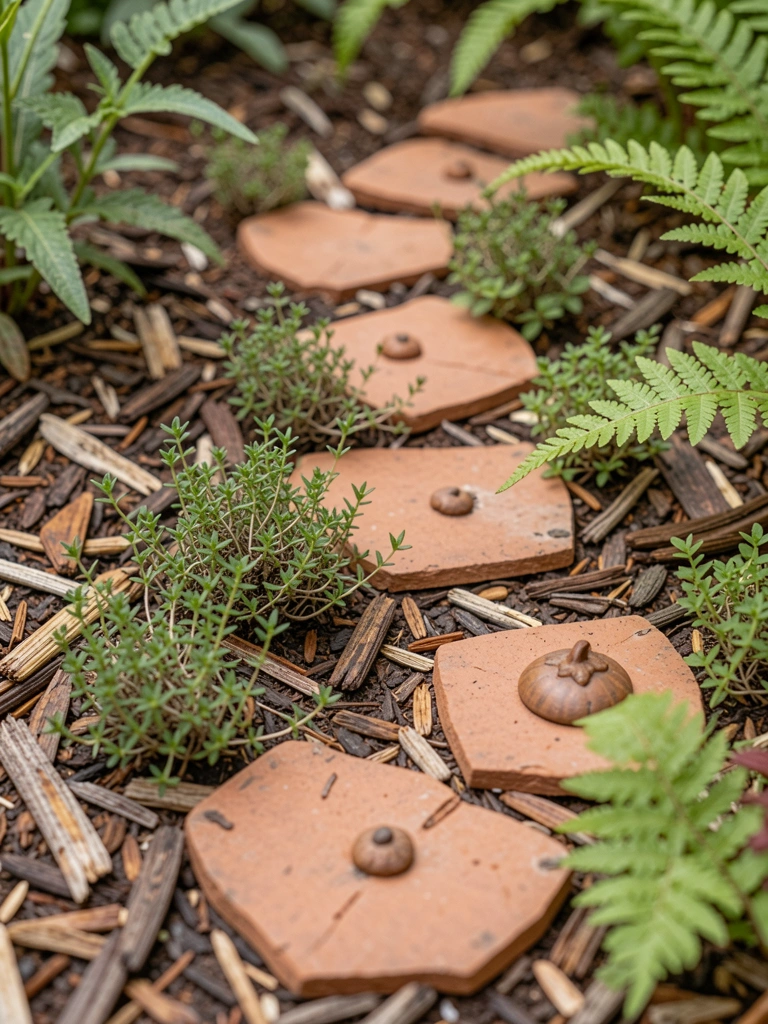
    Smashed pot gave flat edges. Laid them curve-like in mulch, leading to a hollow stump. Carved a door from bark, propped it open. Creeping thyme between stones softens the walk.

    You crouch to follow it—feels like entering somewhere else. Brightens my shady back bed.

    Glue shards lightly; loose ones shift under foot.

    What You’ll Need for This Look

    4. Moss-Roofed Broken Pot Cottage

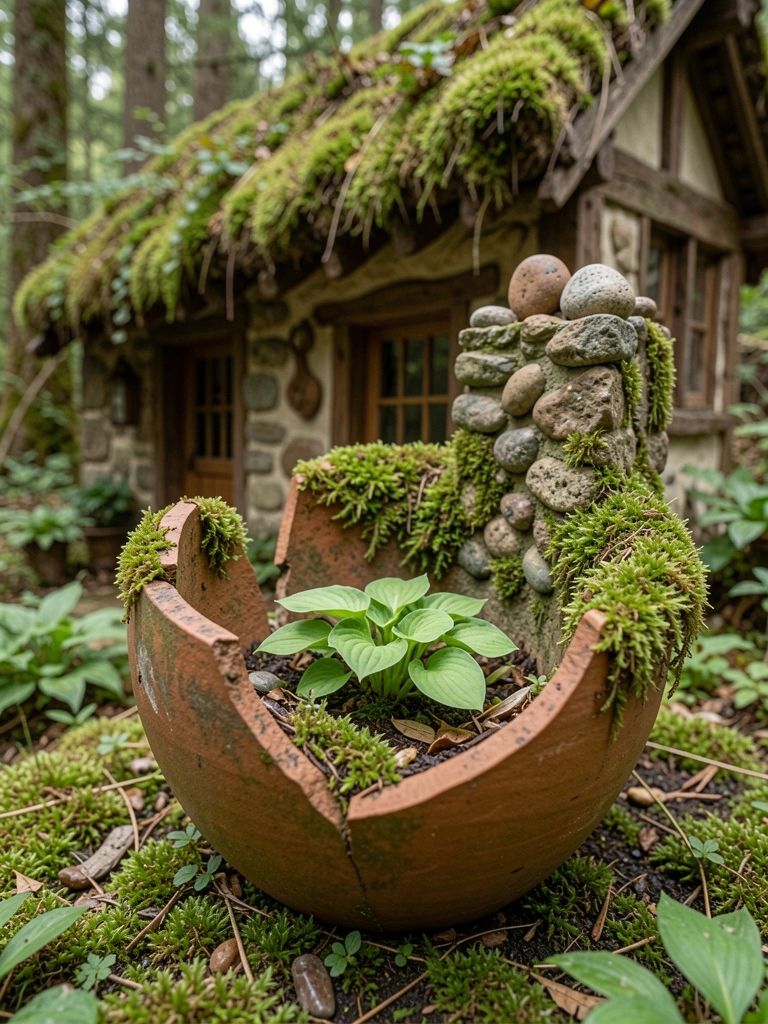
    Glued medium shards upright for walls, draped sheet moss over top like thatch. Mini hosta in front softens the base. It blends so well, you almost miss it till close.

    Feels cozy, like it's always been there. My north bed looks thicker now.

    Moss dries if too sunny—keep shaded. Mine browned once.

    What You’ll Need for This Look

    5. Terraced Succulent Steps from Pot Layers

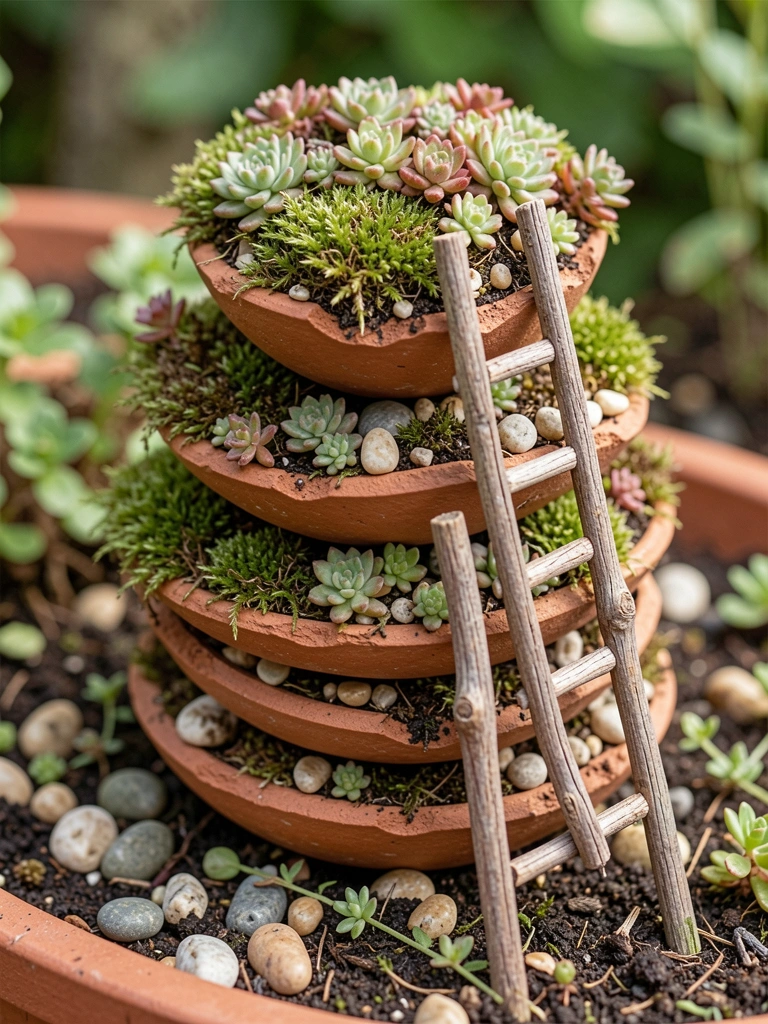
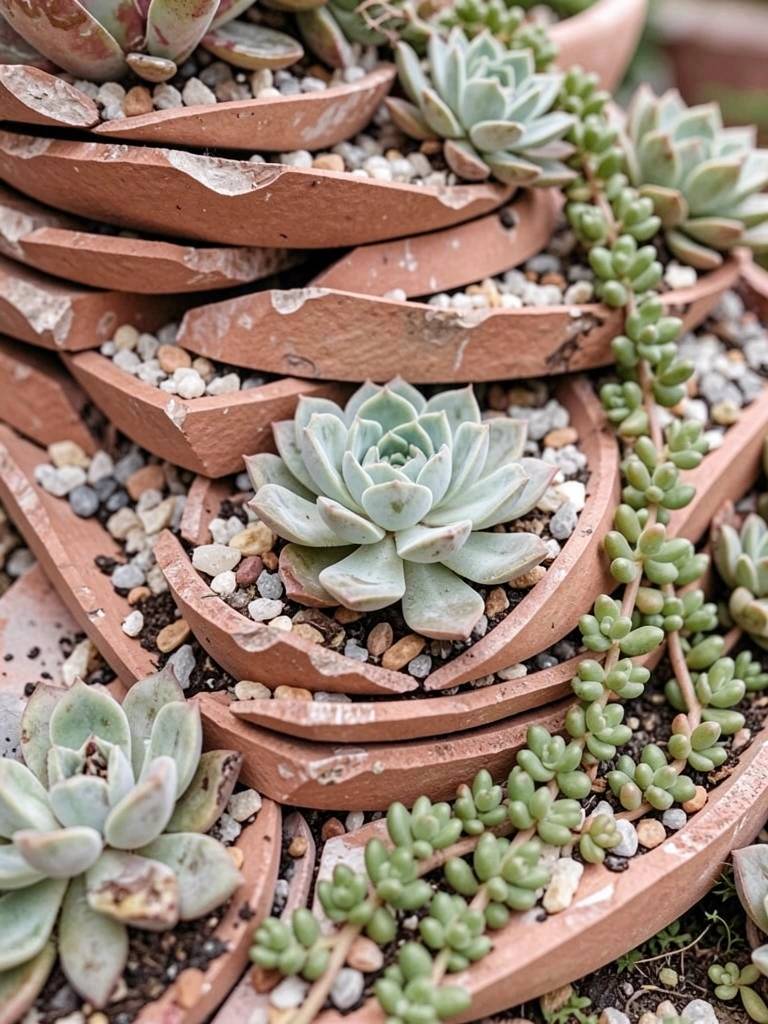
    Layered pot rims descending like stairs. Packed gritty soil in pockets, planted echeveria and sedum. Gravel holds it without slop.

    Steps glow in sun—makes my slope useful. Drought-proof too.

    Overwatered first batch; they rotted. Now I wait for dry.

    What You’ll Need for This Look

    6. Hanging Shard Baskets with Trailing Plants

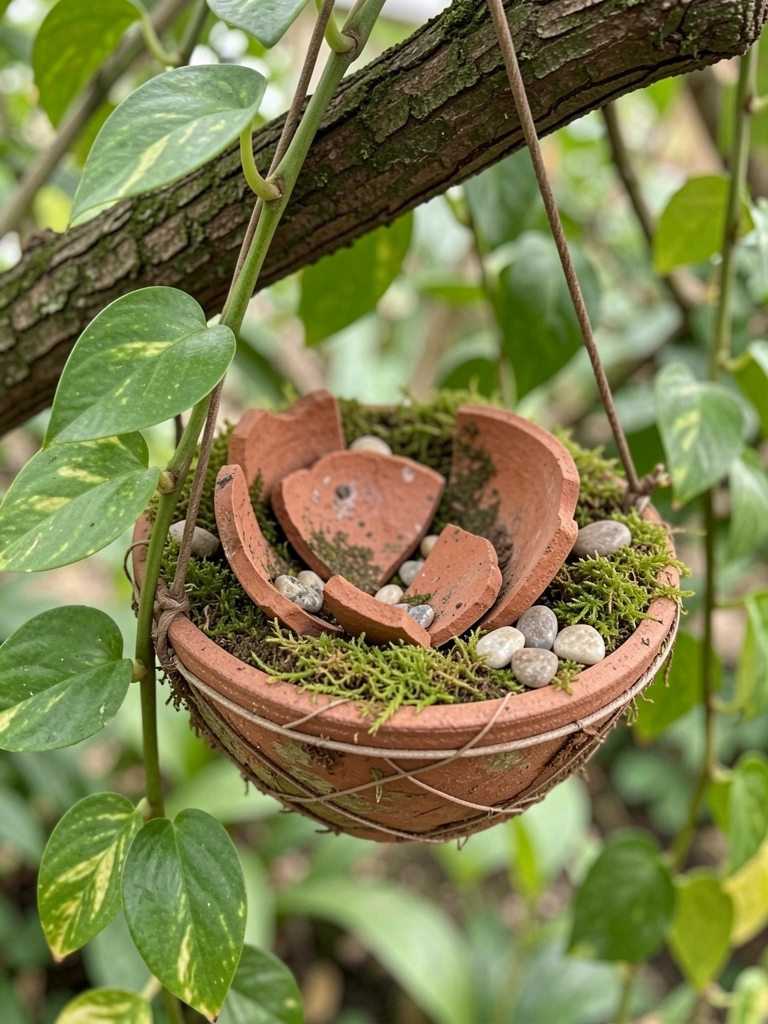
    Wired curved shards into basket shapes, lined with coco fiber. Golden pothos dangles wild. Hung from low branch.

    Swings light in wind—adds motion to trees. Fills empty air space.

    Wire too tight first time; cracked more. Looser now.

    What You’ll Need for This Look

    7. Broken Pot Mini Waterfall Cascade

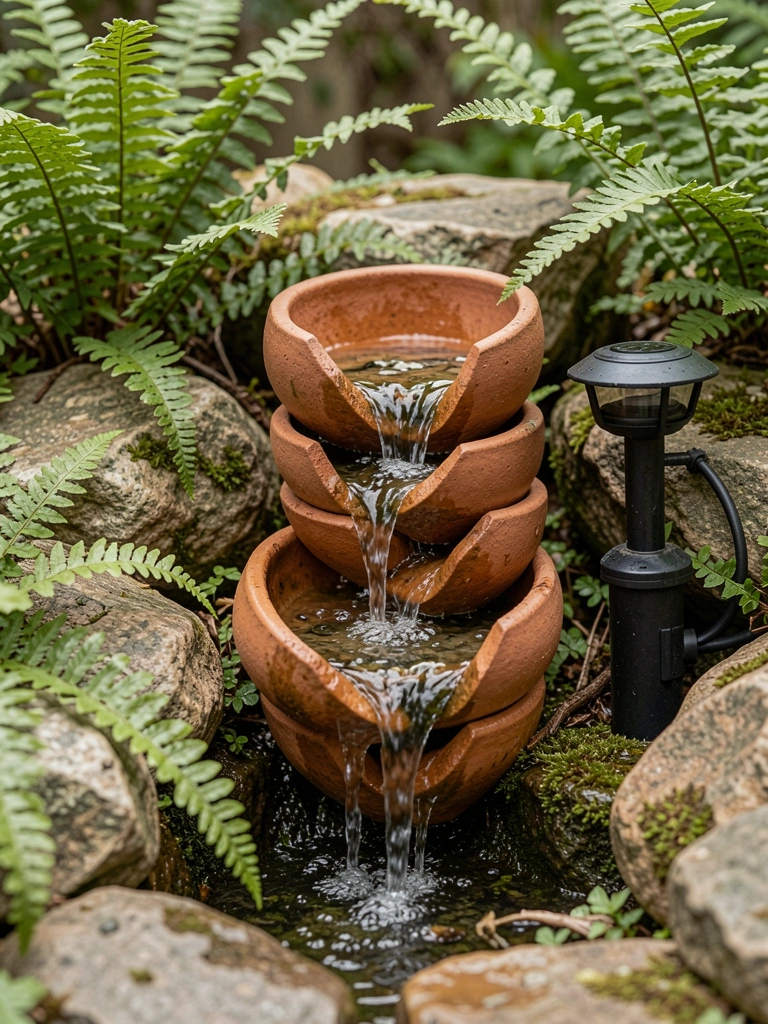
    Stacked jagged rims, ran tube from solar pump behind. Water sheets down softly over ferns below.

    Sound pulls birds close—yard feels alive mornings. Wet stone gleams.

    Pump clogged with leaves once; clean monthly.

    What You’ll Need for This Look

    8. Shard Village with Twig Furniture

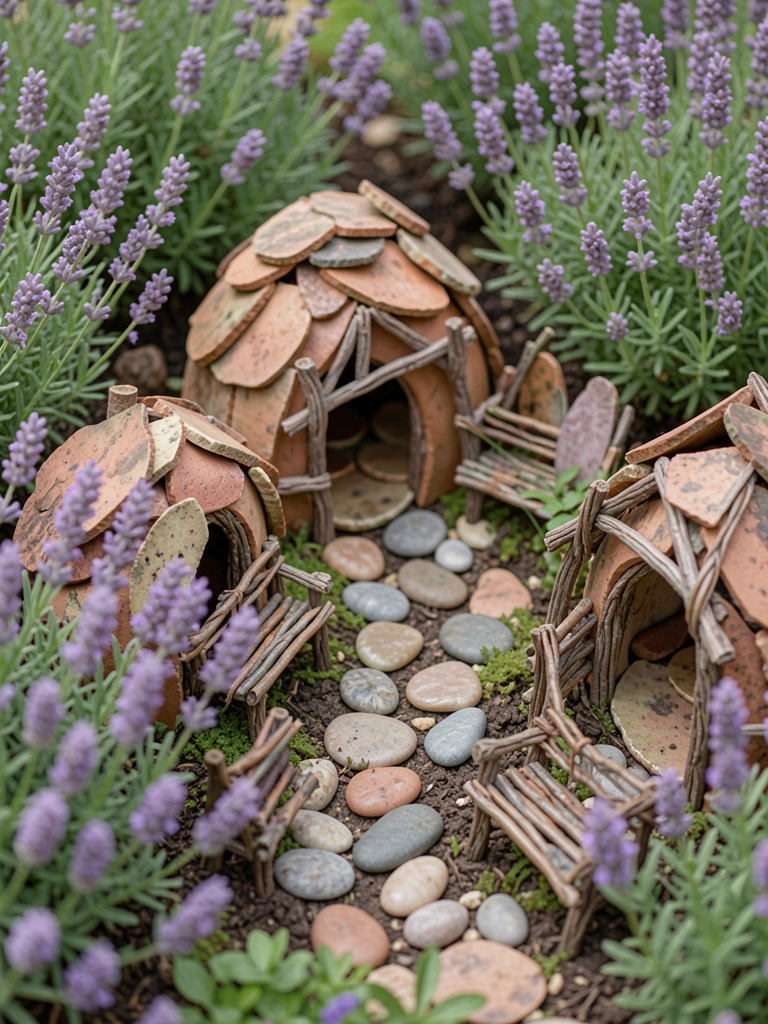
    Clustered shards like huts, added twig benches from prunings. Lavender bushes frame it low.

    Village hums with bees—cozy cluster. Softens my herb edge.

    Lavender spread too fast; trim back yearly.

    What You’ll Need for This Look

    9. Wild Meadow in Pot Ruin Mound

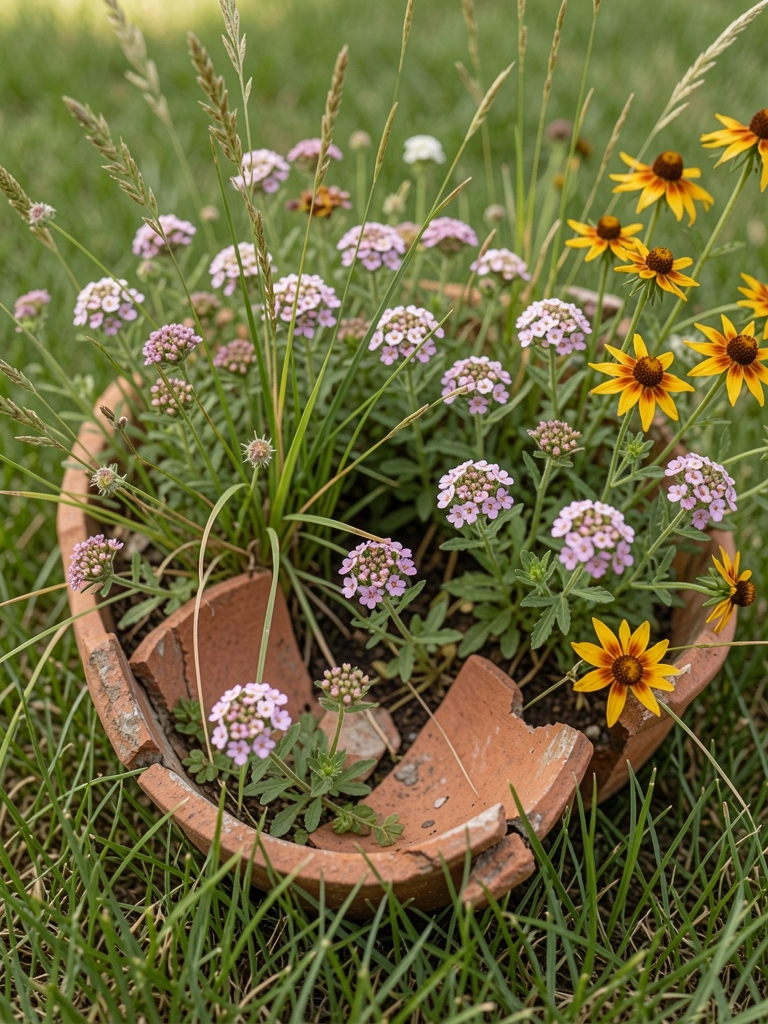
    Mounded shards in a low hill, sowed alyssum and native grass. Butterflies land heavy.

    Looks untended but full—fits my wild strip. Seeds cheap, spreads.

    Weeds invaded early; edge with cardboard first.

    What You’ll Need for This Look

    10. Cozy Nook Under Upside-Down Pot Dome

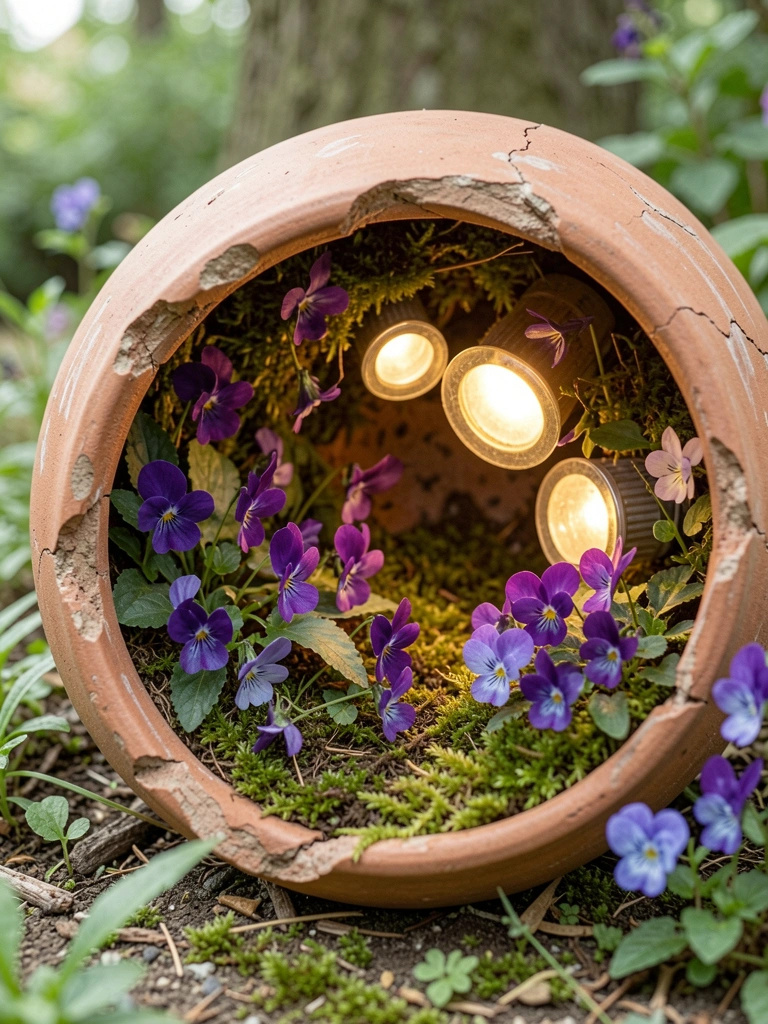
    Flipped a large cracked pot dome-like over soil. Planted violets inside, wired solar lights along rim.

    Glows soft at dusk—secret sit spot. Makes border feel deeper.

    Lights dimmed in wet; elevate base slight.

    What You’ll Need for This Look

    Final Thoughts

    Pick one idea that fits your broken pots. Start small—mine grew from there.

    They don't need constant work. Just water the plants right.

    Your yard will feel more yours. Go make that mess magic.

  • 23 Diy Fairy Garden Birthday Party Ideas For Fun Events

    23 Diy Fairy Garden Birthday Party Ideas For Fun Events

    Last summer, I cleared a shady spot in my backyard for my neighbor's kid's birthday. Kids ran wild, but that little fairy garden corner kept them busy for hours. I used pots I had lying around, added some moss from the fence line.

    One plant got knocked over—lesson learned on anchoring. But seeing those smiles? Worth every dirt smudge.

    It felt cozy, like peeking into another world right there in the dirt. You can pull this off too, no fancy tools needed.

    23 Diy Fairy Garden Birthday Party Ideas For Fun Events

    These 23 diy fairy garden birthday party ideas come straight from my trial-and-error setups. They're simple, use stuff from your yard or cheap buys. You'll have kids engaged without much fuss—I've tested them on real parties.

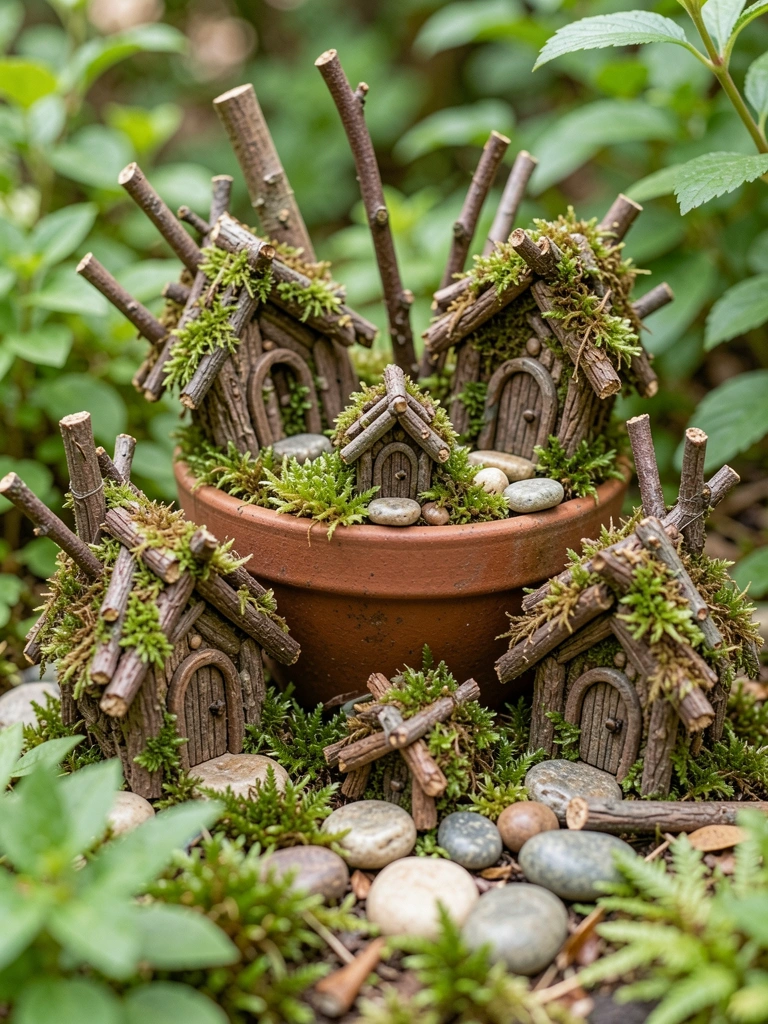
    1. Twig and Moss Fairy Houses Clustered Around a Central Pot

    I built these houses last party by gluing twigs from the yard onto small clay pots. Clustered three around a bigger pot planted with creeping thyme—it softened the edges, made it look settled in.

    Kids loved peeking inside, pretending fairies lived there. The moss I pulled from old bricks held up even after rain, but I forgot to seal the glue once, and it softened.

    Pay attention to scale—keep houses under 6 inches so they feel right next to plants. It draws eyes down, makes the space feel alive.

    In my garden, this setup lasted weeks after the party, blending right in.

    What You’ll Need for This Look

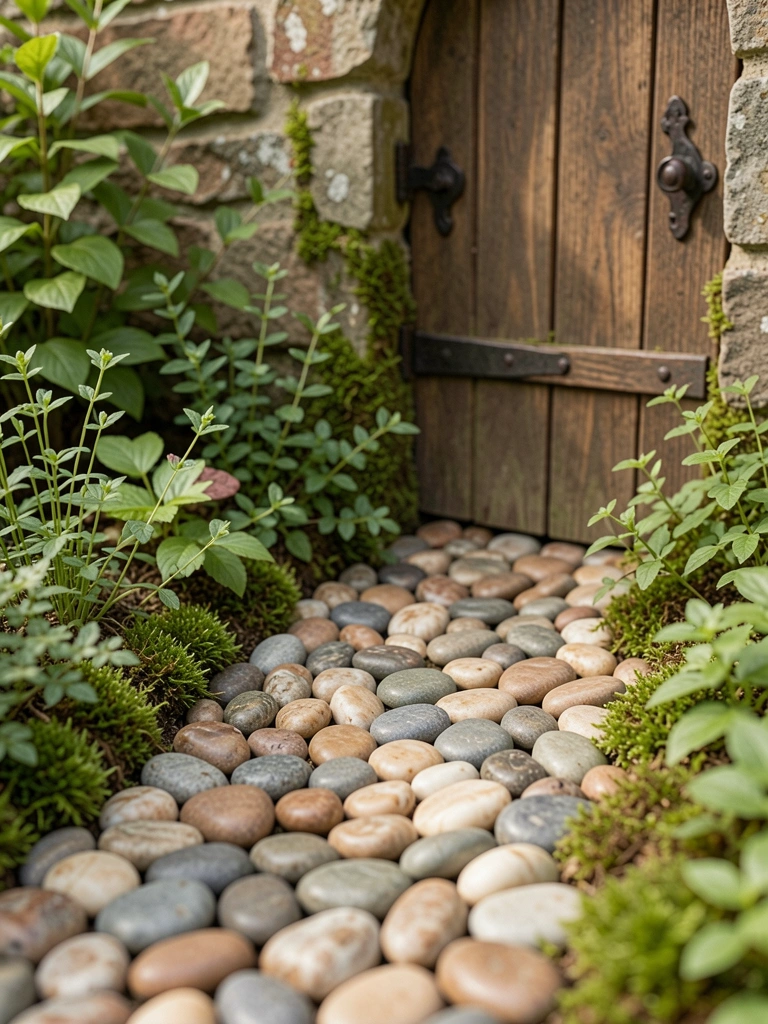
    2. Pebble Path Leading to a Hidden Fairy Door

    I laid this path with pebbles from the driveway, curving it to a painted rock door half-buried under ferns. Kids followed it like a treasure hunt during the party—pure engagement.

    The ferns grew over it fast, which I liked, but first time I used too many big rocks, and it looked cluttered. Smaller ones, 1/2 inch, work best.

    It adds a path feel without digging up grass. In my yard, it directs foot traffic away from flower beds.

    Watch the curve—gentle bends keep it natural, not forced.

    What You’ll Need for This Look

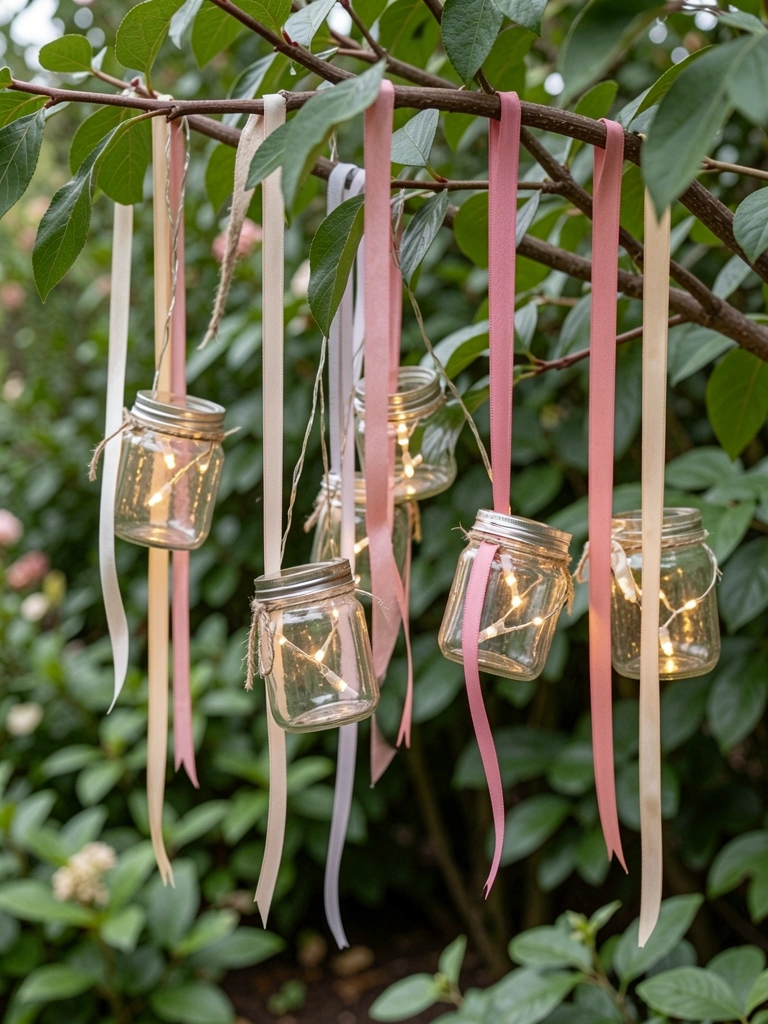
    3. Recycled Jar Fairy Lanterns Hanging from Low Branches

    I punched holes in old jars, strung them with solar lights on branches over the party table. Glowed soft at dusk—kids thought fairies lit them.

    Jars from the recycling bin, but I over-tightened wire once, cracked one. Use thin wire now.

    It casts warm pools of light, highlights plants below. Hung low, 3 feet up, so kids reach to touch.

    In my garden, they sway gently, add movement without overwhelming.

    What You’ll Need for This Look

    4. Acorn Cap Teacups on a Mossy Table

    Collected acorns, glued caps as cups on a flat stump covered in moss. Kids set up tea parties—stayed busy forever.

    Painted insides pink for fun, but rain washed some off. Seal with varnish next time.

    Moss table feels soft under fingers, ties to the ground. Use fresh acorns, fall's best.

    It sparks imagination right at kid height.

    What You’ll Need for This Look

    5. Bottle Cap Fairy Furniture Set

    Turned colorful caps into chairs and tables, legs from matchsticks. Grouped under a hosta leaf roof—party photo spot.

    Hot glue held firm, but I mismatched sizes first try. Uniform caps now.

    Feels sturdy for play, colors pop against green. Place on gravel for stability.

    Kids rearranged endlessly.

    What You’ll Need for This Look

    6. Herb Patch Fairy Beds with Shell Headboards

    Made beds from popsicle sticks in a thyme patch, shells as headboards. Scented the air—kids sniffed and giggled.

    Thyme spread fast, covered edges nicely. Forgot drainage once, got soggy.

    Smells real, invites touch. Keep beds 3 inches long.

    Blends into herb garden post-party.

    What You’ll Need for This Look

    7. Pinecone Fairy Boats on a Puddle Pond

    Floated pinecones with toothpick masts and leaf sails in a saucer "pond." Kids pushed them around—simple game.

    Pines from yard, but wet ones sank. Dry first.

    Adds water play without mess. Line with pebbles.

    Fun until dusk.

    What You’ll Need for This Look

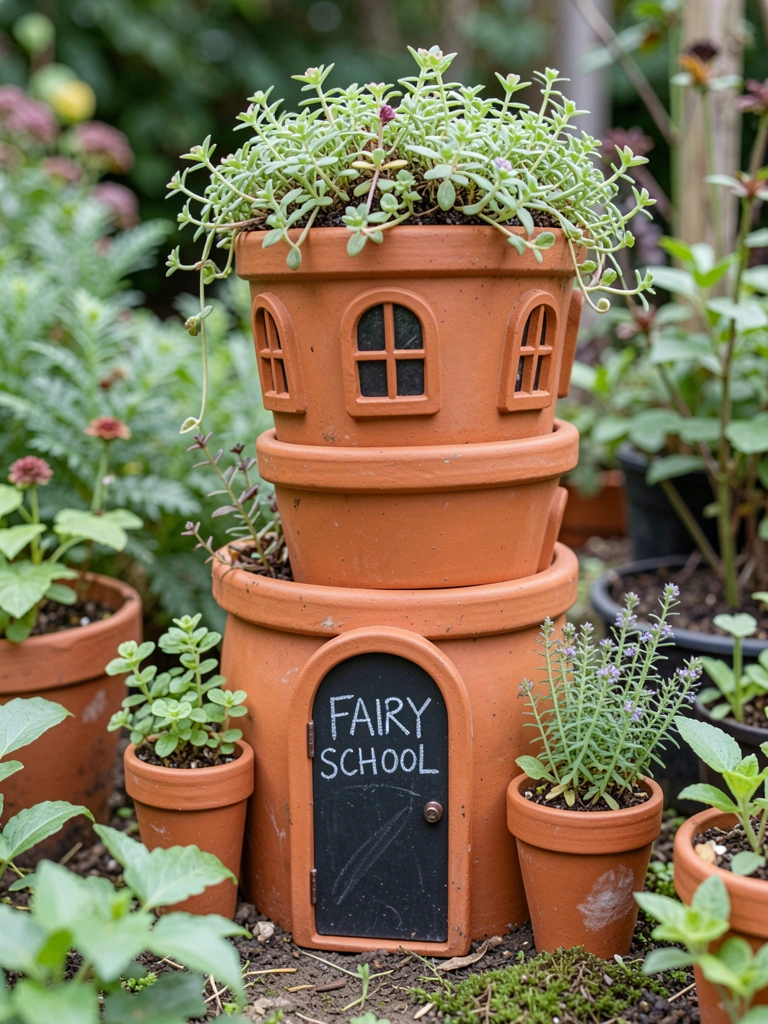
    8. Clay Pot Fairy Schoolhouse Stack

    Stacked three pots, painted windows, added succulent roof. Kids "taught" classes inside.

    Succulents thrived in shade. Overpainted details faded—less is more.

    Looks like a building, fits garden scale. Anchor with glue.

    Durable for multiple uses.

    What You’ll Need for This Look

    9. Stick Bridge Over Gravel Stream

    Glued flat sticks over gravel "stream." Kids crossed with tiny figures—adventure central.

    Gravel from path, sticks straight. Curved too much once, wobbly.

    Defines paths, adds height play. 4 inches wide.

    Stays put in wind.

    What You’ll Need for This Look

    10. Leaf Umbrella Village Huts

    Propped hosta leaves on twig frames for roofs. Grouped four—village feel.

    Leaves wilted quick in sun. Shade spots best.

    Soft textures, changes with seasons. Refresh leaves weekly.

    Invites story play.

    What You’ll Need for This Look

    11. Nut Shell Fairy Baths with Pebble Bubbles

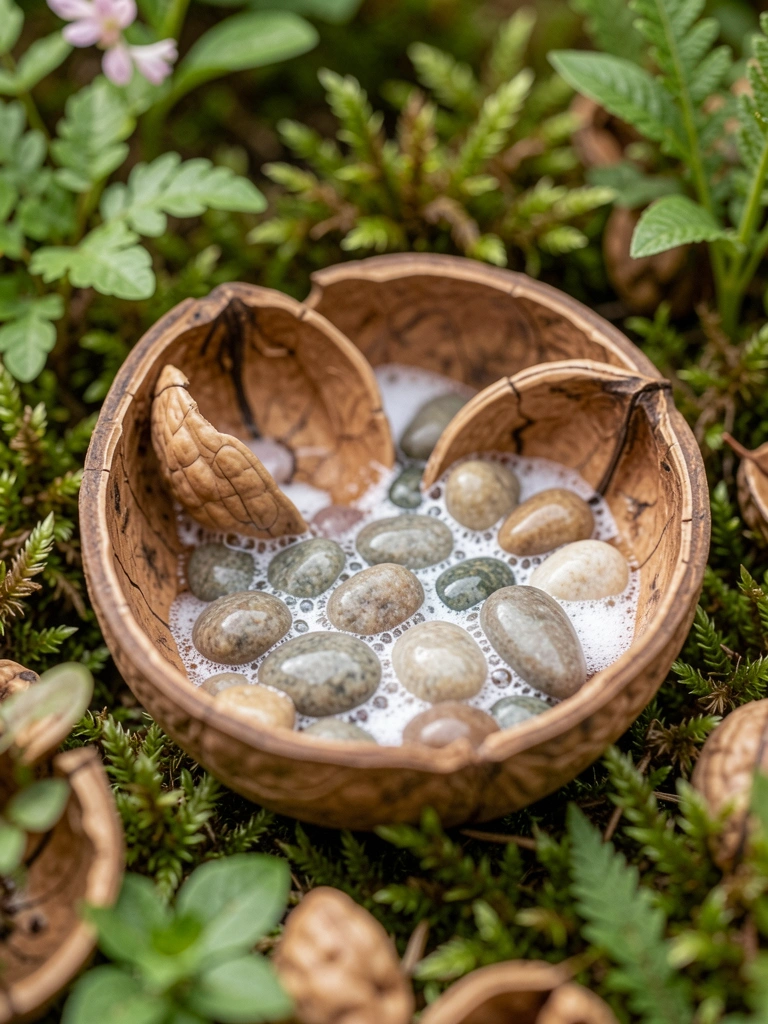
    Halved walnuts as tubs, pebbles inside. Kids added water—bath time for fairies.

    Shells cracked easy. Thicker nuts now.

    Shiny pebbles catch light. Shallow for safety.

    Cozy detail.

    What You’ll Need for This Look

    12. Rock Pool Fairy Swimming Holes

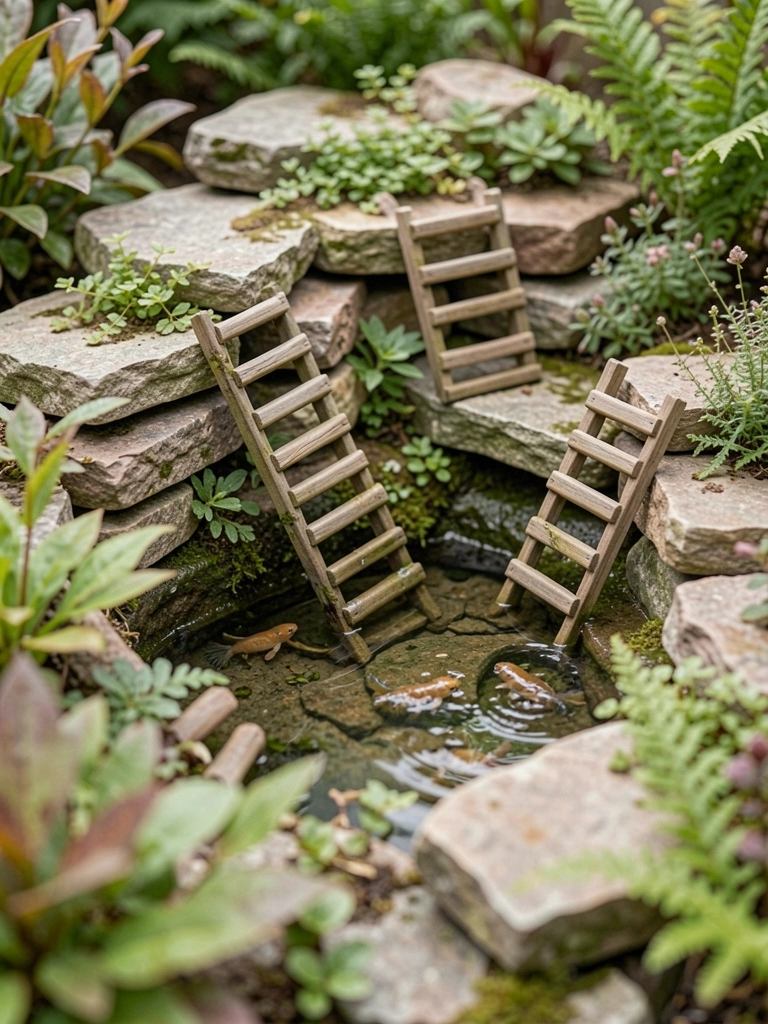
    Nested smooth rocks, filled shallow water. Twig ladders down.

    Water evaporated fast—shade it. Algae tip: change water.

    Cool spot in heat. Moss edges.

    What You’ll Need for This Look

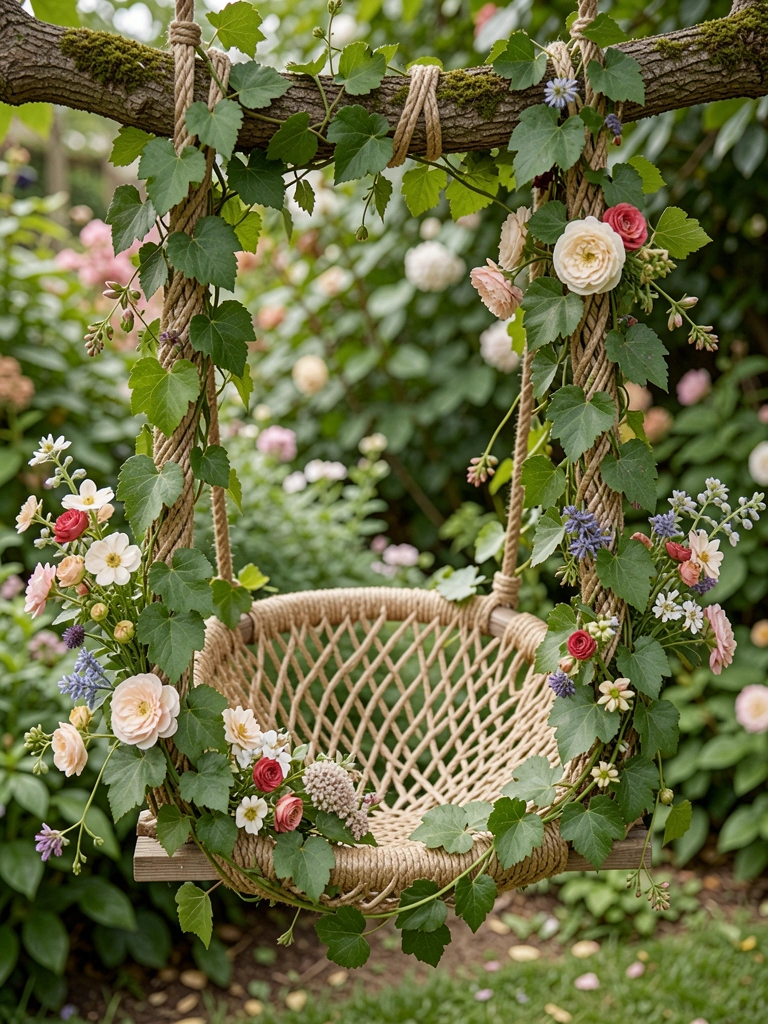
    13. Vine Covered Fairy Swing from Twine

    Knotted twine seat, draped ivy. Hung from low limb—gentle sway.

    Ivy dried out once. Mist regularly.

    Movement draws kids. 4 inches wide.

    Peaceful nook.

    What You’ll Need for This Look

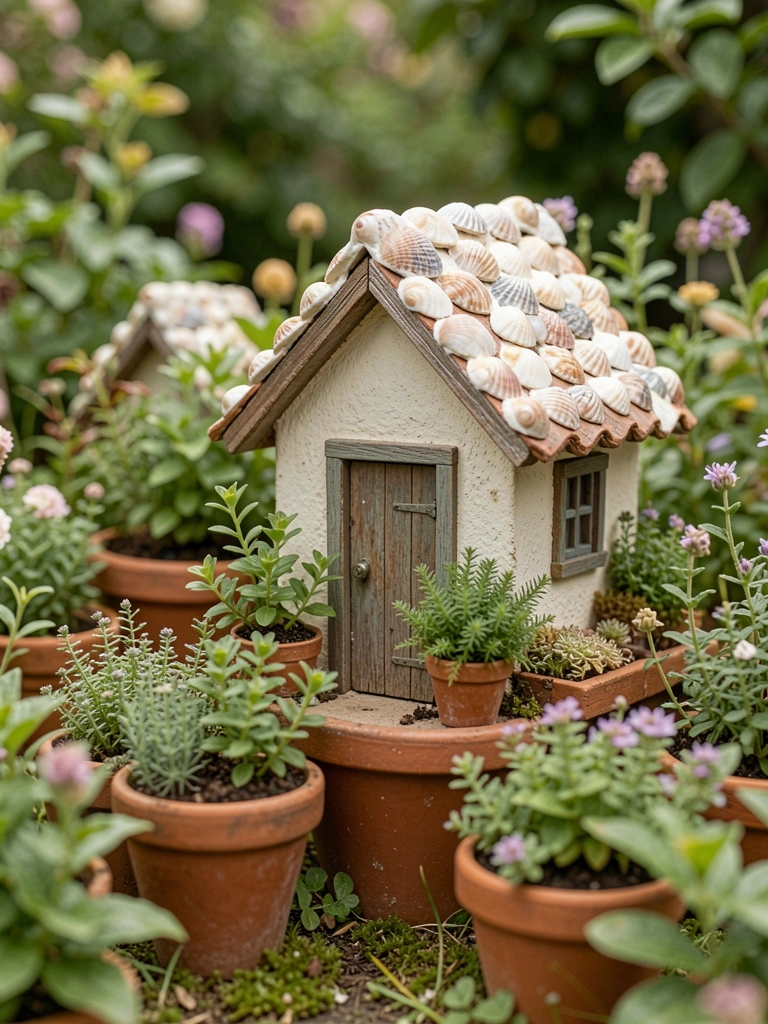
    14. Seashell Cottage Roofs on Pot Bases

    Glued tiny shells on terracotta pots. Charming roofs.

    Shells loose in rain—strong glue.

    Textural interest. Group three.

    Beach garden vibe.

    What You’ll Need for This Look

    15. Button Wheel Fairy Carts Pulled by Sticks

    Buttons as wheels on stick frames. Kids pulled with string.

    Buttons spun uneven—flat backs.

    Play prop perfection. 2 inch size.

    What You’ll Need for This Look

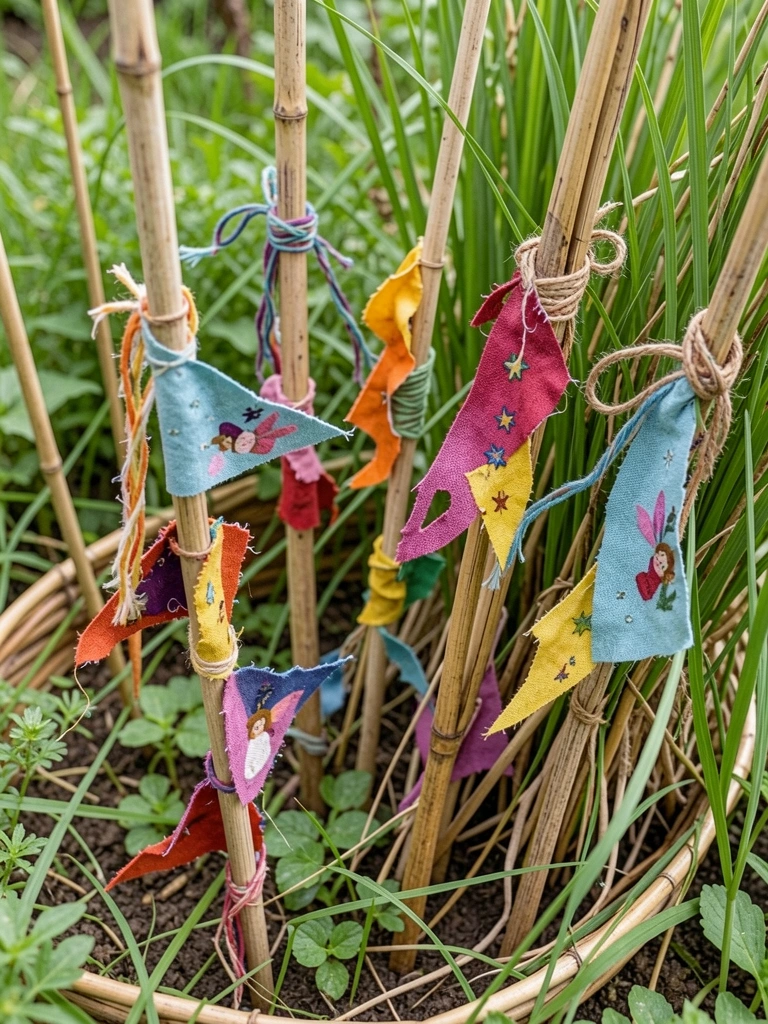
    16. Fabric Scrap Fairy Flags on Reeds

    Tied old fabric bits to reeds. Flutters in breeze.

    Faded fast in sun. UV fabric now.

    Marks party zones. Soft colors.

    What You’ll Need for This Look

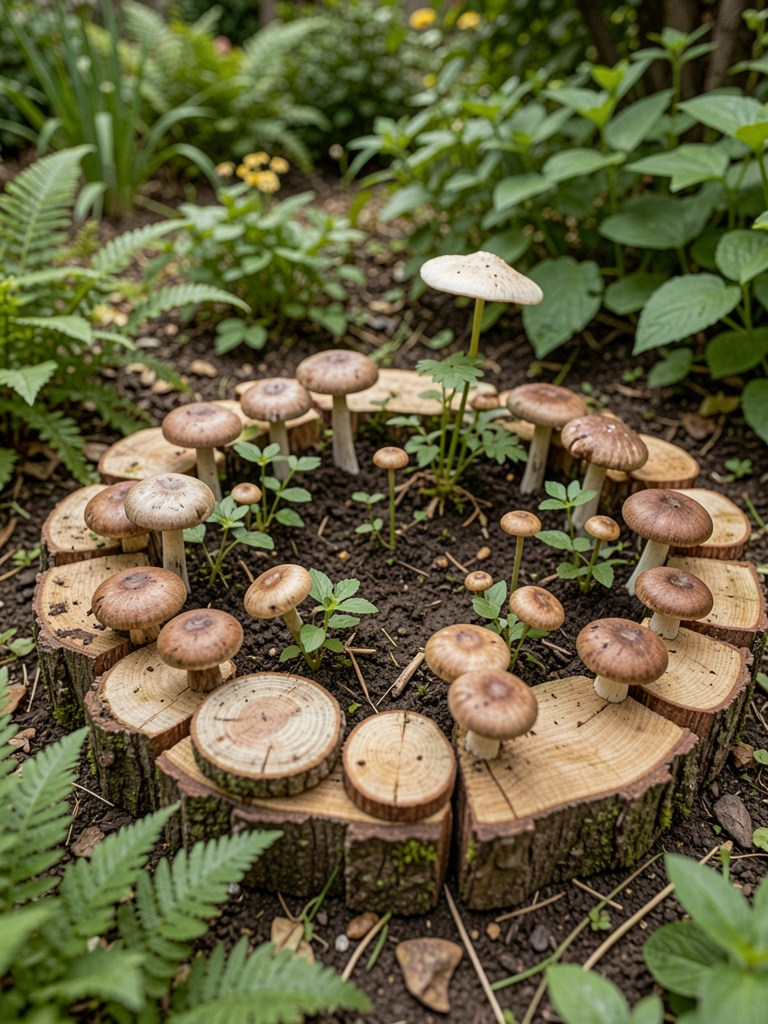
    17. Mushroom Stool Circle from Caps

    Painted wood slices like mushrooms, ringed real ones. Seating circle.

    Slices warped wet—seal them.

    Gathering spot. Natural height.

    What You’ll Need for This Look

    18. Flower Petal Boat Fleet in Basin

    Petals from marigolds on toothpicks in a bowl pond. Floated pretty.

    Petals sank quick. Fresh daily.

    Color pop. Easy refresh.

    What You’ll Need for This Look

    19. Birdhouse Fairy Tower with Ladder Access

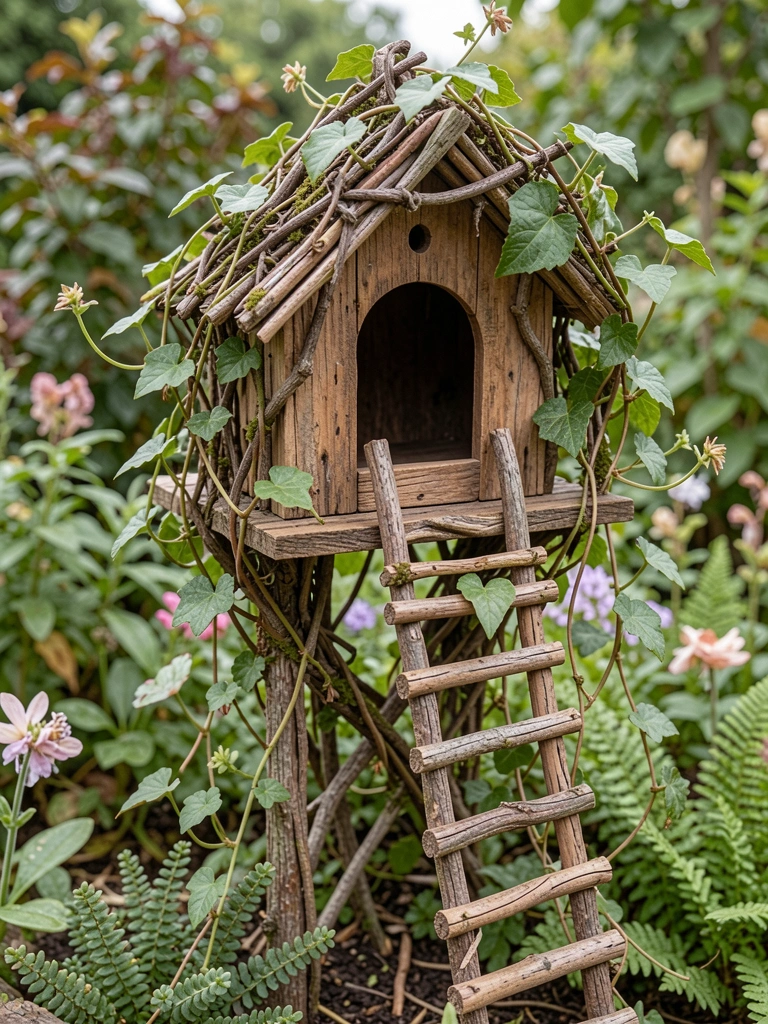
    Mini birdhouse on sticks, ladder up. Lookout tower.

    Too tall first—kid height.

    Vertical interest. Sturdy base.

    What You’ll Need for This Look

    20. Sand Gravel Fairy Beach with Shell Loungers

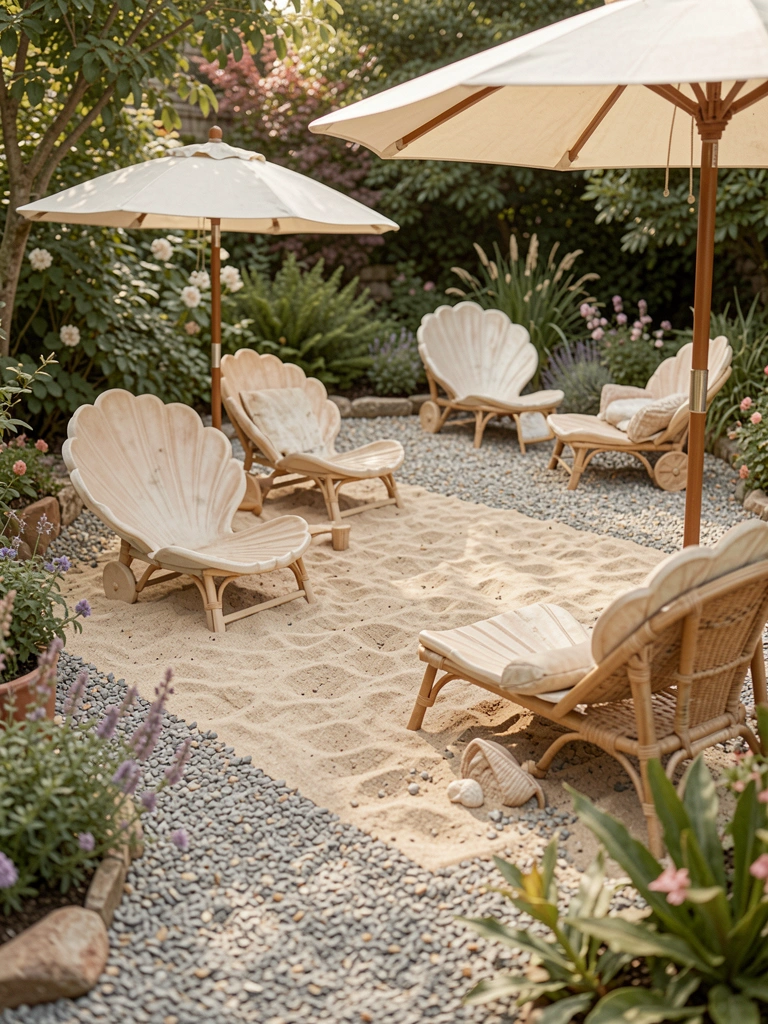
    Mixed sand and gravel tray, shells as chairs. Beach party zone.

    Sand spilled—edged tray.

    Sensory play. Contain it.

    What You’ll Need for This Look

    21. Bark Slab Fairy Picnic Tables

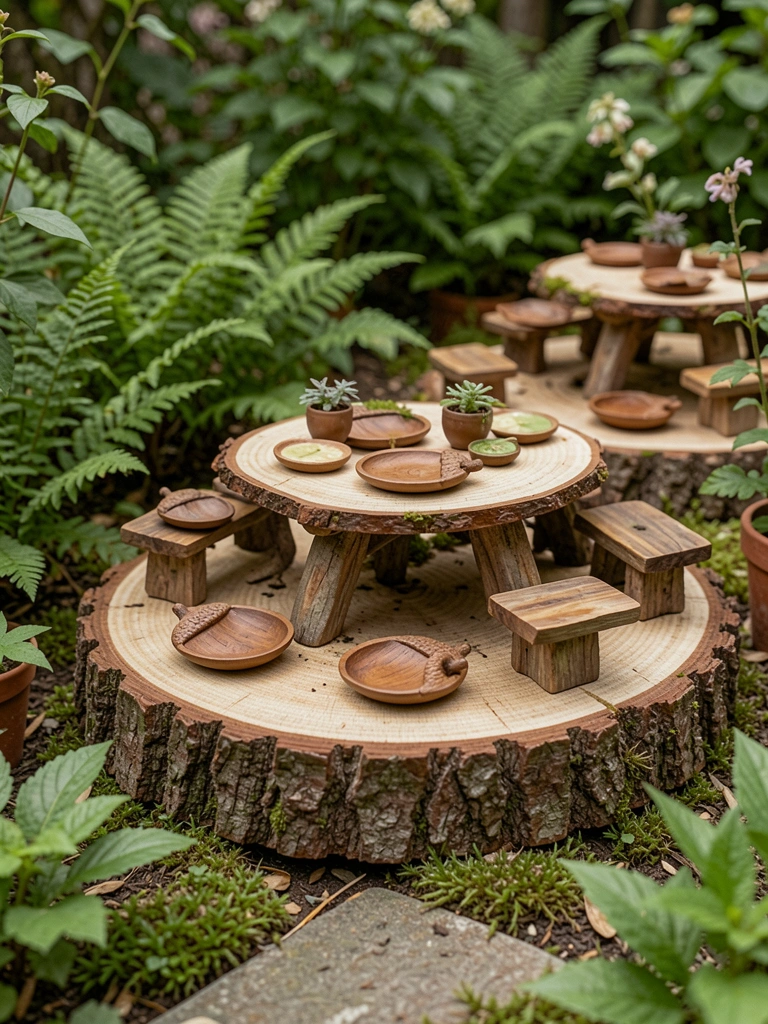
    Bark slabs on pebbles, stick benches. Picnic setup.

    Bark slipped—glue down.

    Rustic feel. Flat slabs.

    What You’ll Need for This Look

    22. Feather Wing Fairy Hangout Trees

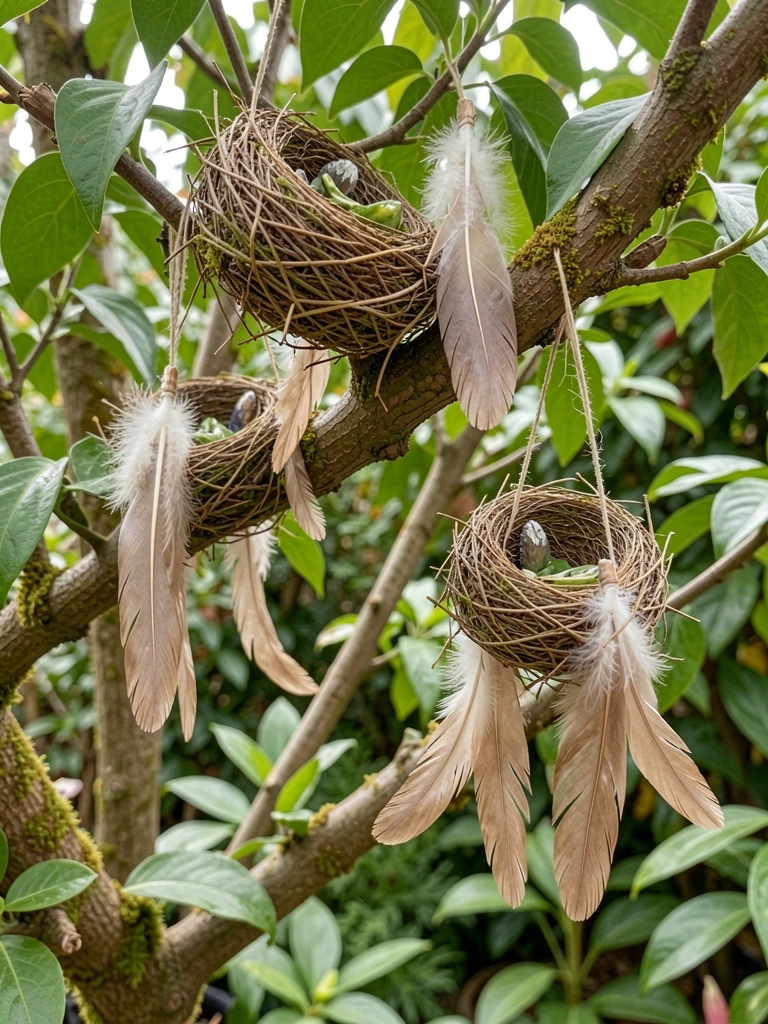
    Stuck feathers in branch "tree," nests below. Wing display.

    Feathers blew away—wire them.

    Light movement. Soft touch.

    What You’ll Need for This Look

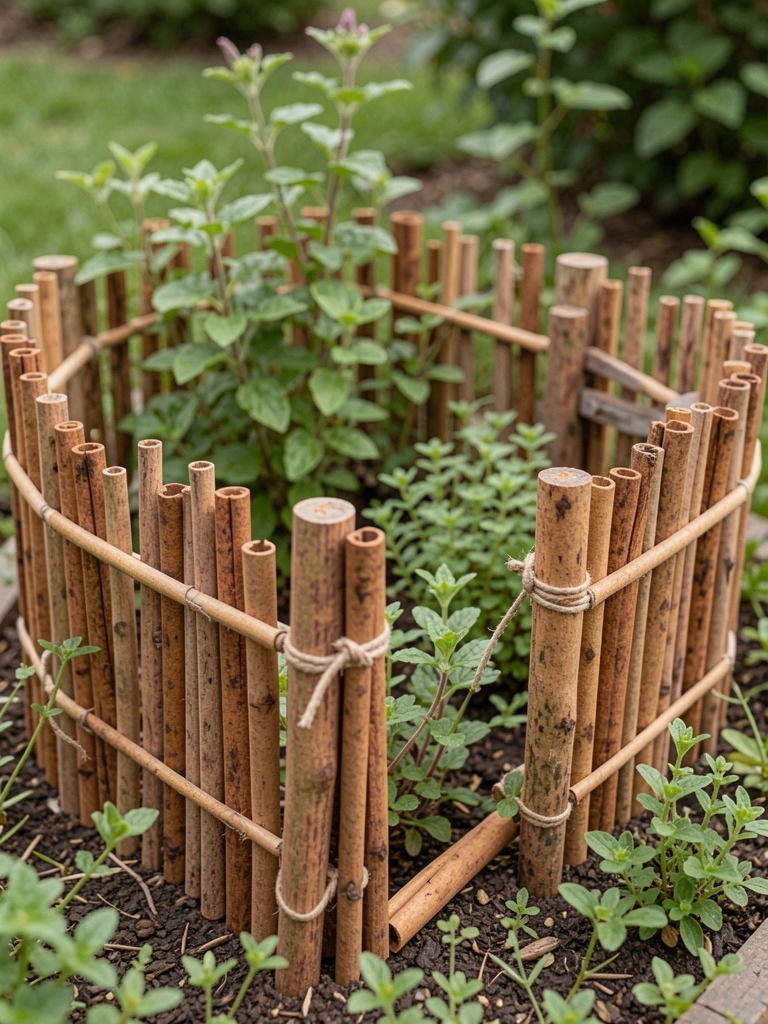
    23. Cinnamon Stick Fairy Fence Around Plant Bed

    Bundled cinnamon sticks as fence posts around violas. Scented border.

    Scent faded—refresh yearly.

    Defines space warmly. Smells good.

    What You’ll Need for This Look

    Final Thoughts

    Pick three or four ideas that fit your yard—no need for all 23. Start small, use what you have.

    They'll grow on you, blend in over time. Kids will remember the play, not perfection.

    You've got this—dirt under nails and all.
  • 17 Diy Fairy Garden Bridge Ideas For Tiny Landscapes

    17 Diy Fairy Garden Bridge Ideas For Tiny Landscapes

    Last summer, I cleared a narrow strip along my back fence—overgrown and forgotten. Dropped in some moss and a few rocks. Then it hit me: a tiny bridge would connect the shady spots. Made one from twigs that afternoon. The whole corner softened, invited closer looks.

    Those little bridges pull your eye through small spaces. They make forgotten patches feel alive.

    I've tinkered with 17 over years. Some flopped, like one that washed away. But these hold up.

    17 Diy Fairy Garden Bridge Ideas For Tiny Landscapes

    Here are 17 DIY fairy garden bridge ideas pulled from my own tiny garden spots. They're straightforward, use backyard scraps or cheap finds. You can build any in under an hour.

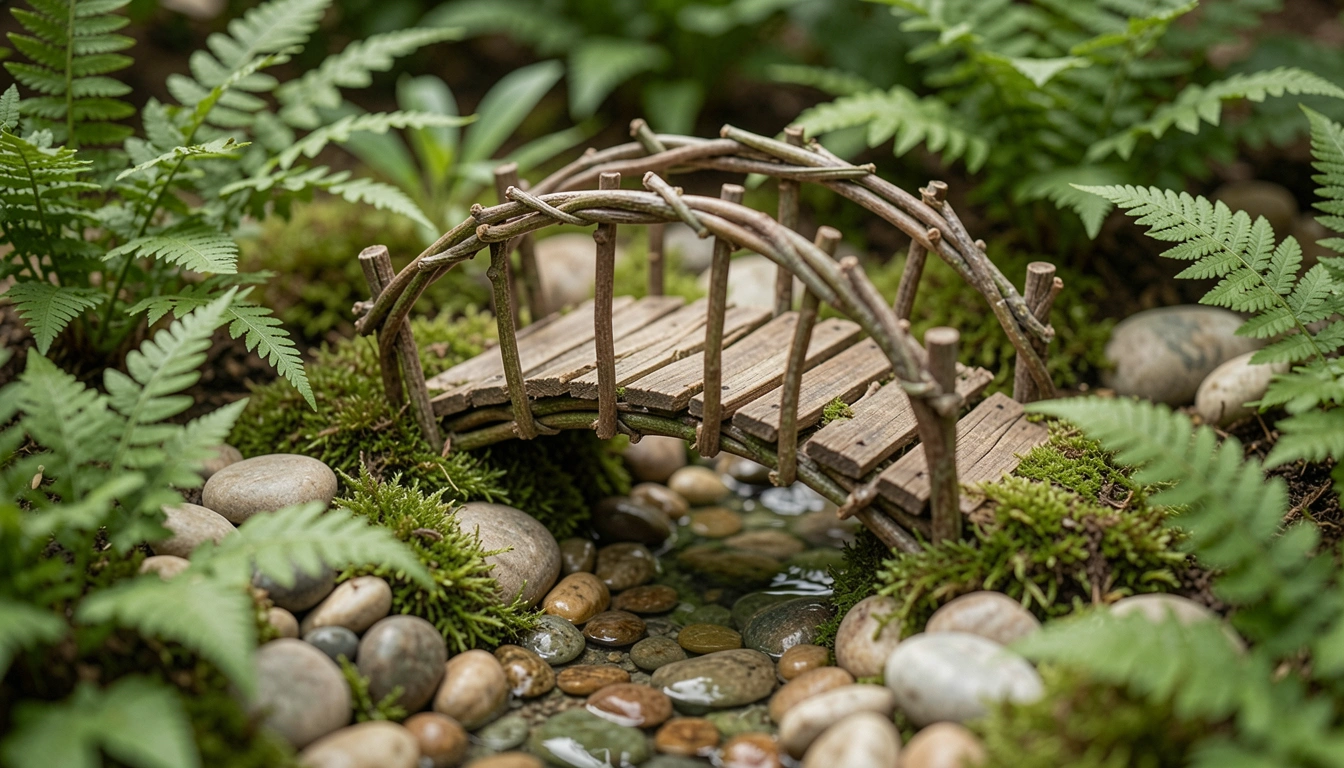
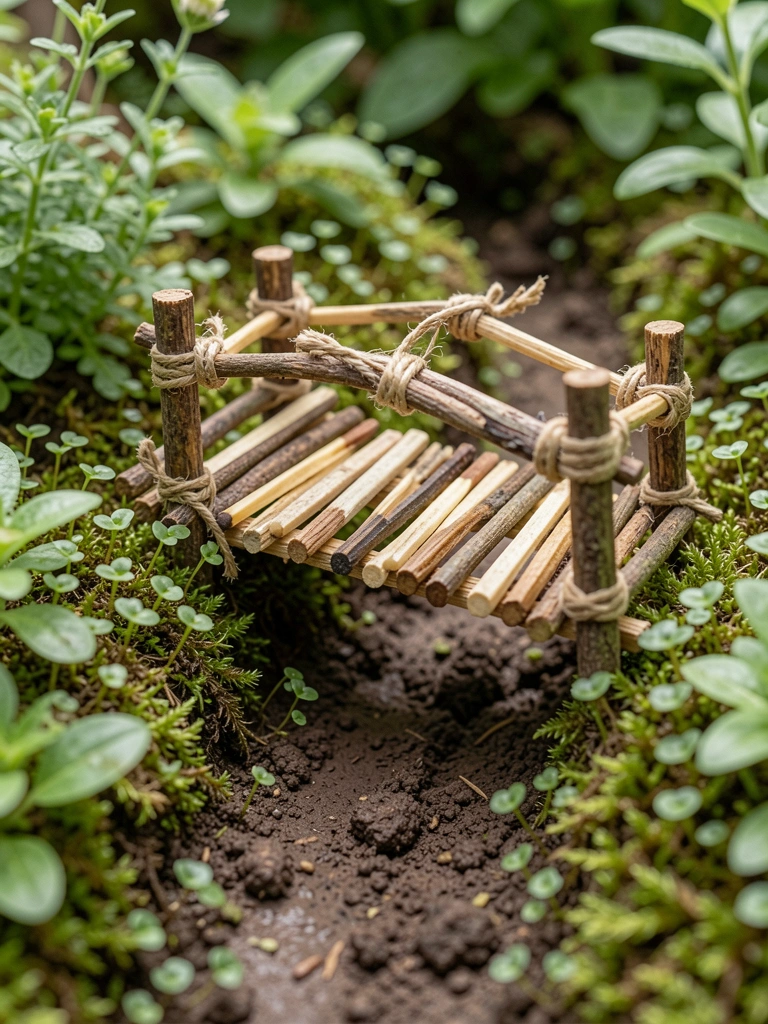
    1. Twig Arch Over Mossy Pebbles

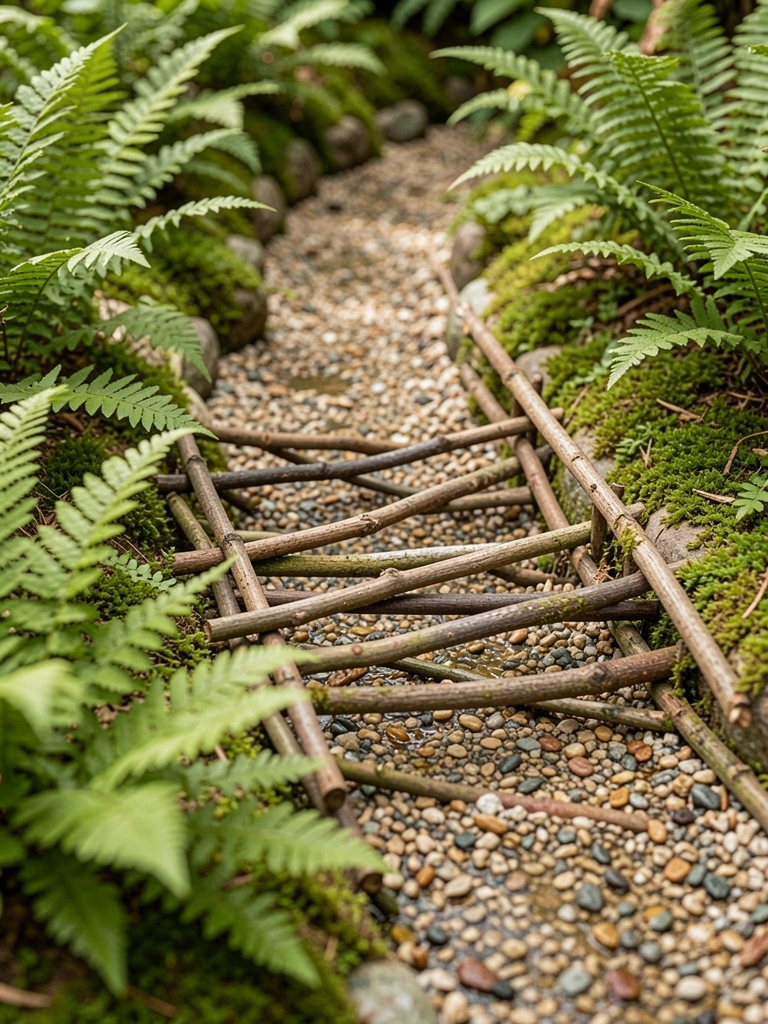
    I gathered fallen twigs from my oak tree last fall. Bent them into a gentle arch, wired the ends tight. Spanned it over a handful of pebbles in a cracked pot saucer—my instant stream bed.
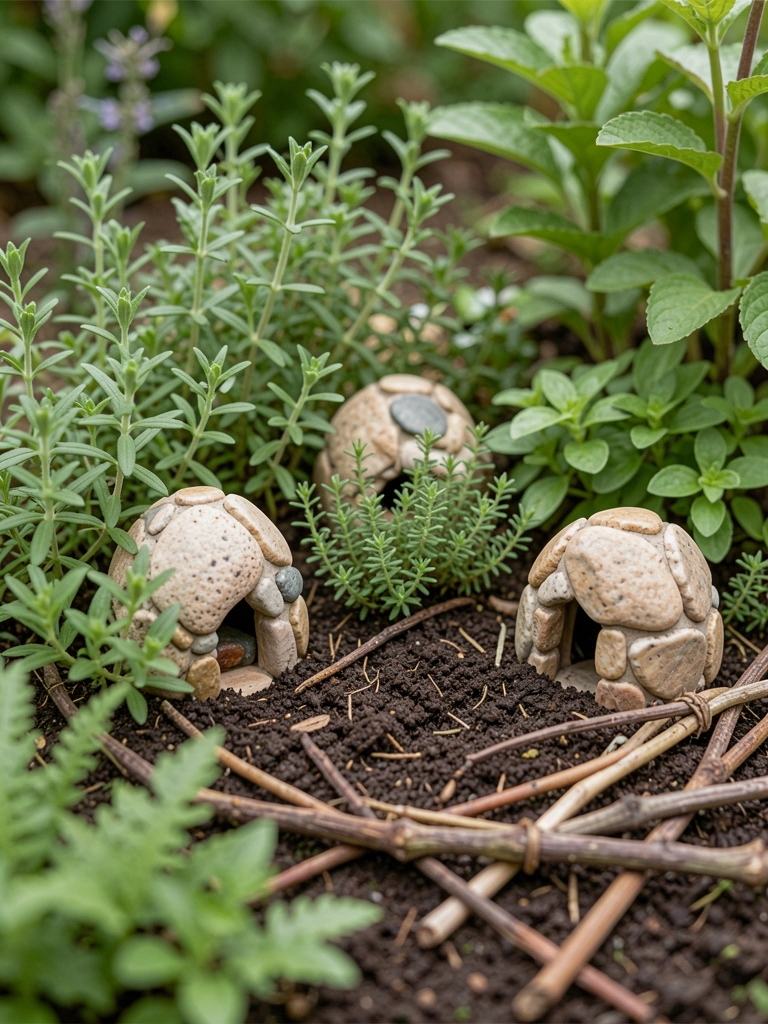
    The arch draws your gaze across the damp moss. That shady corner by the shed went from mud to a quiet path fairies might cross. Air feels cooler there now.

    Watch the twigs' curve; too stiff and it snaps. I learned after the first one broke in rain.

    Soak them overnight first. Lash with thin wire, not glue—it holds better outdoors.

    What You’ll Need for This Look

    Twig bundle for crafts (natural, 12 inch)

    Floral wire thin gauge

    River pebbles small bag (1 lb)

    Preserved moss sheet green

    2. Pebble Stacked Flat Crossing

    Dug up smooth pebbles from my gravel path. Stacked them flat between two hosta leaves—bridged a shallow dip I made with a spoon. No glue, just wedged tight.

    It grounds the spot visually. The pebbles echo the bigger rocks nearby, blending the mini world into my real beds. Feels steady, not fussy.

    I stacked too high once; toppled in wind. Keep it low, two pebbles max per side.

    Pat soil firm underneath. Add a fern frond for cover.

    What You’ll Need for This Look

    Smooth river pebbles assorted sizes (2 lb)

    Mini hosta plants (3 pack)

    Miniature fern fronds preserved

    3. Wire and Acorn Cap Suspension

    Foraged acorns under the maples. Poked holes, strung on floral wire stretched between sticks. Hung it low over bark mulch—like a swingy path.

    The sway adds life without bulk. In my pot garden, it links two succulents. Pulls you in, makes the pots feel connected.

    Wire rusted fast first time. Twist ends with pliers for grip.

    Test tension; too loose sags into dirt.

    What You’ll Need for This Look

    Acorn cap set craft (50 piece)

    Floral wire green coated (50 ft)

    Bark mulch mini bag

    4. Cinnamon Stick Log Span

    Bundled old cinnamon sticks from holiday crafts. Lashed with twine over a thyme patch—rustic logs crossing damp earth.

    Warm scent lingers after rain. In my herb border, it ties the mini scene to real plants. Cozy scale.

    Twine rotted quick. Switch to waxed linen thread.

    Layer three sticks for width.

    What You’ll Need for This Look

    Cinnamon sticks natural (12 inch, 20 pack)

    Waxed linen thread brown

    Creeping thyme plugs (4 pack)

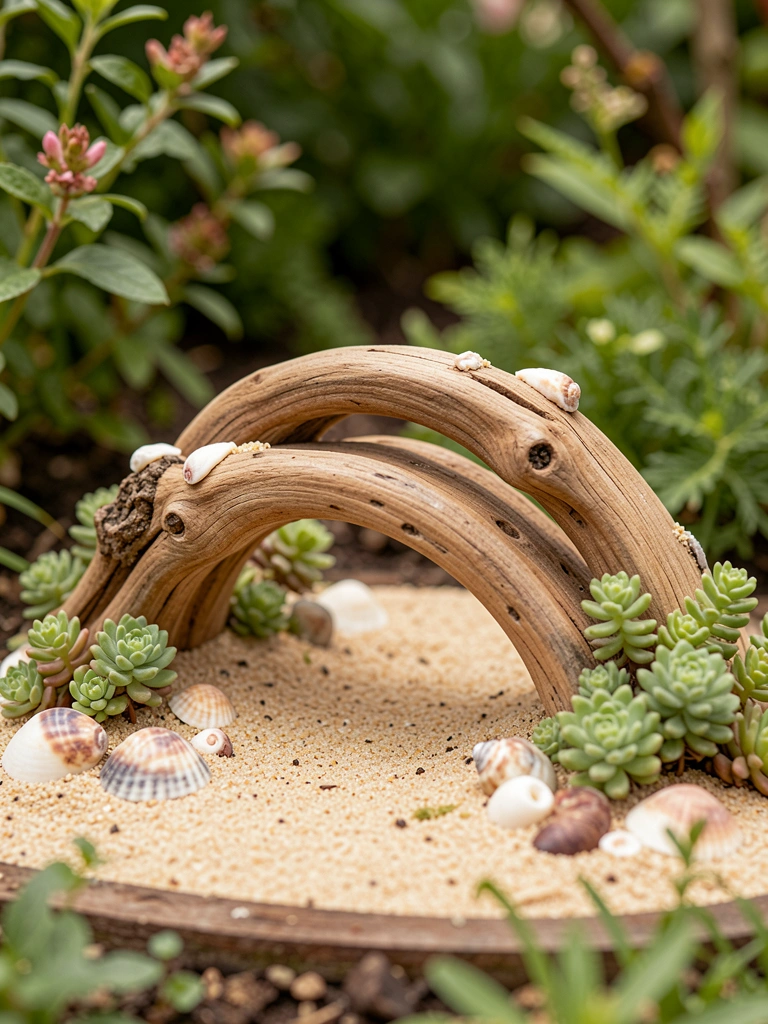
    5. Driftwood Half-Moon Arch

    Picked driftwood from a beach trip. Curved pieces wedged into sand-filled saucer, arcing over sedum.

    Beach feel in my inland yard. Softens the pot edge, invites tiny walks.

    Sand shifted once. Mix with clay soil.

    Prop ends deep.

    What You’ll Need for This Look

    Driftwood pieces assorted (small)

    Play sand bag (5 lb)

    Sedum groundcover plugs

    Mini seashells bag

    6. Bottle Cap Chain Link

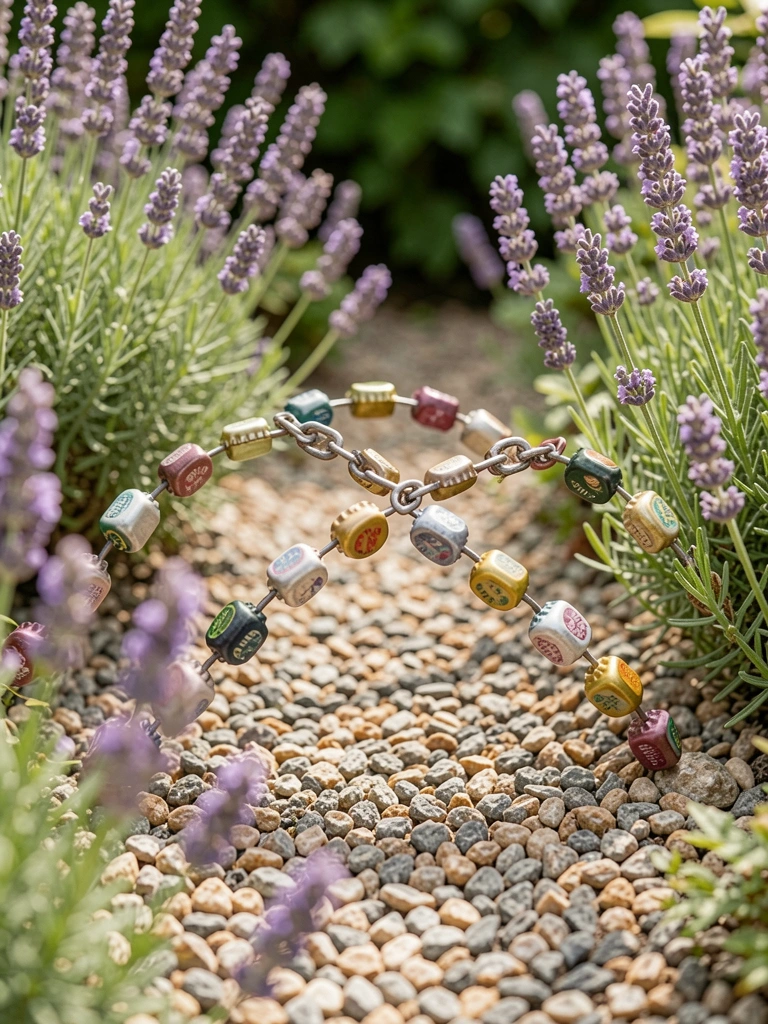
    Saved metal caps from sodas. Linked with wire, draped over gravel between lavenders.

    Shiny pops against green. In my walkway gap, it sparks interest without overwhelming.

    Caps dented easy. Use pliers to bend links.

    Rinse well first.

    What You’ll Need for This Look

    Metal bottle caps craft pack (50)

    Thin craft wire silver (30 ft)

    Fine gravel bag (2 lb)

    7. Popsicle Stick Truss Lift

    Glued popsicle sticks into truss shape, propped on toothpicks over ajuga.

    Lifts the path above groundcover. My front bed corner got depth.

    Glue failed outdoors. Hot glue dots, then seal.

    Space trusses even.

    What You’ll Need for This Look

    Popsicle sticks natural (100 pack)

    Wooden toothpicks box

    Ajuga groundcover plants

    Outdoor clear sealant spray

    8. Bamboo Reed Flatwalk

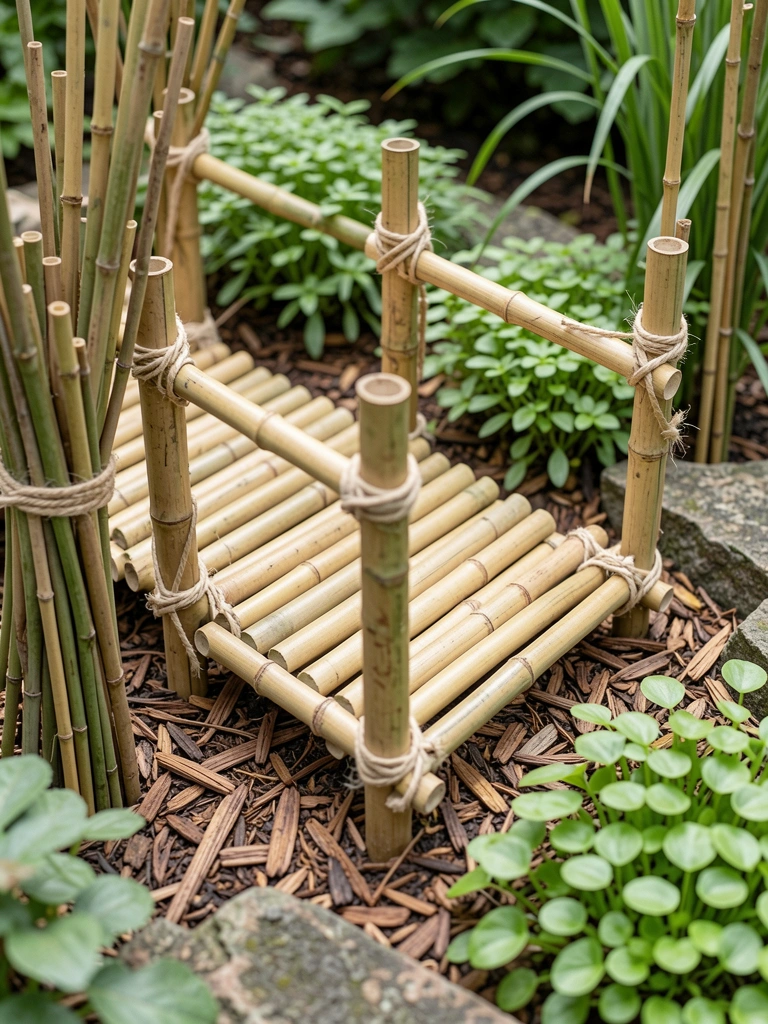
    Split bamboo reeds from garden stakes. Bundled flat with twine, laid over mulch.

    Clean lines in Asian feel spot. Links mondo grass clumps.

    Reeds splintered. Sand edges smooth.

    Keep bundles tight.

    What You’ll Need for This Look

    Bamboo reeds craft size (12 inch)

    Garden twine natural roll

    Mondo grass mini plugs

    9. Shell Hinge Arch

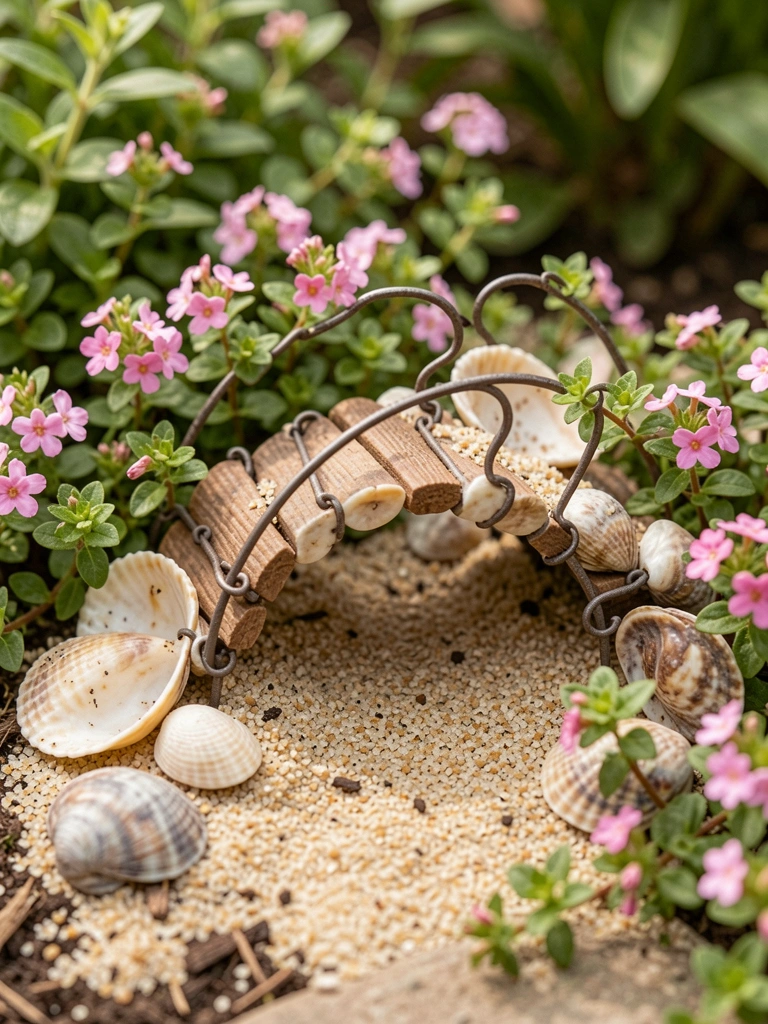
    Hinged small clam shells with wire. Arched over sand path amid phlox.

    Coastal nook in my yard. Shell gleam catches light.

    Hinge bent wrong. Pre-poke holes.

    Firm sand base.

    What You’ll Need for This Look

    Small clam shells craft (20 pack)

    Thin wire for jewelry

    Creeping phlox seeds

    10. Pipe Cleaner Woven Span

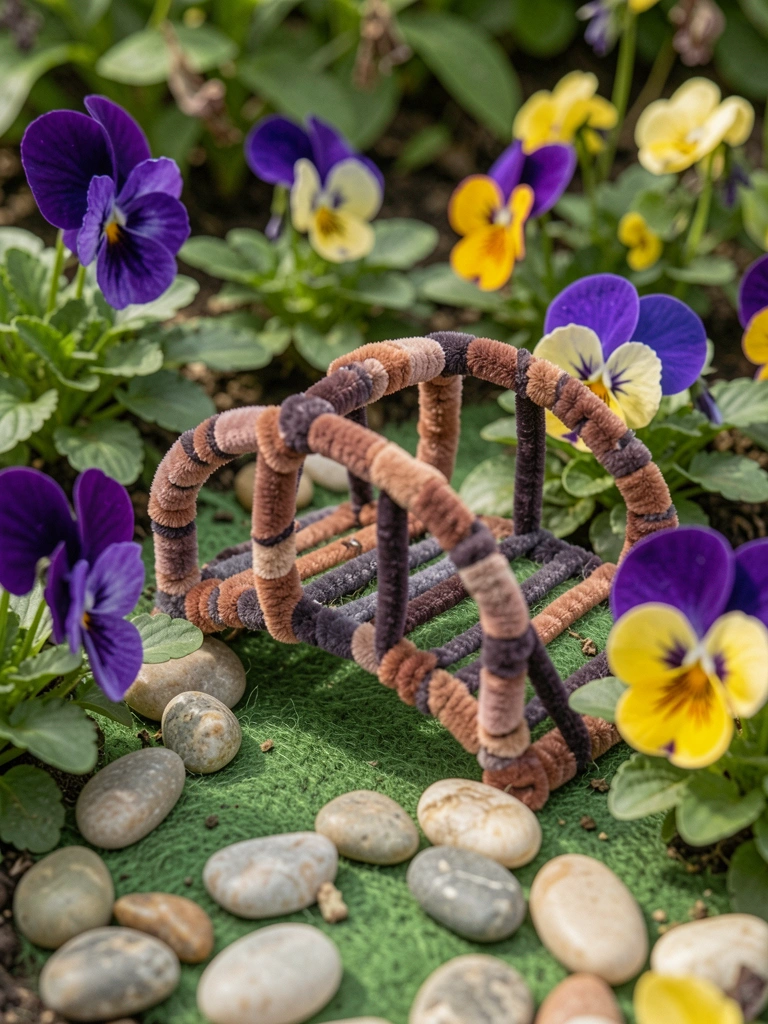
    Twisted pipe cleaners into weave. Stretched over felt "river" with pebbles.

    Playful in flower pot. Violas frame it soft.

    Faded in sun. Chenille holds color.

    Weave tight.

    What You’ll Need for This Look

    Pipe cleaners assorted colors (100 pack)

    Felt sheets green craft

    Viola flower plugs

    11. Matchstick Bundle Path

    Bundled matchsticks, tied ends. Laid in trench of baby tears.

    Woodsy trail feel. Blends with soil.

    Snapped in wet. Seal first.

    Short bundles.

    What You’ll Need for This Look

    Matchsticks craft box (200)

    Soleirolia soleirolii baby tears

    Clear wood sealant brush-on

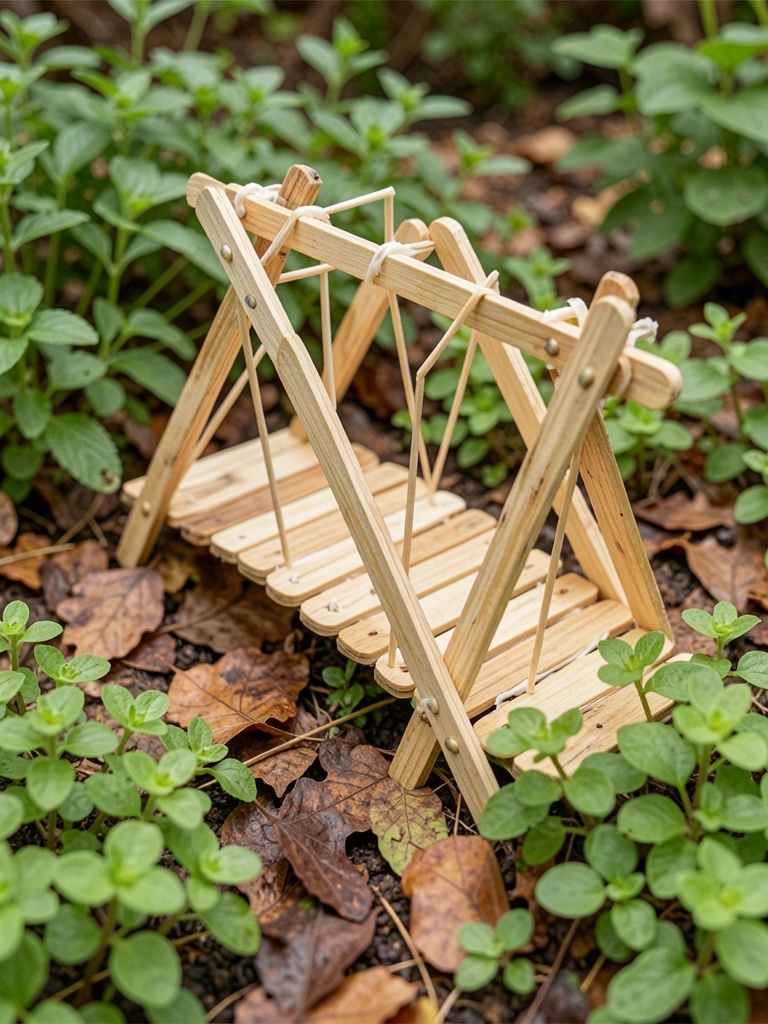
    12. Button String Swing

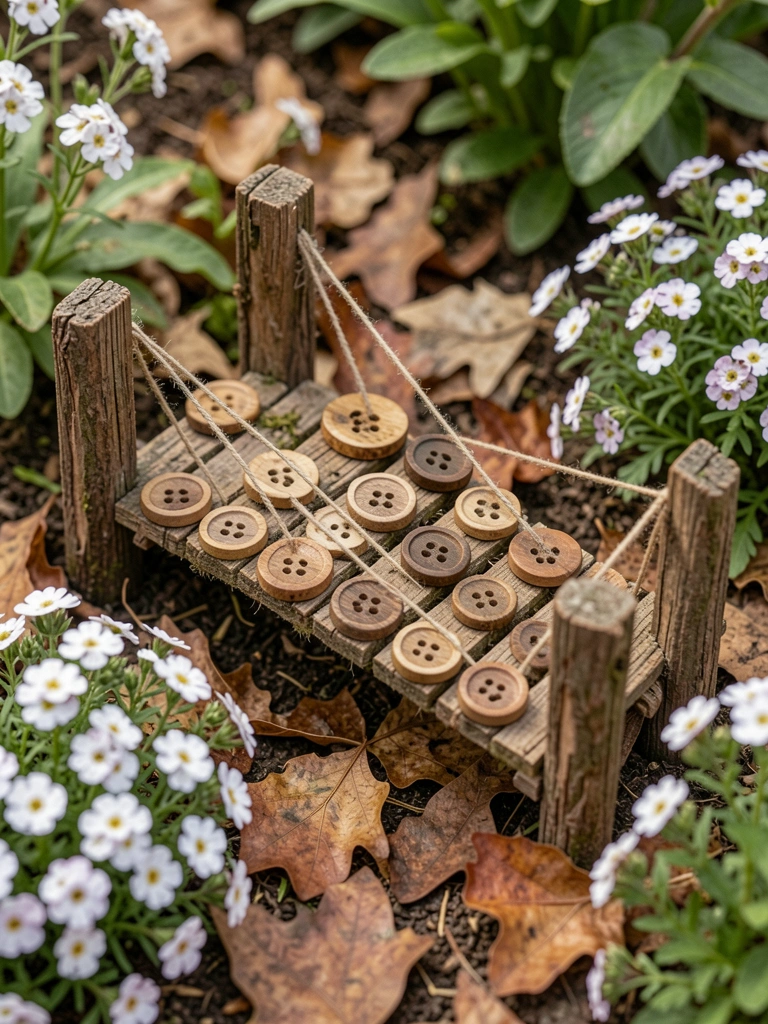
    Strung wooden buttons on thread between twigs. Swings low over alyssum.

    Quirky link. Adds texture.

    Thread frayed. Use nylon.

    Even spacing.

    What You’ll Need for This Look

    Wooden buttons large hole (50 pack)

    Nylon beading thread clear

    Sweet alyssum seeds

    13. Cork Disc Stack

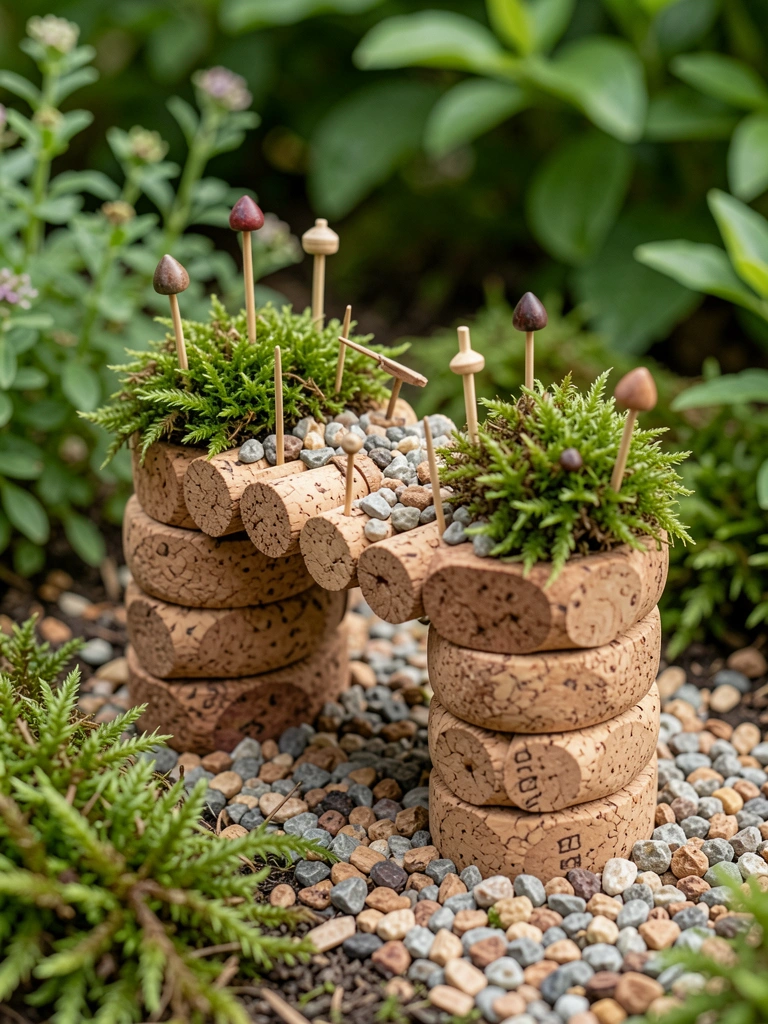
    Stacked wine corks, pinned with toothpicks. Over gravel moat.

    Soft underfoot look. In moss patch.

    Slid apart. Pin deep.

    Dry corks first.

    What You’ll Need for This Look

    Cork discs craft (1 inch, 30 pack)

    Round toothpicks pack

    Irish moss plugs

    14. Herb Stem Rustic Arch

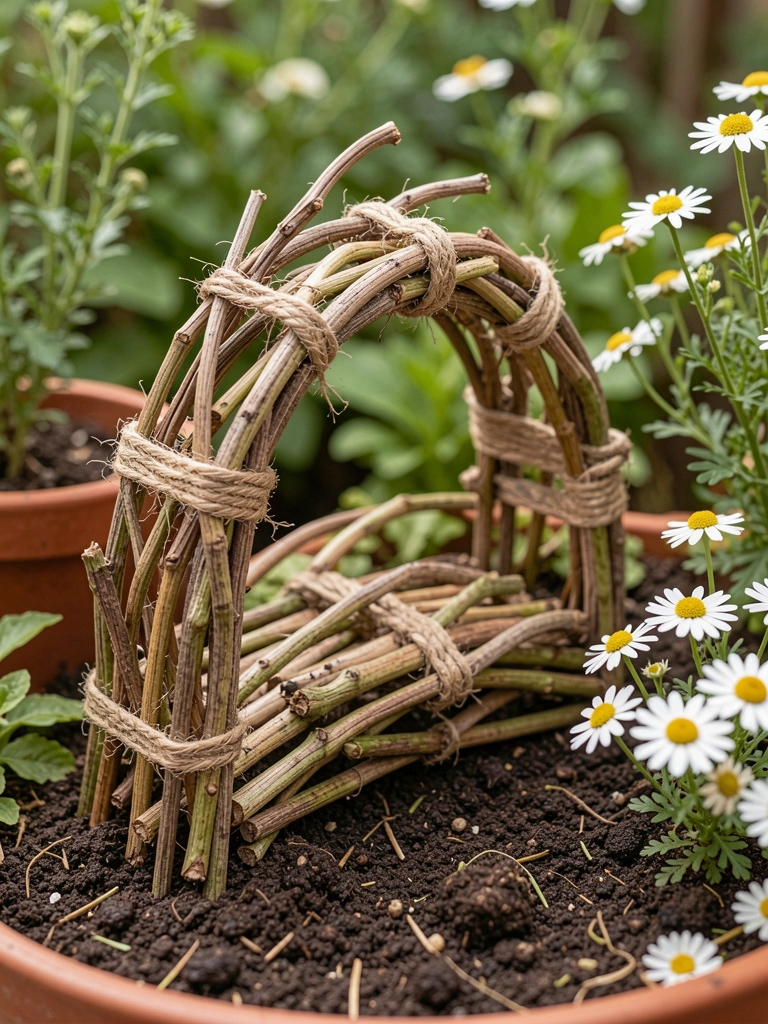
    Dried rosemary stems arched, tied. Over chamomile bed.

    Herb scent bonus. Fits kitchen garden.

    Wilted stems. Dry fully.

    Trim even.

    What You’ll Need for This Look

    Dried herb stems bundle

    Garden twine jute

    Chamomile groundcover

    15. Rock Slab Cantilever

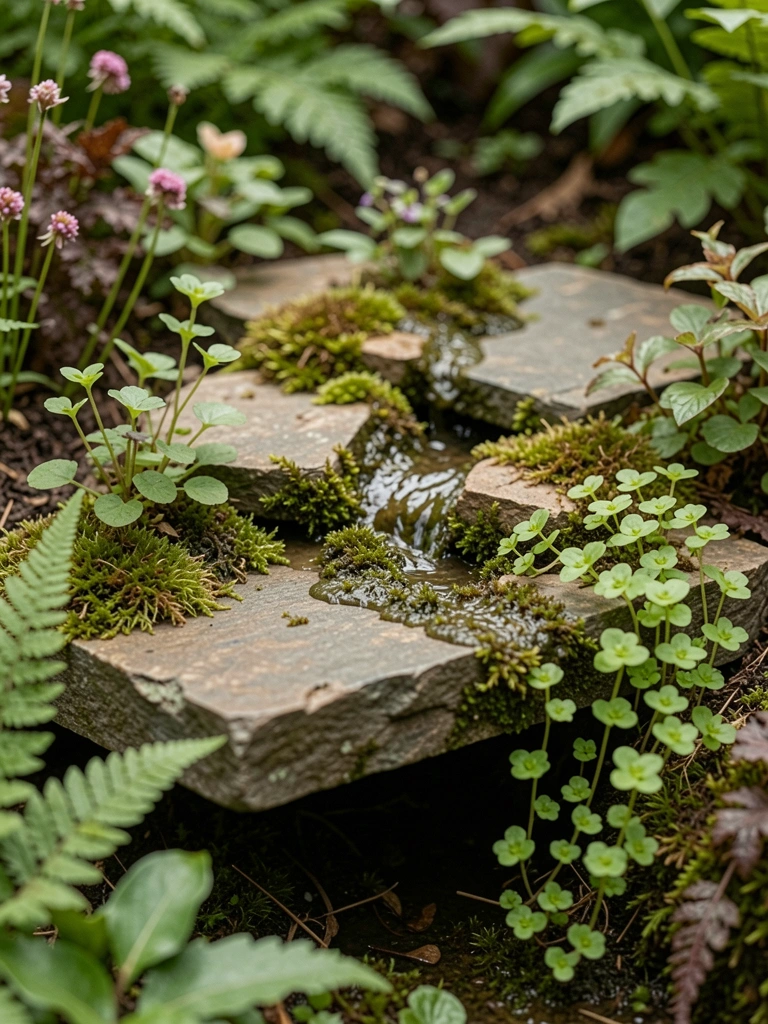
    Balanced flat slate slabs on edge rocks. Cantilever over Jenny.

    Bold span. Stable in wind.

    Slipped once. Roughen bottoms.

    Low profile.

    What You’ll Need for This Look

    Mini slate slabs (4×2 inch set)

    Sphagnum moss dry pack

    Creeping Jenny plugs

    16. Leaf Vein Flat Bridge

    Pressed oak leaves, glued vein-side up. Flat over dwarf grass.

    Natural fade. Blends seasonal.

    Curled edges. Press heavier.

    Seal top.

    What You’ll Need for This Look

    Leaf press kit craft

    Craft glue waterproof

    Dwarf mondo grass

    17. Toothpick Log Jam Cross

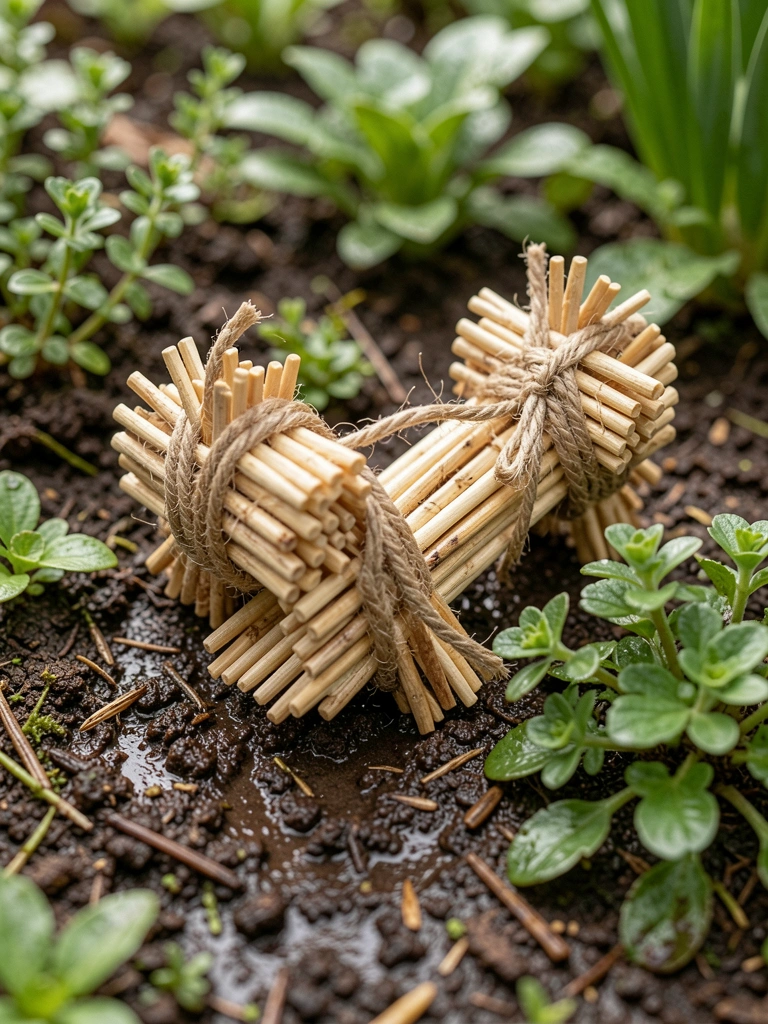
    Bundled toothpicks like logs. Tied, crossed damp saxifrage.

    Flood look after rain. Tiny adventure.

    Splintered. Seal ends.

    Bundle odd numbers.

    What You’ll Need for This Look

    Flat toothpicks box (500)

    Jute twine thin

    Saxifrage mini plants

    Wood sealer pen

    Final Thoughts

    Pick one or two that fit your spot. Start small—no need for all 17.

    They've made my overlooked corners worth lingering in. Yours will too.

    Grab scraps, get hands dirty. It'll feel right.

  • 13 Diy Fairy Garden Ideas With Beads For Creative Design

    13 Diy Fairy Garden Ideas With Beads For Creative Design

    Last summer, I scattered some colorful glass beads along a mossy path in my side yard. It caught the light just right, drawing my eye every time I passed. No fancy setup—just real dirt and what I had on hand.

    That little spark turned into a full fairy garden corner. Kids in the neighborhood stopped by, pointing out "fairy trails." It felt alive, not staged.

    If you're like me, starting small with beads makes the whole thing doable. They add shine without overwhelming the plants.

    13 Diy Fairy Garden Ideas With Beads For Creative Design

    These 13 diy fairy garden ideas with beads come straight from my yard trials. They're simple builds that hold up to rain and growth. You'll see exactly what to grab and how it plays out.

    1. Winding Bead Path to a Hidden Fairy Door

    I glued clear glass beads between pebbles for a path snaking around my hostas. It mimics a stream bed, catching morning dew. The shine pulls you in, making the garden feel deeper.

    Planted low ferns along the edges—they spread just enough to frame it without crowding. Added a wooden fairy door at the end, half-buried in bark mulch. Now it looks like fairies sneak through at dusk.

    Watch the bead size; too big overwhelms the scale. I used 6mm ones first time—perfect fit.

    One rainy week, glue washed out, so I switched to landscape adhesive. Stays put.

    What You’ll Need for This Look

    6mm glass beads

    Tiny wooden fairy door

    Landscape glue tube

    Pebbles for paths 1/2 inch

    2. Crystal Bead Pond Beside Succulents

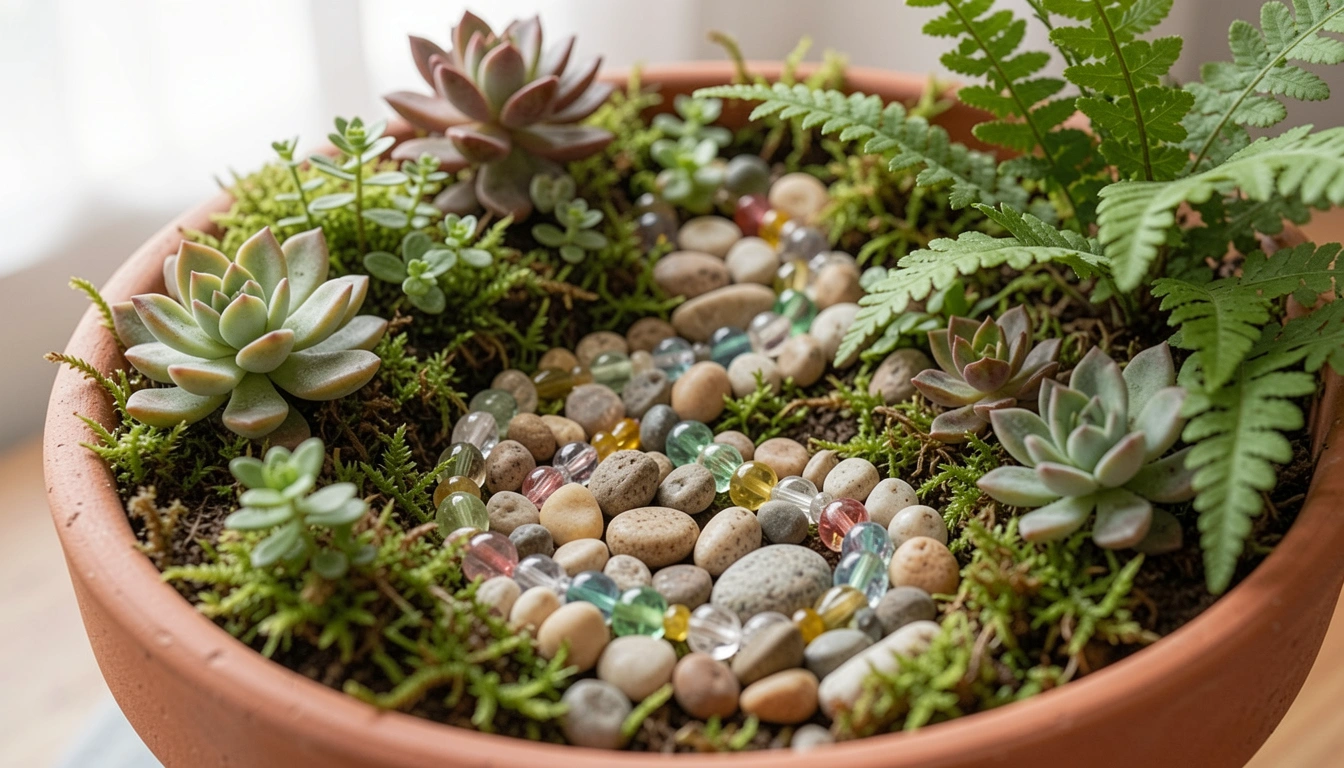
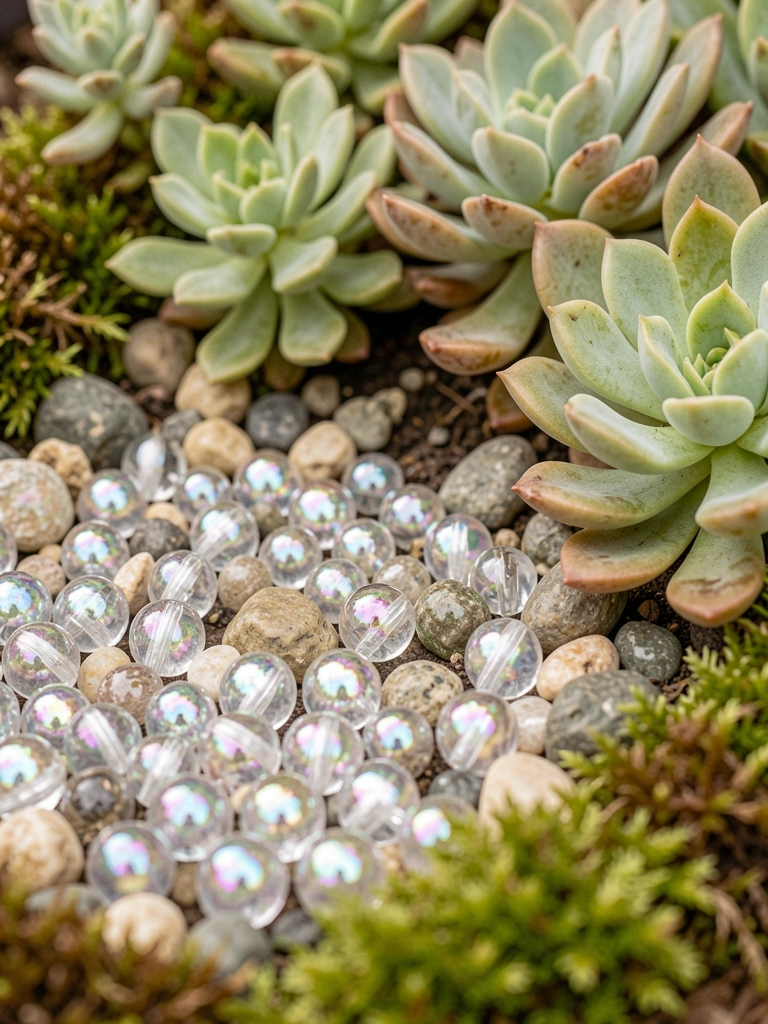
    Dumped iridescent beads into a shallow clay saucer for a "pond" by my back steps. Surrounded it with succulents that don't mind dry spells. The beads shift colors in sun, like rippling water.

    Tucked in bits of moss for green edges. It draws ladybugs, which the kids call fairy visitors. Feels cozy against the stone path.

    Fill halfway with beads—full looks flat. I overdid it once, no depth.

    What You’ll Need for This Look

    Iridescent crystal beads 8mm

    Shallow clay saucer 6 inch

    Echeveria succulent pack

    Sheet moss dried

    3. Beaded Twig Arch Over Mossy Base

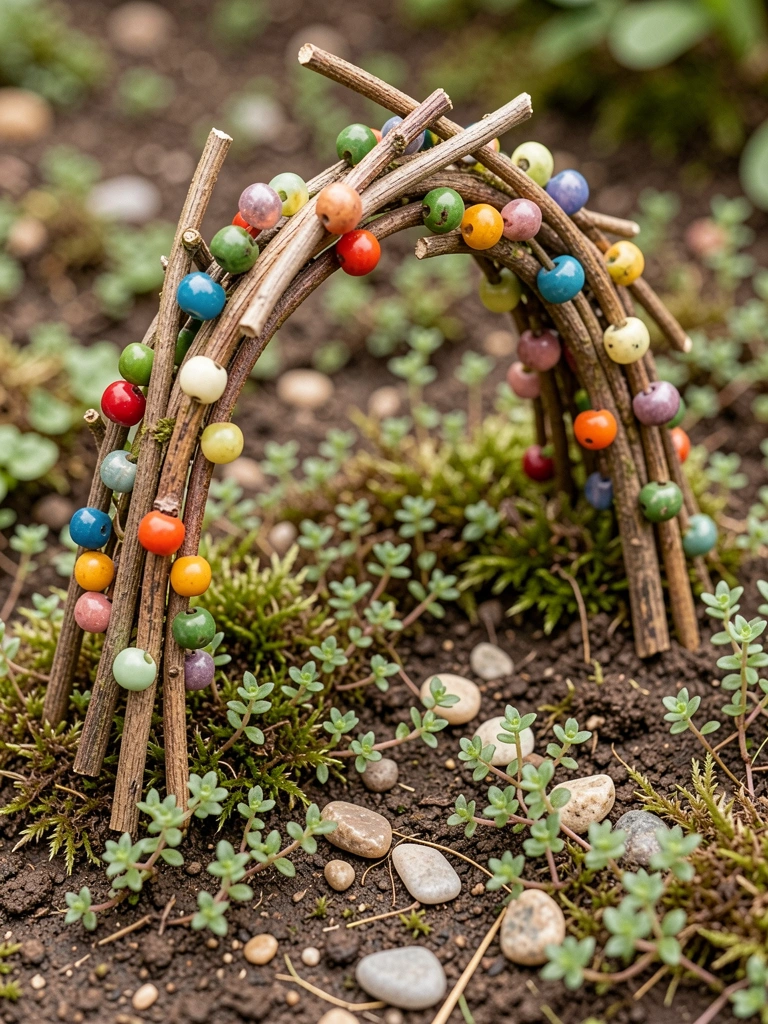
    Bent thin twigs into an arch, threading wooden beads along the top like vines. Set it over a moss patch in my shady corner. Thyme creeps through now, softening the edges.

    The beads click in wind, a quiet sound. Makes the spot feel sheltered, like a fairy nook.

    I skipped sealant first—beads faded fast. Now I brush on clear outdoor spray.

    What You’ll Need for This Look

    Wooden beads 10mm round

    Thin garden twigs bundle

    Creeping thyme plants

    Outdoor clear sealant spray

    4. Mosaic Bead Front on a Clay House

    Pressed flat glass beads into wet clay for the house front—windows and door shine out. Baked it low in my oven, set among gravel and ferns.

    Rain beads up on it now, real charm. Nestled by a hosta, it blends right in.

    Glued extras on roof for texture. Looks like thatched shine.

    What You’ll Need for This Look

    Flat glass beads mosaic set

    Air dry terracotta clay 1lb

    Mini fern plants

    Fine gravel bag 5lb

    5. Hanging Bead Vines on Wire Frames

    Strung seed beads on fishing line, draped over wire hoops in a tree stump hollow. Ivy trails mix in, swaying light.

    Catches breeze, sparkles without glare. Feels like overgrown fairy swings.

    Too loose first try—knots every 2 inches hold shape.

    What You’ll Need for This Look

    Seed beads assorted colors 1000pc

    Thin wire garden hoops

    Fishing line clear 50lb

    Small ivy plants

    6. Beaded Bridge Across Gravel Stream

    Glued pearl beads to popsicle stick spans for a bridge over my gravel "stream." Sedum softens the banks.

    Wind flows under, light dances on beads. Ties two plant beds together.

    I overloaded glue—dots now for clean lines.

    What You’ll Need for This Look

    Pearl beads 6mm white

    Popsicle sticks craft pack

    River rocks 1 inch bag

    Sedum groundcover plants

    7. Bead Flower Meadow in a Dish Garden

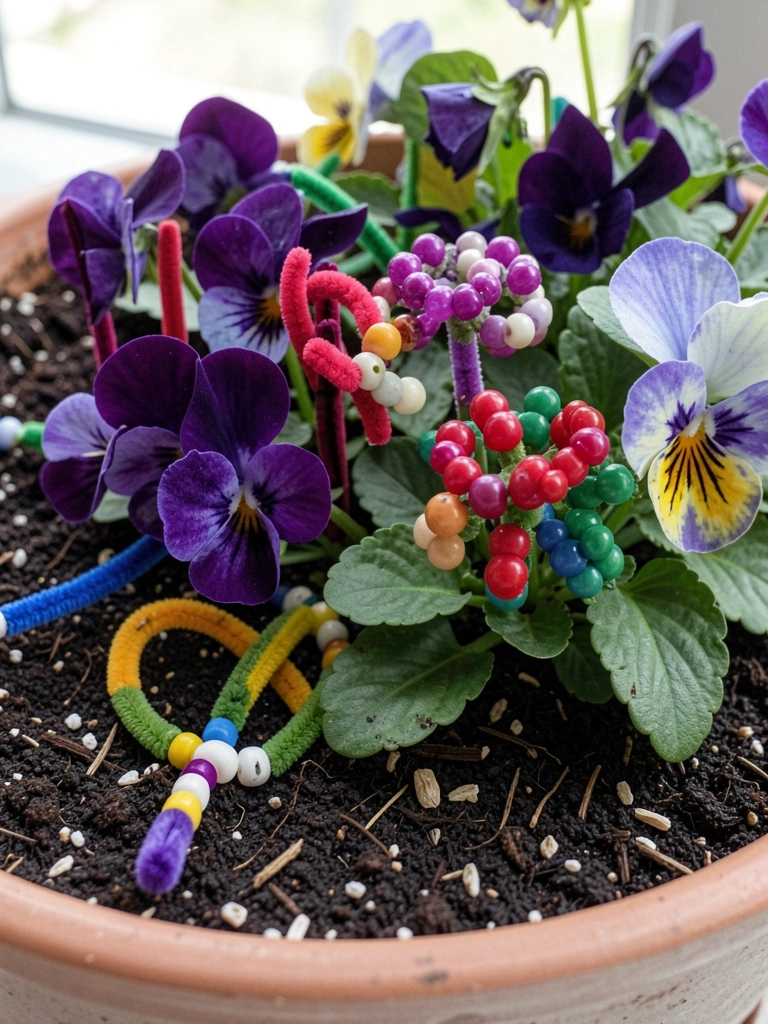
    Wrapped pony beads on pipe cleaners for flower stems, stuck in a dish with violas. Real petals mix with bead shine.

    Blooms fade, beads stay—year-round pop. Low dish fits table edges.

    Pulled too many real flowers first—balance half-half.

    What You’ll Need for This Look

    Pony beads multicolored 1000pc

    Green pipe cleaners pack

    Violet viola flower seeds

    Shallow dish garden pot 8 inch

    8. Beaded Fence Around Mini Succulent Beds

    Poked toothpicks with tiny beads into sand borders for fences round haworthia clusters. Keeps "fairies" in their beds.

    Rustics up the succulents' clean lines. Stays dry, no rot.

    Beads slipped off—hot glue dots fix.

    What You’ll Need for This Look

    Tiny seed beads 4mm

    Toothpicks round wood pack

    Haworthia succulent set

    Fine sand for crafts 2lb

    9. Low-Strung Bead Lights in Fern Grotto

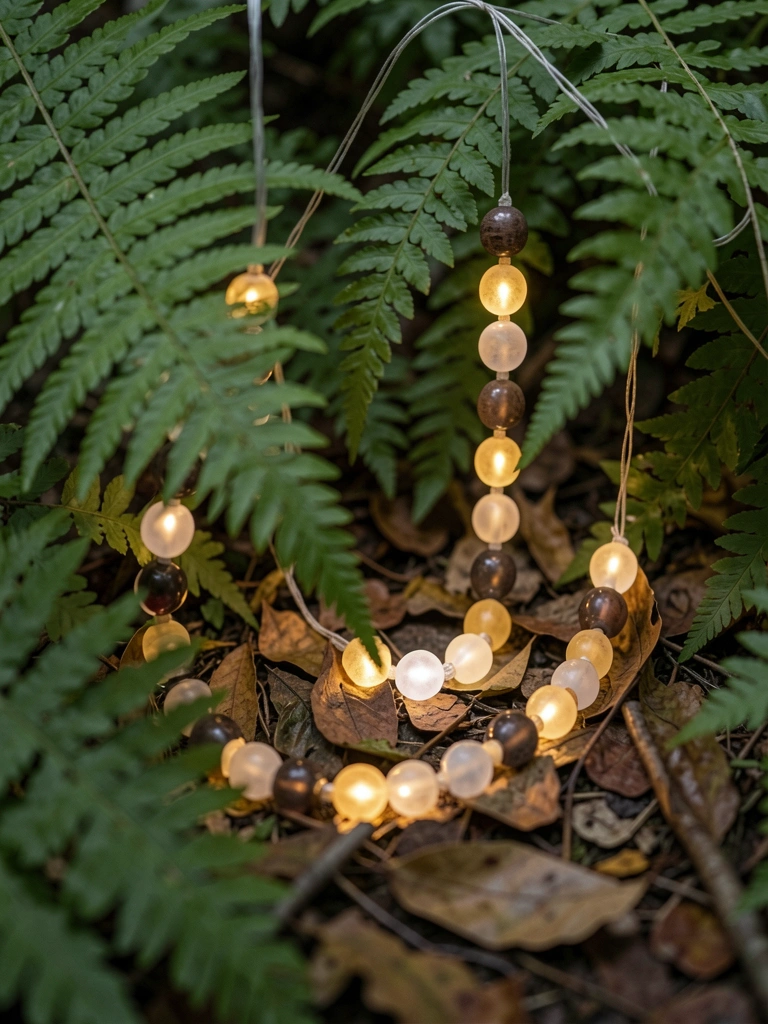
    Strung glow-in-the-dark beads on twine through ferns, low to ground. Glows soft after dark, like fireflies.

    Nests in leaf litter, hidden by day. Cozy night walk spot.

    What You’ll Need for This Look

    Glow in dark beads 8mm

    Garden twine natural

    Fern plants shade loving

    10. Beaded Stepping Stones in Moss Patch

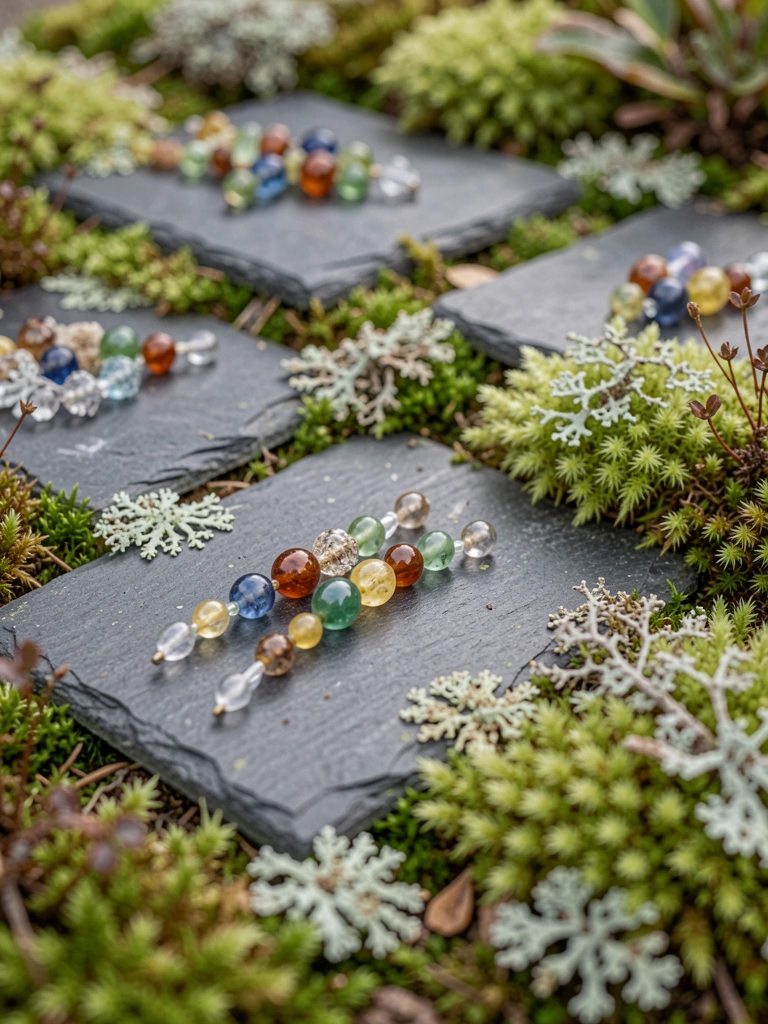
    Embedded colorful glass beads into grout on slate stepping stones, laid in moss. Feet sink slight, beads peek up.

    Moss fills gaps over time, soft underfoot. Leads to bench quiet.

    Grout cracked once—use flexible outdoor mix.

    What You’ll Need for This Look

    Glass beads mixed 1/2 inch

    Slate stepping stones 12 inch

    Sphagnum moss top dressing

    Flexible outdoor grout

    11. Bead-Trimmed Acorn Cap Roofs on Houses

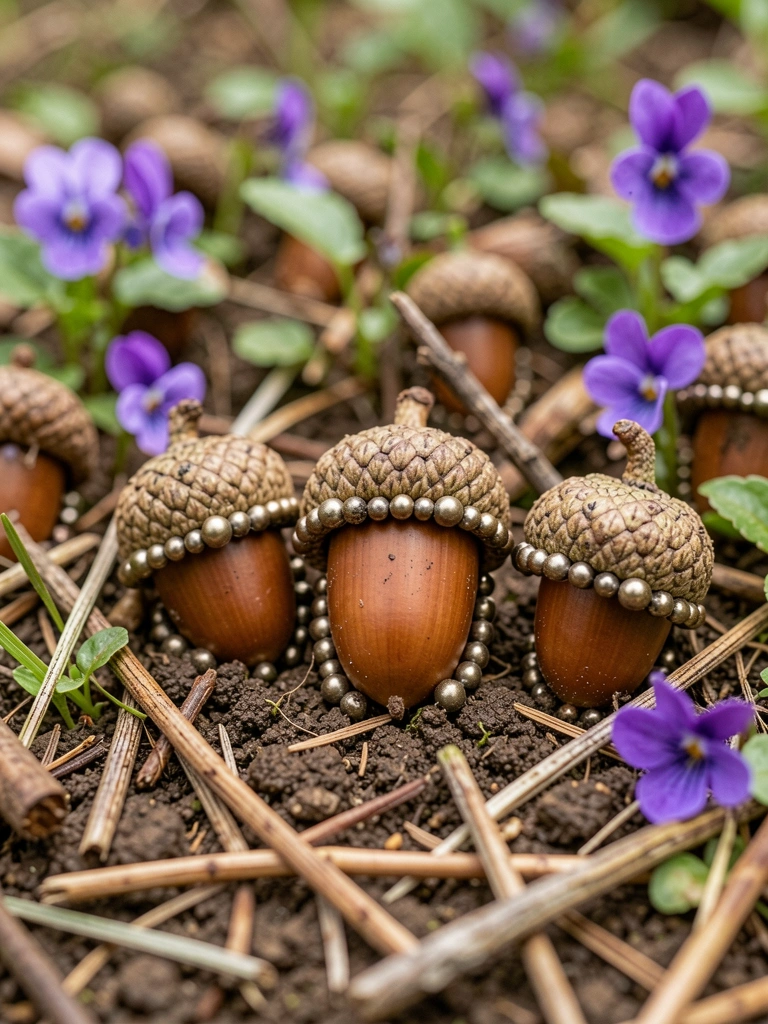
    Hot-glued metallic beads around acorn cap edges for tiny house roofs. Clustered under violets.

    Shine pops against brown caps. Squirrels ignore them—bonus.

    What You’ll Need for This Look

    Metallic beads 5mm

    Acorns craft pack dried

    Violet groundcover plants

    Mini hot glue gun

    12. Layered Bead Terraces on Sloped Bed

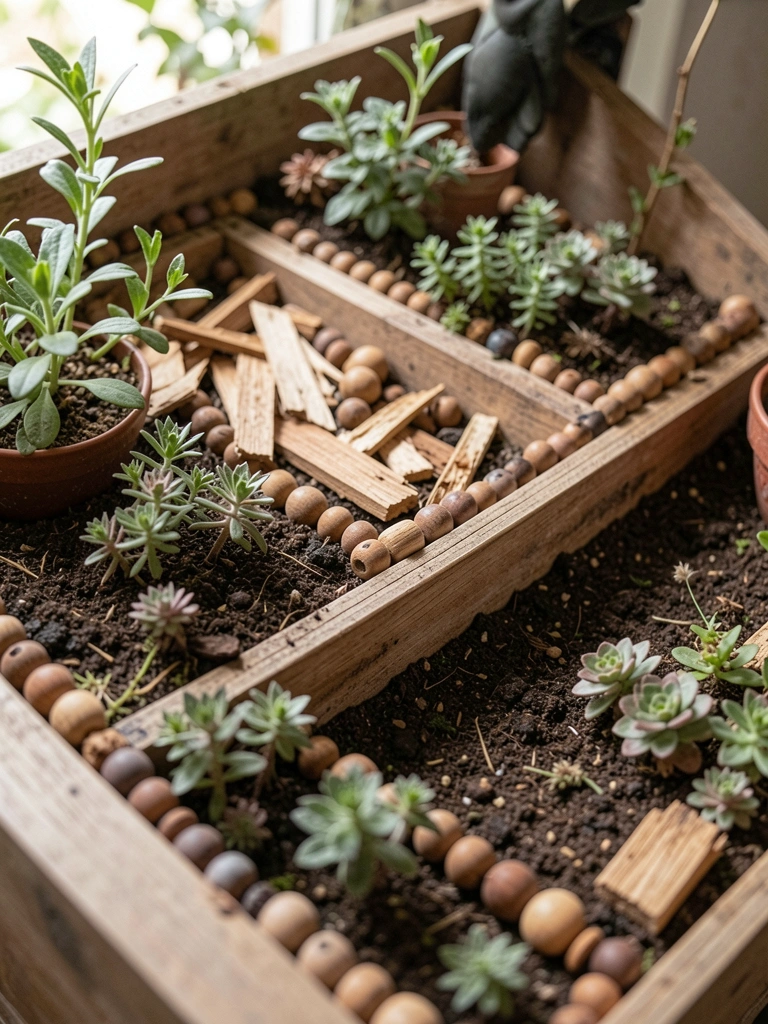
    Stacked scrap wood with wood bead edges for terraces down my slope. Hens and chicks fill levels.

    Holds soil, prevents washout. Looks stepped, intentional.

    Wood warped wet—seal first lesson.

    What You’ll Need for This Look

    Wood beads 12mm cube

    Scrap wood garden edging

    Hens and chicks sempervivum

    Wood sealer brush on

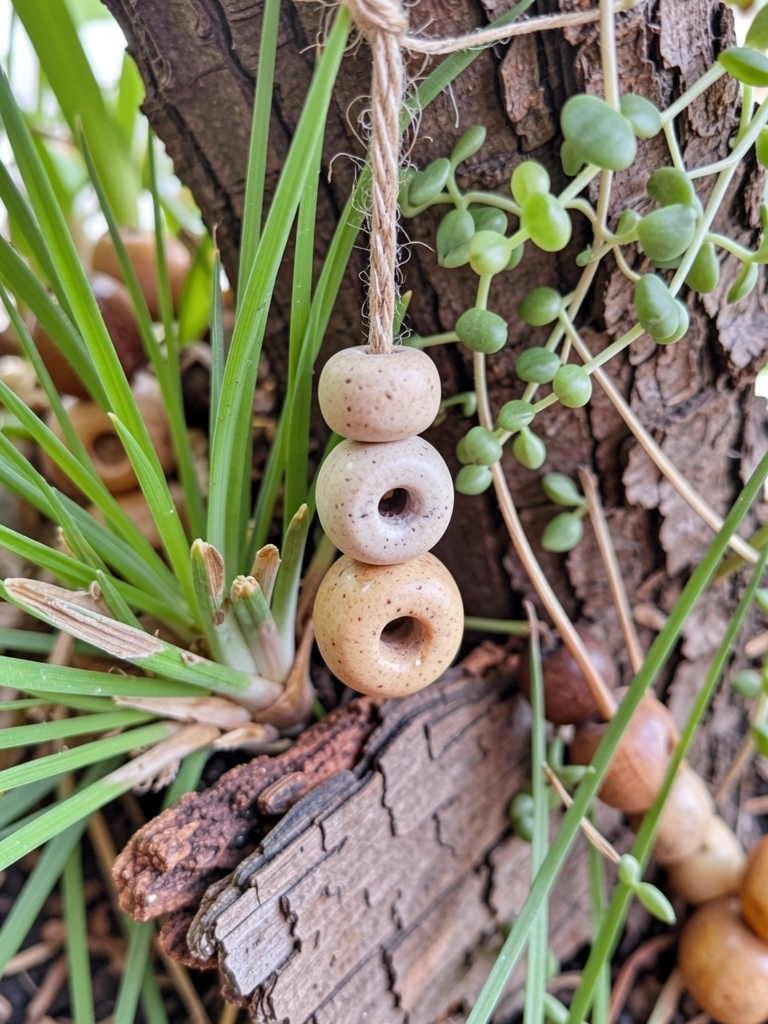
    13. Beaded Fairy Swing from Bark Hanger

    Threaded large hole beads on twine for swing seat, hung from bark slab amid baby tears. Sways gentle.

    Grass cushions below, beads warm in sun. Quiet play spot.

    What You’ll Need for This Look

    Large hole beads wooden 1 inch

    Garden twine braided

    Baby tears grass plants

    Bark slab hanging piece

    Final Thoughts

    Pick one or two ideas that fit your yard's light and space. Beads hold up better than I thought, even through winters here.

    They mix with growing plants fine—no perfection needed. Start small, watch it settle in. You'll have your own spot soon.

  • 15 Diy Fairy Garden Bedroom Ideas For Indoor Magic

    15 Diy Fairy Garden Bedroom Ideas For Indoor Magic

    I stared at my plain bedroom walls one rainy afternoon. Felt closed in. Grabbed old jars and some moss from outside. Set up a tiny scene on the windowsill.
    Light shifted through the glass. Room breathed easier.

    These spots pull you in quiet ways. Start small. You'll see.
    15 Diy Fairy Garden Bedroom Ideas For Indoor Magic

    These 15 DIY fairy garden bedroom ideas come straight from my setups. Simple steps, real fixes for tight spaces. Low fuss, cozy results every time.

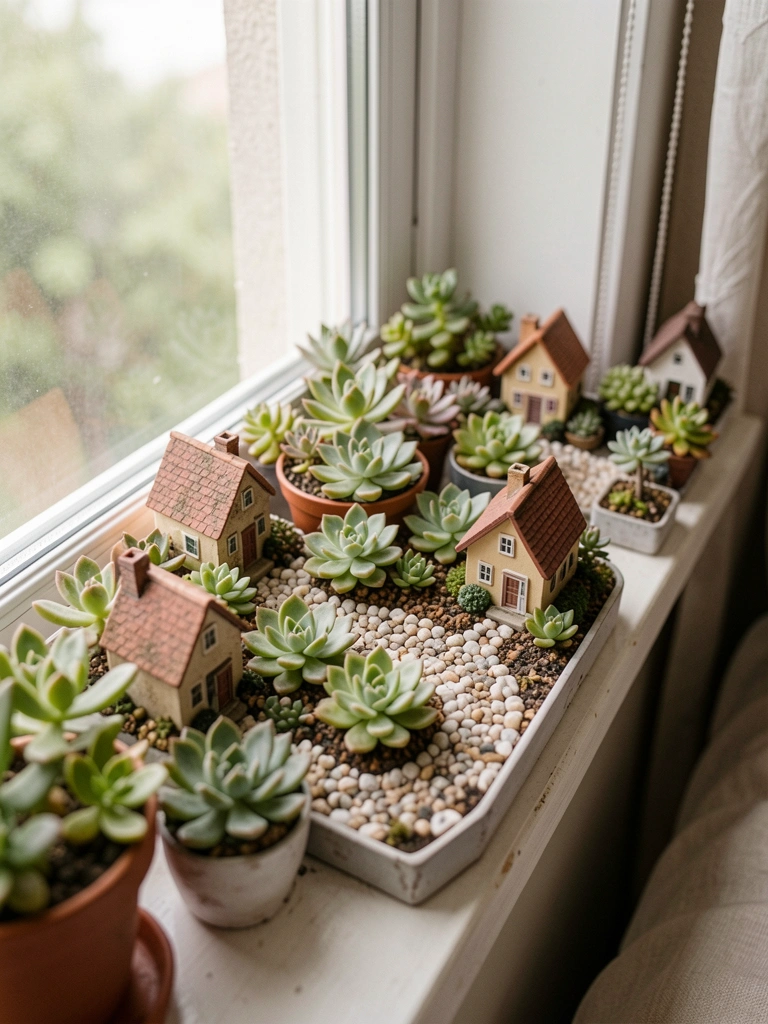
    1. Windowsill Succulent Village

    I cleared my bedroom windowsill last spring. Packed in low succulents like echeveria around a cluster of tiny houses. Pebbles traced paths between them. Sun hits just right, casting soft shadows.

    The green pulls your eye first thing in the morning. Makes the whole wall feel alive without crowding.

    Watch the water – they hate wet feet. I use a spray bottle twice a week max.

    Tuck in one fairy door at the base. It draws you closer.

    What You’ll Need for This Look

    Succulents assorted pack (2-3 inch pots)

    Tiny pebble bag (natural mix)

    Miniature fairy houses (ceramic set)

    2. Hanging Glass Terrarium Glade

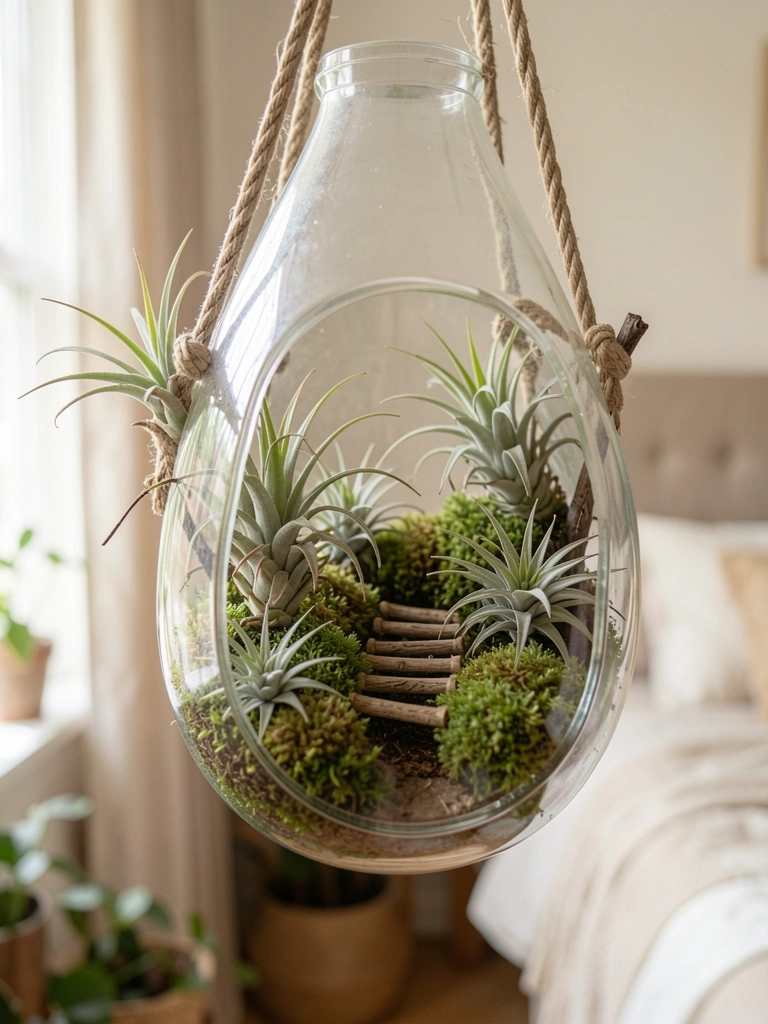
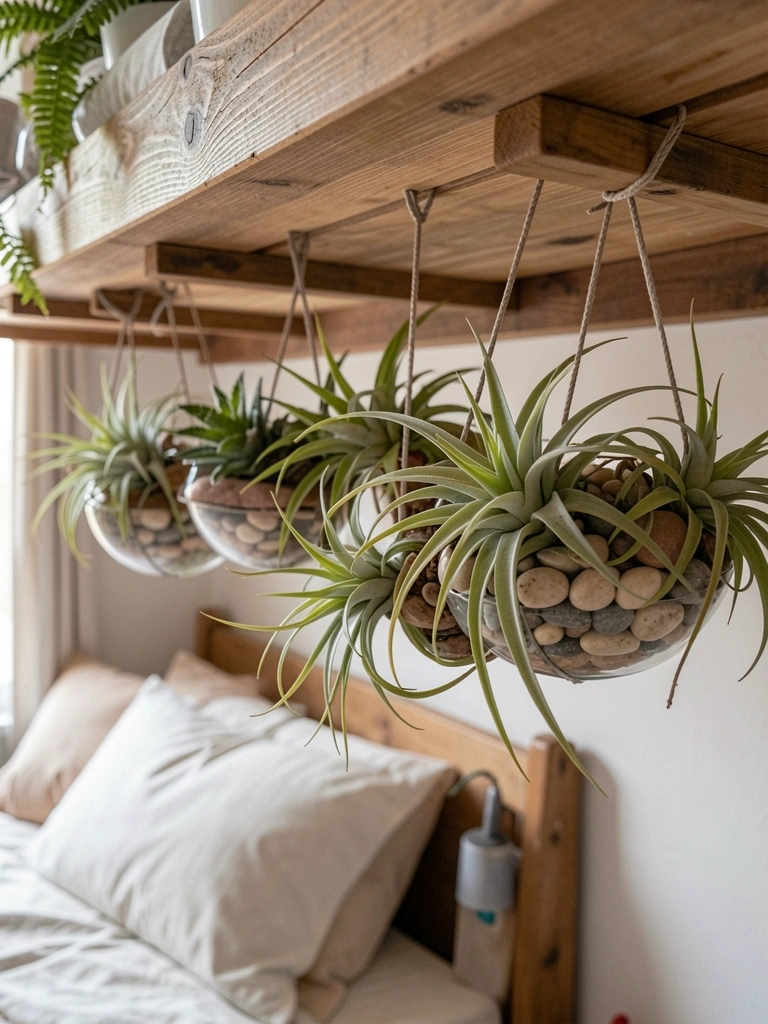
    Hung a few glass orbs from my bedroom curtain rod. Dropped in air plants and moss balls. Added twig scraps for bridges over pebble streams.

    They sway gentle in the breeze from the fan. Bedroom corners soften up fast.

    Air plants need misting once a week. Hang where light's indirect.

    One orb got too heavy once – reinforced the hook with wire.

    What You’ll Need for This Look

    Glass hanging terrarium orbs (4 inch)

    Air plants pack (tillandsia mix)

    Preserved moss spheres (small)

    3. Bookshelf Ledge Fairy Path

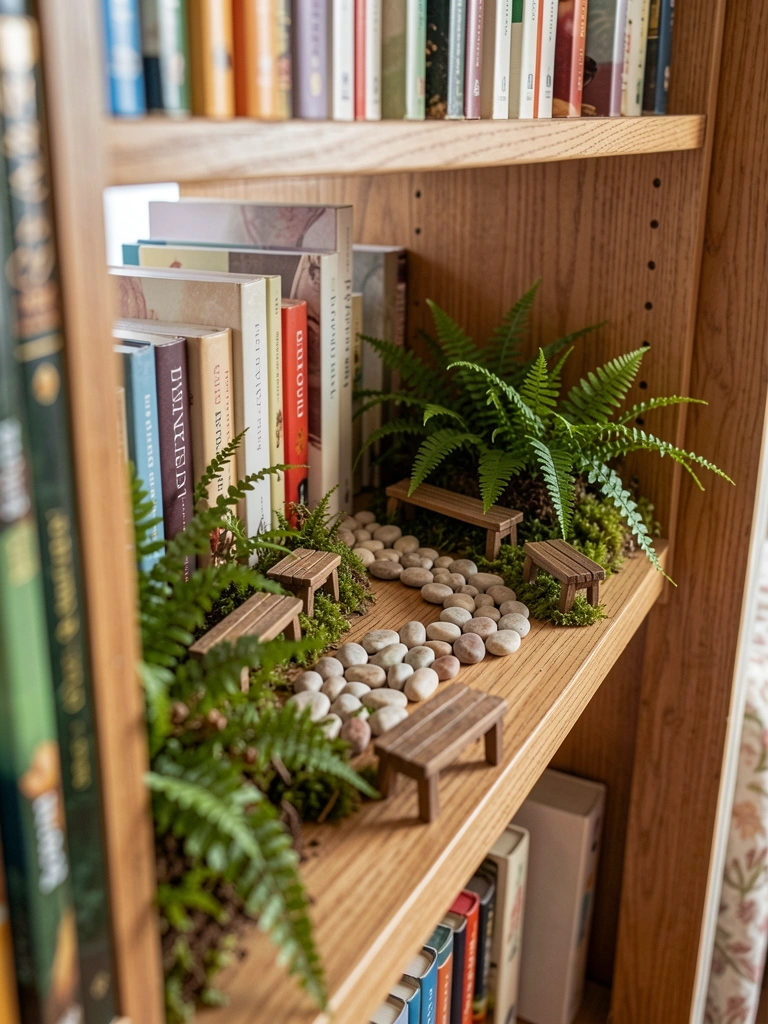
    My bookshelf ledge begged for something. Lined it with a pebble path curving past baby ferns. Set tiny benches along the way.

    Books frame it cozy. Pulls you in when reading at night.

    Ferns wilted on me first try – too dry air. Now I group a humidifier nearby.

    Path keeps it tidy. No sprawl.

    What You’ll Need for This Look

    Baby ferns in pots (4 inch)

    Fine gravel pebbles (white mix)

    Miniature wooden benches (set of 3)

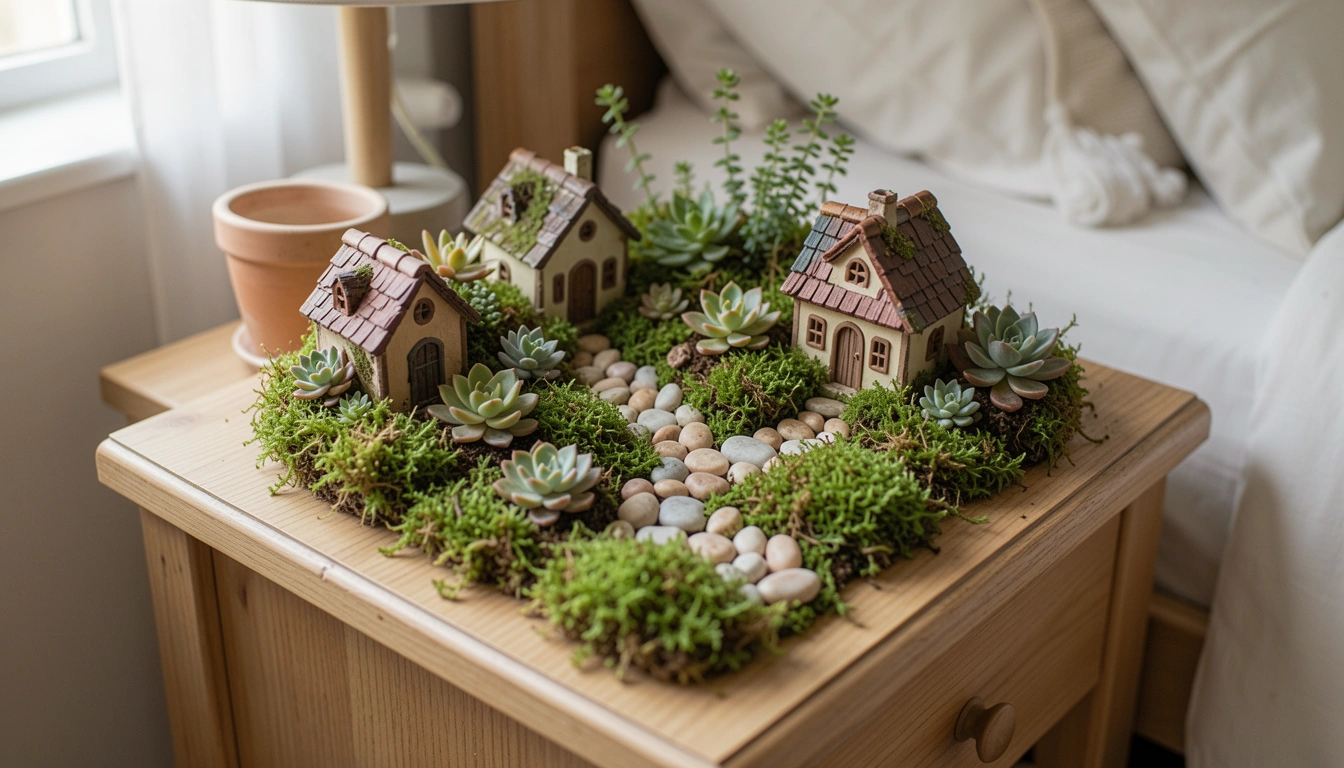
    4. Nightstand Mossy Cottage Cluster

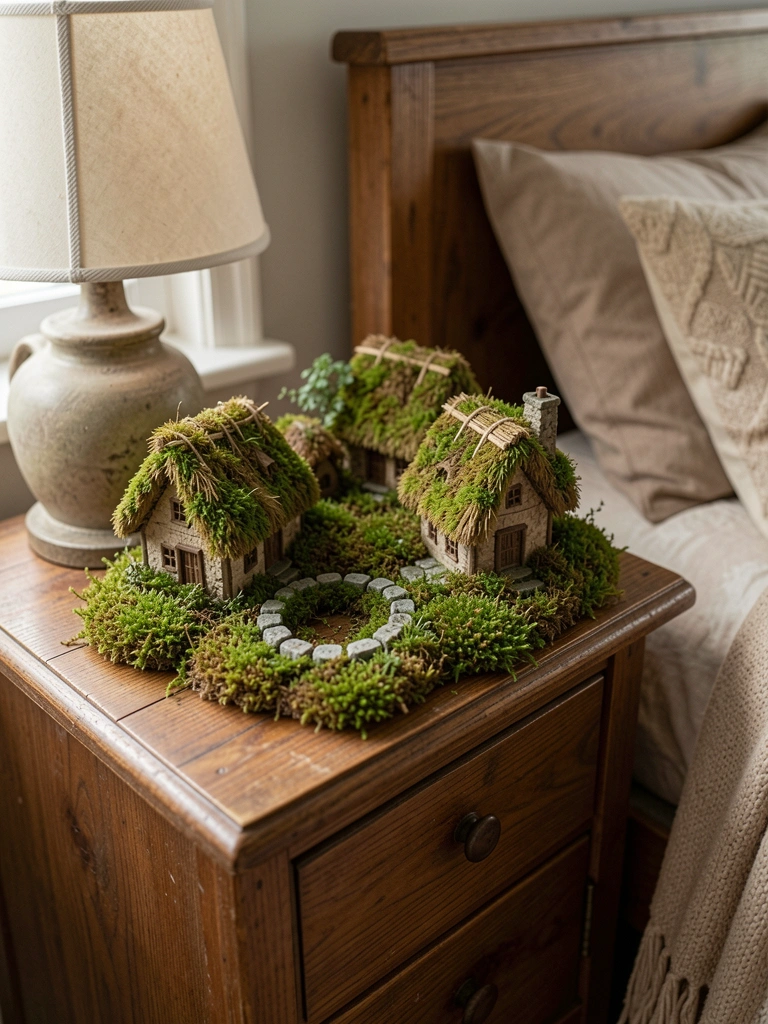
    Nightstand was dusty. Layered preserved moss around little thatched cottages. Circled them with tiny stones.

    Lamp light warms it at bedtime. Feels like a quiet escape right by the pillow.

    Moss holds up dry. Dust lightly with a brush monthly.

    Stones ground it steady.

    What You’ll Need for This Look

    Preserved sheet moss (green)

    Thatched miniature cottages (assorted)

    Tiny river rocks (bag)

    5. Wall-Mounted Shadow Box Woods

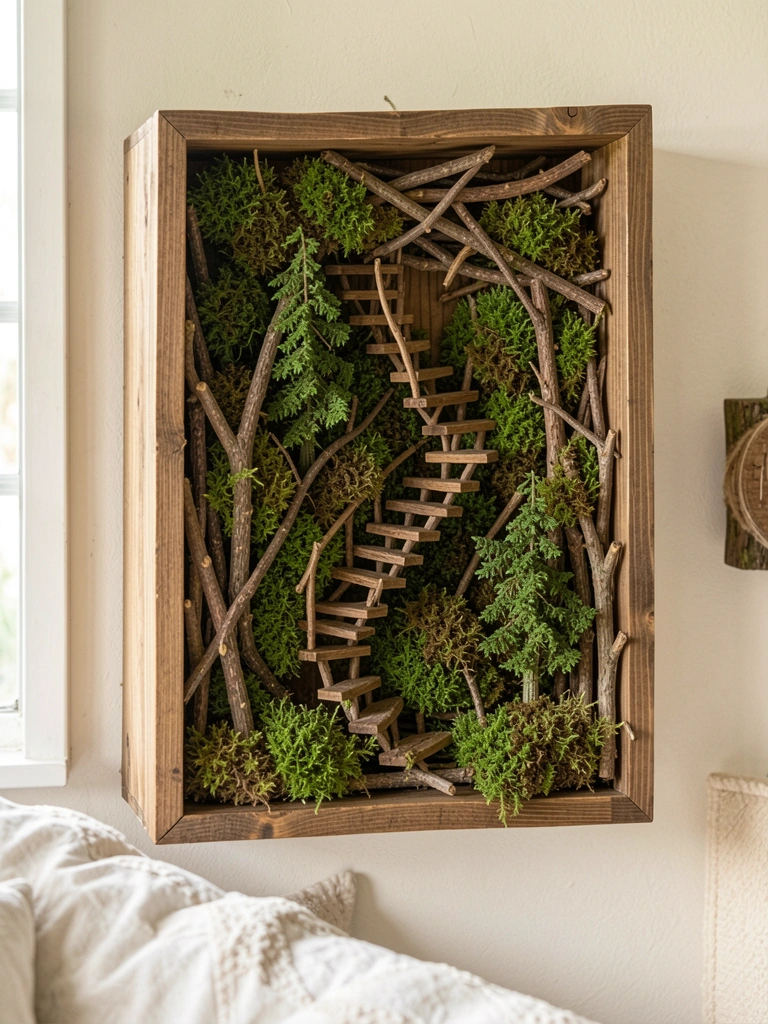
    Nailed a deep shadow box to the wall above my dresser. Built layers of twigs and moss for a forest feel. Carved fairy stairs from bark.

    Depth tricks the eye. Wall fades back.

    Secure plants with hot glue dots. Light from window keeps it fresh.

    What You’ll Need for This Look

    Deep shadow box frame (8×10 inch)

    Natural twig bundle (small)

    Reindeer moss patches (gray green)

    6. Dresser Top Pebble Pond Scene

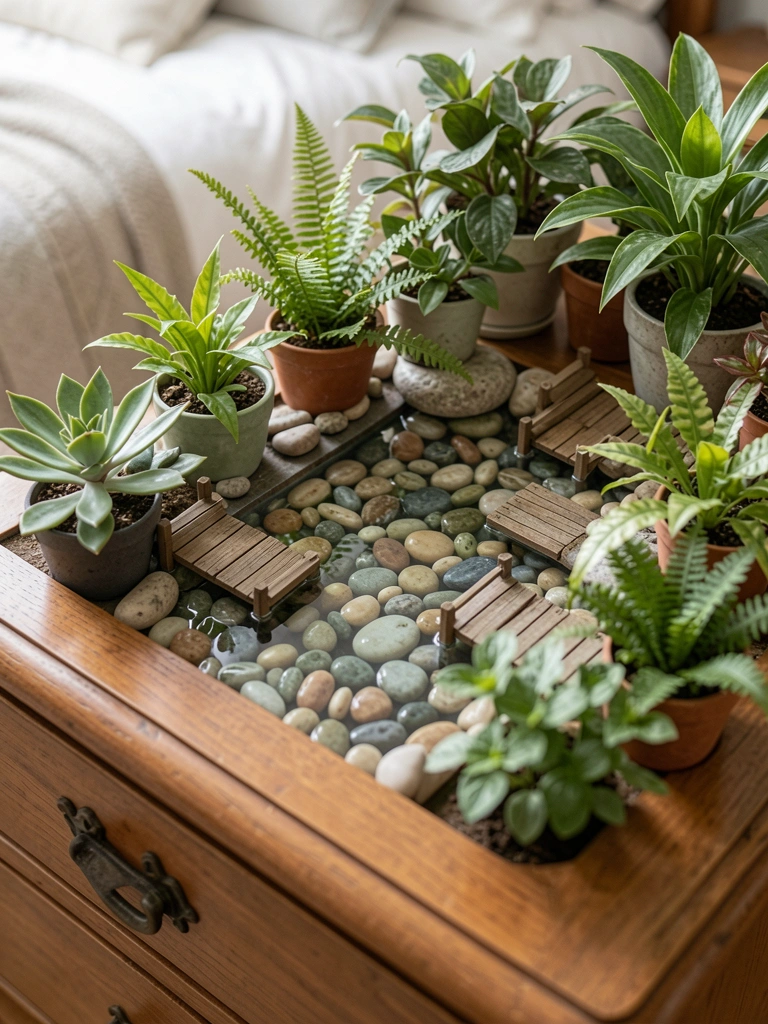
    Dresser top needed balance. Made a shallow pond from blue glass pebbles. Ringed it with baby succulents and mini docks.

    Mirror reflects it double. Adds calm to mornings.

    Pebbles shift easy – use a tray base.

    What You’ll Need for This Look

    Blue glass pebbles (1 lb bag)

    Baby succulent mix (3 pack)

    Miniature wooden docks (set)

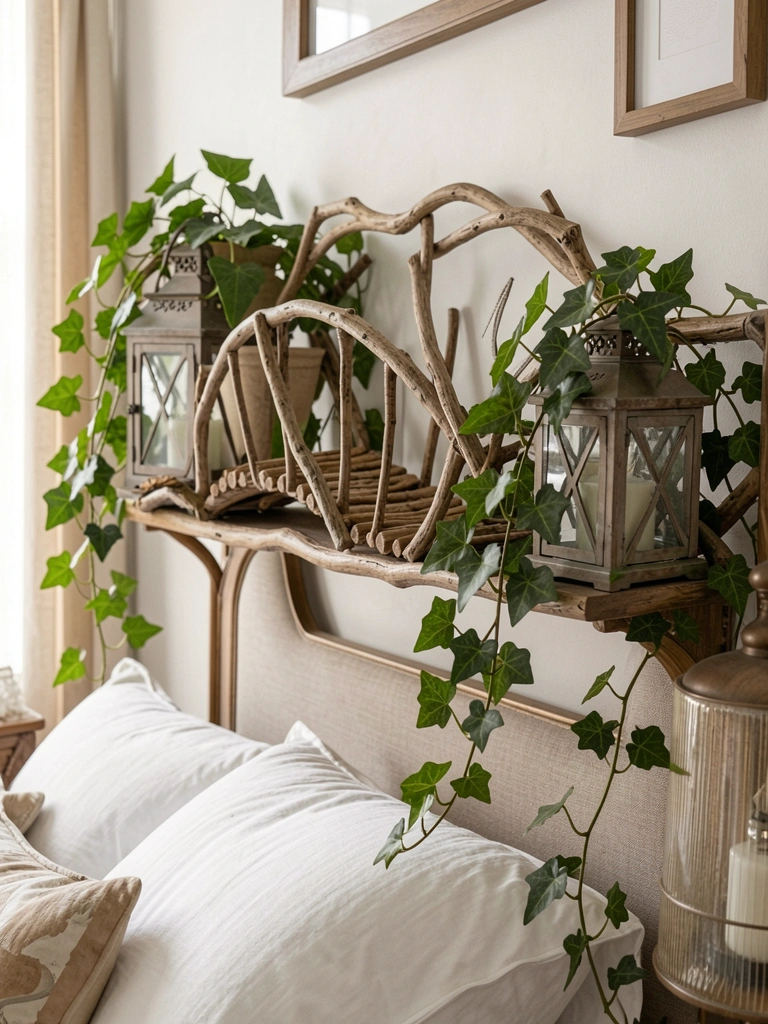
    7. Headboard Shelf Twisty Vine Bridge

    Headboard shelf sat empty. Trailed pothos vines across a twig bridge. Added tiny lanterns at ends.

    Bedside glows soft. Vines grow slow, fill in over months.

    Vines browned on me from low light – shifted to brighter spot.

    Bridge holds them off the wood.

    What You’ll Need for This Look

    Pothos vine plant (6 inch pot)

    Natural twig bridge kit

    Tiny LED lanterns (battery)

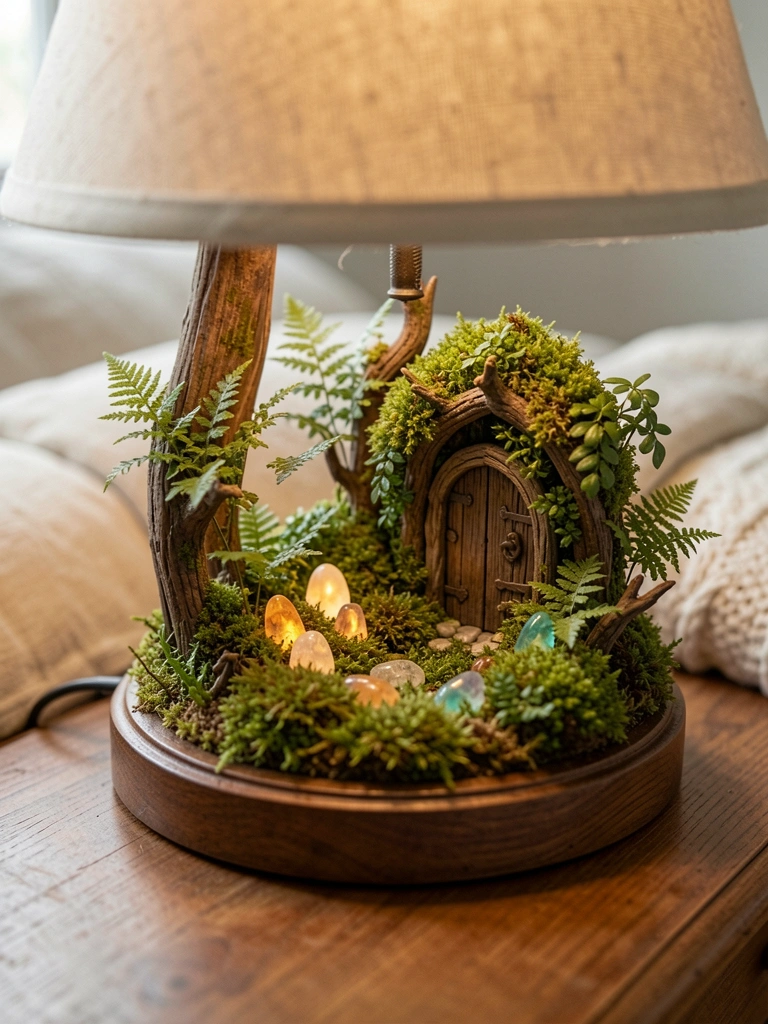
    8. Bedside Lamp Base Secret Glade

    Wrapped my lamp base in moss. Hid a fairy door behind. Glow stones peek through at night.

    Lamp shade diffuses light warm. Glade feels tucked away.

    Glue moss lightly. Stones charge by day.

    What You’ll Need for This Look

    Preserved moss roll (small)

    Fairy door miniature (wooden)

    Glow in dark stones (pack)

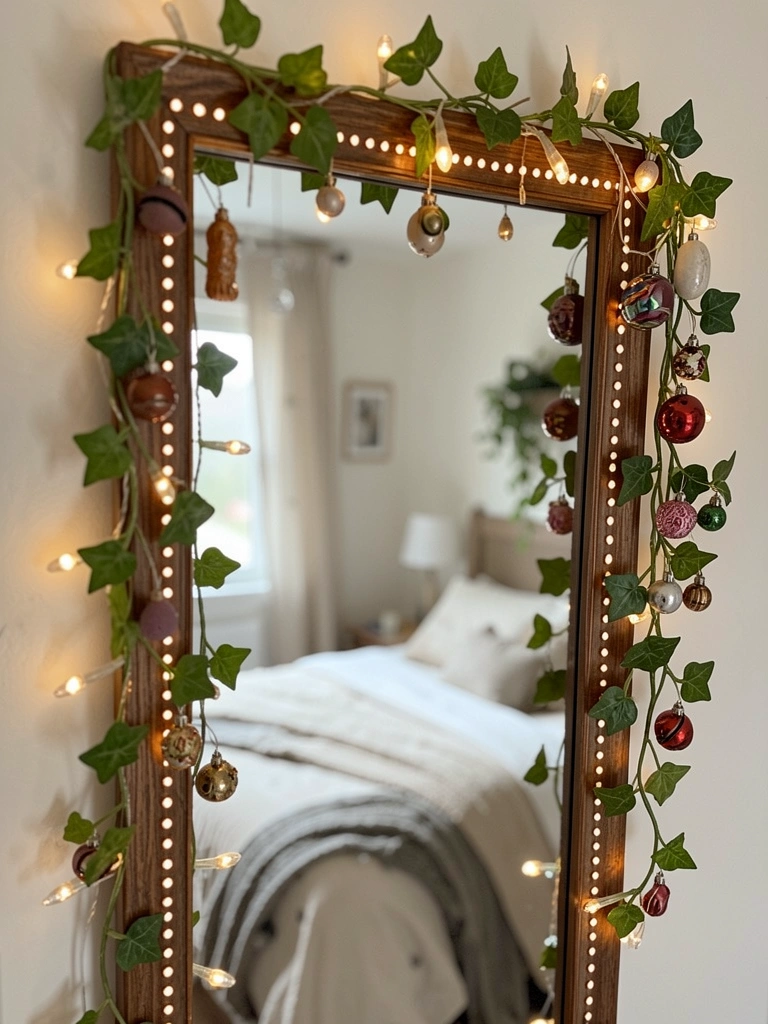
    9. Mirror Frame Light-Dotted Border

    Wound micro LED lights around my mirror frame. Dotted in vine clippings and small ornaments.

    Reflection doubles the sparkle. Frames your face soft.

    Battery pack hides easy. Trim vines to fit.

    What You’ll Need for This Look

    Micro LED string lights (warm white, 10 ft)

    Artificial vine garland (thin)

    Tiny fairy ornaments (metal set)

    10. Under-Shelf Hanging Pod Village

    Suspended pods from my closet shelf underside. Stuffed with air plants and pebble bases.

    Uses dead space smart. Swings light when door opens.

    Pods tangle sometimes – space them wide.

    What You’ll Need for This Look

    Hanging pod terrariums (glass, 3 inch)

    Air plant assortment (5 pack)

    Decorative pebbles (mini bag)

    11. Closet Door Meadow Patch

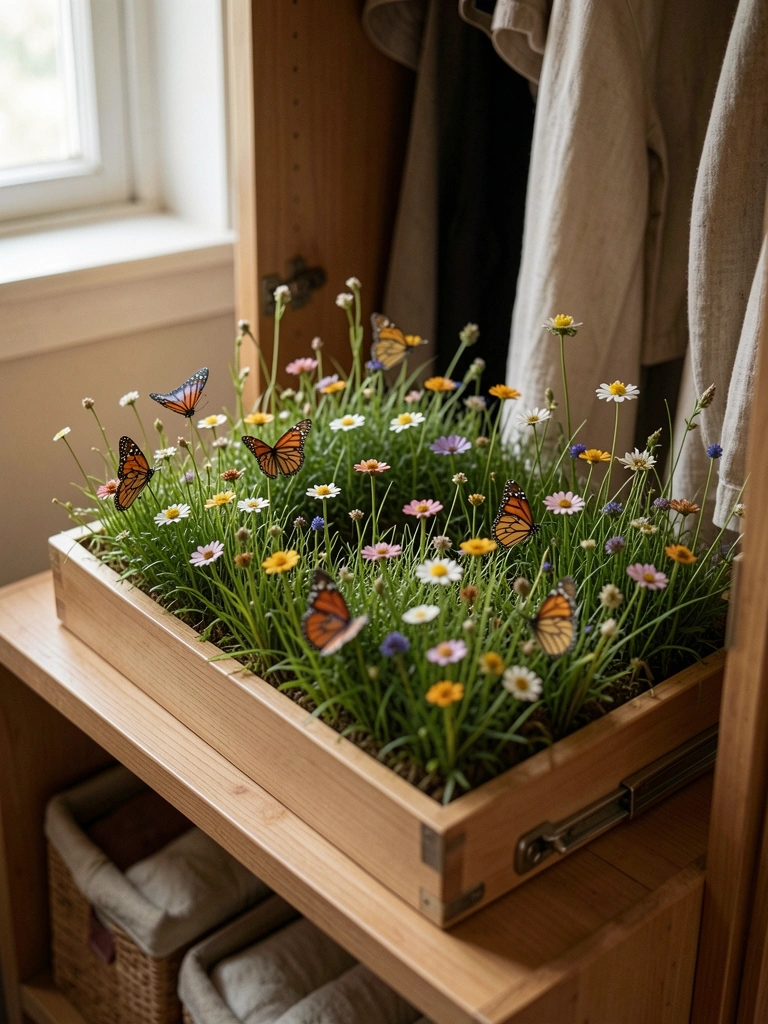
    Stuck a shallow tray to my closet door. Filled with dried meadow grass and silk wildflowers.

    Opens to a surprise green. Door stays flat.

    Flowers faded fast outdoors – switched to indoor silks.

    What You’ll Need for This Look

    Shallow tray planter (wood, 12×6 inch)

    Silk wildflower stems (mini)

    Dried grass bunches (natural)

    12. Windowsill Box Fenced Hamlet

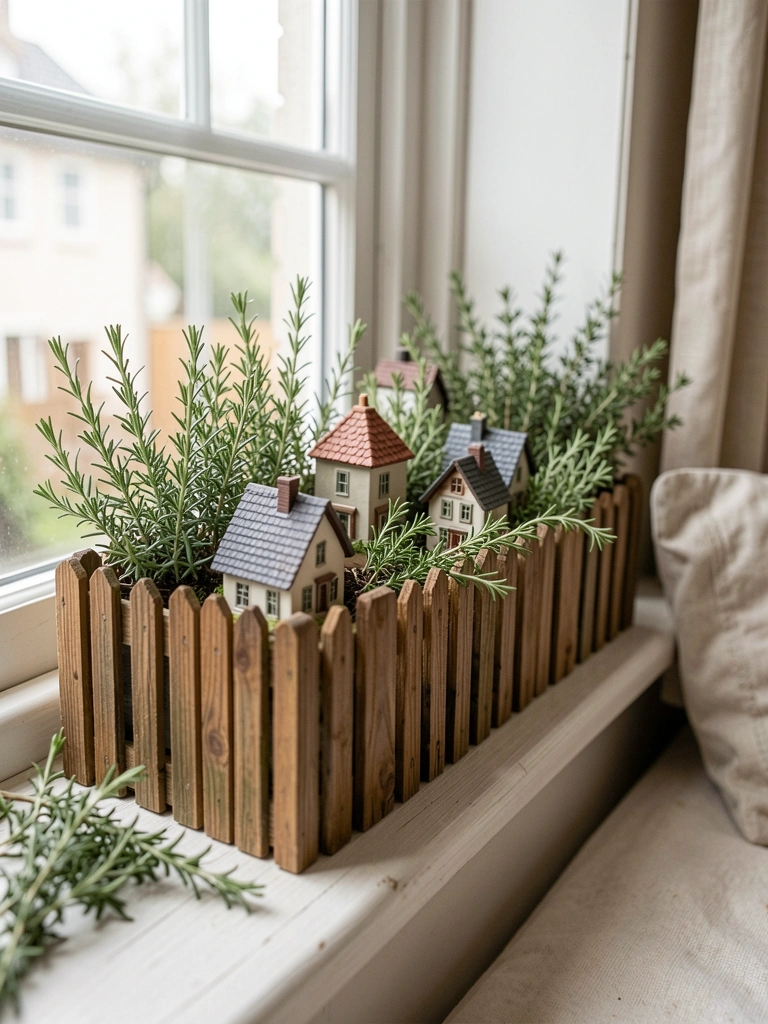
    Lined a long windowsill box with twig fences. Clustered houses inside, dotted with thyme sprigs.

    Fence keeps it contained neat. Herbs scent the air light.

    Box drains through holes. Herbs trim easy.

    What You’ll Need for This Look

    Windowsill planter box (cedar, 24 inch)

    Twig fence miniature (section)

    Thyme herb plant (small pot)

    13. Floor Corner Bottle Village

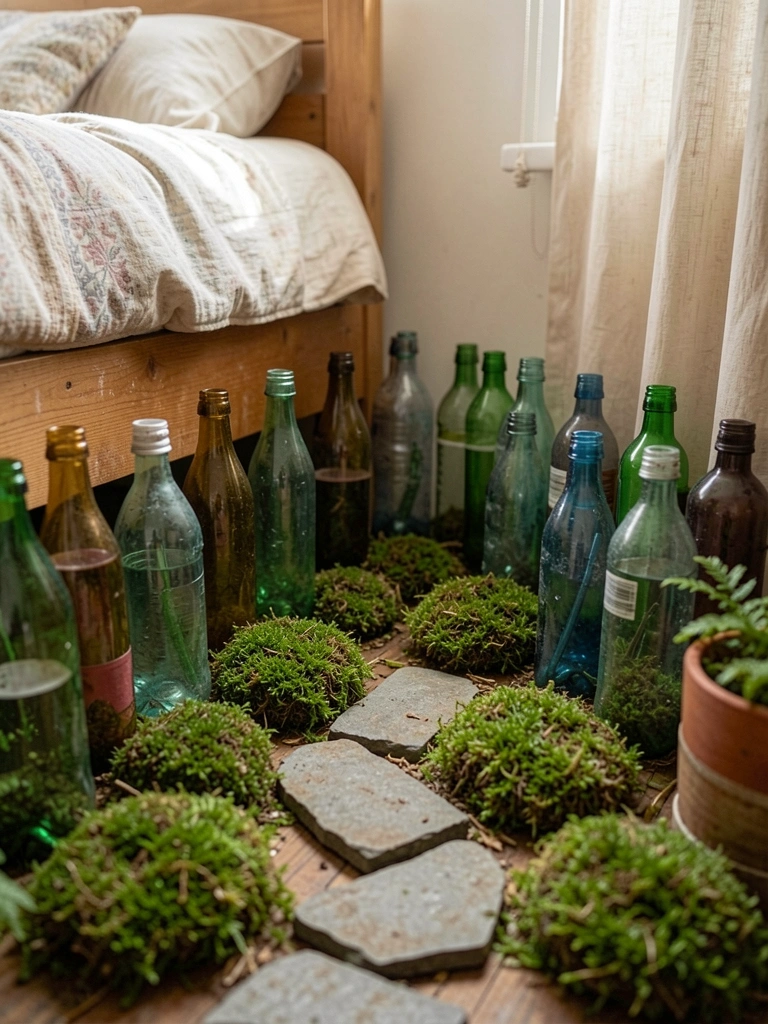
    Tucked glass bottles in my floor corner. Capped with moss, linked by stone paths.

    Fills low spots warm. Dust mop around base.

    Bottles tip if full – half-fill only.

    What You’ll Need for This Look

    Clear glass bottles (short, set of 6)

    Moss toppers (preserved)

    Path stones (flat pebbles)

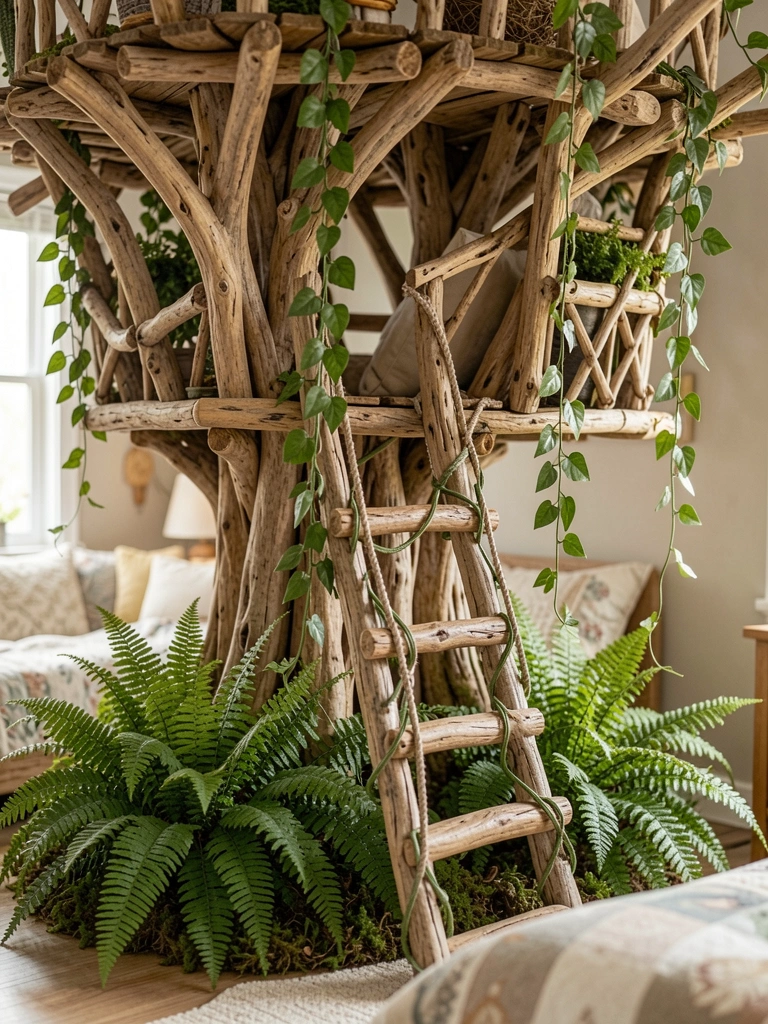
    14. Pillowside Treehouse Nook

    Built a driftwood treehouse on my pillowside tray. Fern at base, vines for ladders.

    Right by head, comforts sleep. Tray slides under pillow.

    Fern yellowed from overwater – now soil dries between.

    What You’ll Need for This Look

    Driftwood pieces (mini treehouse kit)

    Small fern plant (4 inch)

    Thin vine wires (green)

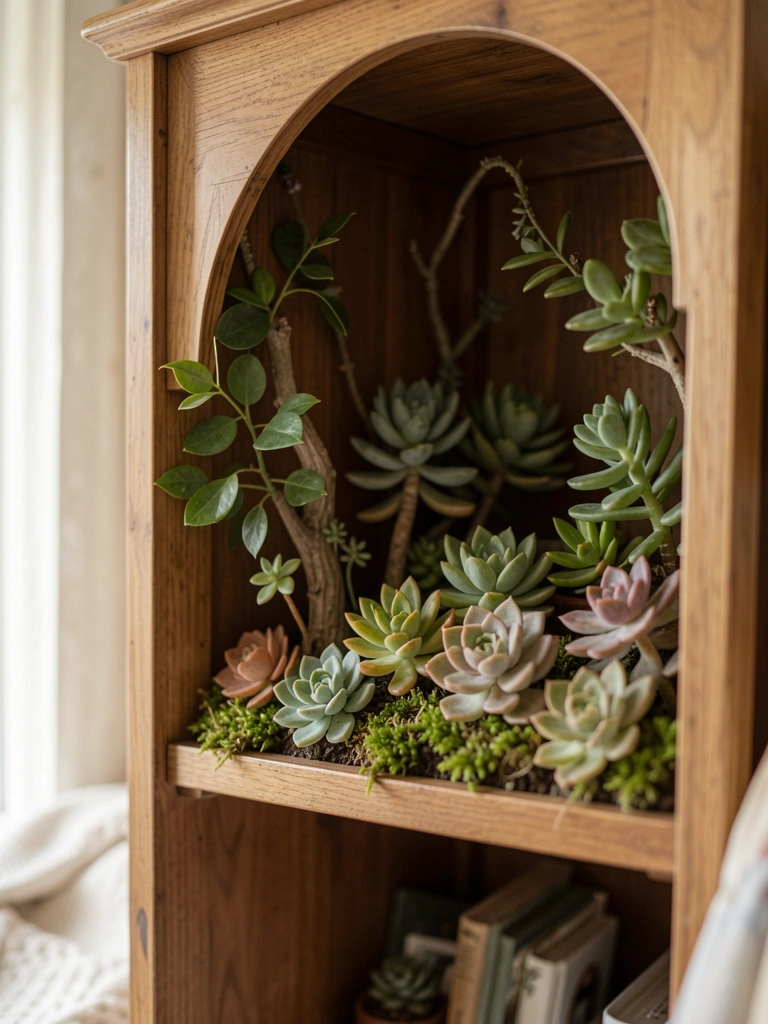
    15. Wardrobe Top Hidden Grove

    Top of my wardrobe collected dust. Set a low shelf with succulents and an arched door.

    Hidden but peeks over. Dust reaches easy with extension.

    Succulents crowd slow – thin yearly.

    What You’ll Need for This Look

    Low profile shelf (wood, 12 inch)

    Assorted succulents (tray)

    Mini arched doorway (stone look)

    Final Thoughts

    Pick one idea that fits your spot. Mine started small on a sill. Grew from there.
    No rush to fill the room. These hold up quiet.

    You'll wake up to green that sticks. It works.