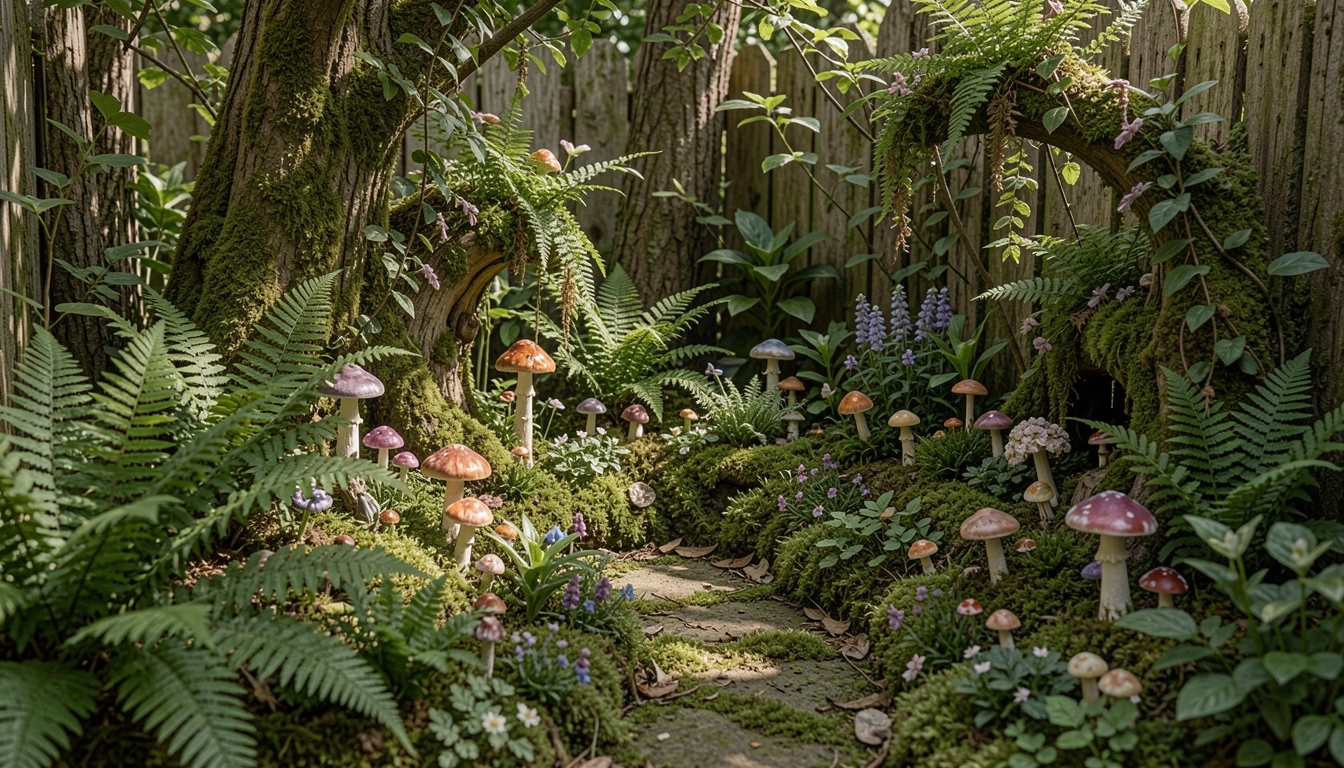
I had this shady corner by the patio steps. Bare dirt, nothing growing right. I wanted something there, but pots felt too plain. Fairies? It sounded silly at first. Then I tried a small setup. Now it pulls the eye without trying too hard.
That spot sits there year after year. Quiet, but alive.
You can do this too. Even if your space feels wrong.
How To Make Fairy Garden Outdoor
This shows you how I settle a fairy garden outside. It ends up balanced, tucked in naturally. Fits any overlooked patch.
What You’ll Need
- 12-inch resin mini fairy house for outdoors
- Tiny wooden fairy bench set, 4 pieces
- Preserved sheet moss, 8×10 inches
- 1/2-inch river pebbles, 1-pound bag
- Mini succulents, 6-pack assorted
- Natural twig fairy bridge, 6 inches
- Small clay mushroom houses, set of 3
- Irish moss ground cover seeds, 200 count
Step 1: Pick and Clear Your Spot
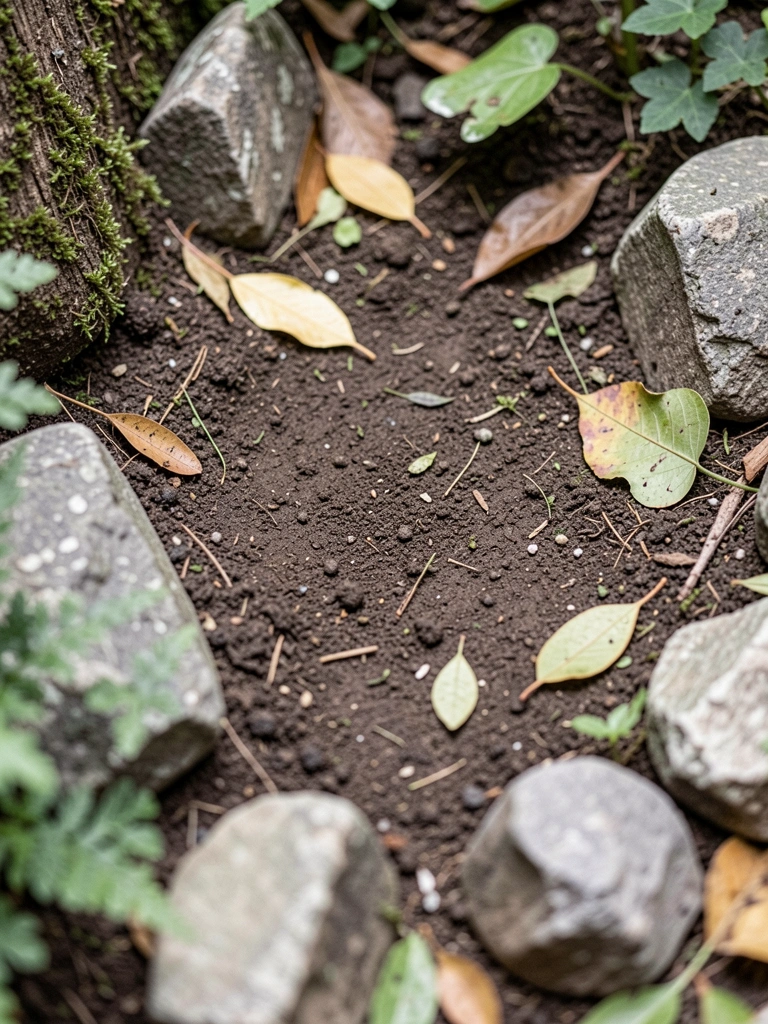
I walk the yard looking for that forgotten place. Shady under a tree, or tucked by steps. Clears out weeds and old leaves with my hands. Why? It lets things settle even.
Now the ground shows its shape. Empty, but ready. People miss how light hits here at different times. Test it morning and evening.
Don't dig too deep. Just smooth the top inch. Overdoing it stirs mud that won't dry.
I stand back. Feels open, waiting.
Step 2: Layer the Base for Soft Ground

I pat down soil, then lay sheet moss flat. Sprinkle Irish moss seeds light. Why? It holds moisture, keeps feet dry in tiny scale.
Pebbles next, in a loose path. Visual shift: ground goes from dirt to inviting. Insight: moss softens edges, pulls it together.
Skip thick gravel. Crushes plants later. I wet it gentle, let settle overnight.
Now it breathes. Balanced underfoot.
Step 3: Place the Main Structures
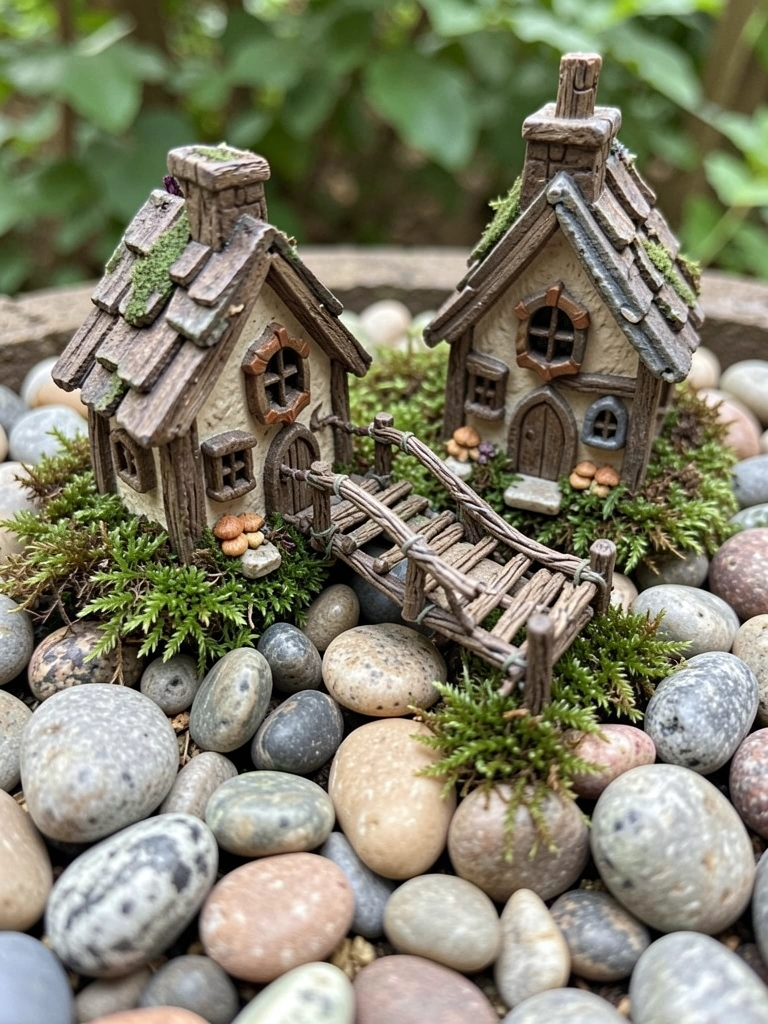
I set the fairy house off-center first. Add mushroom houses nearby, bridge over a pebble stream. Why? Creates a path the eye follows.
Changes everything: now there's a village feel. People overlook heights—raise one house on a pebble stack.
Don't cluster tight. Leave air between. I nudge till it flows.
Spot holds stories without shouting.
Step 4: Tuck In the Greenery
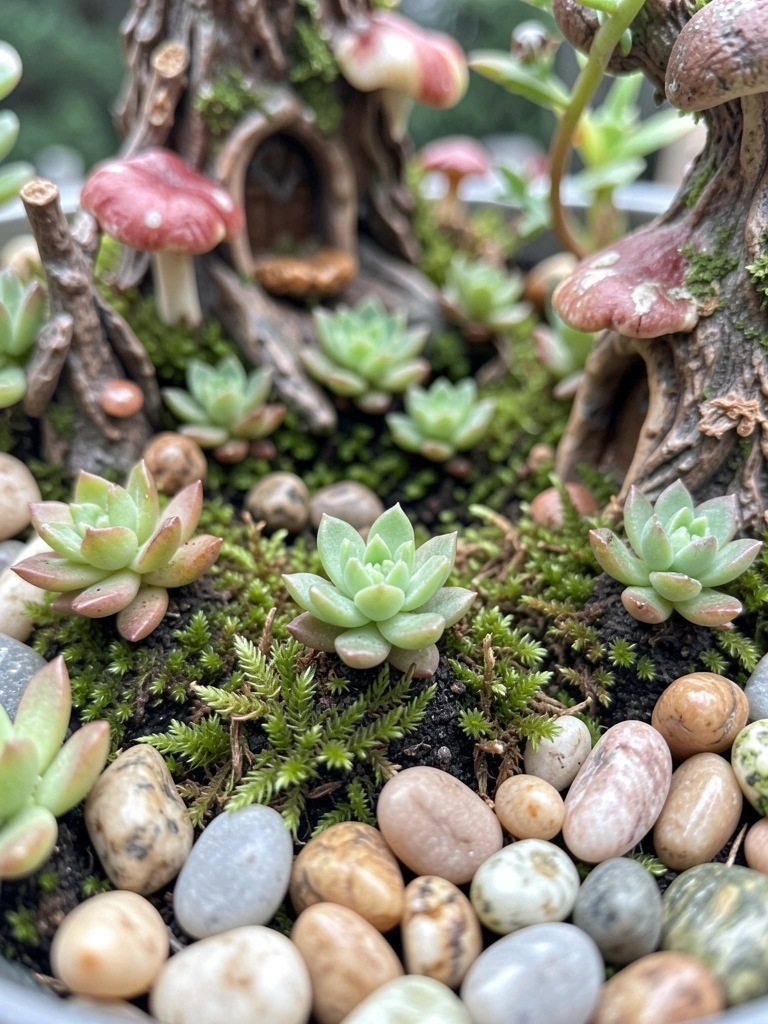
Mini succulents go in pockets around houses. Press roots into moss. Why? They stay small, fill without overwhelming.
Greens pop against stones now. Insight: mix heights—one tall succulent behind, low ones front.
Avoid full sun plants here. They burn out. Water light first week.
It greens up quiet, layers deep.
Step 5: Add Details and Check Balance

Tiny benches beside paths. Scatter extra pebbles. Why? Draws you in, makes it lived-in.
Final look: cozy nooks everywhere. Miss this: step back ten feet, adjust crooked bits.
Don't add too much. One extra piece tips it busy. I walk around, sit nearby.
Now it's right. Stays put through rain.
Keeping It Fresh Year Round
I check mine weekly at first. Pull dead leaves off succulents. Moss holds up if not too wet.
- Mist plants in dry spells.
- Swap faded houses for fresh ones spring.
- Let some areas go wild—it's okay.
Winter? Pebbles stay, add pine needles. Comes back stronger.
Fitting It to Tight Spots
Patio corners work best for me. Or under benches.
Scale down: one house, three plants.
- Window box version: line with moss.
- Hanging basket: bridge from rim.
- Tree stump hollow: perfect base.
Keeps balance in small yards.
Avoiding Overcrowded Looks
Less is key. I started with too many pieces once. Felt off.
Signs it's too much:
- Can't see paths.
- Plants hide houses.
- No empty spots for eyes.
Pull half out. Let it settle. Better every time.
Final Thoughts
Start with one corner. Yours might surprise you.
It grows on you slow. Feels right after a rain.
Your garden gets this spot now. Quiet win.
Leave a Reply