Author: Lily Victoria

  • 17 Diy Fairy Garden Bridge Ideas For Tiny Landscapes

    17 Diy Fairy Garden Bridge Ideas For Tiny Landscapes

    Last summer, I cleared a narrow strip along my back fence—overgrown and forgotten. Dropped in some moss and a few rocks. Then it hit me: a tiny bridge would connect the shady spots. Made one from twigs that afternoon. The whole corner softened, invited closer looks.

    Those little bridges pull your eye through small spaces. They make forgotten patches feel alive.

    I've tinkered with 17 over years. Some flopped, like one that washed away. But these hold up.

    17 Diy Fairy Garden Bridge Ideas For Tiny Landscapes

    Here are 17 DIY fairy garden bridge ideas pulled from my own tiny garden spots. They're straightforward, use backyard scraps or cheap finds. You can build any in under an hour.

    1. Twig Arch Over Mossy Pebbles

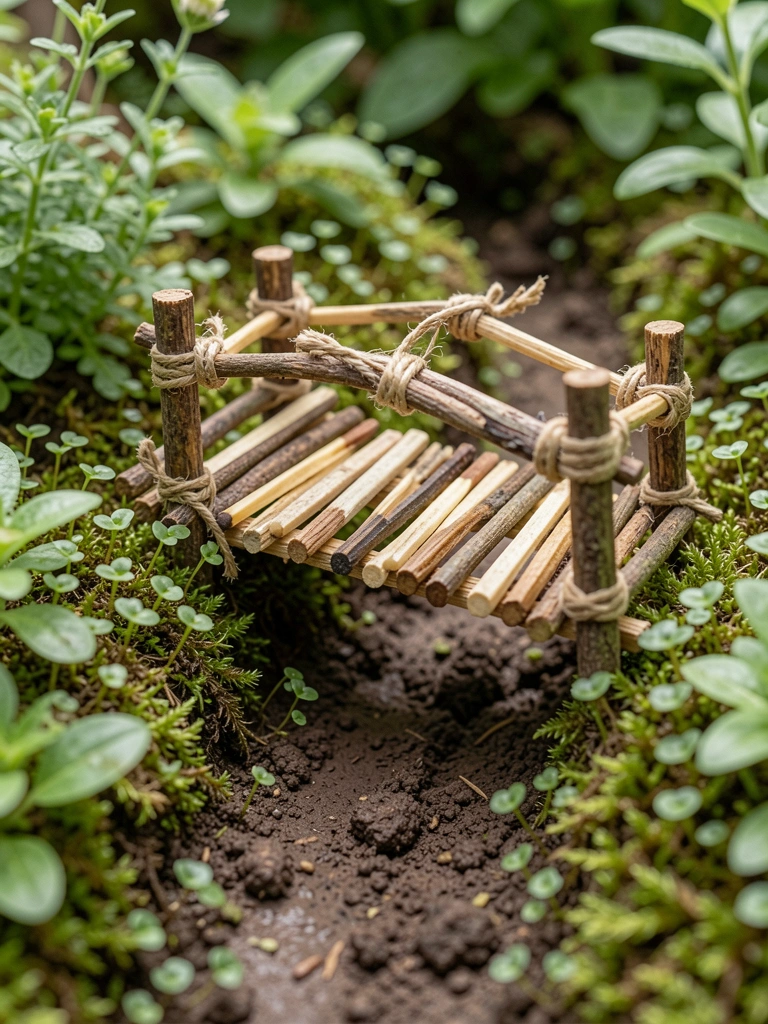
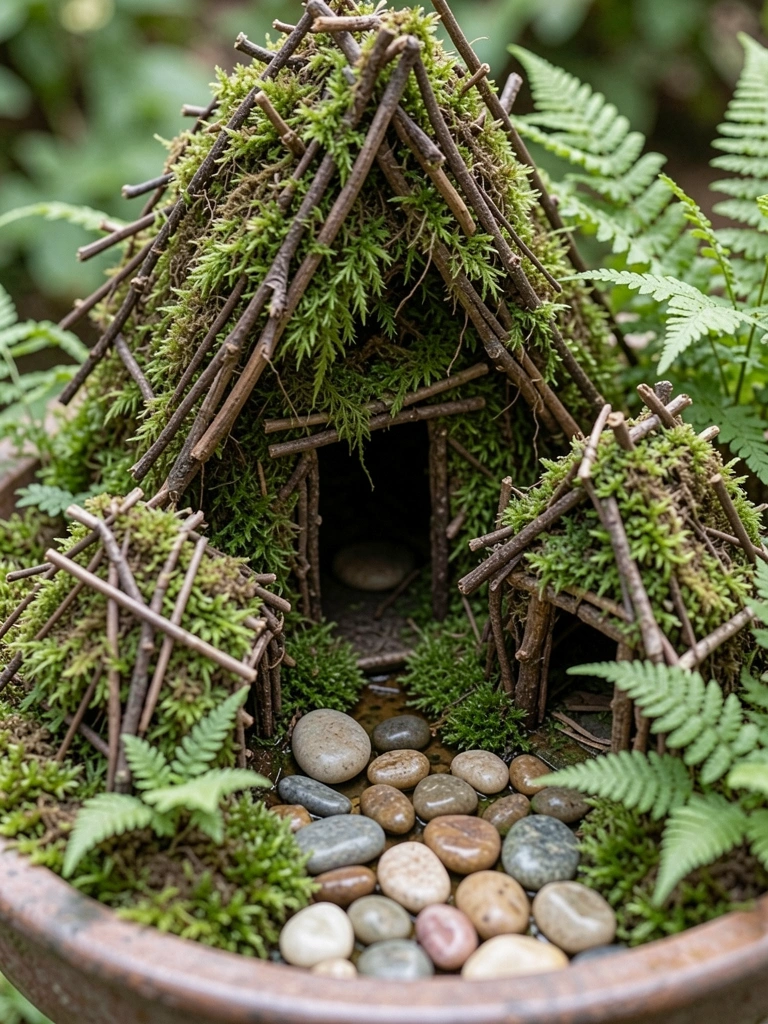
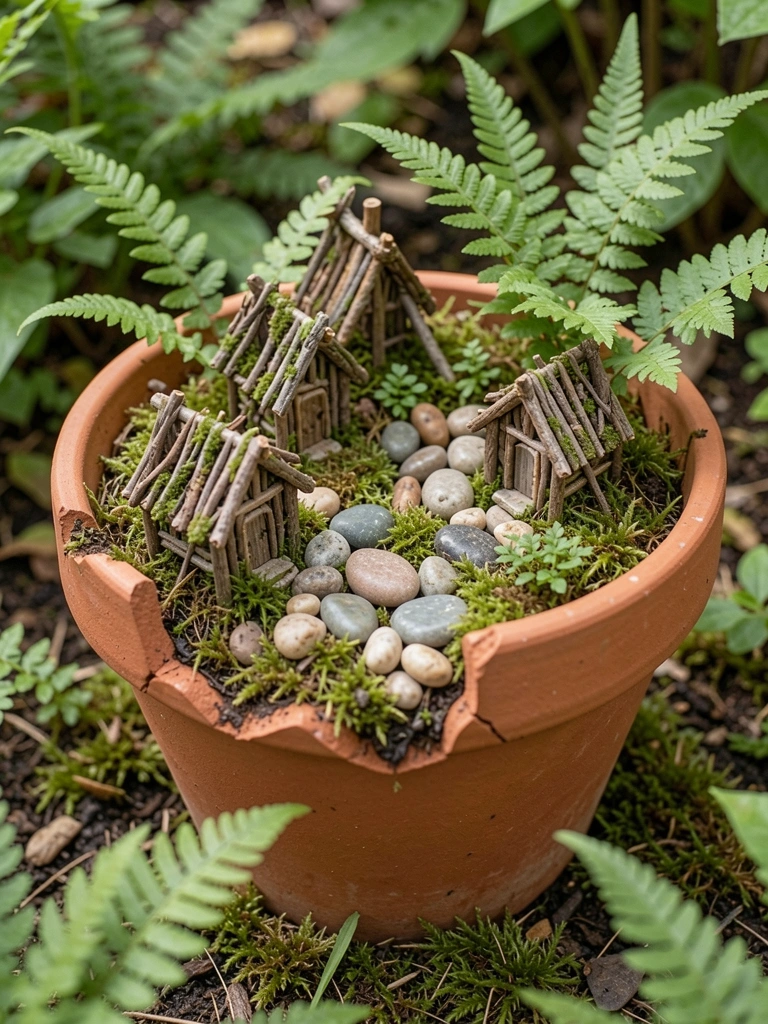
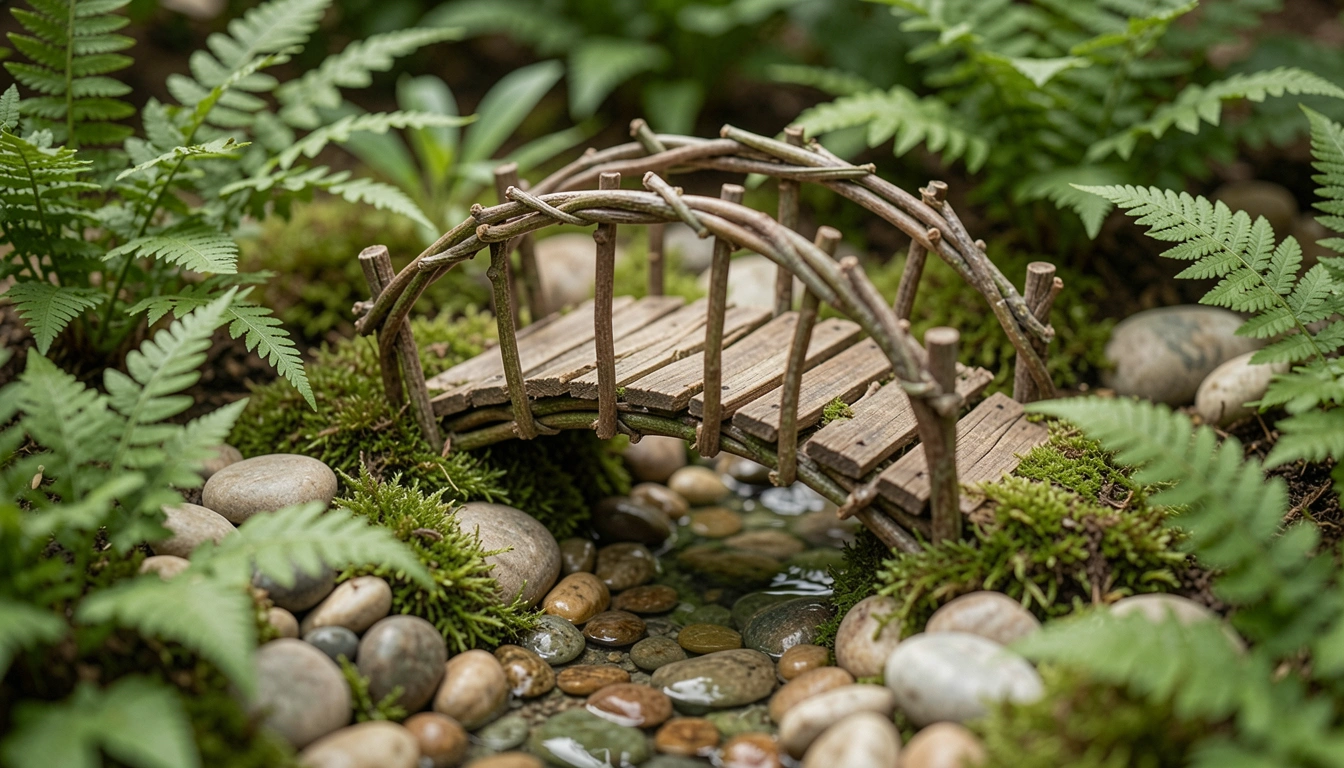
    I gathered fallen twigs from my oak tree last fall. Bent them into a gentle arch, wired the ends tight. Spanned it over a handful of pebbles in a cracked pot saucer—my instant stream bed.

    The arch draws your gaze across the damp moss. That shady corner by the shed went from mud to a quiet path fairies might cross. Air feels cooler there now.

    Watch the twigs' curve; too stiff and it snaps. I learned after the first one broke in rain.

    Soak them overnight first. Lash with thin wire, not glue—it holds better outdoors.

    What You’ll Need for This Look

    Twig bundle for crafts (natural, 12 inch)

    Floral wire thin gauge

    River pebbles small bag (1 lb)

    Preserved moss sheet green

    2. Pebble Stacked Flat Crossing

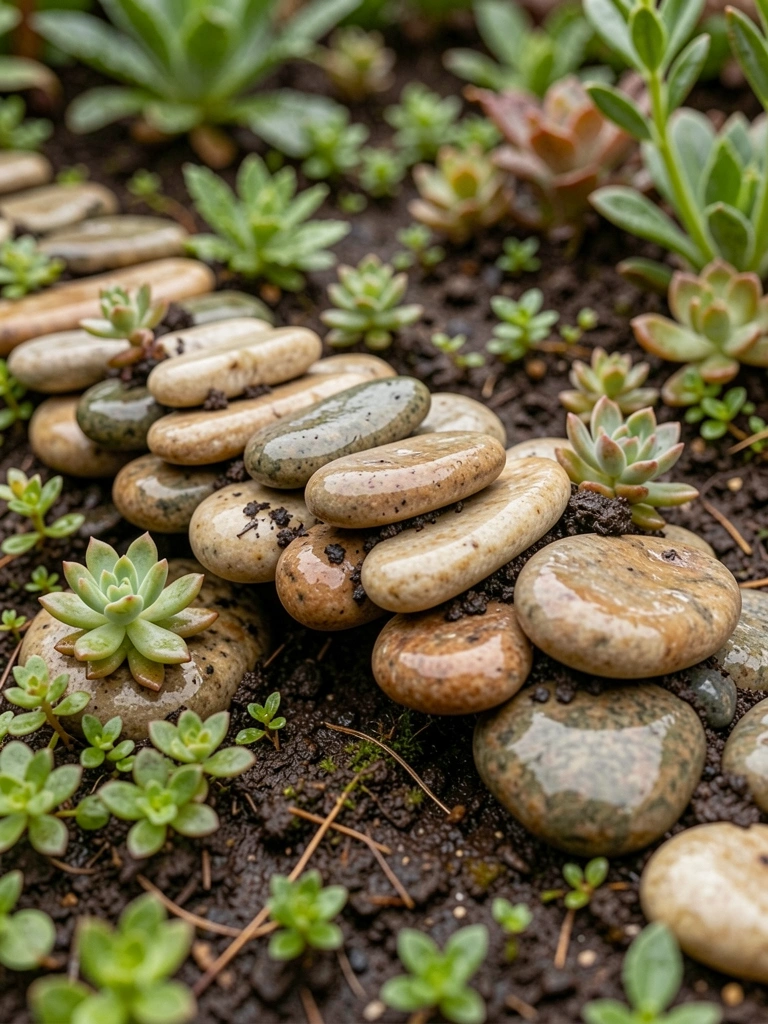
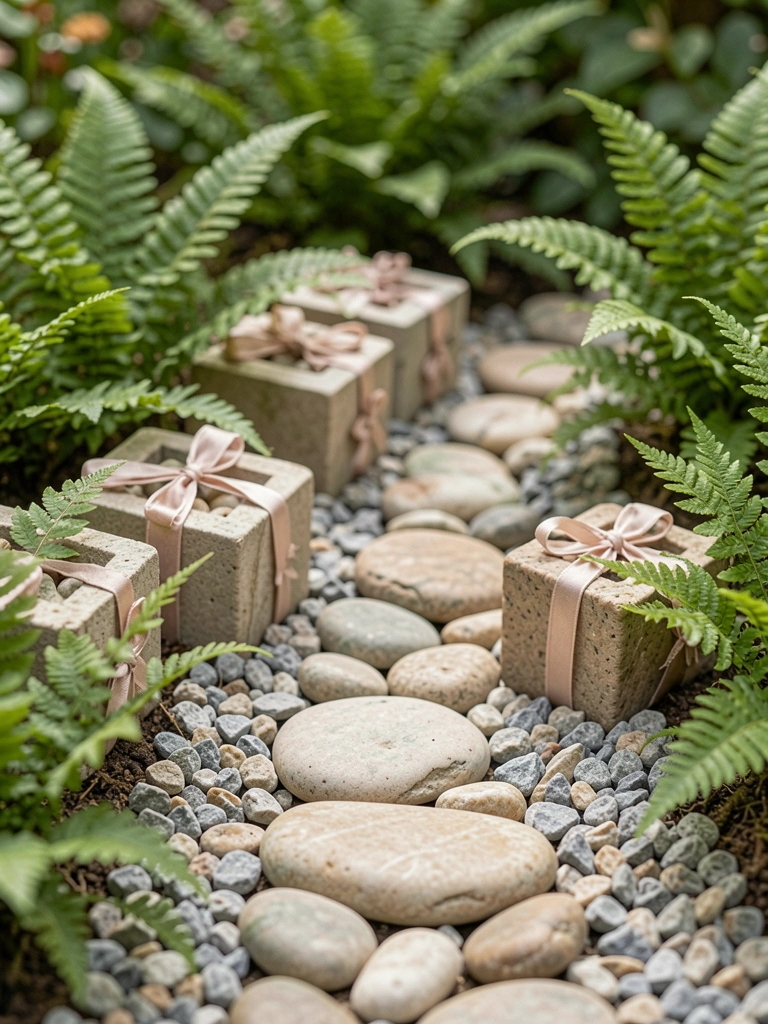
    Dug up smooth pebbles from my gravel path. Stacked them flat between two hosta leaves—bridged a shallow dip I made with a spoon. No glue, just wedged tight.

    It grounds the spot visually. The pebbles echo the bigger rocks nearby, blending the mini world into my real beds. Feels steady, not fussy.

    I stacked too high once; toppled in wind. Keep it low, two pebbles max per side.

    Pat soil firm underneath. Add a fern frond for cover.

    What You’ll Need for This Look

    Smooth river pebbles assorted sizes (2 lb)

    Mini hosta plants (3 pack)

    Miniature fern fronds preserved

    3. Wire and Acorn Cap Suspension

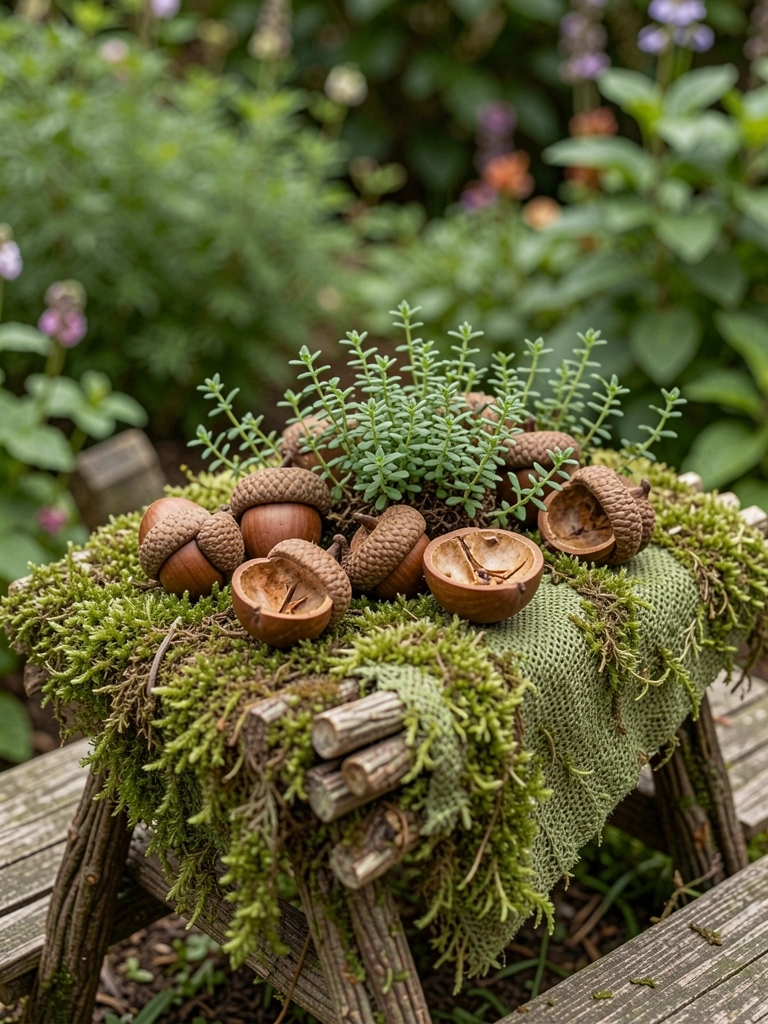
    Foraged acorns under the maples. Poked holes, strung on floral wire stretched between sticks. Hung it low over bark mulch—like a swingy path.

    The sway adds life without bulk. In my pot garden, it links two succulents. Pulls you in, makes the pots feel connected.

    Wire rusted fast first time. Twist ends with pliers for grip.

    Test tension; too loose sags into dirt.

    What You’ll Need for This Look

    Acorn cap set craft (50 piece)

    Floral wire green coated (50 ft)

    Bark mulch mini bag

    4. Cinnamon Stick Log Span

    Bundled old cinnamon sticks from holiday crafts. Lashed with twine over a thyme patch—rustic logs crossing damp earth.

    Warm scent lingers after rain. In my herb border, it ties the mini scene to real plants. Cozy scale.

    Twine rotted quick. Switch to waxed linen thread.

    Layer three sticks for width.

    What You’ll Need for This Look

    Cinnamon sticks natural (12 inch, 20 pack)

    Waxed linen thread brown

    Creeping thyme plugs (4 pack)

    5. Driftwood Half-Moon Arch

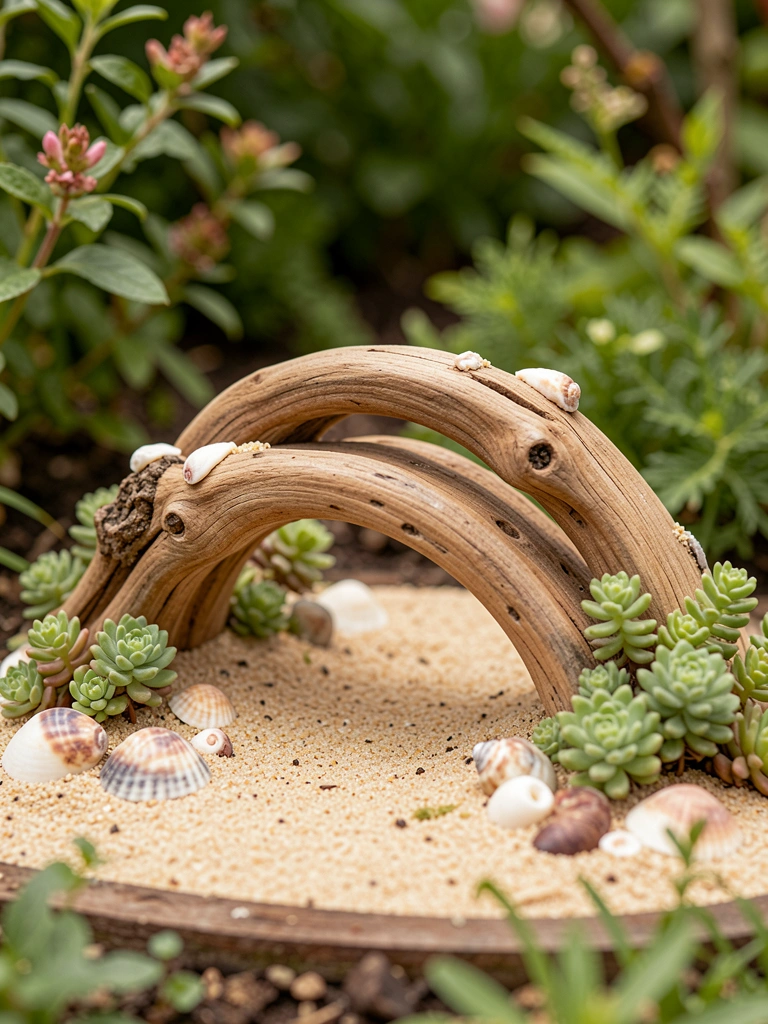
    Picked driftwood from a beach trip. Curved pieces wedged into sand-filled saucer, arcing over sedum.

    Beach feel in my inland yard. Softens the pot edge, invites tiny walks.

    Sand shifted once. Mix with clay soil.

    Prop ends deep.

    What You’ll Need for This Look

    Driftwood pieces assorted (small)

    Play sand bag (5 lb)

    Sedum groundcover plugs

    Mini seashells bag

    6. Bottle Cap Chain Link

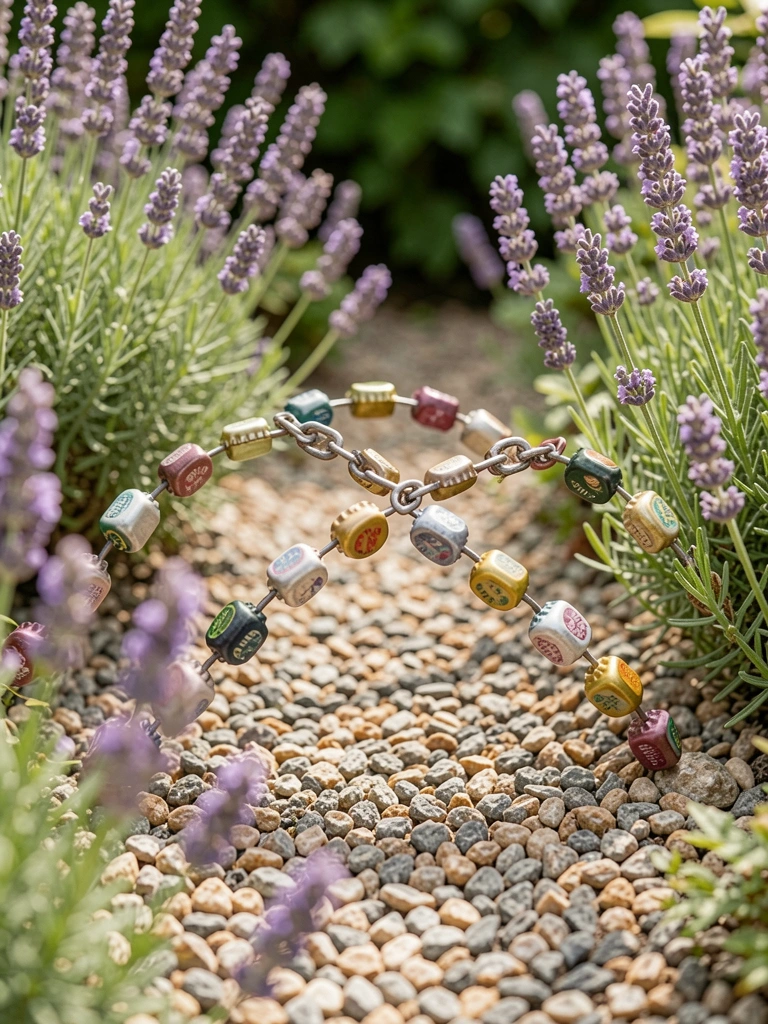
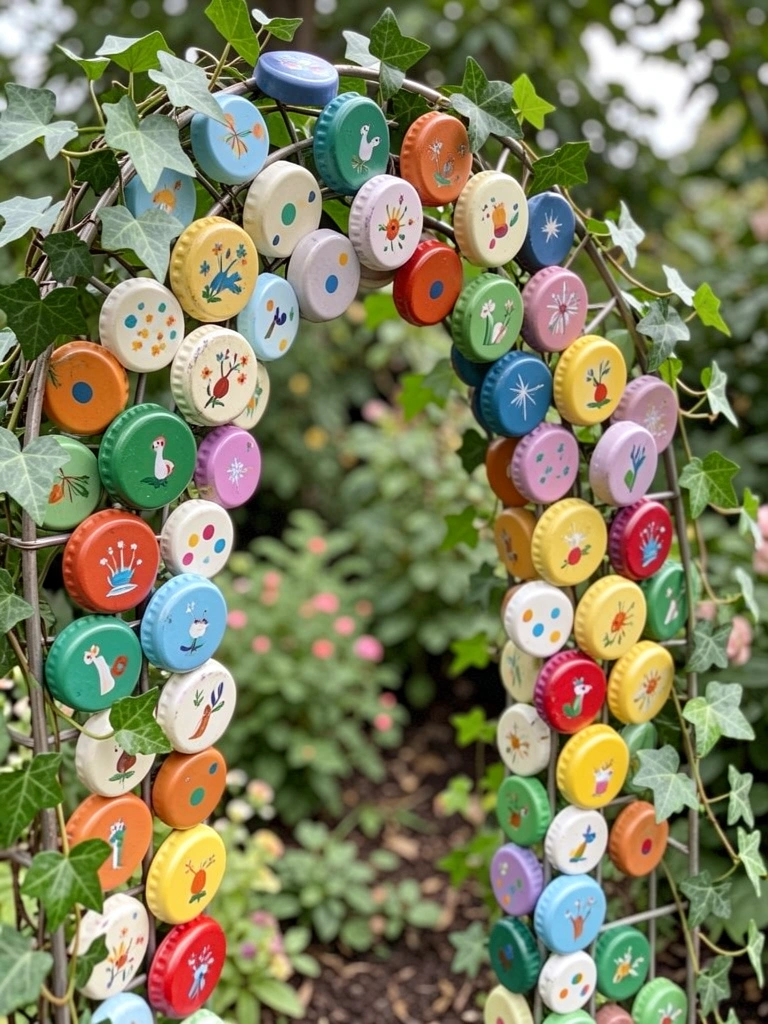
    Saved metal caps from sodas. Linked with wire, draped over gravel between lavenders.

    Shiny pops against green. In my walkway gap, it sparks interest without overwhelming.

    Caps dented easy. Use pliers to bend links.

    Rinse well first.

    What You’ll Need for This Look

    Metal bottle caps craft pack (50)

    Thin craft wire silver (30 ft)

    Fine gravel bag (2 lb)

    7. Popsicle Stick Truss Lift

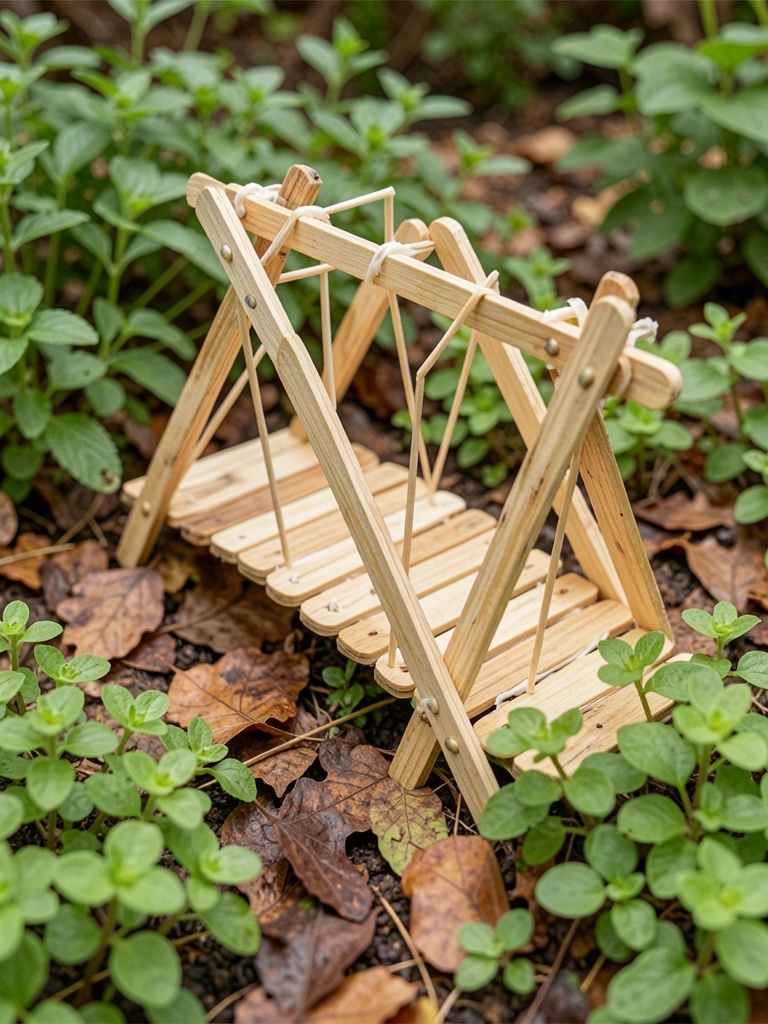
    Glued popsicle sticks into truss shape, propped on toothpicks over ajuga.

    Lifts the path above groundcover. My front bed corner got depth.

    Glue failed outdoors. Hot glue dots, then seal.

    Space trusses even.

    What You’ll Need for This Look

    Popsicle sticks natural (100 pack)

    Wooden toothpicks box

    Ajuga groundcover plants

    Outdoor clear sealant spray

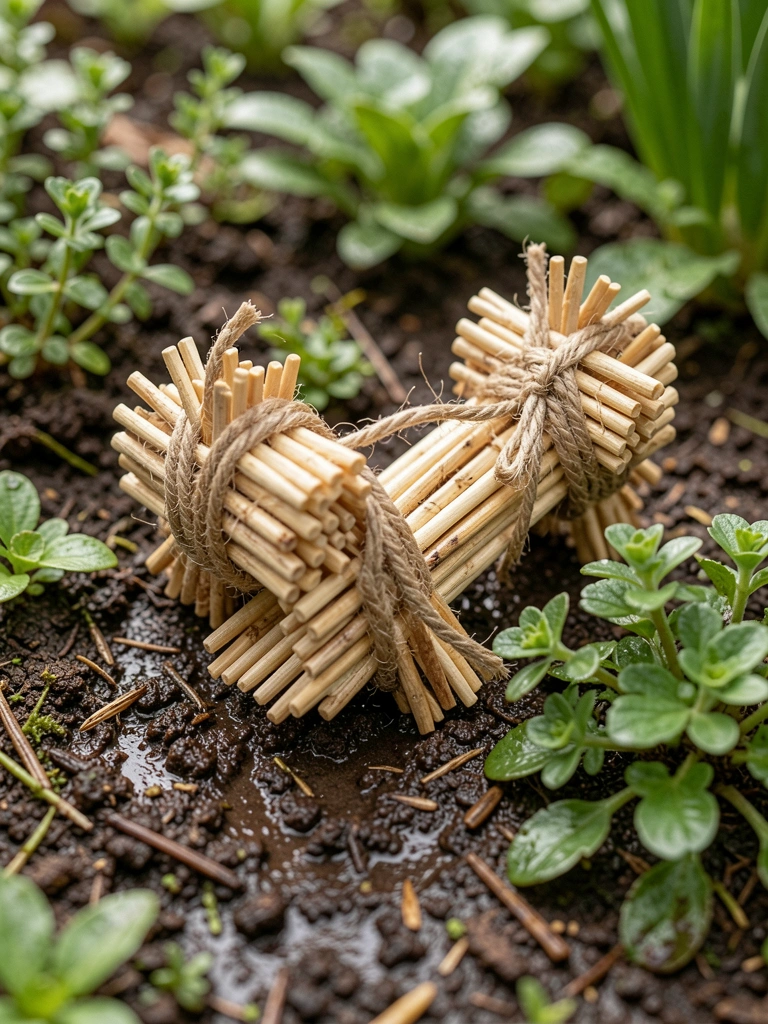
    8. Bamboo Reed Flatwalk

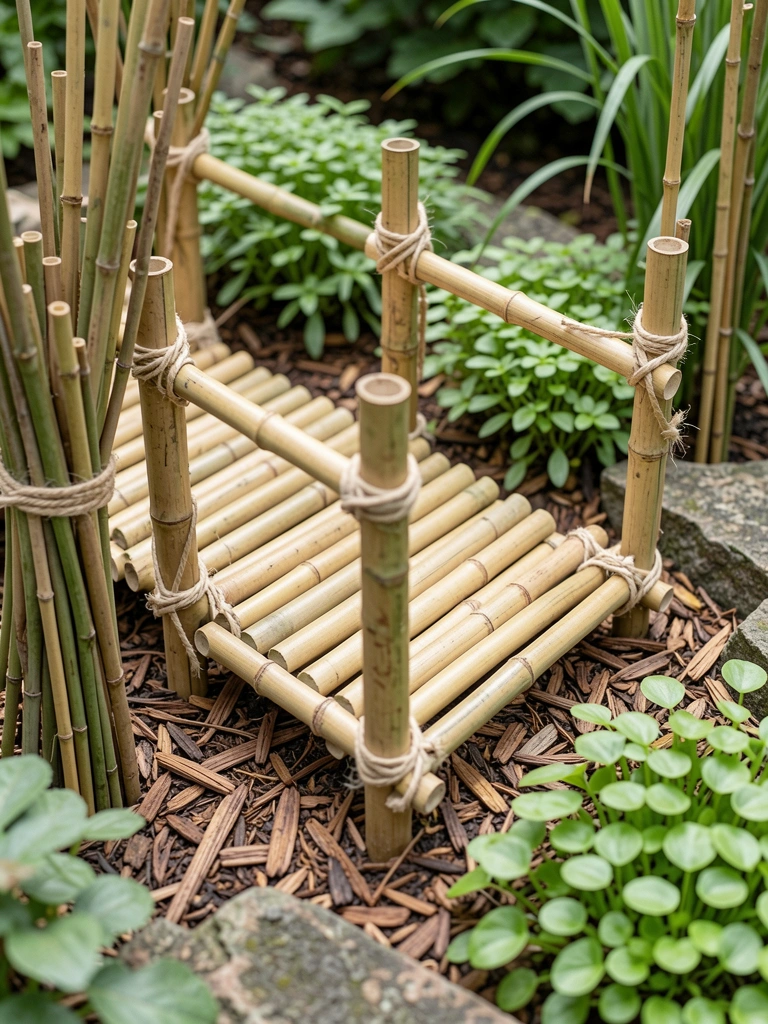
    Split bamboo reeds from garden stakes. Bundled flat with twine, laid over mulch.

    Clean lines in Asian feel spot. Links mondo grass clumps.

    Reeds splintered. Sand edges smooth.

    Keep bundles tight.

    What You’ll Need for This Look

    Bamboo reeds craft size (12 inch)

    Garden twine natural roll

    Mondo grass mini plugs

    9. Shell Hinge Arch

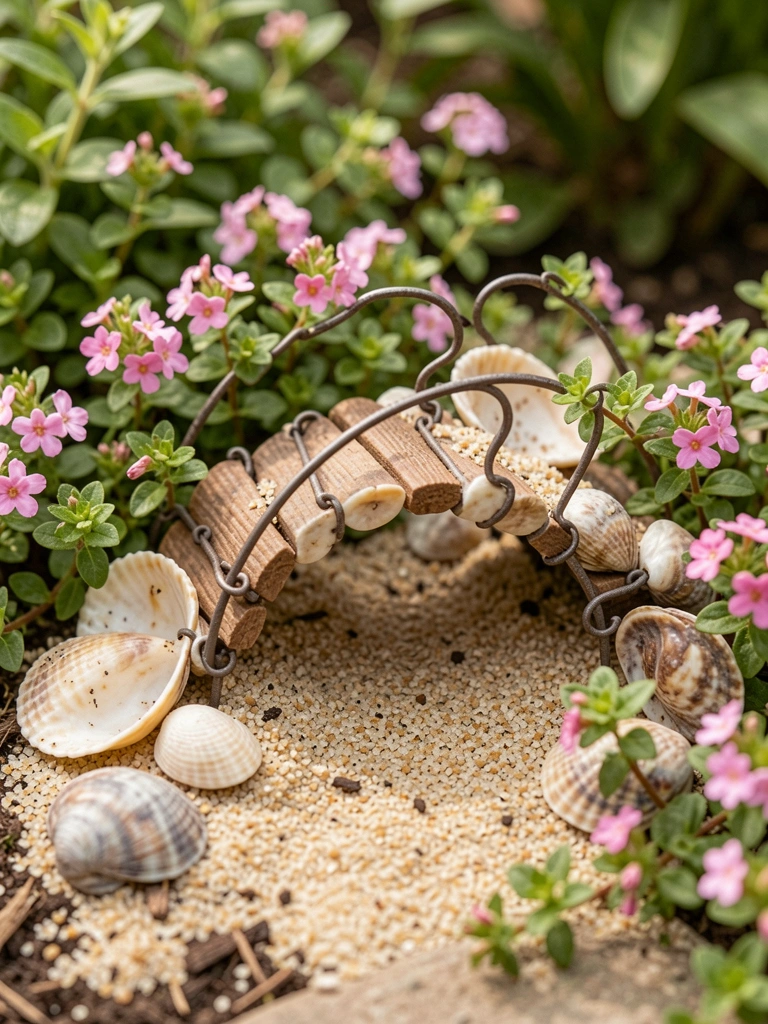
    Hinged small clam shells with wire. Arched over sand path amid phlox.

    Coastal nook in my yard. Shell gleam catches light.

    Hinge bent wrong. Pre-poke holes.

    Firm sand base.

    What You’ll Need for This Look

    Small clam shells craft (20 pack)

    Thin wire for jewelry

    Creeping phlox seeds

    10. Pipe Cleaner Woven Span

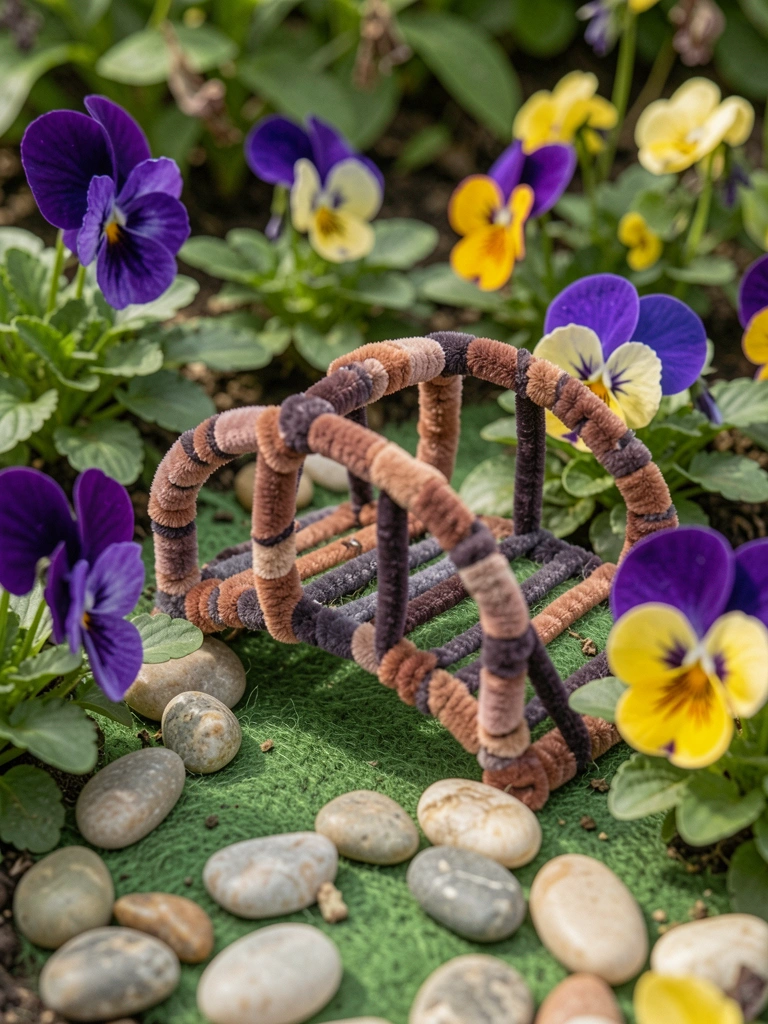
    Twisted pipe cleaners into weave. Stretched over felt "river" with pebbles.

    Playful in flower pot. Violas frame it soft.

    Faded in sun. Chenille holds color.

    Weave tight.

    What You’ll Need for This Look

    Pipe cleaners assorted colors (100 pack)

    Felt sheets green craft

    Viola flower plugs

    11. Matchstick Bundle Path

    Bundled matchsticks, tied ends. Laid in trench of baby tears.

    Woodsy trail feel. Blends with soil.

    Snapped in wet. Seal first.

    Short bundles.

    What You’ll Need for This Look

    Matchsticks craft box (200)

    Soleirolia soleirolii baby tears

    Clear wood sealant brush-on

    12. Button String Swing

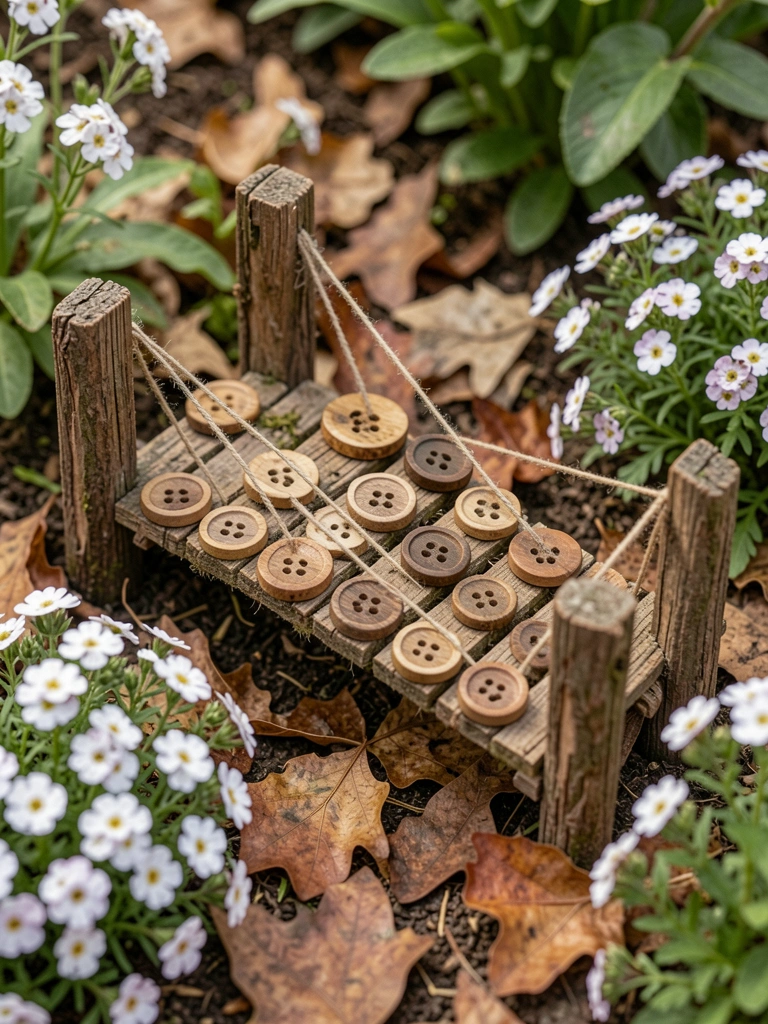
    Strung wooden buttons on thread between twigs. Swings low over alyssum.

    Quirky link. Adds texture.

    Thread frayed. Use nylon.

    Even spacing.

    What You’ll Need for This Look

    Wooden buttons large hole (50 pack)

    Nylon beading thread clear

    Sweet alyssum seeds

    13. Cork Disc Stack

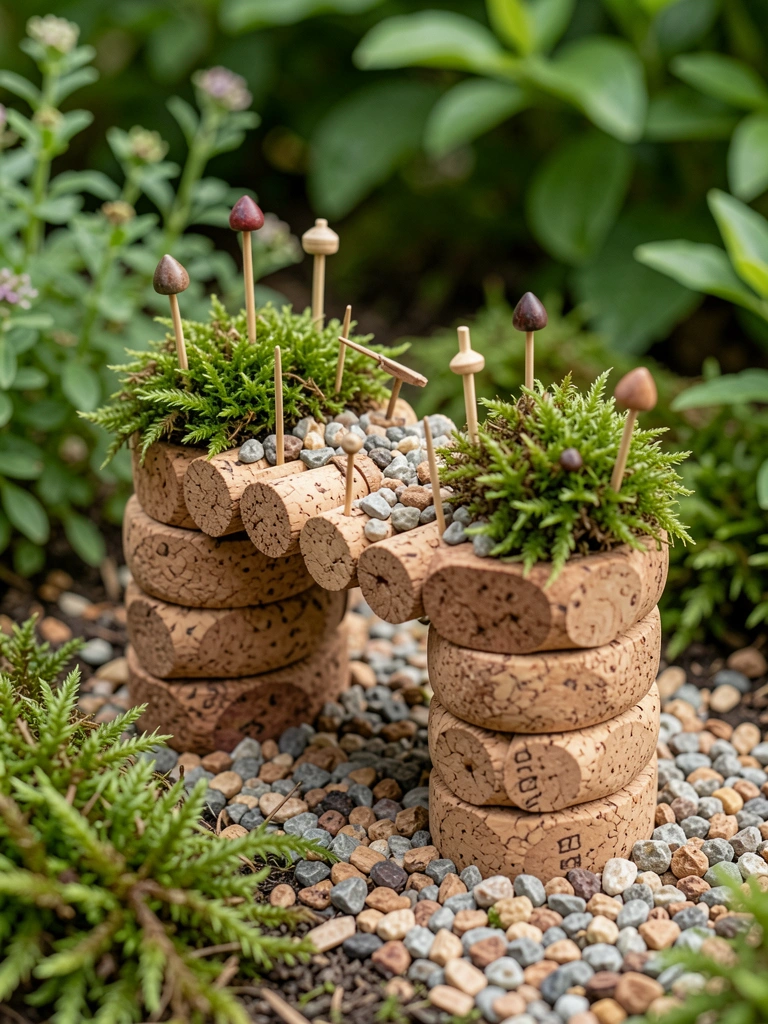
    Stacked wine corks, pinned with toothpicks. Over gravel moat.

    Soft underfoot look. In moss patch.

    Slid apart. Pin deep.

    Dry corks first.

    What You’ll Need for This Look

    Cork discs craft (1 inch, 30 pack)

    Round toothpicks pack

    Irish moss plugs

    14. Herb Stem Rustic Arch

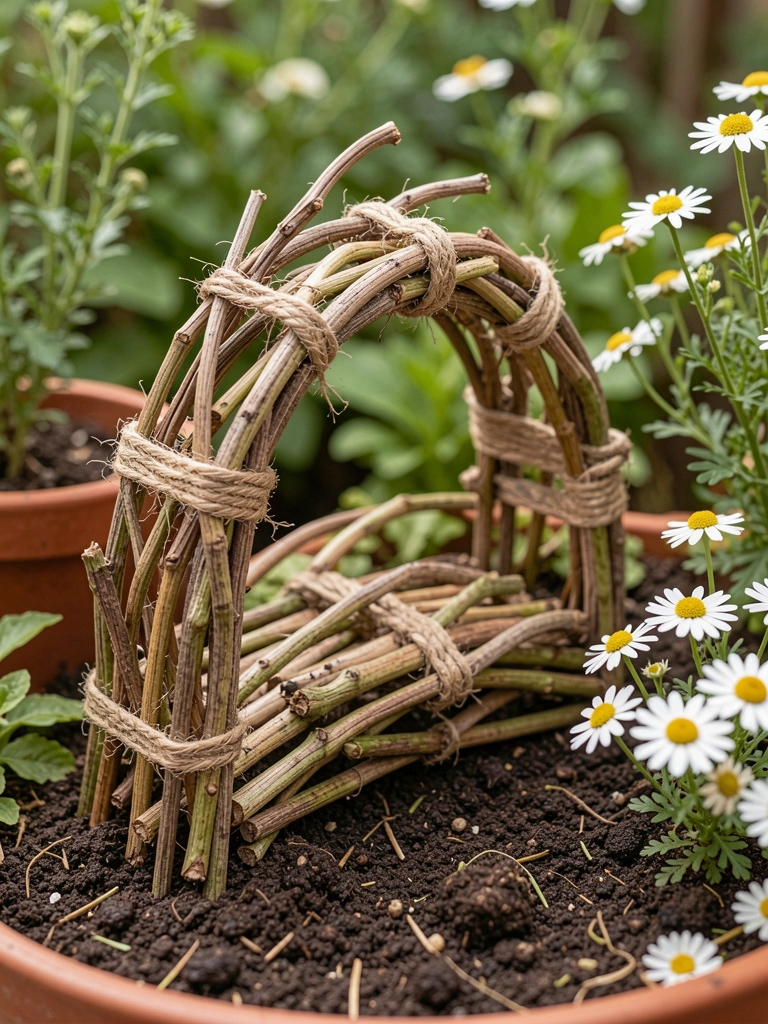
    Dried rosemary stems arched, tied. Over chamomile bed.

    Herb scent bonus. Fits kitchen garden.

    Wilted stems. Dry fully.

    Trim even.

    What You’ll Need for This Look

    Dried herb stems bundle

    Garden twine jute

    Chamomile groundcover

    15. Rock Slab Cantilever

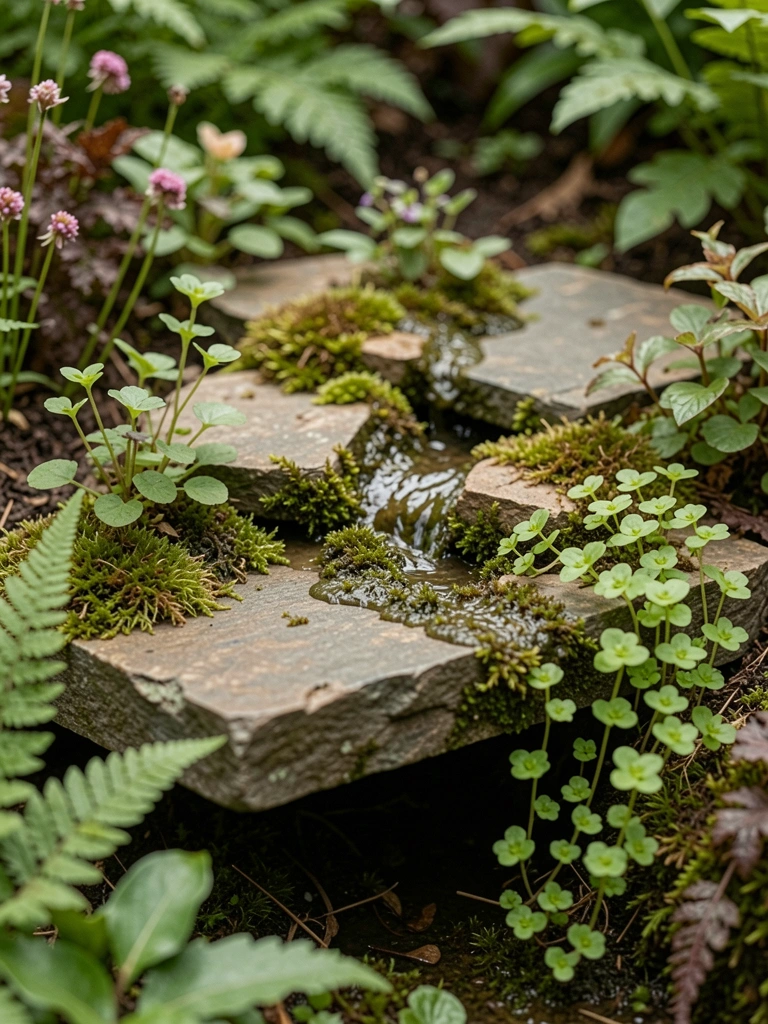
    Balanced flat slate slabs on edge rocks. Cantilever over Jenny.

    Bold span. Stable in wind.

    Slipped once. Roughen bottoms.

    Low profile.

    What You’ll Need for This Look

    Mini slate slabs (4×2 inch set)

    Sphagnum moss dry pack

    Creeping Jenny plugs

    16. Leaf Vein Flat Bridge

    Pressed oak leaves, glued vein-side up. Flat over dwarf grass.

    Natural fade. Blends seasonal.

    Curled edges. Press heavier.

    Seal top.

    What You’ll Need for This Look

    Leaf press kit craft

    Craft glue waterproof

    Dwarf mondo grass

    17. Toothpick Log Jam Cross

    Bundled toothpicks like logs. Tied, crossed damp saxifrage.

    Flood look after rain. Tiny adventure.

    Splintered. Seal ends.

    Bundle odd numbers.

    What You’ll Need for This Look

    Flat toothpicks box (500)

    Jute twine thin

    Saxifrage mini plants

    Wood sealer pen

    Final Thoughts

    Pick one or two that fit your spot. Start small—no need for all 17.

    They've made my overlooked corners worth lingering in. Yours will too.

    Grab scraps, get hands dirty. It'll feel right.
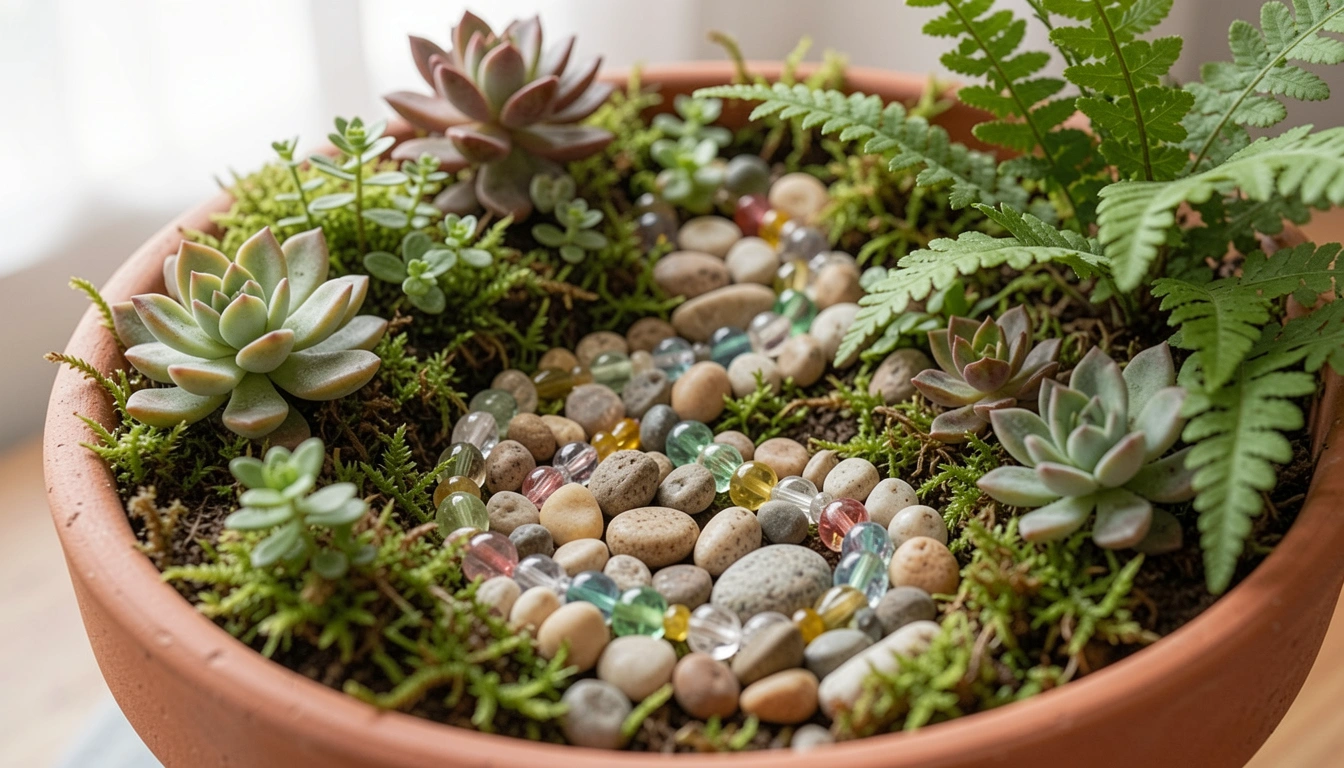
  • 13 Diy Fairy Garden Ideas With Beads For Creative Design

    13 Diy Fairy Garden Ideas With Beads For Creative Design

    Last summer, I scattered some colorful glass beads along a mossy path in my side yard. It caught the light just right, drawing my eye every time I passed. No fancy setup—just real dirt and what I had on hand.

    That little spark turned into a full fairy garden corner. Kids in the neighborhood stopped by, pointing out "fairy trails." It felt alive, not staged.

    If you're like me, starting small with beads makes the whole thing doable. They add shine without overwhelming the plants.

    13 Diy Fairy Garden Ideas With Beads For Creative Design

    These 13 diy fairy garden ideas with beads come straight from my yard trials. They're simple builds that hold up to rain and growth. You'll see exactly what to grab and how it plays out.

    1. Winding Bead Path to a Hidden Fairy Door

    I glued clear glass beads between pebbles for a path snaking around my hostas. It mimics a stream bed, catching morning dew. The shine pulls you in, making the garden feel deeper.

    Planted low ferns along the edges—they spread just enough to frame it without crowding. Added a wooden fairy door at the end, half-buried in bark mulch. Now it looks like fairies sneak through at dusk.

    Watch the bead size; too big overwhelms the scale. I used 6mm ones first time—perfect fit.

    One rainy week, glue washed out, so I switched to landscape adhesive. Stays put.

    What You’ll Need for This Look

    6mm glass beads

    Tiny wooden fairy door

    Landscape glue tube

    Pebbles for paths 1/2 inch

    2. Crystal Bead Pond Beside Succulents

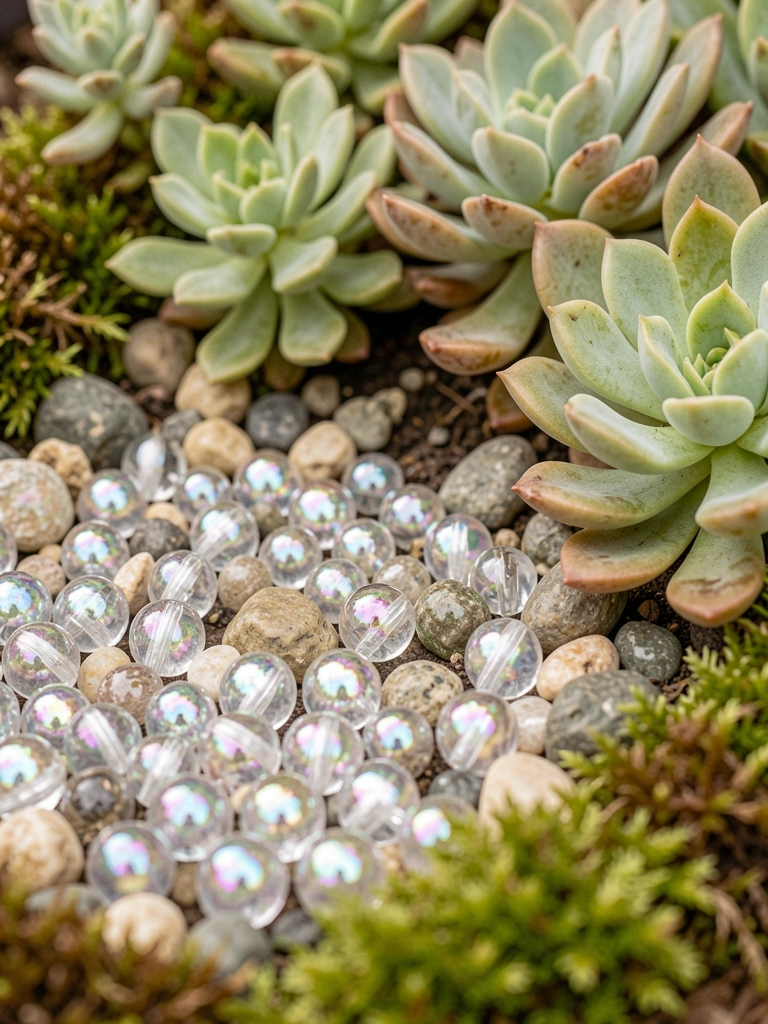
    Dumped iridescent beads into a shallow clay saucer for a "pond" by my back steps. Surrounded it with succulents that don't mind dry spells. The beads shift colors in sun, like rippling water.

    Tucked in bits of moss for green edges. It draws ladybugs, which the kids call fairy visitors. Feels cozy against the stone path.

    Fill halfway with beads—full looks flat. I overdid it once, no depth.

    What You’ll Need for This Look

    Iridescent crystal beads 8mm

    Shallow clay saucer 6 inch

    Echeveria succulent pack

    Sheet moss dried

    3. Beaded Twig Arch Over Mossy Base

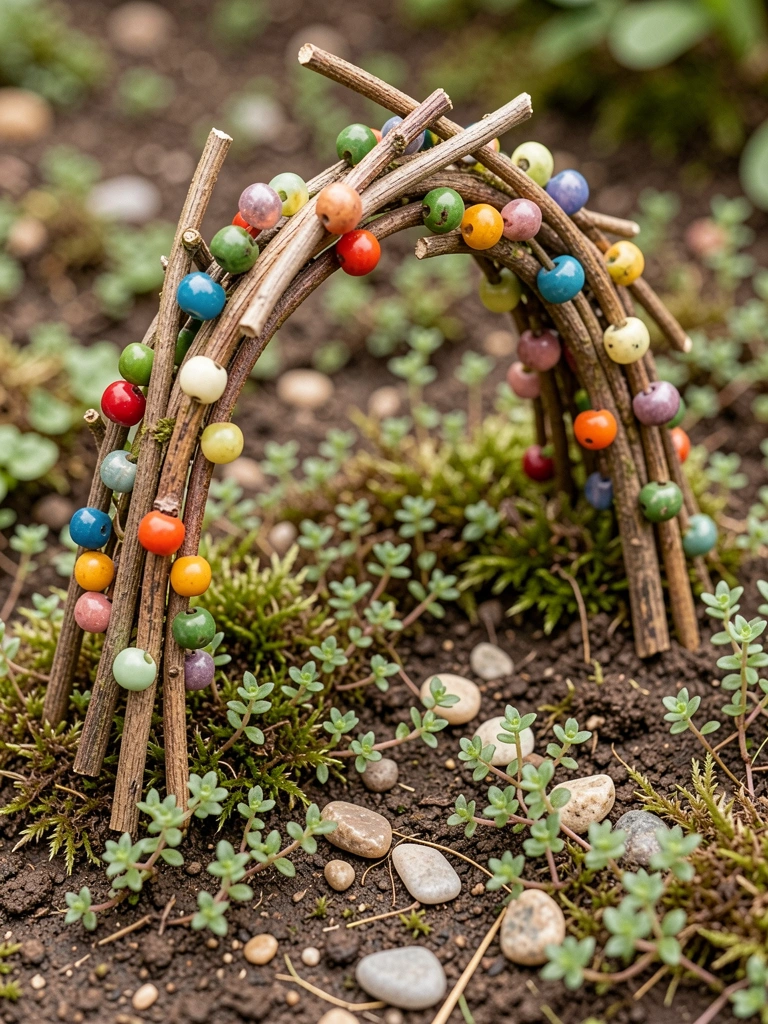
    Bent thin twigs into an arch, threading wooden beads along the top like vines. Set it over a moss patch in my shady corner. Thyme creeps through now, softening the edges.

    The beads click in wind, a quiet sound. Makes the spot feel sheltered, like a fairy nook.

    I skipped sealant first—beads faded fast. Now I brush on clear outdoor spray.

    What You’ll Need for This Look

    Wooden beads 10mm round

    Thin garden twigs bundle

    Creeping thyme plants

    Outdoor clear sealant spray

    4. Mosaic Bead Front on a Clay House

    Pressed flat glass beads into wet clay for the house front—windows and door shine out. Baked it low in my oven, set among gravel and ferns.

    Rain beads up on it now, real charm. Nestled by a hosta, it blends right in.

    Glued extras on roof for texture. Looks like thatched shine.

    What You’ll Need for This Look

    Flat glass beads mosaic set

    Air dry terracotta clay 1lb

    Mini fern plants

    Fine gravel bag 5lb

    5. Hanging Bead Vines on Wire Frames

    Strung seed beads on fishing line, draped over wire hoops in a tree stump hollow. Ivy trails mix in, swaying light.

    Catches breeze, sparkles without glare. Feels like overgrown fairy swings.

    Too loose first try—knots every 2 inches hold shape.

    What You’ll Need for This Look

    Seed beads assorted colors 1000pc

    Thin wire garden hoops

    Fishing line clear 50lb

    Small ivy plants

    6. Beaded Bridge Across Gravel Stream

    Glued pearl beads to popsicle stick spans for a bridge over my gravel "stream." Sedum softens the banks.

    Wind flows under, light dances on beads. Ties two plant beds together.

    I overloaded glue—dots now for clean lines.

    What You’ll Need for This Look

    Pearl beads 6mm white

    Popsicle sticks craft pack

    River rocks 1 inch bag

    Sedum groundcover plants

    7. Bead Flower Meadow in a Dish Garden

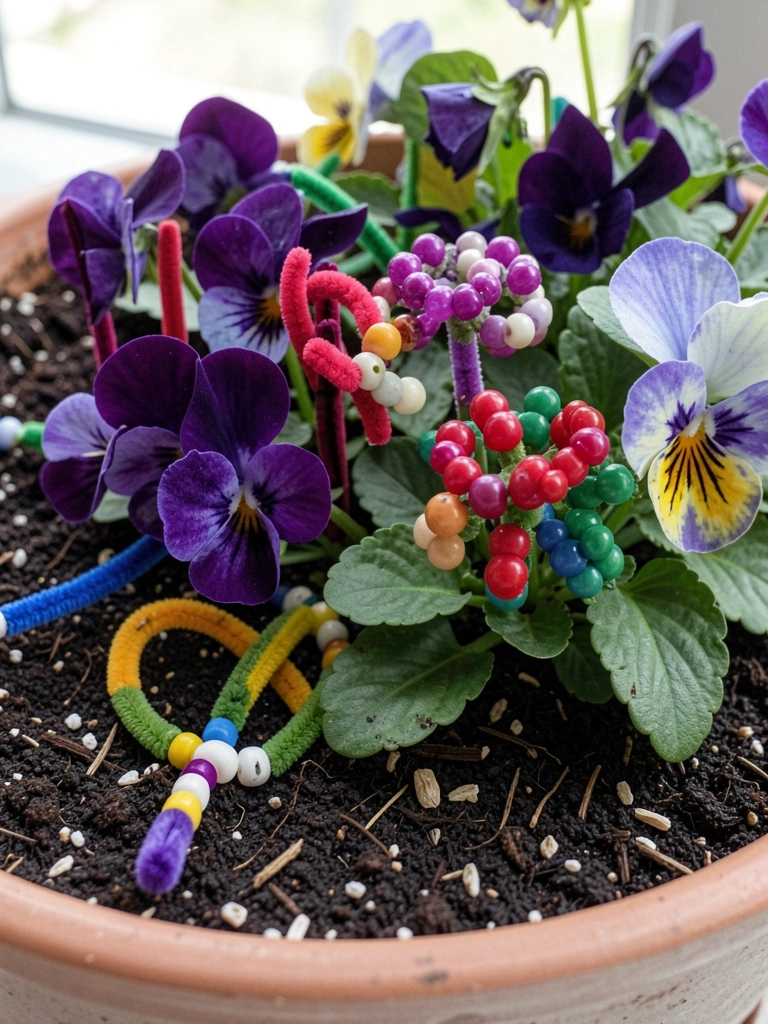
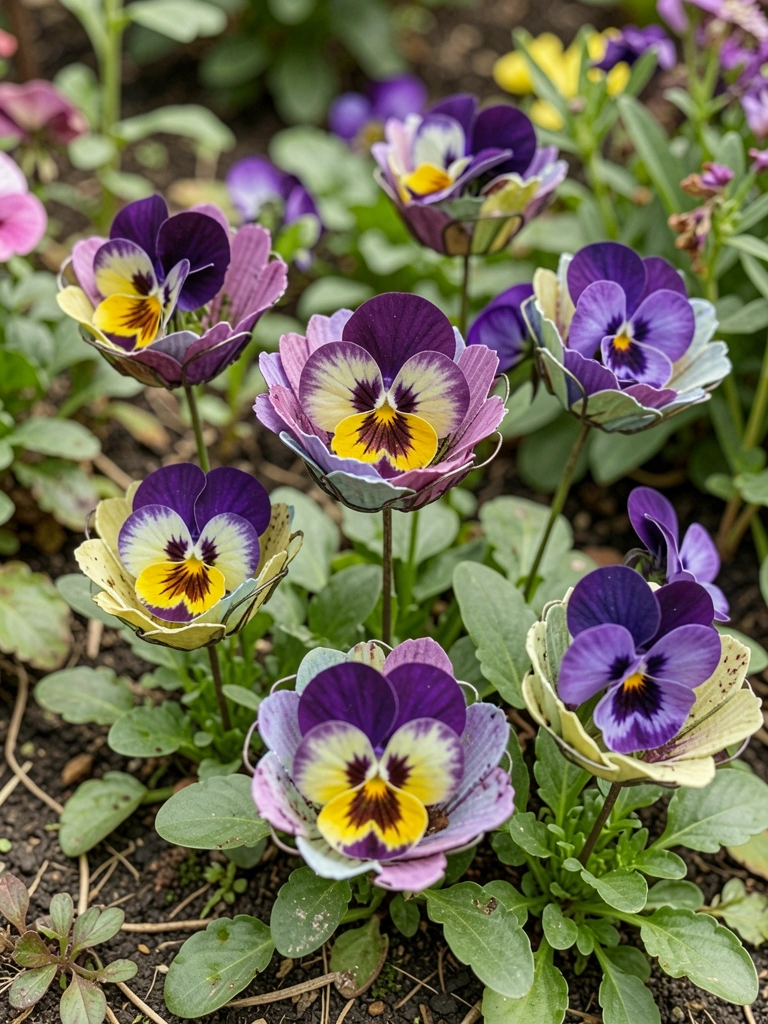
    Wrapped pony beads on pipe cleaners for flower stems, stuck in a dish with violas. Real petals mix with bead shine.

    Blooms fade, beads stay—year-round pop. Low dish fits table edges.

    Pulled too many real flowers first—balance half-half.

    What You’ll Need for This Look

    Pony beads multicolored 1000pc

    Green pipe cleaners pack

    Violet viola flower seeds

    Shallow dish garden pot 8 inch

    8. Beaded Fence Around Mini Succulent Beds

    Poked toothpicks with tiny beads into sand borders for fences round haworthia clusters. Keeps "fairies" in their beds.

    Rustics up the succulents' clean lines. Stays dry, no rot.

    Beads slipped off—hot glue dots fix.

    What You’ll Need for This Look

    Tiny seed beads 4mm

    Toothpicks round wood pack

    Haworthia succulent set

    Fine sand for crafts 2lb

    9. Low-Strung Bead Lights in Fern Grotto

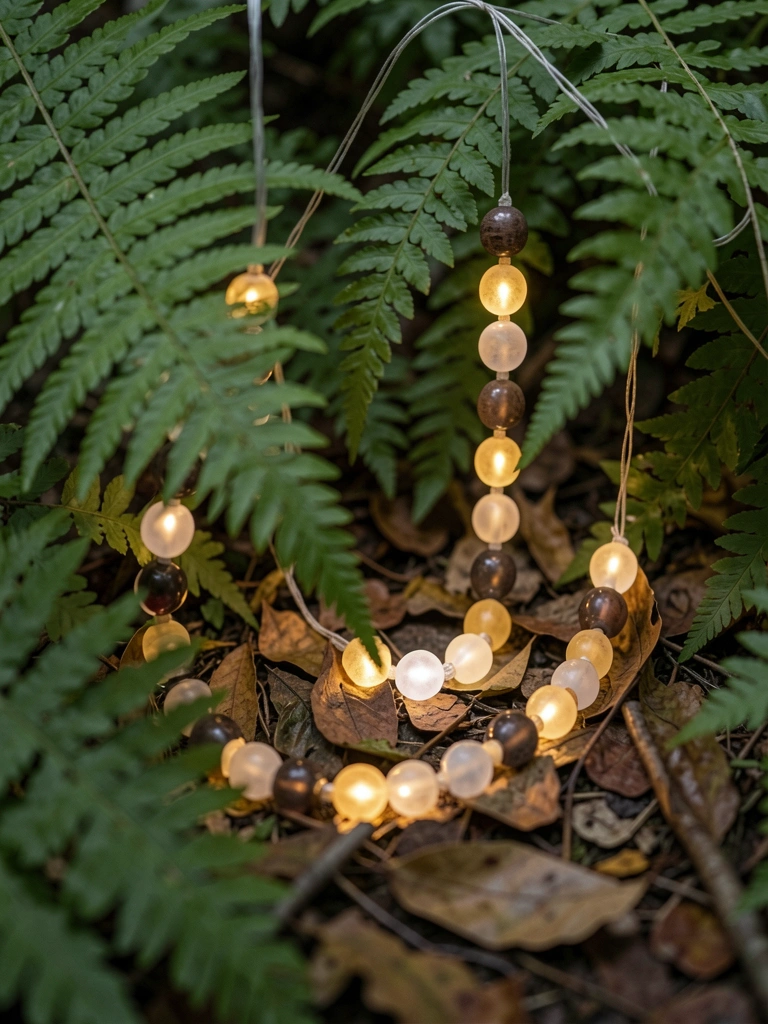
    Strung glow-in-the-dark beads on twine through ferns, low to ground. Glows soft after dark, like fireflies.

    Nests in leaf litter, hidden by day. Cozy night walk spot.

    What You’ll Need for This Look

    Glow in dark beads 8mm

    Garden twine natural

    Fern plants shade loving

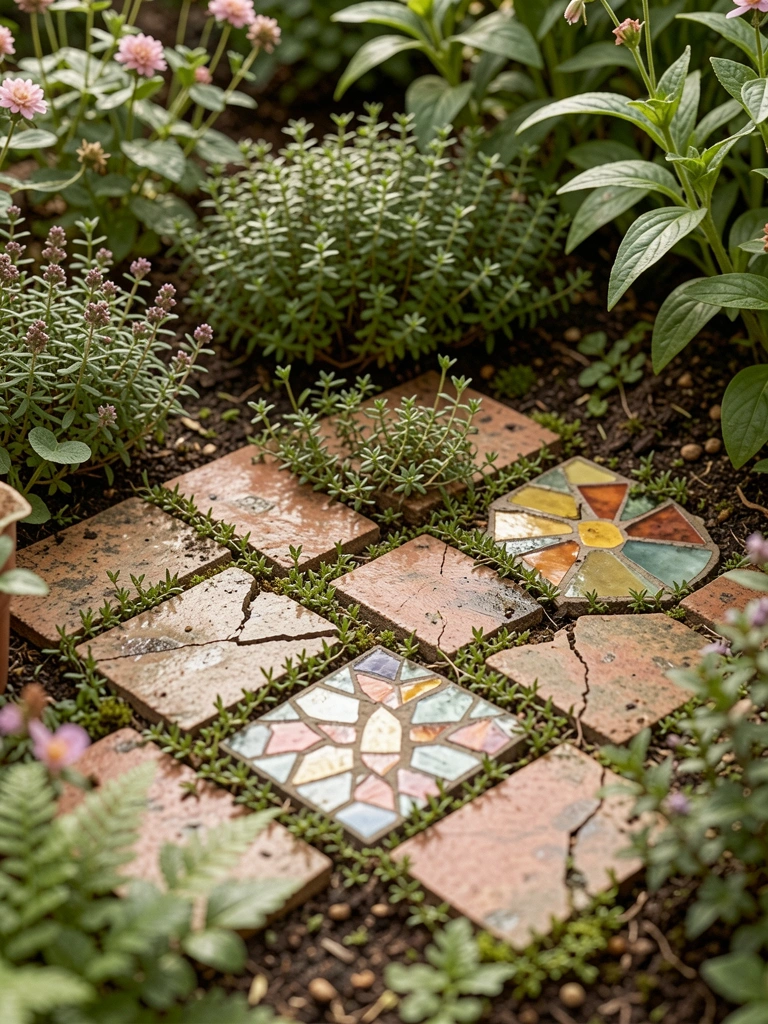
    10. Beaded Stepping Stones in Moss Patch

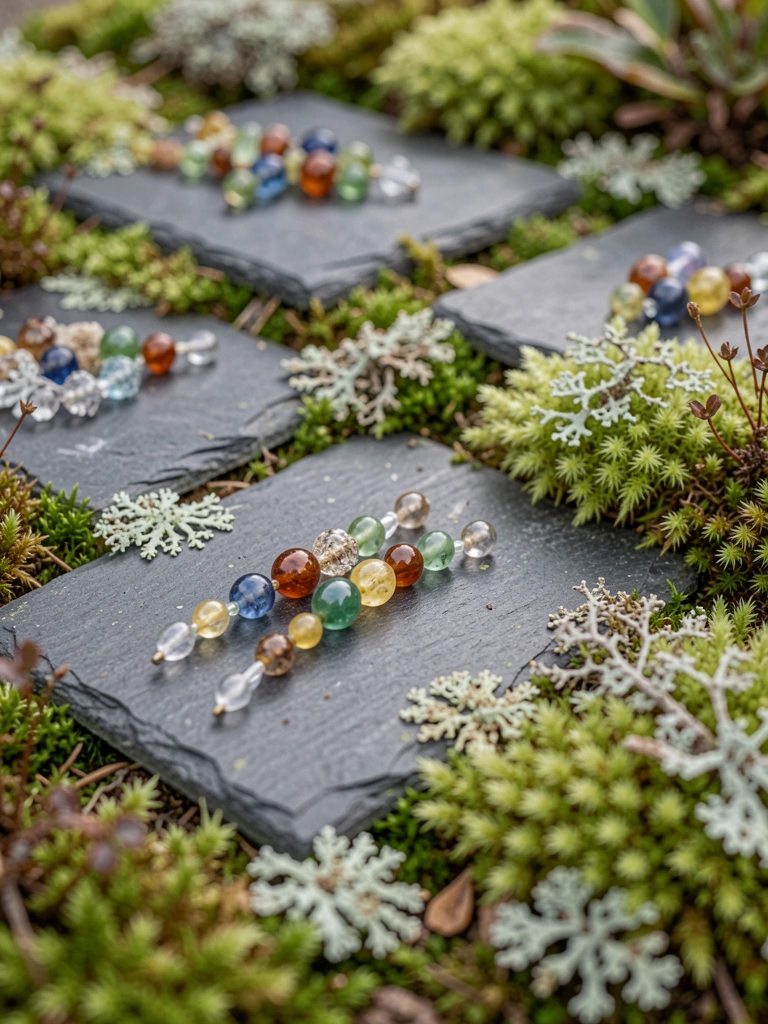
    Embedded colorful glass beads into grout on slate stepping stones, laid in moss. Feet sink slight, beads peek up.

    Moss fills gaps over time, soft underfoot. Leads to bench quiet.

    Grout cracked once—use flexible outdoor mix.

    What You’ll Need for This Look

    Glass beads mixed 1/2 inch

    Slate stepping stones 12 inch

    Sphagnum moss top dressing

    Flexible outdoor grout

    11. Bead-Trimmed Acorn Cap Roofs on Houses

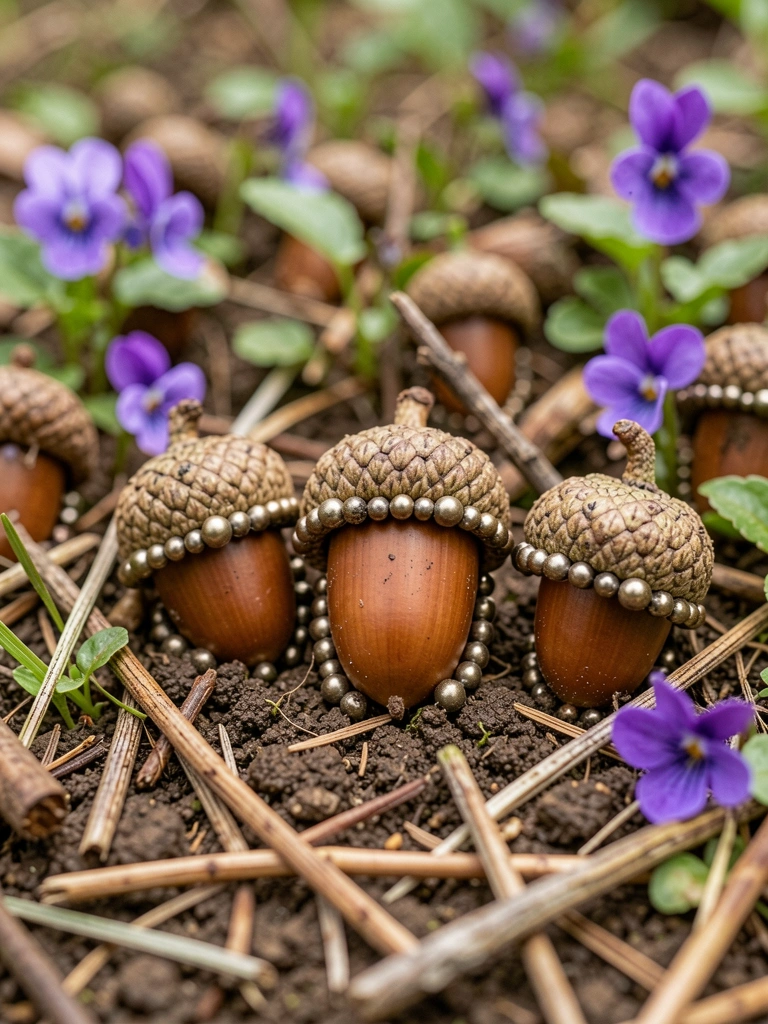
    Hot-glued metallic beads around acorn cap edges for tiny house roofs. Clustered under violets.

    Shine pops against brown caps. Squirrels ignore them—bonus.

    What You’ll Need for This Look

    Metallic beads 5mm

    Acorns craft pack dried

    Violet groundcover plants

    Mini hot glue gun

    12. Layered Bead Terraces on Sloped Bed

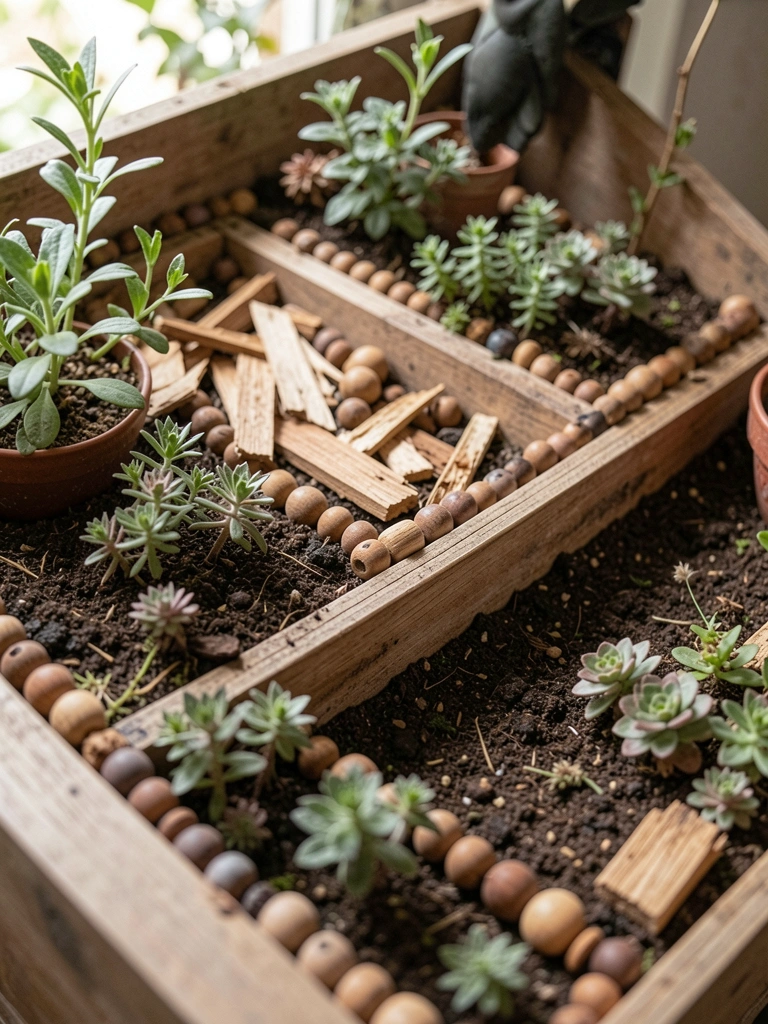
    Stacked scrap wood with wood bead edges for terraces down my slope. Hens and chicks fill levels.

    Holds soil, prevents washout. Looks stepped, intentional.

    Wood warped wet—seal first lesson.

    What You’ll Need for This Look

    Wood beads 12mm cube

    Scrap wood garden edging

    Hens and chicks sempervivum

    Wood sealer brush on

    13. Beaded Fairy Swing from Bark Hanger

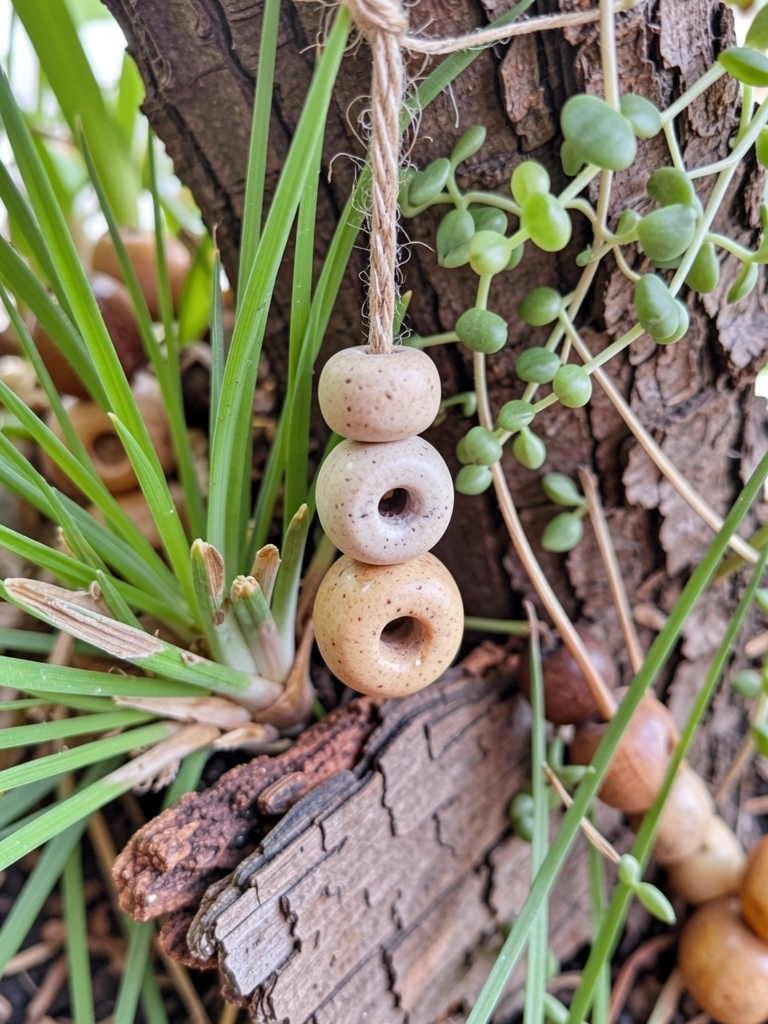
    Threaded large hole beads on twine for swing seat, hung from bark slab amid baby tears. Sways gentle.

    Grass cushions below, beads warm in sun. Quiet play spot.

    What You’ll Need for This Look

    Large hole beads wooden 1 inch

    Garden twine braided

    Baby tears grass plants

    Bark slab hanging piece

    Final Thoughts

    Pick one or two ideas that fit your yard's light and space. Beads hold up better than I thought, even through winters here.

    They mix with growing plants fine—no perfection needed. Start small, watch it settle in. You'll have your own spot soon.

  • 15 Diy Fairy Garden Bedroom Ideas For Indoor Magic

    15 Diy Fairy Garden Bedroom Ideas For Indoor Magic

    I stared at my plain bedroom walls one rainy afternoon. Felt closed in. Grabbed old jars and some moss from outside. Set up a tiny scene on the windowsill.

    Light shifted through the glass. Room breathed easier.

    These spots pull you in quiet ways. Start small. You'll see.

    15 Diy Fairy Garden Bedroom Ideas For Indoor Magic

    These 15 DIY fairy garden bedroom ideas come straight from my setups. Simple steps, real fixes for tight spaces. Low fuss, cozy results every time.

    1. Windowsill Succulent Village

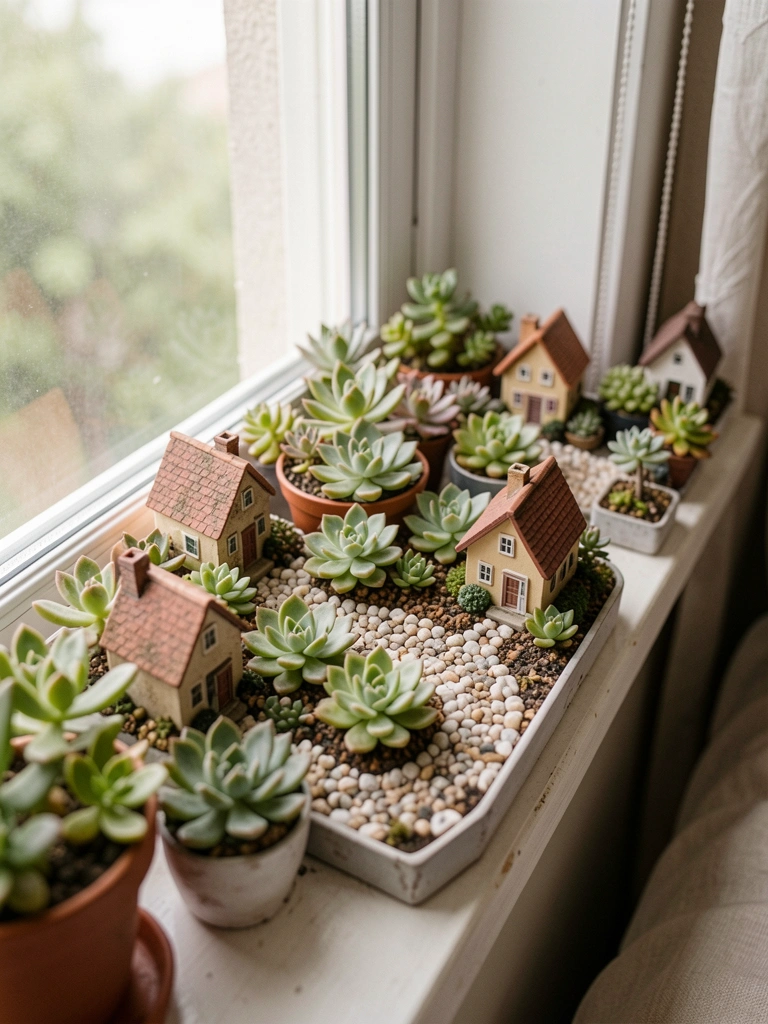
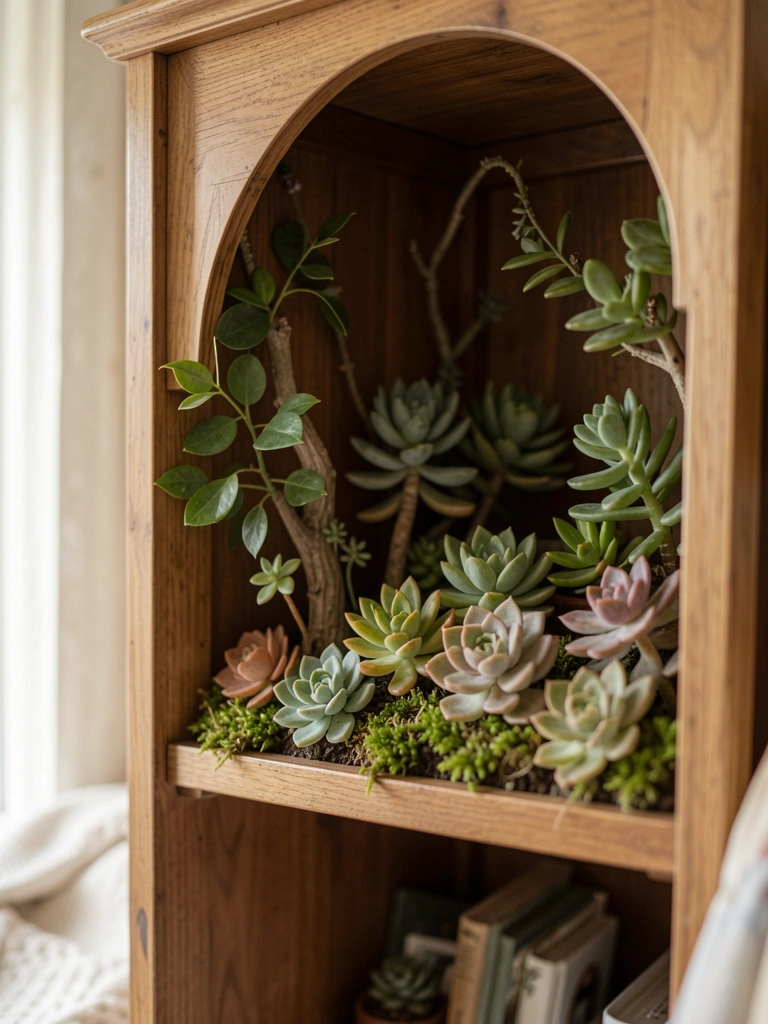
    I cleared my bedroom windowsill last spring. Packed in low succulents like echeveria around a cluster of tiny houses. Pebbles traced paths between them. Sun hits just right, casting soft shadows.

    The green pulls your eye first thing in the morning. Makes the whole wall feel alive without crowding.

    Watch the water – they hate wet feet. I use a spray bottle twice a week max.

    Tuck in one fairy door at the base. It draws you closer.

    What You’ll Need for This Look

    Succulents assorted pack (2-3 inch pots)

    Tiny pebble bag (natural mix)

    Miniature fairy houses (ceramic set)

    2. Hanging Glass Terrarium Glade

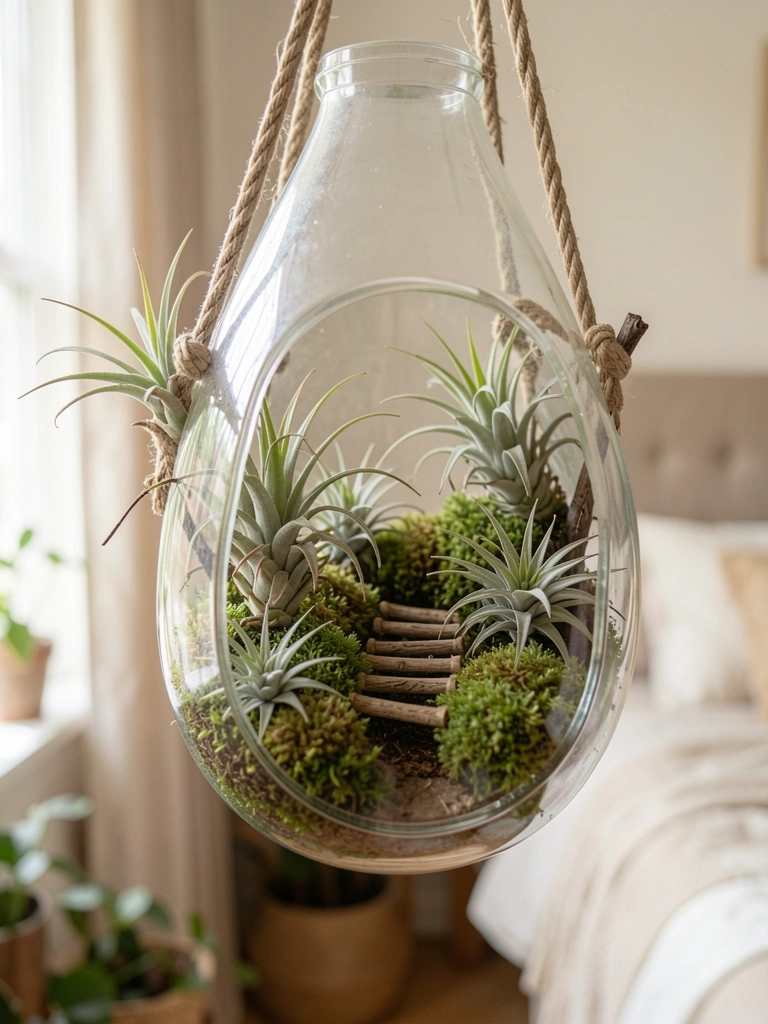
    Hung a few glass orbs from my bedroom curtain rod. Dropped in air plants and moss balls. Added twig scraps for bridges over pebble streams.

    They sway gentle in the breeze from the fan. Bedroom corners soften up fast.

    Air plants need misting once a week. Hang where light's indirect.

    One orb got too heavy once – reinforced the hook with wire.

    What You’ll Need for This Look

    Glass hanging terrarium orbs (4 inch)

    Air plants pack (tillandsia mix)

    Preserved moss spheres (small)

    3. Bookshelf Ledge Fairy Path

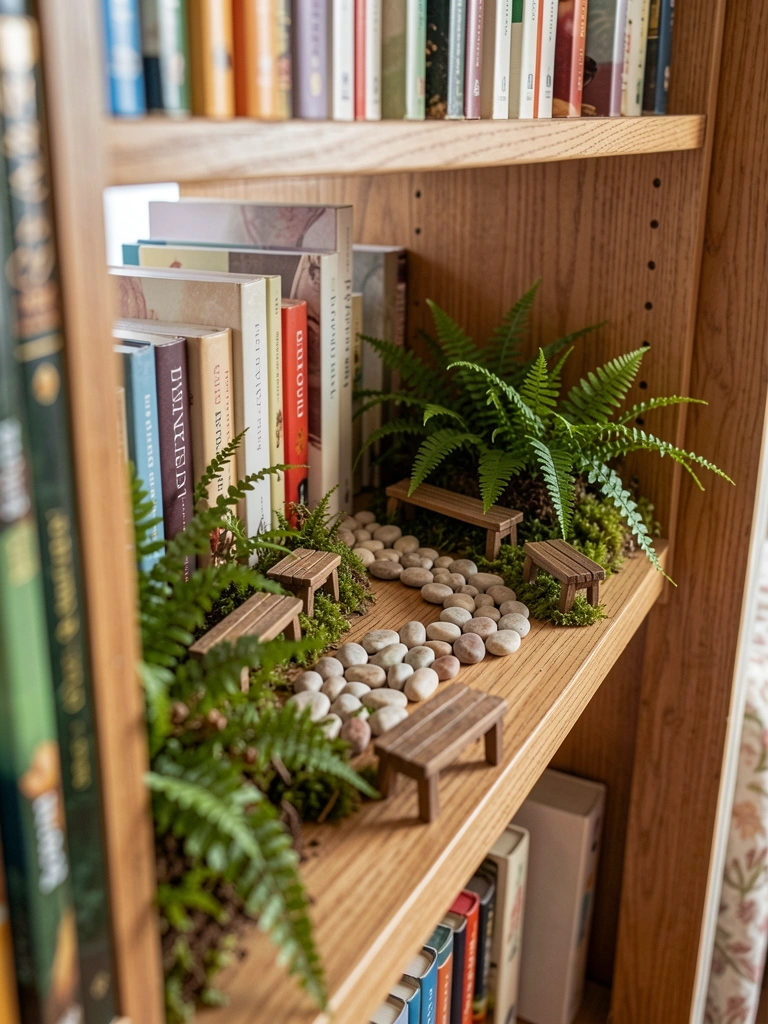
    My bookshelf ledge begged for something. Lined it with a pebble path curving past baby ferns. Set tiny benches along the way.

    Books frame it cozy. Pulls you in when reading at night.

    Ferns wilted on me first try – too dry air. Now I group a humidifier nearby.

    Path keeps it tidy. No sprawl.

    What You’ll Need for This Look

    Baby ferns in pots (4 inch)

    Fine gravel pebbles (white mix)

    Miniature wooden benches (set of 3)

    4. Nightstand Mossy Cottage Cluster

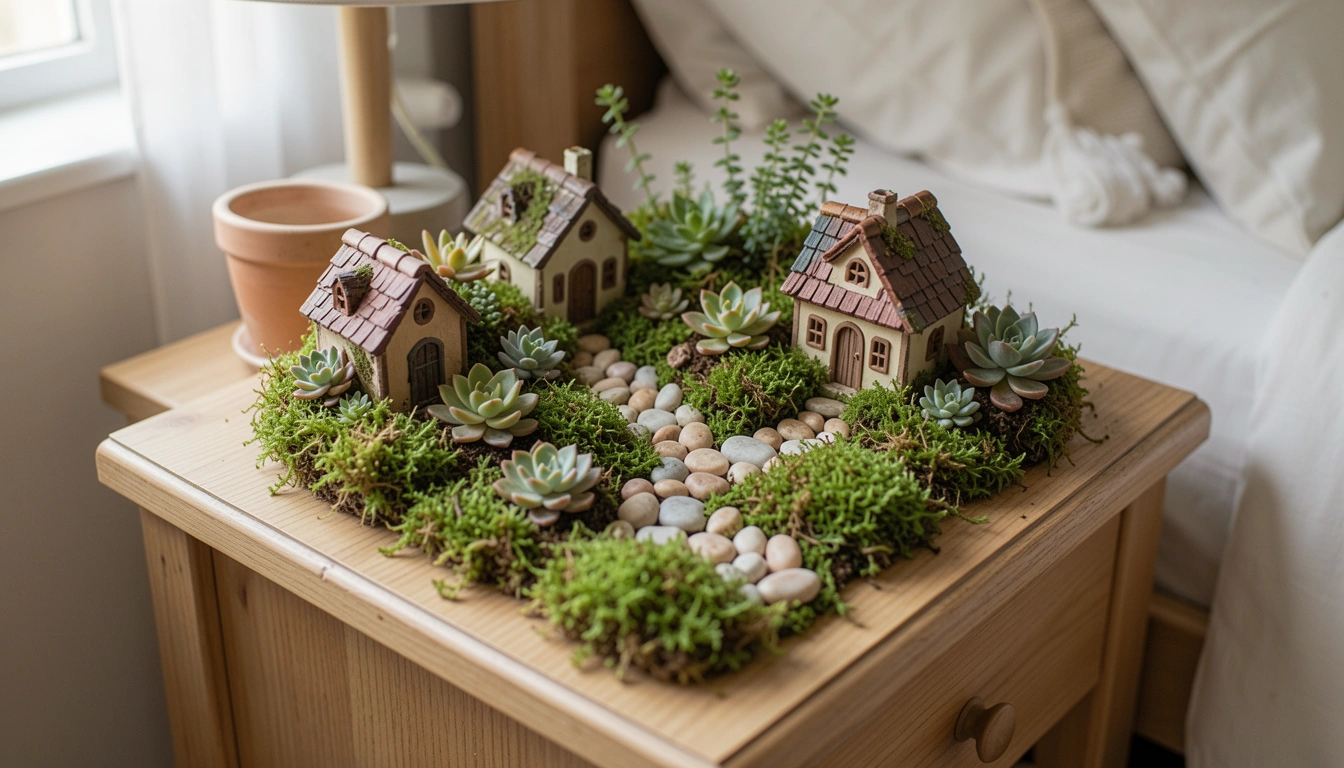
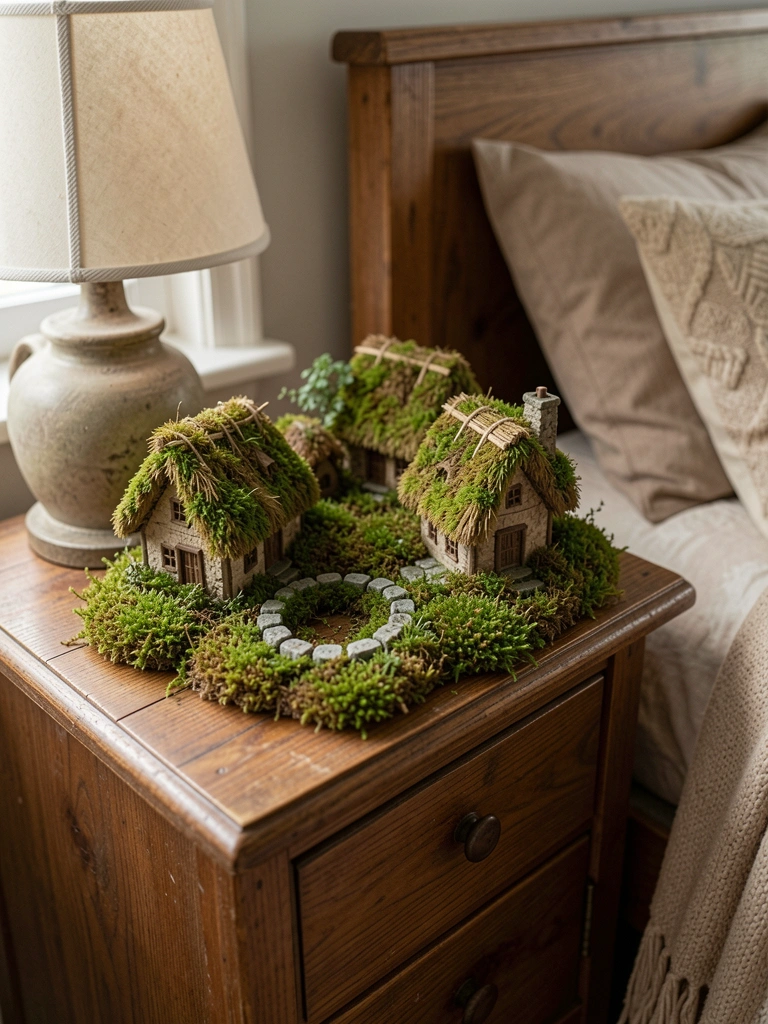
    Nightstand was dusty. Layered preserved moss around little thatched cottages. Circled them with tiny stones.

    Lamp light warms it at bedtime. Feels like a quiet escape right by the pillow.

    Moss holds up dry. Dust lightly with a brush monthly.

    Stones ground it steady.

    What You’ll Need for This Look

    Preserved sheet moss (green)

    Thatched miniature cottages (assorted)

    Tiny river rocks (bag)

    5. Wall-Mounted Shadow Box Woods

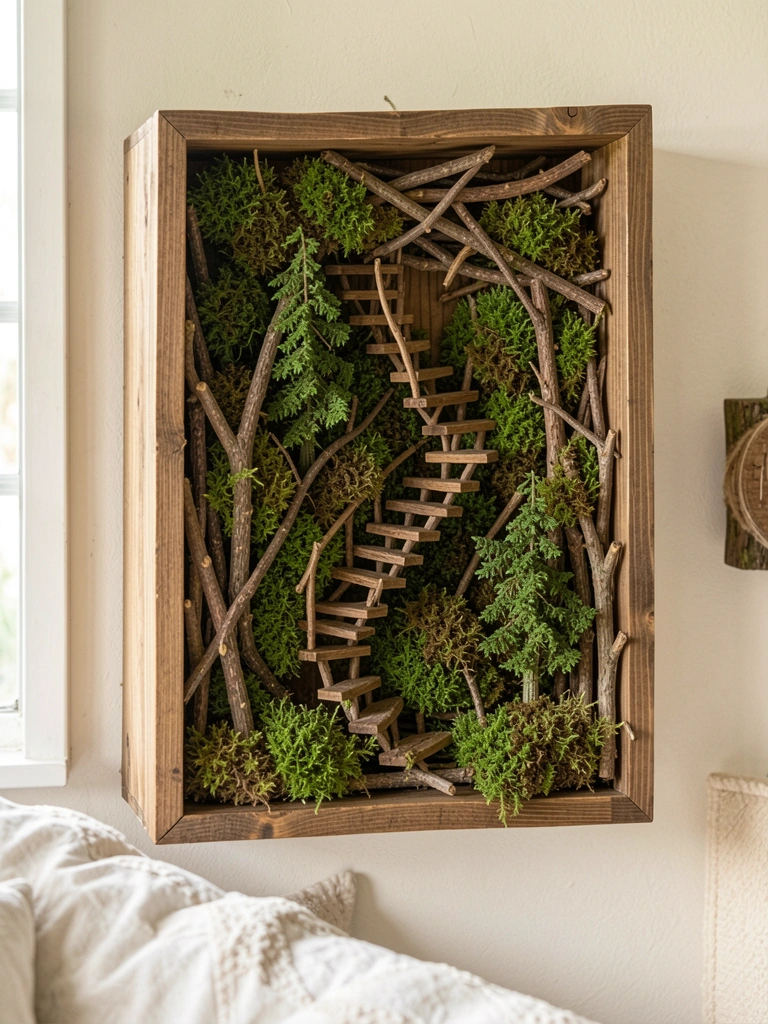
    Nailed a deep shadow box to the wall above my dresser. Built layers of twigs and moss for a forest feel. Carved fairy stairs from bark.

    Depth tricks the eye. Wall fades back.

    Secure plants with hot glue dots. Light from window keeps it fresh.

    What You’ll Need for This Look

    Deep shadow box frame (8×10 inch)

    Natural twig bundle (small)

    Reindeer moss patches (gray green)

    6. Dresser Top Pebble Pond Scene

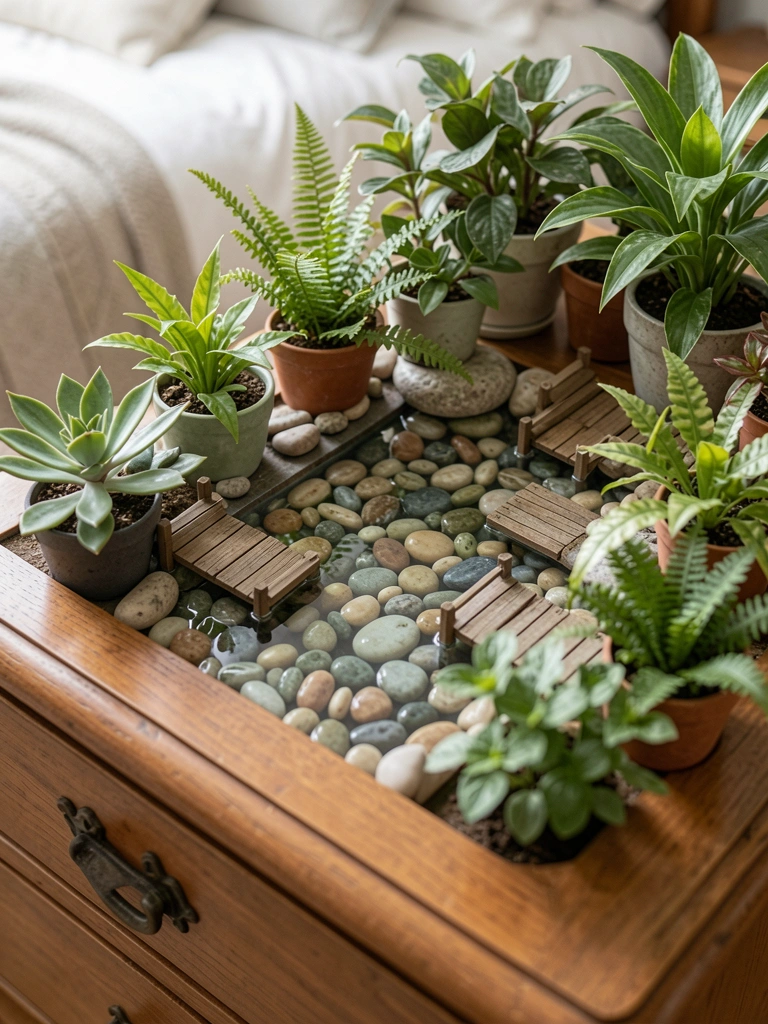
    Dresser top needed balance. Made a shallow pond from blue glass pebbles. Ringed it with baby succulents and mini docks.

    Mirror reflects it double. Adds calm to mornings.

    Pebbles shift easy – use a tray base.

    What You’ll Need for This Look

    Blue glass pebbles (1 lb bag)

    Baby succulent mix (3 pack)

    Miniature wooden docks (set)

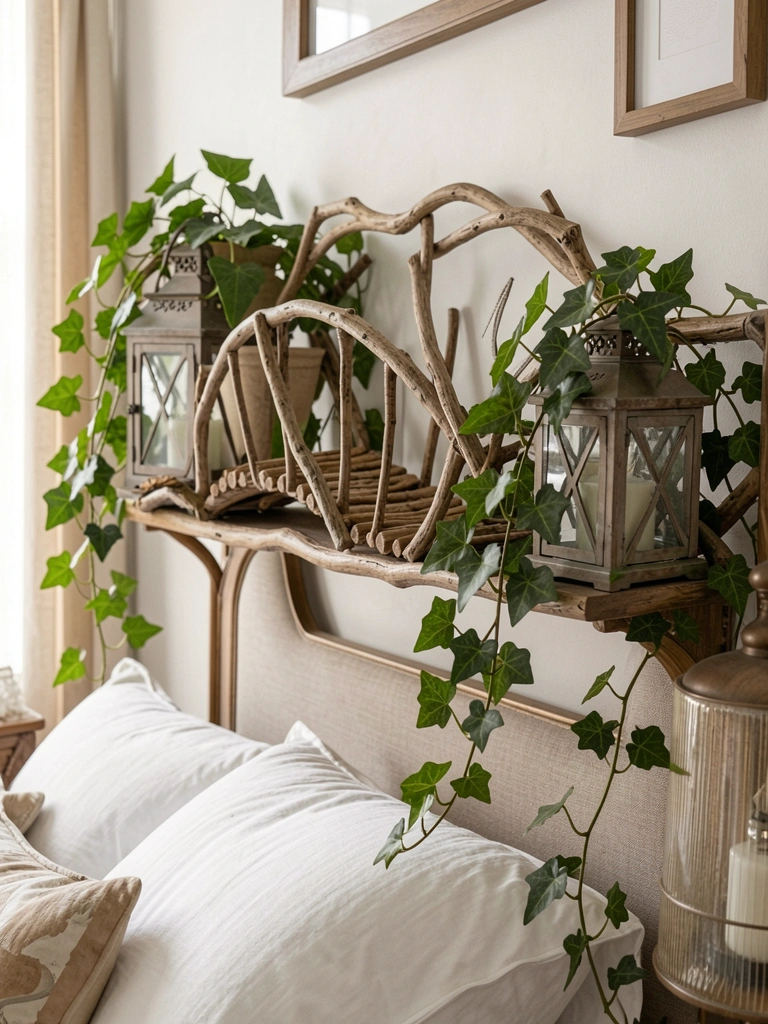
    7. Headboard Shelf Twisty Vine Bridge

    Headboard shelf sat empty. Trailed pothos vines across a twig bridge. Added tiny lanterns at ends.

    Bedside glows soft. Vines grow slow, fill in over months.

    Vines browned on me from low light – shifted to brighter spot.

    Bridge holds them off the wood.

    What You’ll Need for This Look

    Pothos vine plant (6 inch pot)

    Natural twig bridge kit

    Tiny LED lanterns (battery)

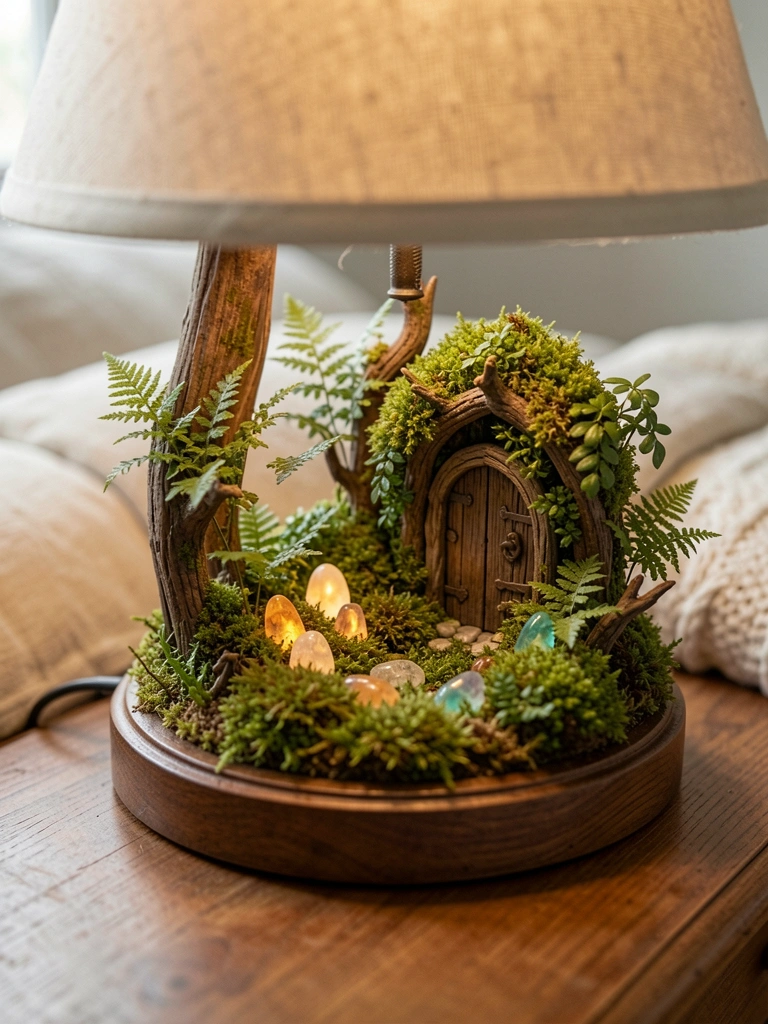
    8. Bedside Lamp Base Secret Glade

    Wrapped my lamp base in moss. Hid a fairy door behind. Glow stones peek through at night.

    Lamp shade diffuses light warm. Glade feels tucked away.

    Glue moss lightly. Stones charge by day.

    What You’ll Need for This Look

    Preserved moss roll (small)

    Fairy door miniature (wooden)

    Glow in dark stones (pack)

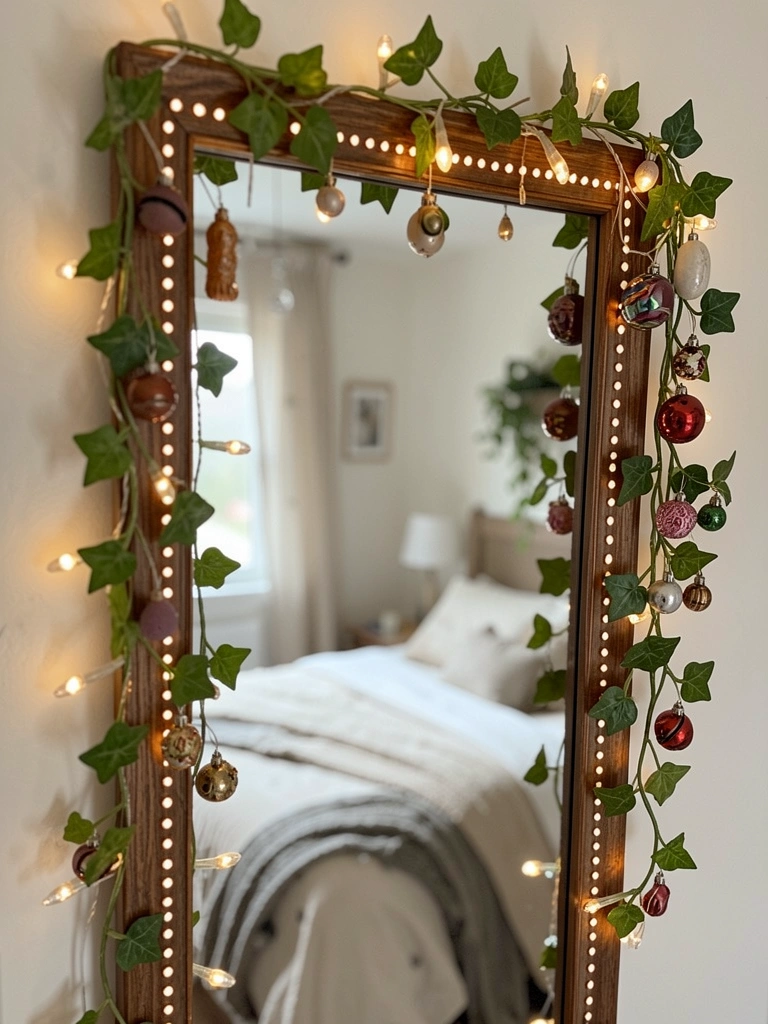
    9. Mirror Frame Light-Dotted Border

    Wound micro LED lights around my mirror frame. Dotted in vine clippings and small ornaments.

    Reflection doubles the sparkle. Frames your face soft.

    Battery pack hides easy. Trim vines to fit.

    What You’ll Need for This Look

    Micro LED string lights (warm white, 10 ft)

    Artificial vine garland (thin)

    Tiny fairy ornaments (metal set)

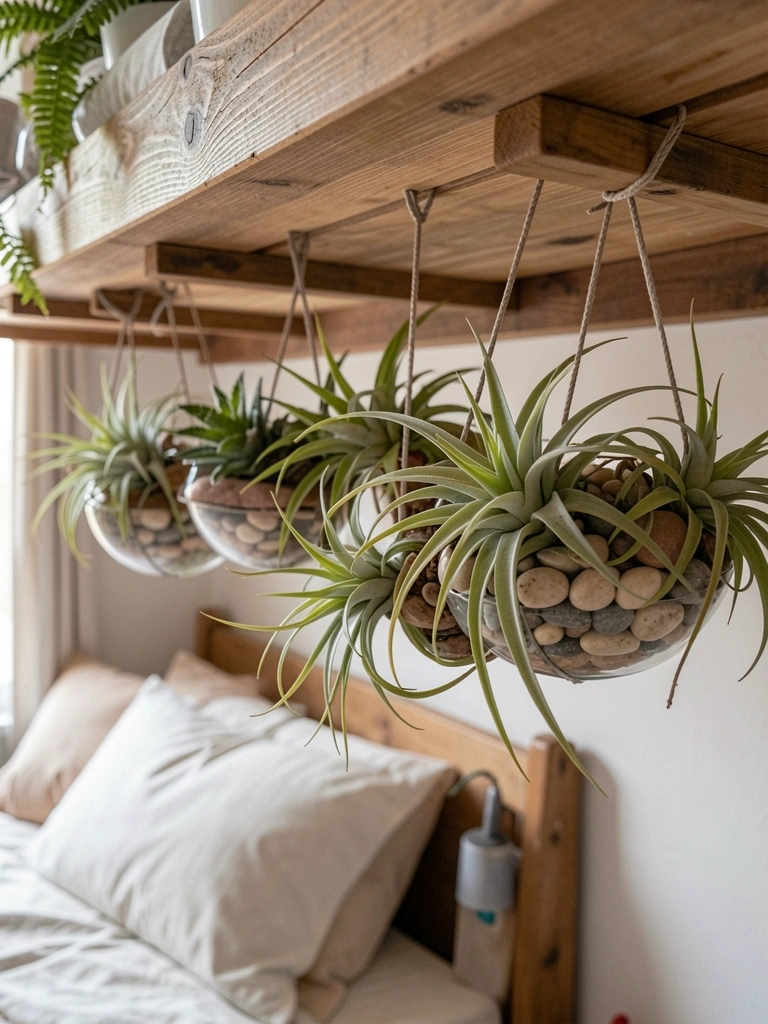
    10. Under-Shelf Hanging Pod Village

    Suspended pods from my closet shelf underside. Stuffed with air plants and pebble bases.

    Uses dead space smart. Swings light when door opens.

    Pods tangle sometimes – space them wide.

    What You’ll Need for This Look

    Hanging pod terrariums (glass, 3 inch)

    Air plant assortment (5 pack)

    Decorative pebbles (mini bag)

    11. Closet Door Meadow Patch

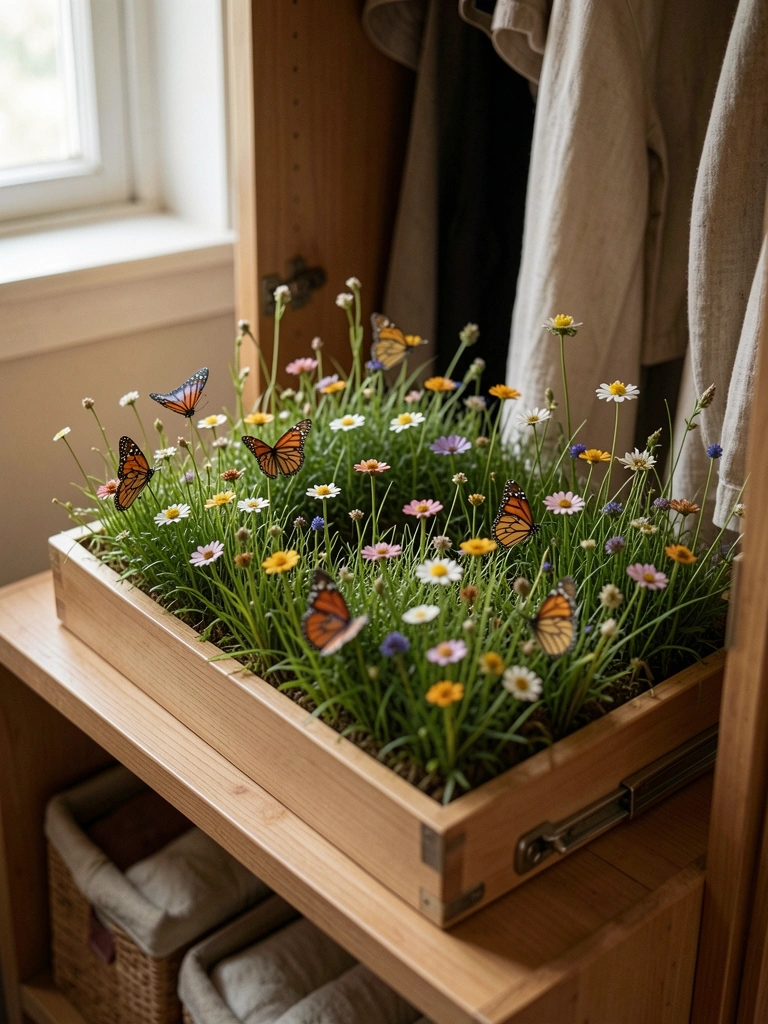
    Stuck a shallow tray to my closet door. Filled with dried meadow grass and silk wildflowers.

    Opens to a surprise green. Door stays flat.

    Flowers faded fast outdoors – switched to indoor silks.

    What You’ll Need for This Look

    Shallow tray planter (wood, 12×6 inch)

    Silk wildflower stems (mini)

    Dried grass bunches (natural)

    12. Windowsill Box Fenced Hamlet

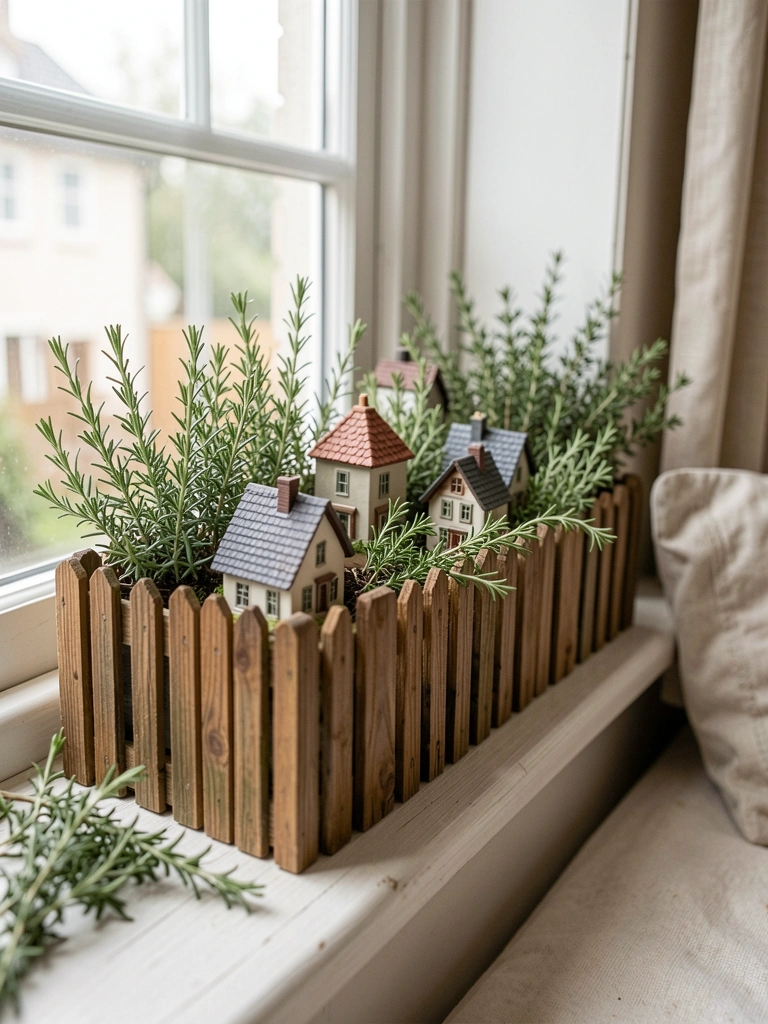
    Lined a long windowsill box with twig fences. Clustered houses inside, dotted with thyme sprigs.

    Fence keeps it contained neat. Herbs scent the air light.

    Box drains through holes. Herbs trim easy.

    What You’ll Need for This Look

    Windowsill planter box (cedar, 24 inch)

    Twig fence miniature (section)

    Thyme herb plant (small pot)

    13. Floor Corner Bottle Village

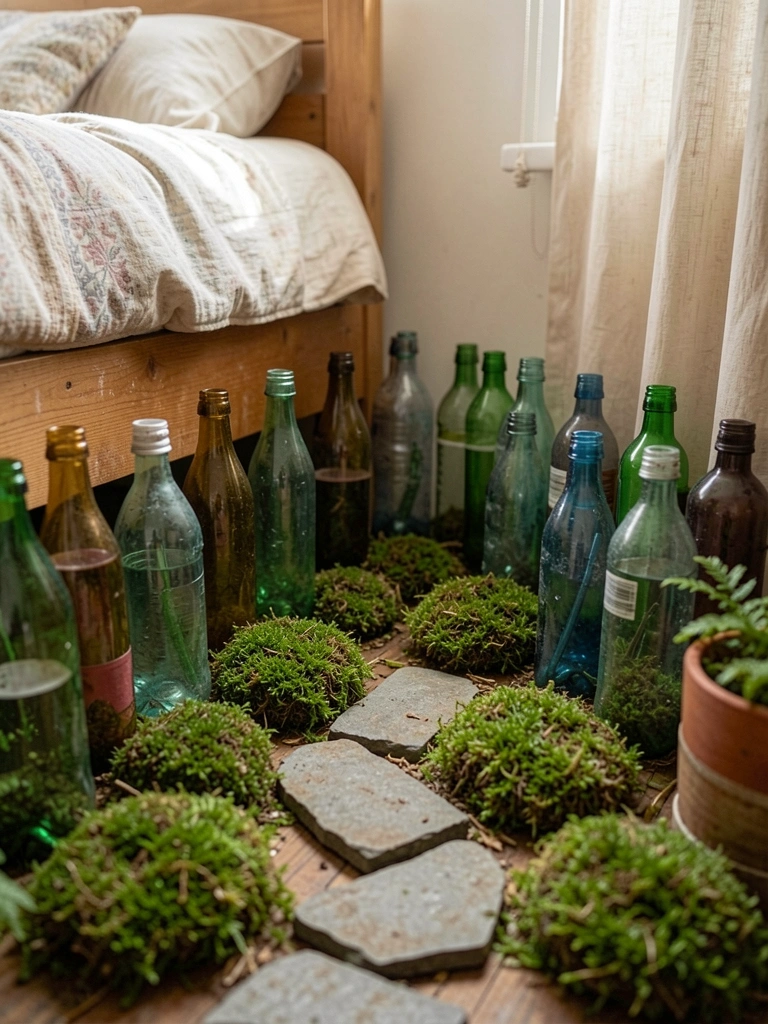
    Tucked glass bottles in my floor corner. Capped with moss, linked by stone paths.

    Fills low spots warm. Dust mop around base.

    Bottles tip if full – half-fill only.

    What You’ll Need for This Look

    Clear glass bottles (short, set of 6)

    Moss toppers (preserved)

    Path stones (flat pebbles)

    14. Pillowside Treehouse Nook

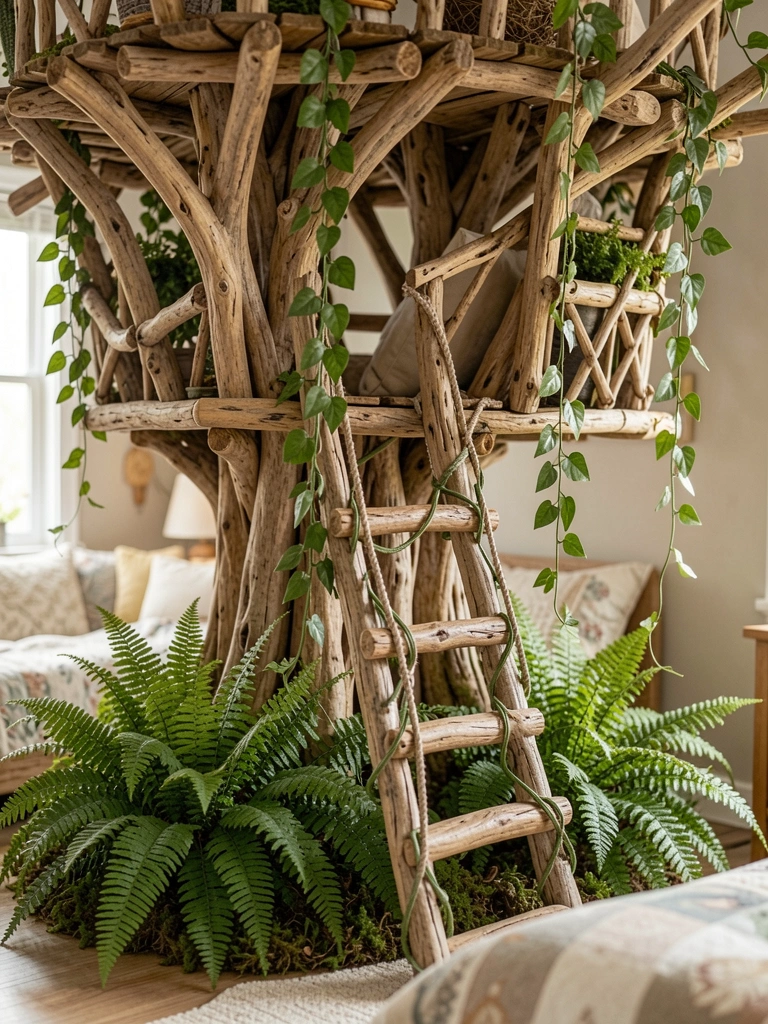
    Built a driftwood treehouse on my pillowside tray. Fern at base, vines for ladders.

    Right by head, comforts sleep. Tray slides under pillow.

    Fern yellowed from overwater – now soil dries between.

    What You’ll Need for This Look

    Driftwood pieces (mini treehouse kit)

    Small fern plant (4 inch)

    Thin vine wires (green)

    15. Wardrobe Top Hidden Grove

    Top of my wardrobe collected dust. Set a low shelf with succulents and an arched door.

    Hidden but peeks over. Dust reaches easy with extension.

    Succulents crowd slow – thin yearly.

    What You’ll Need for This Look

    Low profile shelf (wood, 12 inch)

    Assorted succulents (tray)

    Mini arched doorway (stone look)

    Final Thoughts

    Pick one idea that fits your spot. Mine started small on a sill. Grew from there.

    No rush to fill the room. These hold up quiet.

    You'll wake up to green that sticks. It works.

  • 7 Diy Fairy Garden Ideas For Bird Bath Decor

    7 Diy Fairy Garden Ideas For Bird Bath Decor

    One summer, my backyard bird bath sat empty, cracked from years of frost. I filled it with soil one afternoon, added scraps from the yard, and watched birds circle closer. It pulled me in—tiny worlds I could shape without perfection.

    Now, that spot draws neighbors over fences. No fancy kits, just what grew where I nudged it.

    These spots teach patience. They shrink big gardens into something you tend in minutes.

    7 Diy Fairy Garden Ideas For Bird Bath Decor

    These 7 diy fairy garden ideas for bird bath decor come from my yard trials. Each one fits a shallow basin, uses stuff I scavenged or bought cheap, and holds up to rain. You'll see exactly what to grab and plant.

    1. Mossy Twig Hut Village That Greets Morning Light

    I started this in my side yard bird bath after clearing weeds. Pressed damp moss from the shady fence into the soil base—it clung right away, turning bare dirt cozy overnight. Added twig huts from pruned branches, leaning them like they'd grown there. Pebbles outlined paths, and a few baby ferns poked up unexpected.

    The light hits it first thing, making the green glow without fading. Birds perch on the edge now, unbothered. I overdid the moss once; it smothered sprouts, so thin it out yearly.

    Feels like a secret nook you stumbled on. Watch drainage—tilt the bath slightly so water pools but doesn't drown roots.

    What You’ll Need for This Look

    Aqua moss sheets (10×20 inch)

    Tiny twig bundles for crafts

    River pebbles (1 lb bag, mixed sizes)

    Baby fern starter plants (4 pack)

    2. Succulent Hamlet with Pebble Streets

    Tried succulents in my front bird bath last spring—they thrived in the heat, needing no fuss. Clustered minis like echeveria and sedum in the center, left edges for pebble "streets" that catch dew. A driftwood log became the gathering spot. Soil mix drained fast, no rot.

    Colors shifted from lime to deep red over summer, pulling the eye without overwhelming. Forgot to trim once; one spread too wide, but pinching back kept it tidy.

    Now it looks settled, like it's always been there. Pick shallow-rooted ones—deep pots flop in baths.

    What You’ll Need for This Look

    Mini succulent assortment (6 pack)

    Pebble mix for paths (2 lb bag)

    Driftwood pieces (small craft size)

    Cactus soil mix (8 qt bag)

    3. Acorn Cap Mushroom Cluster Under Fern Canopy

    Gathered acorns from the oak drop in fall, glued caps to twig stems for mushrooms in the back bird bath. Layered bark mulch base, tucked fern fronds overhead for shade. It stayed damp, greens vibrant. Mistake: too many acorns toppled; glue stronger next time.

    Feels tucked away, cool even in July heat. Ferns droop gracefully, framing without crowding.

    Hides the basin rim nicely. Glue outdoors-rated stuff—rain melts cheap craft glue fast.

    What You’ll Need for This Look

    Acorn cap craft kit (50 pieces)

    Tiny bamboo sticks (100 pack)

    Bark mulch mini bag (1 qt)

    Mini fern plants (3 pack)

    4. Shell Shoreline with Twig Boat Dock

    Beach vacation shells went into my patio bird bath—lined the curve like a tiny shore. Wove twigs into a dock, added beach pebbles and wispy grass tufts. Water from hose misters kept it fresh; shells gleam without polish.

    Shifted from stark to soft, waves of texture. Grass seeded itself once—pulled extras to keep paths clear.

    Invites touch, barefoot garden feel. Source shells local; imported ones fade color quick.

    What You’ll Need for This Look

    Assorted seashells (1 lb mix)

    Twill twigs for weaving (bundle)

    Beach pebble bag (small)

    Wispy grass seeds (packet)

    5. Bottle Cap Lily Pond Edge

    Recycled blue bottle caps into lily pads in the center bird bath—floated them on shallow water over soil. Reed grasses ringed it, stones held edges. Sparkles in sun, calms the yard noise.

    One cap sank; wired next batch. Grows peaceful, draws frogs sometimes.

    Keeps moisture balanced. Line caps with wax for float.

    What You’ll Need for This Look

    Blue bottle caps (50 pack)

    Mini reed grass plugs (4 pack)

    Decorative pond stones (small bag)

    Mini solar fountain pump

    6. Pebble Arch Bridge Over Gravel Stream

    Stacked flat pebbles into an arch bridge across a gravel "stream" in my herb garden bird bath. Moss edged banks, vine trailers softened lines. Stable after glue dots; wind doesn't budge it.

    Creates depth, fools the eye into distance. Gravel shifted once—packed tighter fixed it.

    Walkway vibe in miniature. Use flat, smooth pebbles only.

    What You’ll Need for This Look

    Flat river pebbles (1 lb)

    Fine gravel for streams (2 lb)

    Hot glue dots outdoor (100 pack)

    Trailing ivy starter (small pot)

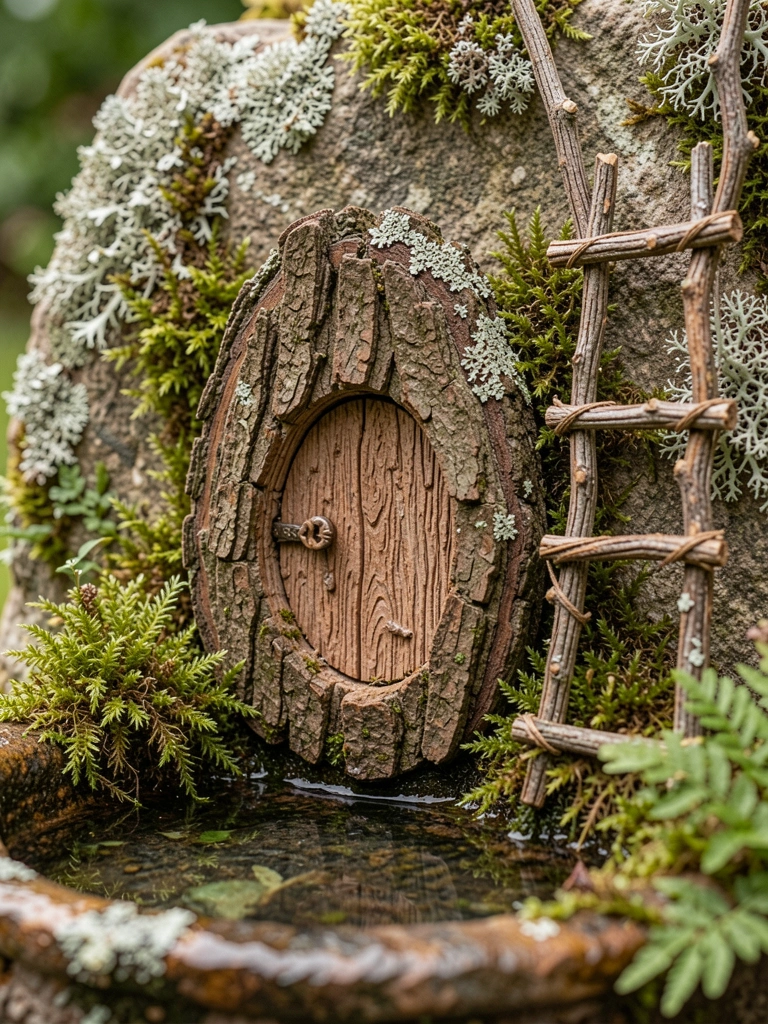
    7. Bark Slab Fairy Door on Rock Face

    Bark slab from pruned tree became a door on a big rock in the shade bird bath. Carved a knob, added twig ladder and lichen patches. Moss filled gaps, blending seamless.

    Ages beautifully, more real each rain. Door fell off first glue try—epoxy holds now.

    Invites stories without trying. Pick bark with natural curve.

    What You’ll Need for This Look

    Natural bark slabs (craft size)

    Tiny rock faces (assorted)

    Epoxy glue outdoor clear

    Lichen mix for crafts (jar)

    Final Thoughts

    Pick one idea that matches your light and spot—mine rotate with seasons. They need tweaks, like any garden, but that's the quiet joy.

    Yours will settle in time, drawing life you didn't plan. Start small; you've got this.

  • 21 Diy Fairy Garden Ideas For Birthday Celebrations

    21 Diy Fairy Garden Ideas For Birthday Celebrations

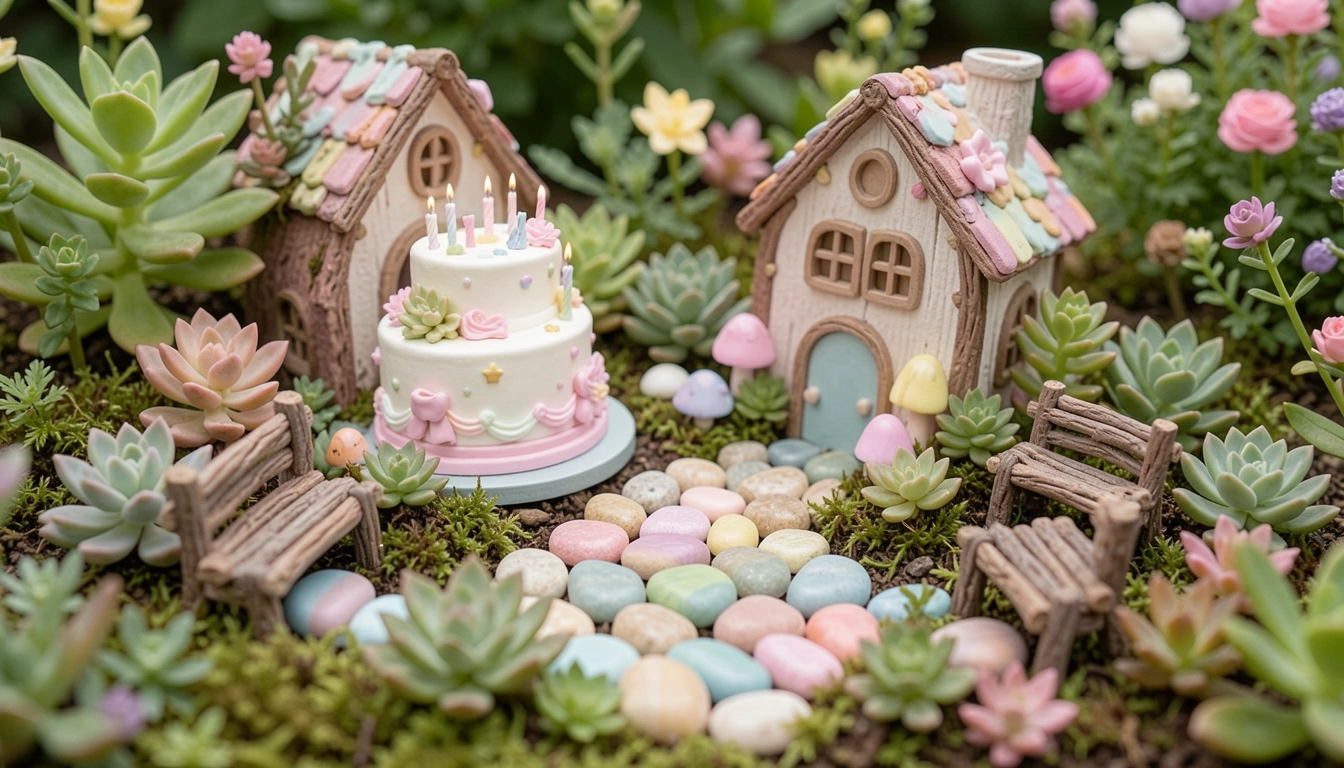
    Last summer, I set up a tiny fairy garden for my niece's birthday. Kids ran wild, but that little spot held up. It felt right—cozy, not fussy.

    I'd tried big displays before. They wilted fast. This one? Plants I knew would last.

    Now, birthdays mean that garden corner lights up. Simple fix, real joy.

    21 Diy Fairy Garden Ideas For Birthday Celebrations

    These 21 diy fairy garden ideas for birthday celebrations come from my backyard trials. They're straightforward, use what grows well, and fit any space. You'll find exactly 21 here—pick one and go.

    1. Twig Cake Stand Village

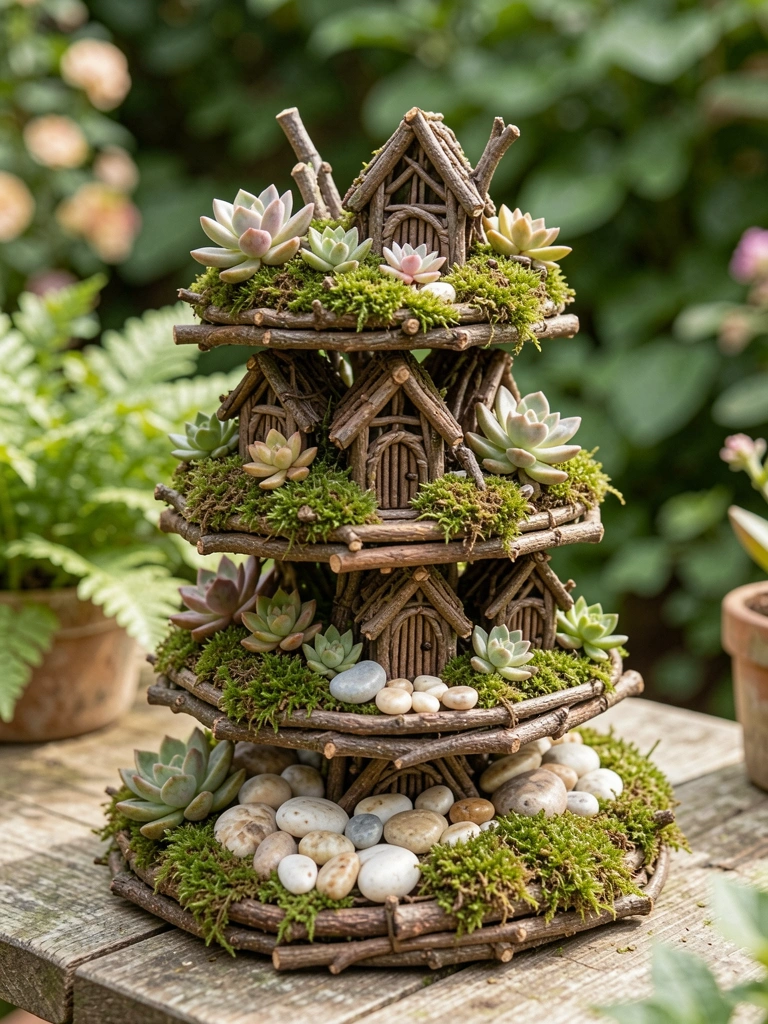
    I stacked twigs into a cake stand shape for a kid's party last year. Fairies "baked" on top with succulents as frosting. It sat on my patio table, drawing everyone in.

    The height made it feel festive without crowding the ground. Moss filled gaps, keeping it soft underfoot.

    Watch the twigs—they rot if wet too long. I dried mine first.

    Grab extras for stability. It lasted two parties.

    What You’ll Need for This Look

    Twig bundles for crafts (natural, 12 inch)
    Mini succulents pack
    Preserved moss sheet (green)

    2. Pebble Present Path

    Laid out pebbles like wrapped gifts leading to a fairy door. Used garden string as ribbons. Kids followed it straight to the surprise house.

    It grounded the space—paths feel intentional. Ferns softened the edges.

    I skipped glue once; stones shifted. Hot glue dots fixed that.

    Ties the yard together for birthdays.

    What You’ll Need for This Look

    River pebbles bulk bag (mixed sizes)
    Garden string natural twine
    Low growing ferns (pack of 3)

    3. Bottle Cap Balloon Arch

    Painted old caps bright, wired them into an arch over the fairy seating. Ivy trailed down like strings. Held up in light rain.

    Gave height without bulk. Party vibe kicked in.

    Caps faded outdoors—used weather paint next time.

    Simple entry point for guests.

    What You’ll Need for This Look

    Metal bottle caps bulk (50 count)
    Floral wire green gauge 22
    Trailing ivy plant starter

    4. Shell Candle Holder Circle

    Arranged shells around tea lights for a fairy campfire. Sand held them steady on my deck. Sedum dotted the middle.

    Warm glow at dusk made birthdays magical—cozy, not bright.

    Wick smoke blackened shells once. Opt for LEDs now.

    Draws eyes right in.

    What You’ll Need for This Look

    Assorted seashells craft pack
    LED tea lights battery pack (12)
    Fine play sand bag (5 lb)

    5. Acorn Picnic Table Setup

    Halved acorns as chairs around a flat twig table. Moss as the cloth. Thyme for "plates." Kids loved the picnic feel.

    Low profile fit my uneven ground. Stayed put.

    Acorns mold if damp—roast them lightly first. Learned that.

    Invites play naturally.

    What You’ll Need for This Look

    Acorn craft kit natural
    Moss table runner preserved
    Creeping thyme groundcover

    6. Leaf Streamer Hangings

    Dried backyard leaves, strung on twine like streamers over the fairy path. Shepherd's purse below caught seeds.

    Movement in breeze added life. Softened harsh fences.

    Leaves brittle after rain—harvest dry ones.

    Frames the birthday spot.

    What You’ll Need for This Look

    Garden twine natural spool
    Preserved autumn leaves pack
    Shepherd's purse seeds

    7. Pinecone Hat Cluster

    Stuck pinecones on twigs as party hats around a hosta patch. Fabric bits for brims. Fairies wore them well.

    Height variation kept it interesting. Hostas framed without overwhelming.

    Glue failed outdoors—use silicone.

    Fun focal point.

    What You’ll Need for This Look

    Pinecones natural bulk (20 count)
    Silicone craft glue clear tube
    Hosta plant divisions (3 pack)

    8. Gravel Confetti Scatter

    Painted small gravel confetti-style, tossed around the door. Ajuga held it in place. Sparkle without mess.

    Low effort, big pop. Kids "threw" more.

    Paint chips off—seal with varnish.

    Scatters joy easily.

    What You’ll Need for This Look

    Decorative gravel small pebbles
    Acrylic sealer spray matte
    Ajuga groundcover plants

    9. Cupcake Liner Petals

    Layered liners on wires as giant flowers. Pansies in centers. Stuck in soil near benches.

    Color punched up the green. Weathered nicely.

    Liners tore in wind—double layer them.

    Blooms on a budget.

    What You’ll Need for This Look

    Cupcake liners pastel pack (100)
    Green floral wire stems
    Pansy flower plugs (6 pack)

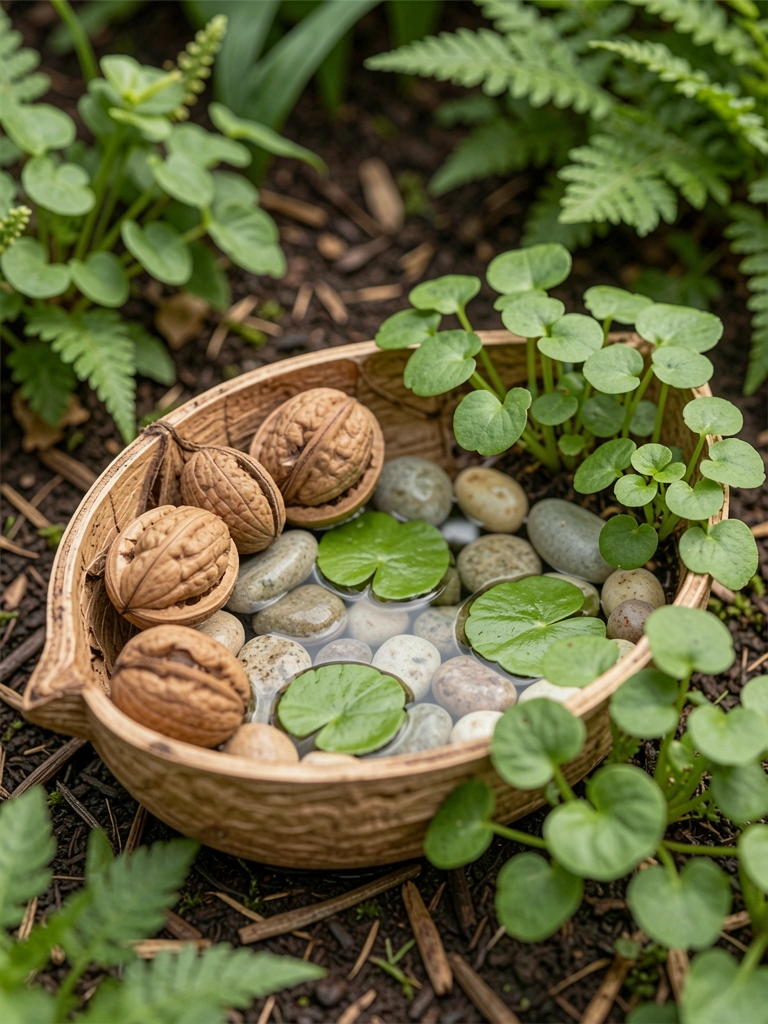
    10. Nut Shell Boat Pond

    Walnut shells as fairy boats in a saucer pond. Pebbles lined it. Watercress softened.

    Ripple effect charmed kids. Refill easy.

    Shells sank once—seal insides.

    Tiny water world.

    What You’ll Need for This Look

    Walnut shells craft halves
    Shallow saucer planter ceramic
    Watercress starter plant

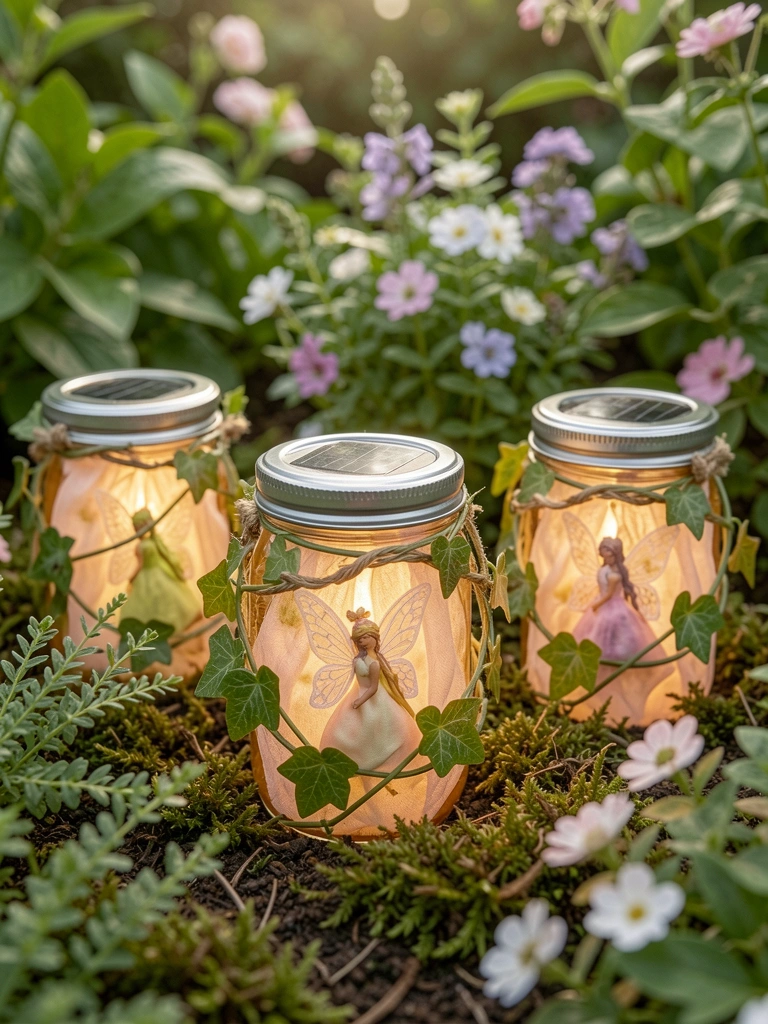
    11. Jar Glow Fairy Lanterns

    Baby jars with fairy dolls, topped with solar lids. Hung on low branches. Glowed for evening cake.

    Soft light pooled warmly. No wiring hassle.

    Jars fogged—drill vents.

    Nighttime birthday magic.

    What You’ll Need for This Look

    Baby food jars empty pack (12)
    Solar jar lids warm white
    Mini fairy figurines (set of 6)

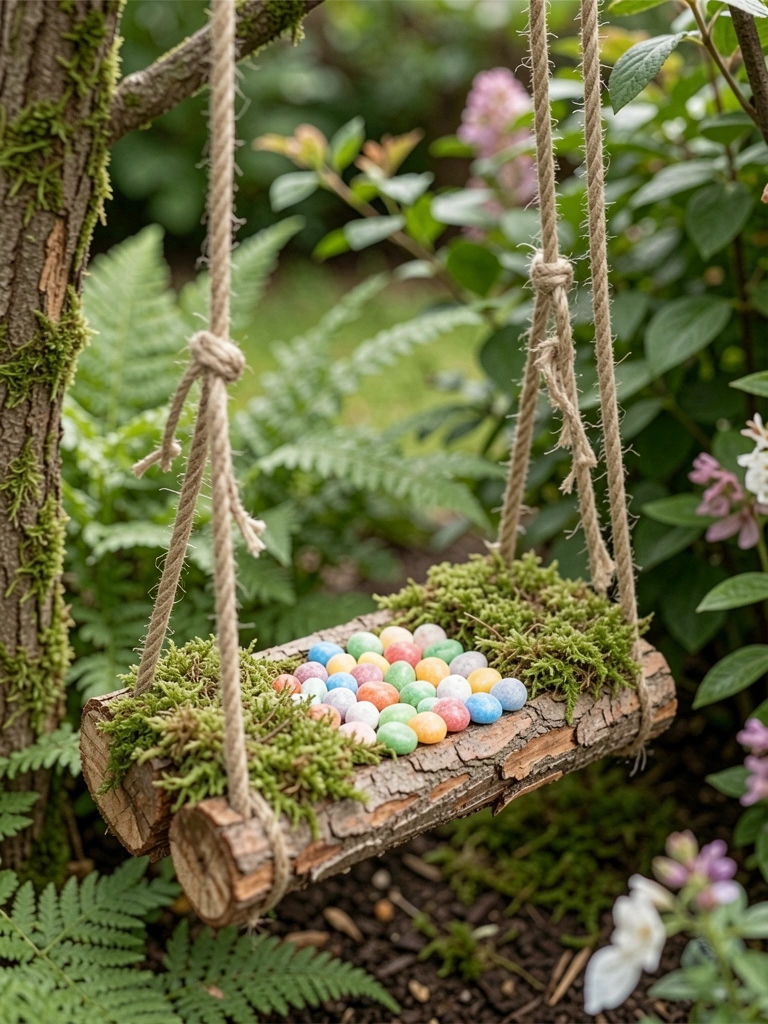
    12. Bark Pinata Swing

    Hollowed bark as pinata on twine swing. Pebbles inside "candy." Moss seat.

    Gentle sway invited touch. Sturdy for play.

    Bark cracked—choose thick pieces.

    Party swing delight.

    What You’ll Need for This Look

    Bark tubes craft birch
    Natural twine rope thick
    Moss sheet for seating

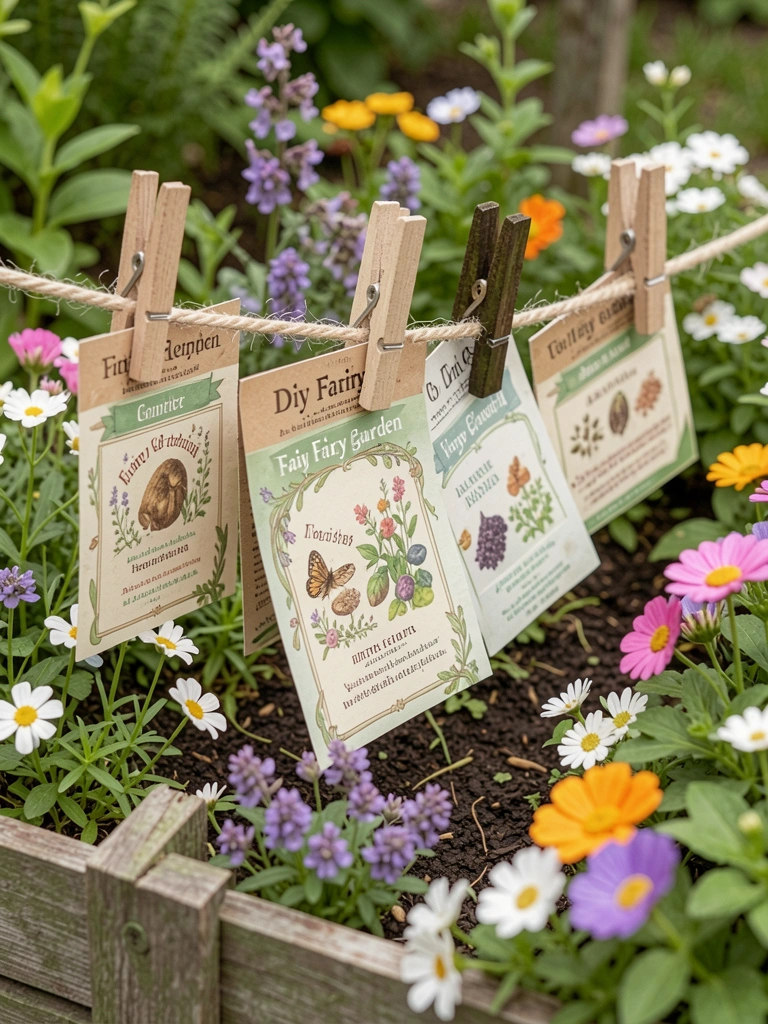
    13. Seed Packet Banner Line

    Old seed packets clipped as banner over the garden. Flowers peeked through.

    Rustic labels read "Happy Birthday." Breezed nicely.

    Packets faded—laminate spares.

    Personal touch grows.

    What You’ll Need for This Look

    Seed packets mixed flowers
    Mini wooden clothespins (50)
    Jute twine line spool

    14. Clay Slice Stepping Stones

    Sliced clay "cakes" as steps. Ridged icing, berries pressed in. Moss between.

    Firm underfoot, pretty path. I overbaked once—test small.

    Leads to fun.

    What You’ll Need for This Look

    Air dry clay white block
    Fake berries craft red
    Sculpting tools basic set

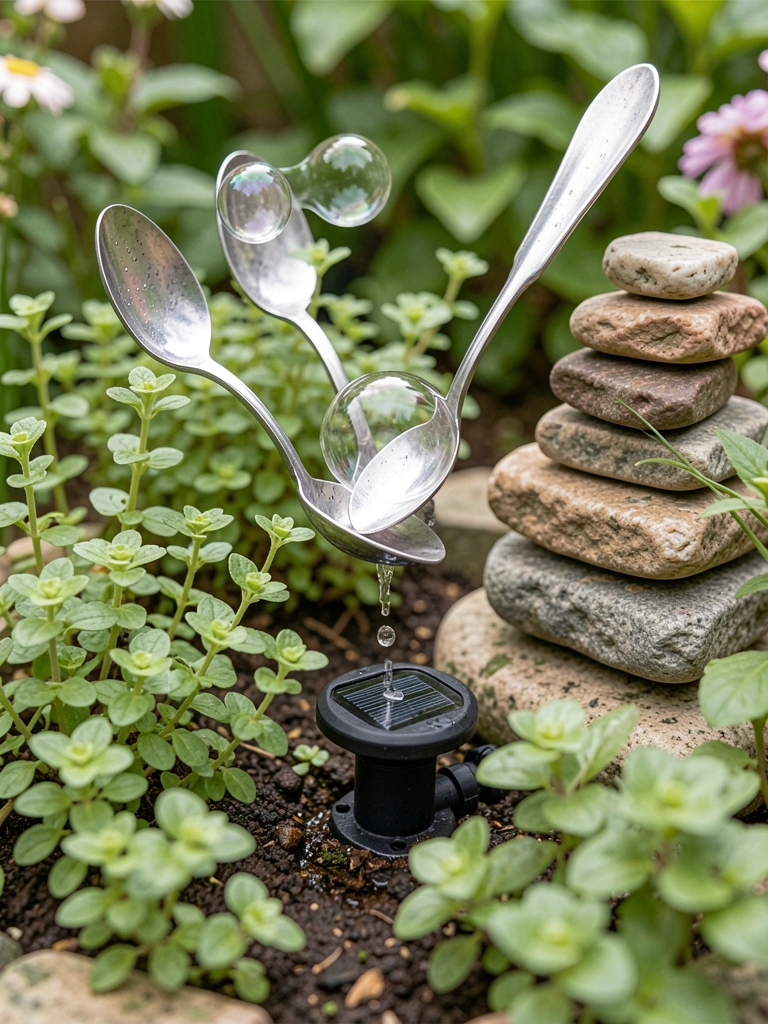
    15. Spoon Bubble Fountain

    Bent spoons caught drips from a solar pump. Stones stacked base. Bubbles rose slow.

    Sound soothed the party noise. Pump quit in shade—move to sun.

    Bubbly centerpiece.

    What You’ll Need for This Look

    Metal spoons vintage set
    Solar fountain pump small
    Bubblewort aquatic plants

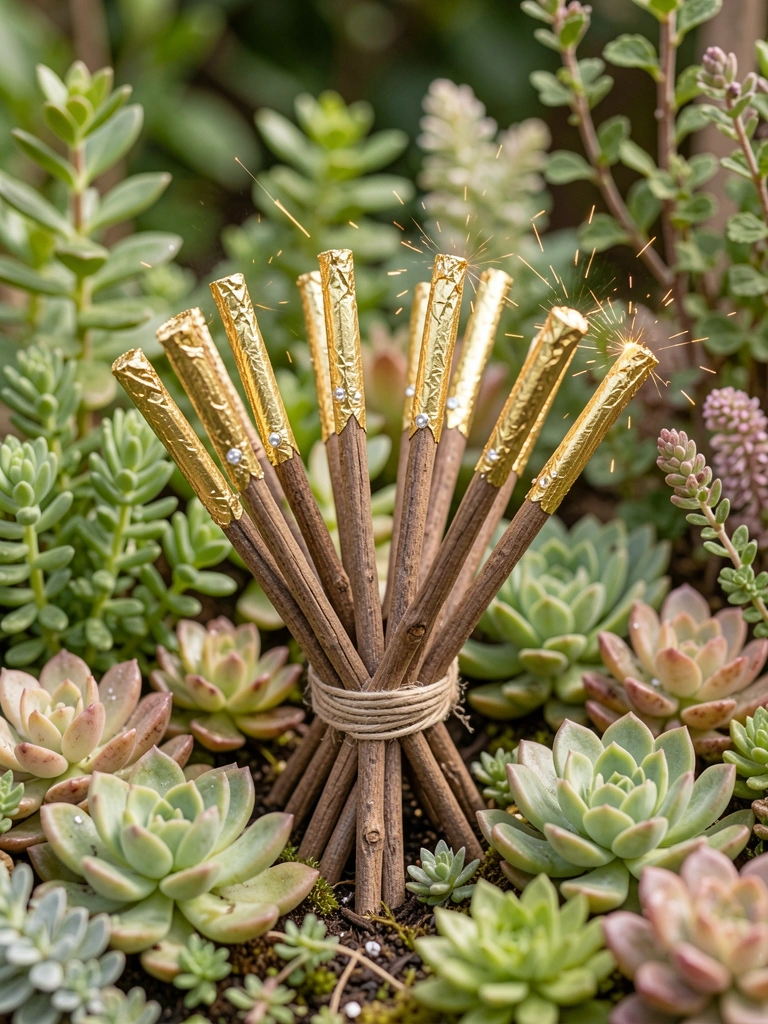
    16. Stick Firework Spikes

    Bundled sticks with foil "explosions," succulents at base. Stuck upright in pots.

    Vertical pop without fire. Foil tore—use metallic paint.

    Skyward cheer.

    What You’ll Need for This Look

    Garden sticks bundle straight
    Metallic paint pens gold
    Succulent spike varieties

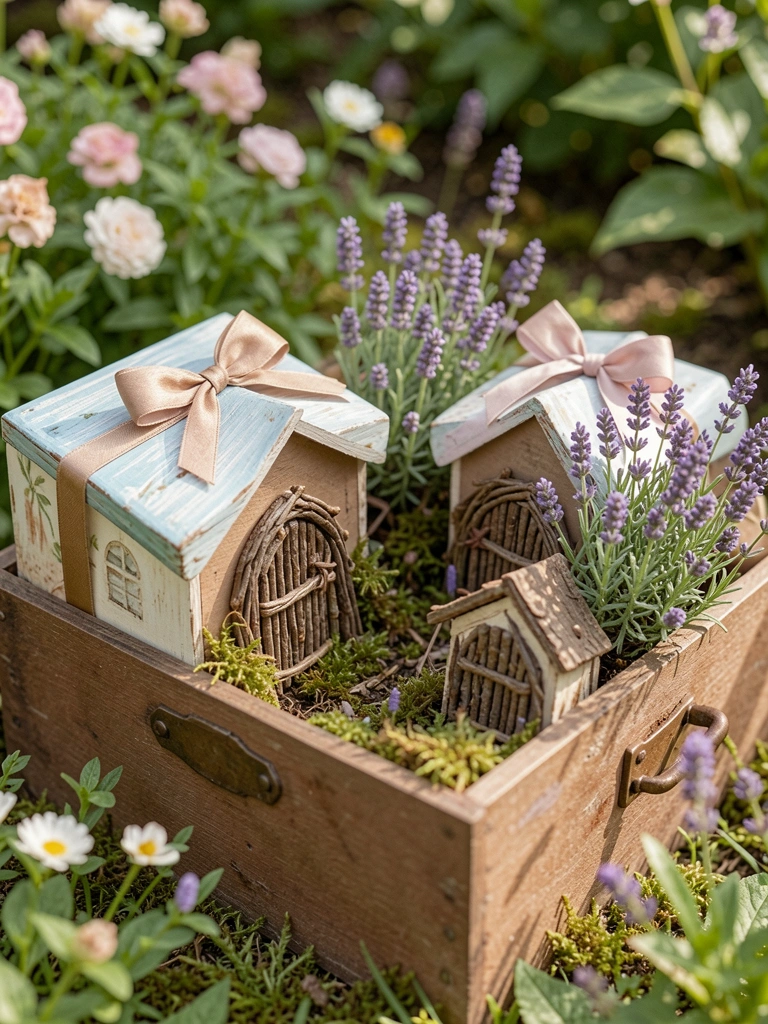
    17. Box Lid Gift Houses

    Lids as gift box roofs, painted, bowed. Twigs for doors. Lavender bushes.

    Shelter feel for fairies. Lids warped—use plastic ones.

    Gifts that stay.

    What You’ll Need for This Look

    Plastic storage lids clear (small)
    Satin ribbon birthday colors
    Lavender mini plants

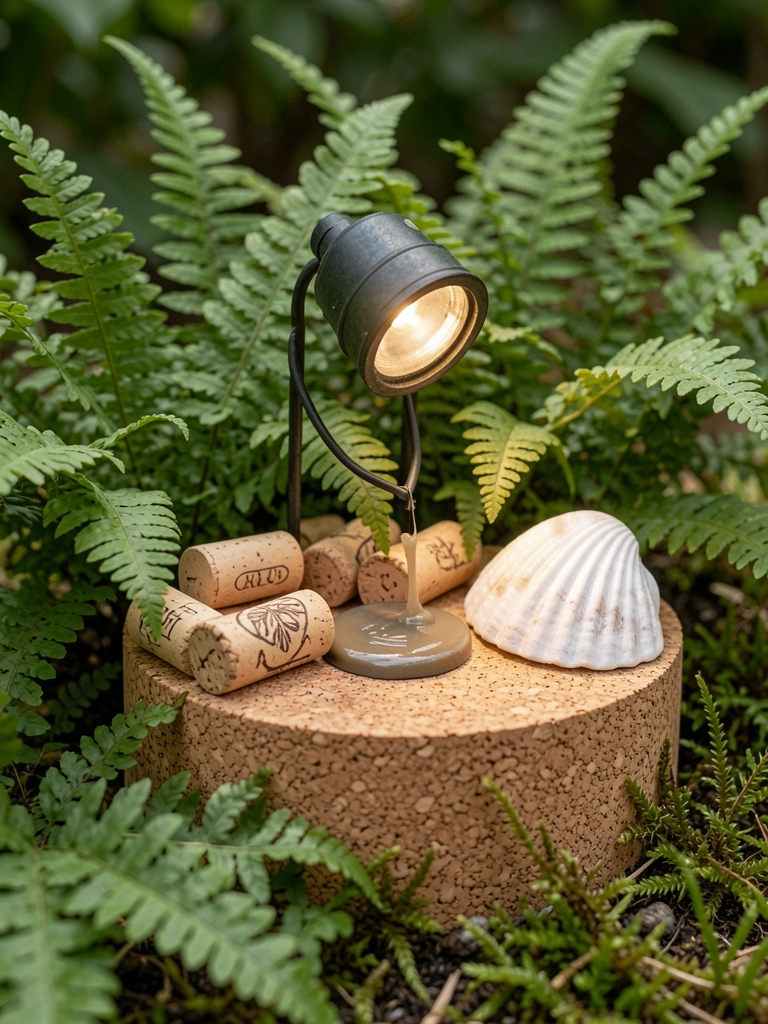
    18. Cork Stage Platform

    Corks glued flat as fairy stage. Fern backdrop. Shell "spotlight."

    Even surface for dances. Corks dried out fine.

    Performance ready.

    What You’ll Need for This Look

    Wine corks natural bulk
    Craft glue outdoor safe
    Ferns miniature variety

    19. Tile Dance Floor Patch

    Mosaic tiles as dance floor. Thyme in cracks. Edges mossy.

    Smooth for tiny feet. Tiles slippery wet—rough ones only.

    Groove spot.

    What You’ll Need for This Look

    Broken mosaic tiles assorted
    Outdoor grout sanded
    Thyme creeping plugs

    20. Feather Wish Flags

    Feathers pinned to string as flags. Asters below. Wishes written light.

    Fluttered gently. Feathers molted—secure tight.

    Hopeful flutter.

    What You’ll Need for This Look

    Craft feathers white pack
    Straight pins rustproof
    Aster dwarf plants

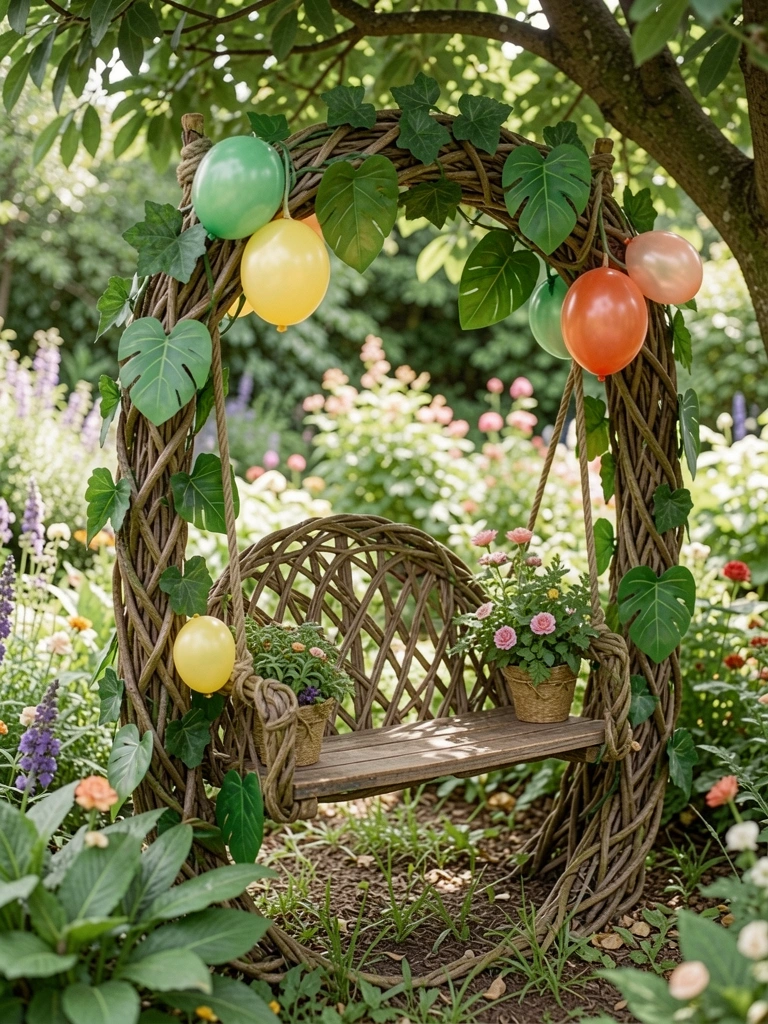
    21. Vine Celebration Swing

    Wove vines into swing seat. Leaf "balloons" tied on. Hung from sturdy branch.

    Rocked steady for cake sing-alongs. Vines stretched—braid double.

    Sweet ender.

    What You’ll Need for This Look

    Grape vines dried bundle
    Wood plank small seat (6×6 inch)
    Preserved leaves green

    Final Thoughts

    Pick one or two ideas that fit your yard. They mix and match fine—no need for all 21.

    Mine evolved over birthdays. Yours will too.

    You've got this. Plant it, watch it settle.

  • 11 Diy Fairy Garden Ideas For Magical Mini Landscapes

    11 Diy Fairy Garden Ideas For Magical Mini Landscapes

    One summer, I stared at a cracked pot I'd dropped. Instead of tossing it, I tucked in some moss and a few mini houses. That spot pulled me in every morning, coffee in hand.

    It changed how I saw edges in my yard—the messy bits could hold something alive.

    Now, these little setups fit anywhere, even my crowded patio.

    11 Diy Fairy Garden Ideas For Magical Mini Landscapes

    I've put together these 11 DIY fairy garden ideas from my own trial-and-error in the backyard. They're straightforward, using everyday stuff. You'll see exactly what works.

    1. Broken Pot Fairy Village

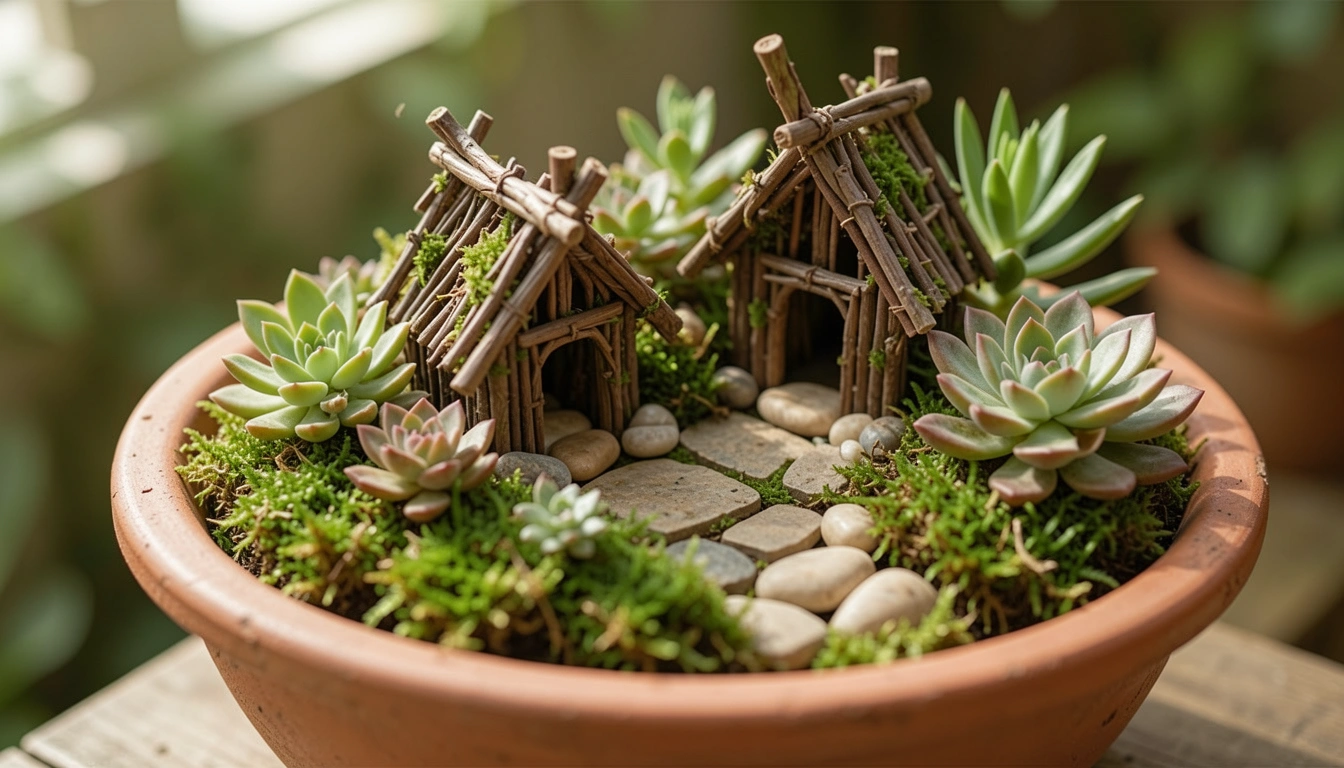
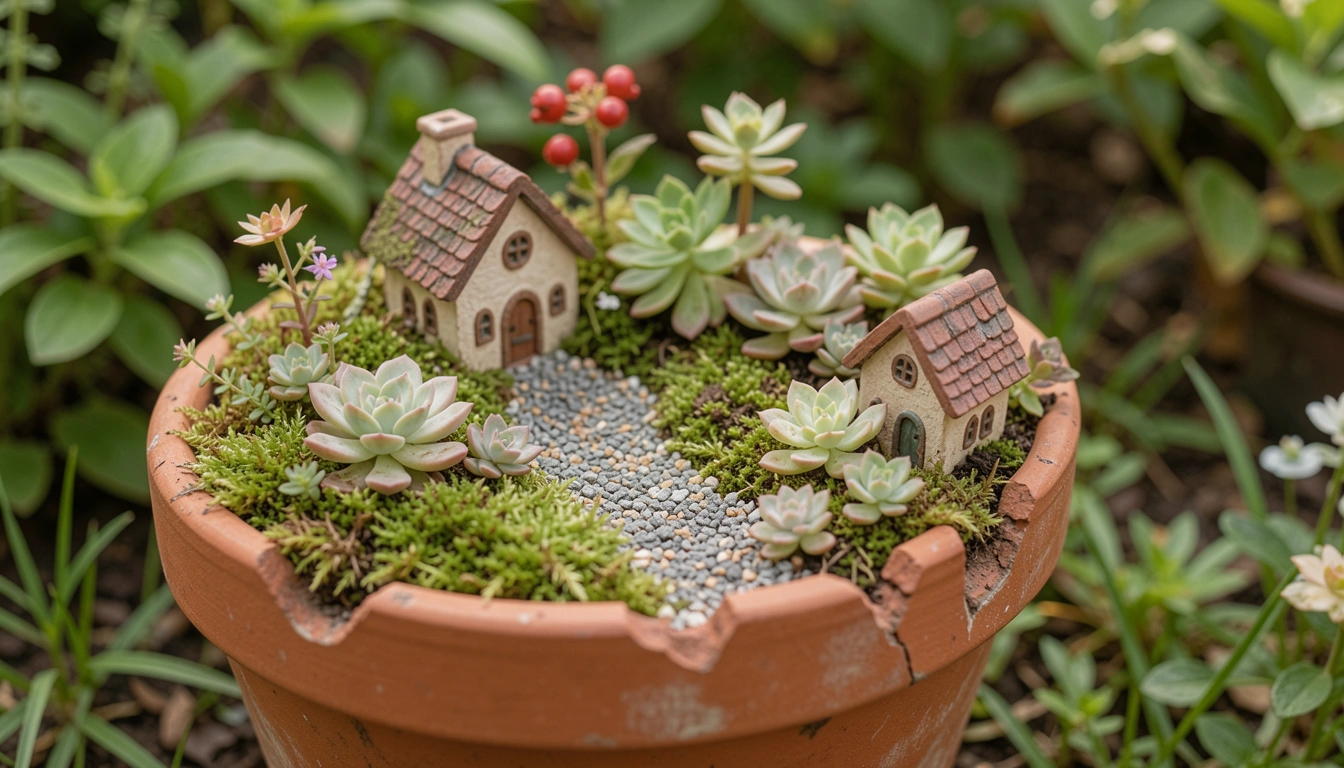
    I dropped a terracotta pot last spring, and the crack ran deep. Rather than chuck it, I layered gravel at the bottom for drainage, then piled in moss I'd scraped from the shady fence line. Tucked in a couple of twig houses from craft sticks and acorn caps. It sits by my back steps now, cozy under the hostas.

    The crack became a little riverbed with blue glass pebbles—holds moisture just right for the moss. Things greened up unevenly at first, but that's the charm. I learned to mist it weekly; dry spells kill the green fast.

    Watch the scale: everything tiny keeps it grounded. Pulls your eye down low.

    What You’ll Need for This Look

    [a href="https://www.amazon.com/s?k=mini+fairy+houses+twig+style&tag={{flowpinsystem-20}}">mini twig fairy houses (set of 6)

    Terracotta pot 8 inch cracked style

    Pebbles blue glass bag 1 lb

    Preserved moss sheet green

    2. Tree Stump Fairy Hideaway

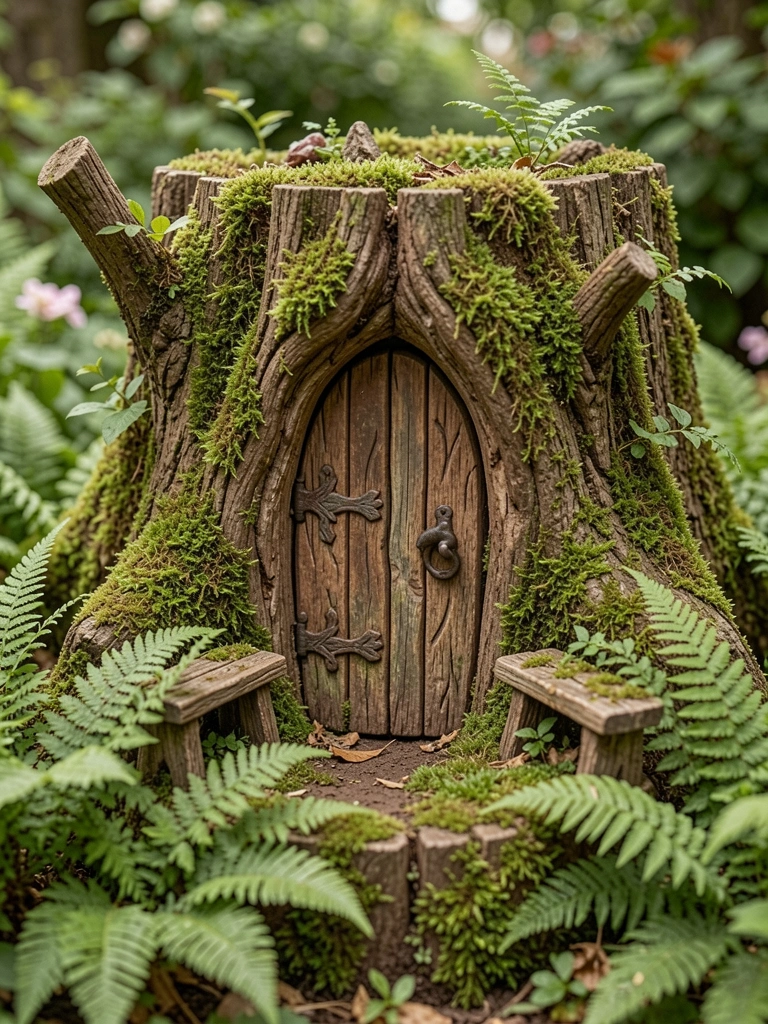
    That oak stump from last winter's storm sat ugly by the shed. I hollowed the top a bit with a chisel, packed it with damp soil, and planted baby ferns. Added a carved door from bark and pebble steps leading up.

    Over months, moss crept in naturally, softening the edges. It feels tucked away, like a secret spot. I overwatered once—rotted the wood base—but now I let rain do the work.

    Check for rot yearly; fresh stumps hold better.

    What You’ll Need for This Look

    Mini fairy door bark style

    Preserved sheet moss 12×16 inch

    Tiny wooden benches set 2 pack

    Baby ferns live plants pack 3

    3. Hanging Wire Basket Grove

    My porch needed height, so I lined an old wire basket with coconut fiber, added trailing succulents, and strung pebble paths between tiny trees from sticks. Hung it from a hook with solar lights peeking out.

    It sways gentle, greens cascading uneven—better than stiff. Wind dried it out first summer; now I soak the liner monthly.

    Great for small patios; draws the eye up without crowding.

    What You’ll Need for This Look

    Wire hanging basket 10 inch

    Coconut fiber liner round

    Trailing succulents string of pearls

    Solar fairy lights warm white string

    4. Birdbath Fairy Pond

    The chipped birdbath collected leaves, so I half-filled it with pebbles, added a solar fountain for ripple, and built a twig bridge over one side. Planted dwarf water iris at the edges.

    Frogs visit now; the water stays clear if I refresh weekly. Bought too big a pump once—overpowered it—but smaller works.

    Feels alive, draws birds too.

    What You’ll Need for This Look

    Pedestal birdbath concrete 18 inch

    Solar fountain pump mini

    Dwarf water iris plants pack

    River pebbles 5 lb bag

    5. Gravel Tray Mini Meadow

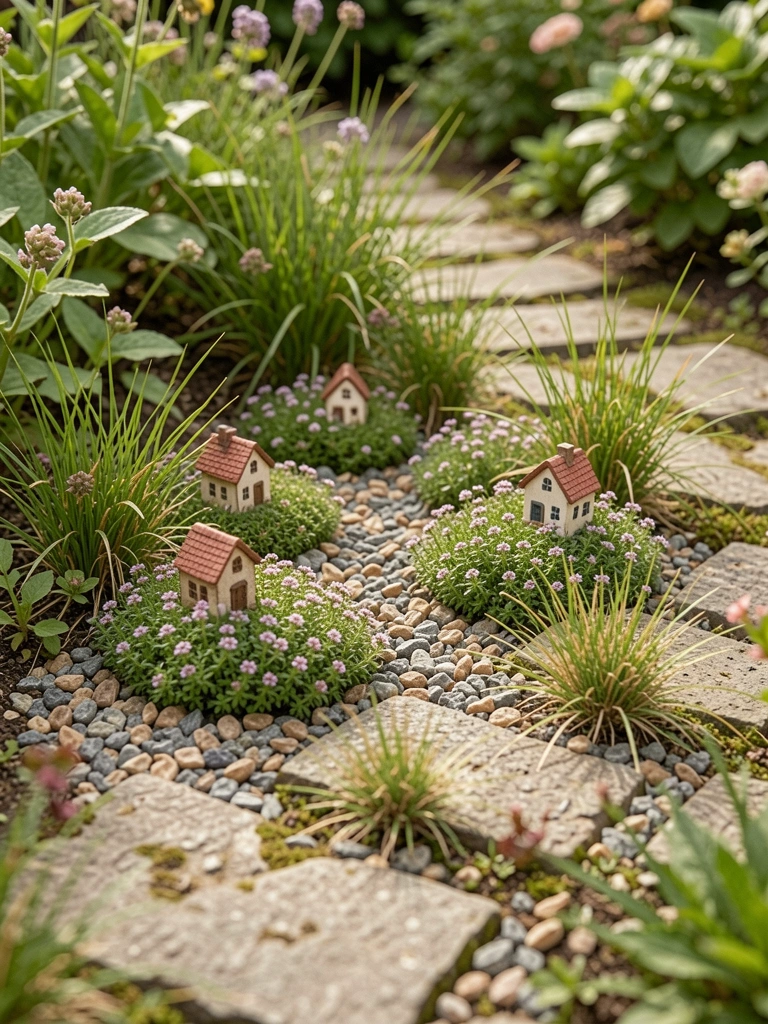
    Indoors by my window, I filled a shallow tray with gravel base, topped with wild thyme and sedum plugs. Scattered mini houses and wound stone paths through.

    Low water needs suit my forgetful days; spreads slow but steady. Thyme yellowed once from poor light—moved it sunnier.

    Scales tiny, fits shelves easy.

    What You’ll Need for This Look

    Shallow gravel tray 12×18 inch

    Wild thyme plugs pack 6

    Sedum groundcover live plants

    Mini stone path kit pebbles

    6. Succulent Rock Landscape

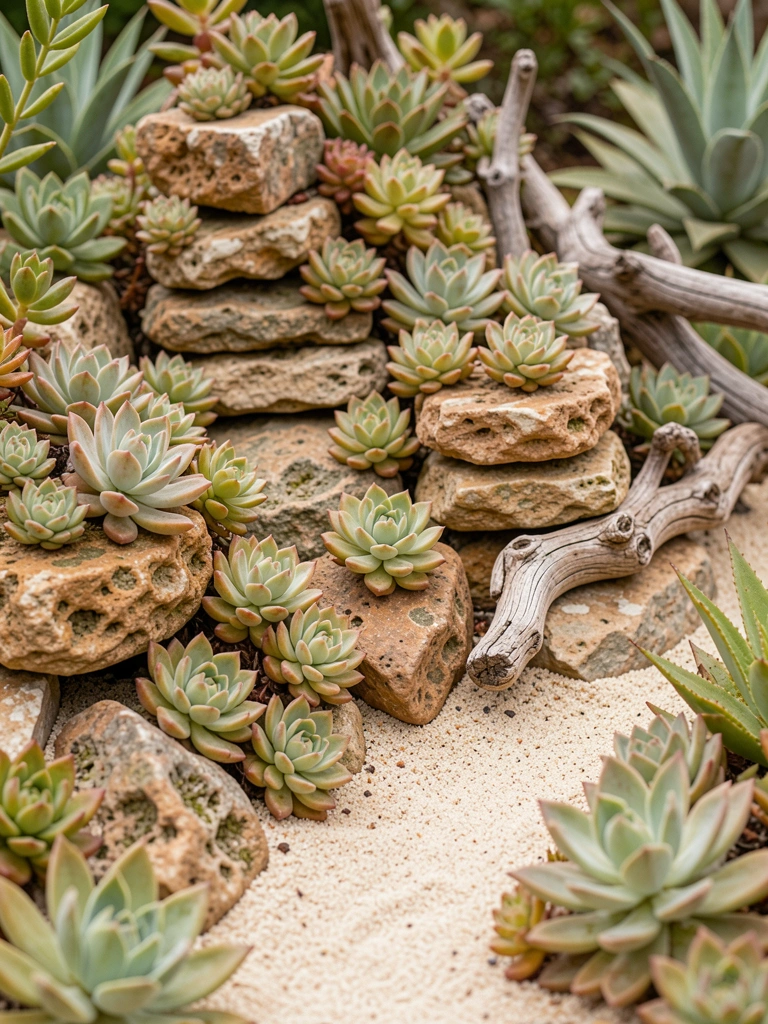
    By the driveway, I stacked flat rocks into hills, filled gaps with succulent rosettes and echeveria. Added driftwood bridges and sand paths.

    Sun bakes it happy; minimal fuss. One succulent stretched leggy—pinched it back. Lasts years.

    Durable for hot spots.

    What You’ll Need for This Look

    Echeveria succulent pack 5

    Assorted flat rocks garden 10 lb

    Driftwood pieces natural set

    Play sand fine 5 lb

    7. Whiskey Barrel Woodland

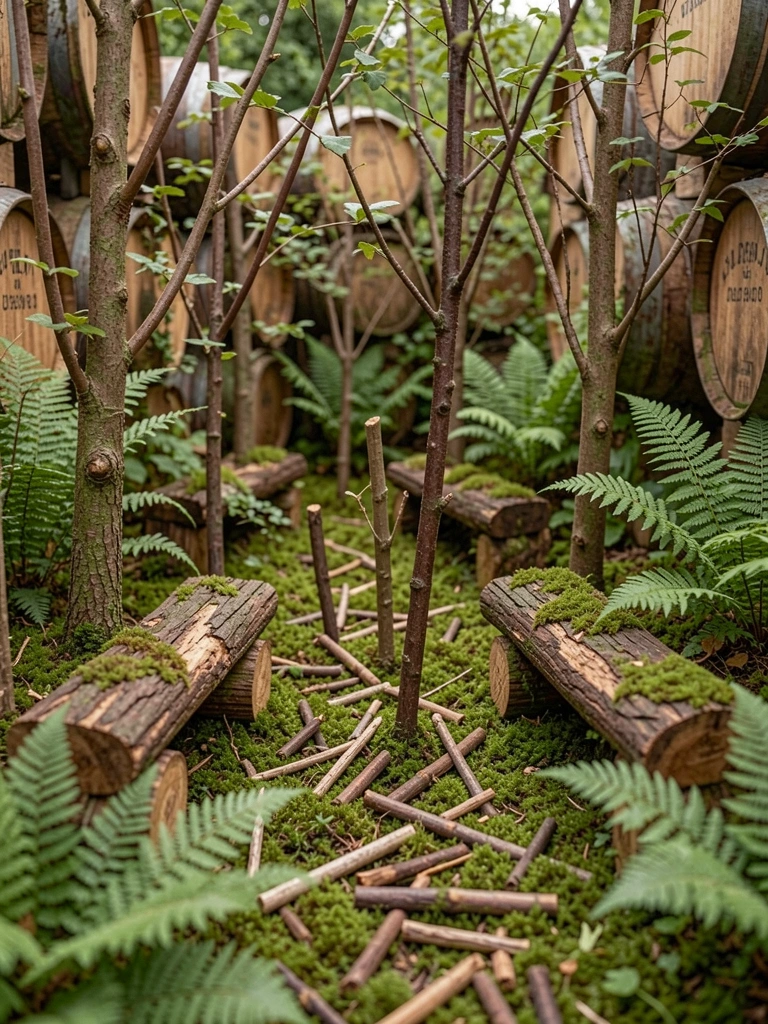
    Old barrel from the garage got holes drilled for drainage, lined with moss, planted with mini conifers and ferns. Log benches from twigs circle a clearing.

    Ages to patina nice; ferns flop if too wet—trimmed mine. Cozy corner maker.

    What You’ll Need for This Look

    [Half whiskey barrel planter oak](https://www.amazon.com/s?k=whiskey+barrel+planter+half&tag={{flowpinsystem-20}}]

    Mini conifer trees live 3 pack

    Reindeer moss preserved green

    Tiny log benches set

    8. Old Teacup Cluster

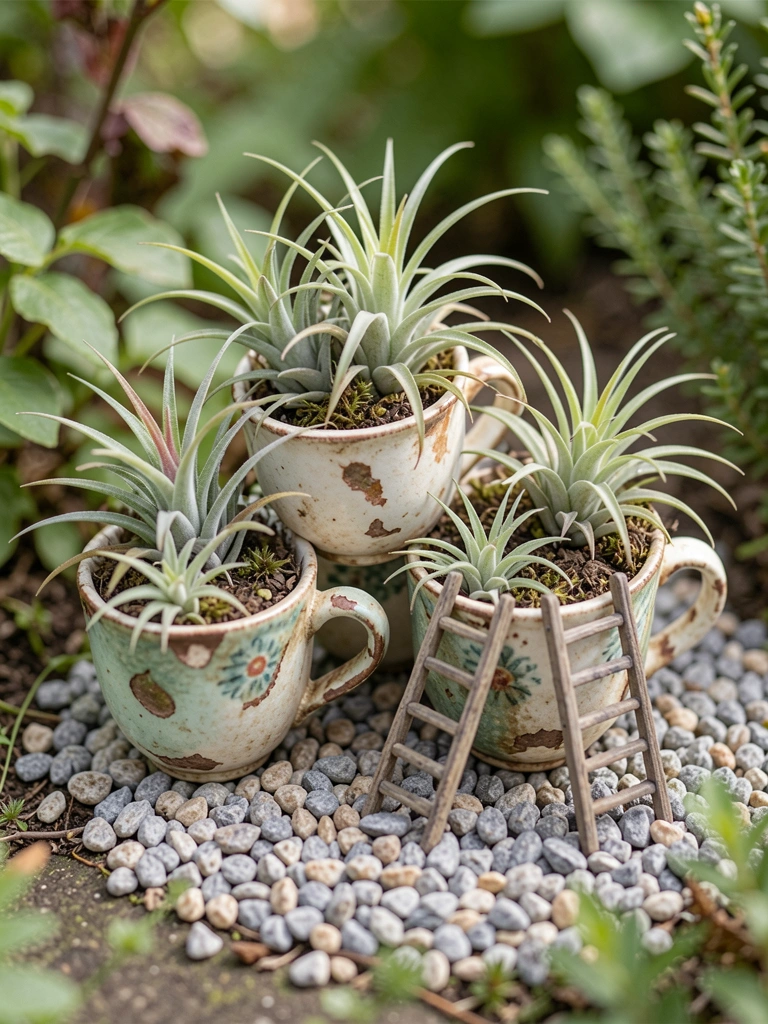
    Mismatched teacups from thrift sat on a tray; filled with pea gravel, popped in air plants and tillandsia. Ladders lean against rims.

    No soil mess; soak plants weekly. Cups cracked once—glued fine. Tabletop friendly.

    What You’ll Need for This Look

    Vintage teacup set assorted 4

    Air plants tillandsia pack 5

    Pea gravel white 2 lb

    Mini twig ladders 3 inch

    9. Bamboo and Moss Path

    Split bamboo edged a moss path in a planter box; pebble pools dot it, ferns line sides.

    Shade keeps moss plush; direct sun browned mine once—relocated. Path invites lingering.

    What You’ll Need for This Look

    Bamboo stakes 12 inch bundle

    Moss path mix preserved

    Wood planter box 24 inch

    Dwarf ferns pack 4

    10. Shadow Box Wall Fairy

    Nailed a deep shadow box to the fence, filled with cactus soil mix, added hens and chicks, a wee door at base.

    Vertical saves ground; dust collects—hose gently. Walls get interest.

    What You’ll Need for This Look

    Deep shadow box frame 12×12 inch

    Hens and chicks succulents

    Cactus soil mix 8 qt

    Mini wall door resin

    11. Cork Bark River Scene

    Cork bark slabs formed banks for a gravel river in a tray; moss banks, stick trees along it.

    Lightweight, drains fast; gravel shifts—press firm. Natural flow feel.

    What You’ll Need for This Look

    Cork bark flats large 3 pack

    Decorative gravel river rock 5 lb

    Preserved moss chunks

    Twig trees mini set

    Final Thoughts

    Pick one idea that fits your spot—start small. These have grown with my garden, forgiving mistakes.

    They settle in over time, blending real.

    You'll have your own quiet corner soon.

  • How To Decorate An Enclosed Patio

    How To Decorate An Enclosed Patio

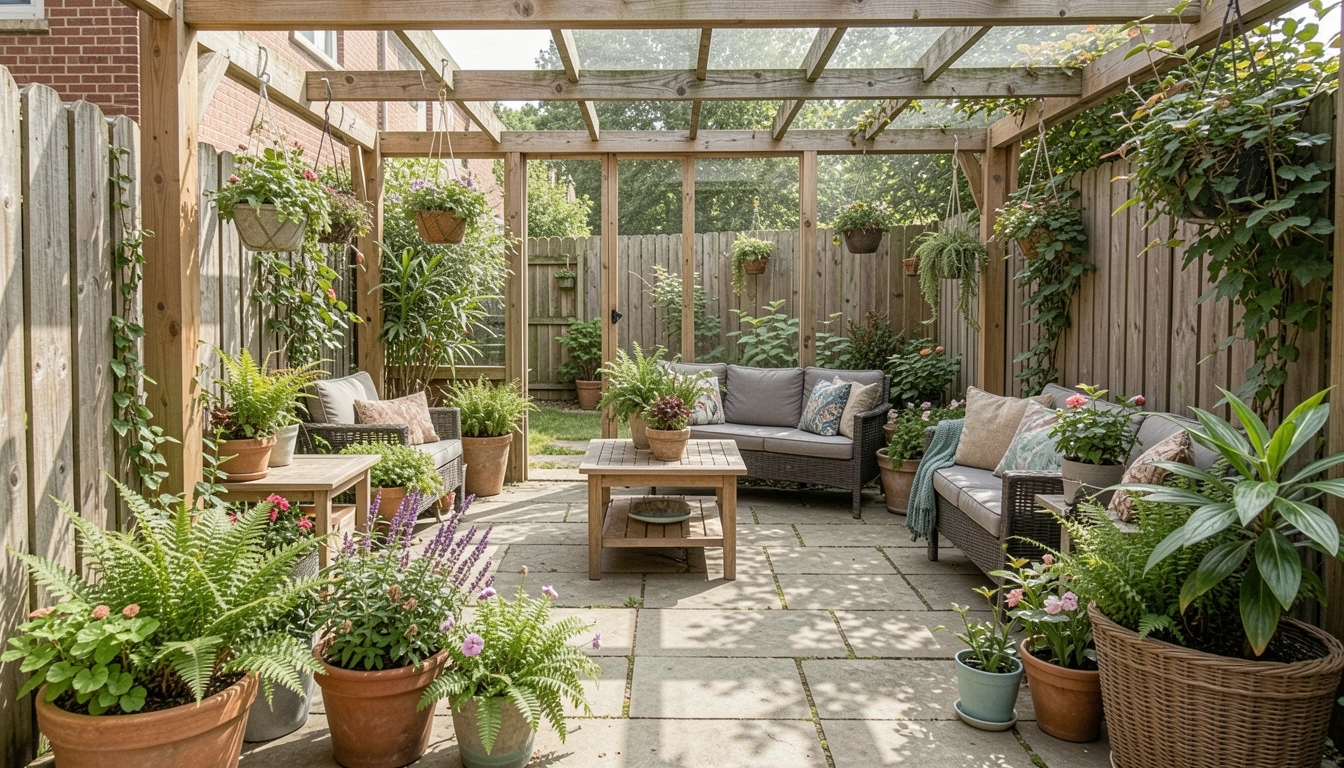
    I stared at my enclosed patio last spring. It had walls on three sides, a roof overhead. Felt like a box. No flow. Just empty corners and a lonely chair.

    I'd tried pots here and there. They sat awkward. The space stayed flat. I wanted it comfortable, like an outdoor room I actually used.

    One afternoon, I stepped back. Saw it needed balance first. Layers that drew the eye around.

    How To Decorate An Enclosed Patio

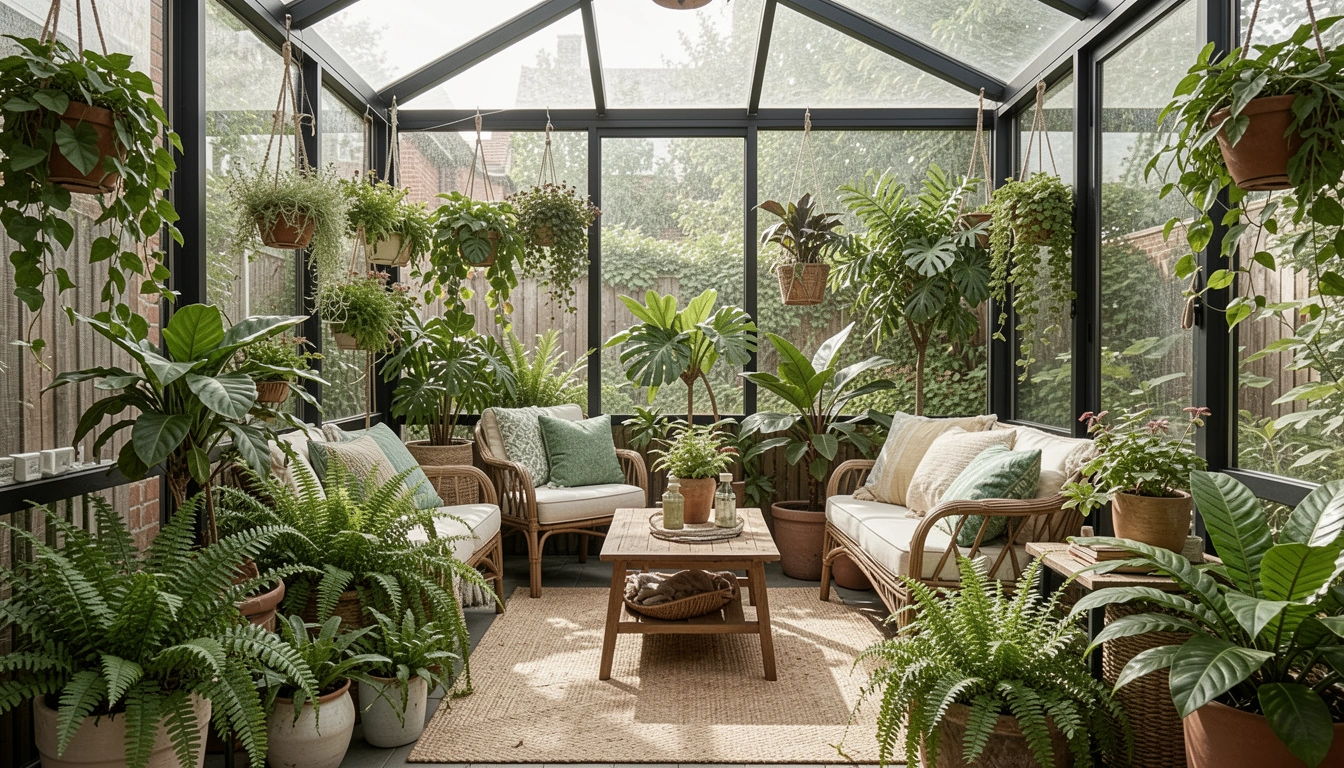
    This is the method I use every time an enclosed patio feels off. You'll end up with a balanced, lived-in space. Comfortable for coffee or reading. It works in any size.

    What You’ll Need

    Step 1: Ground the Floor

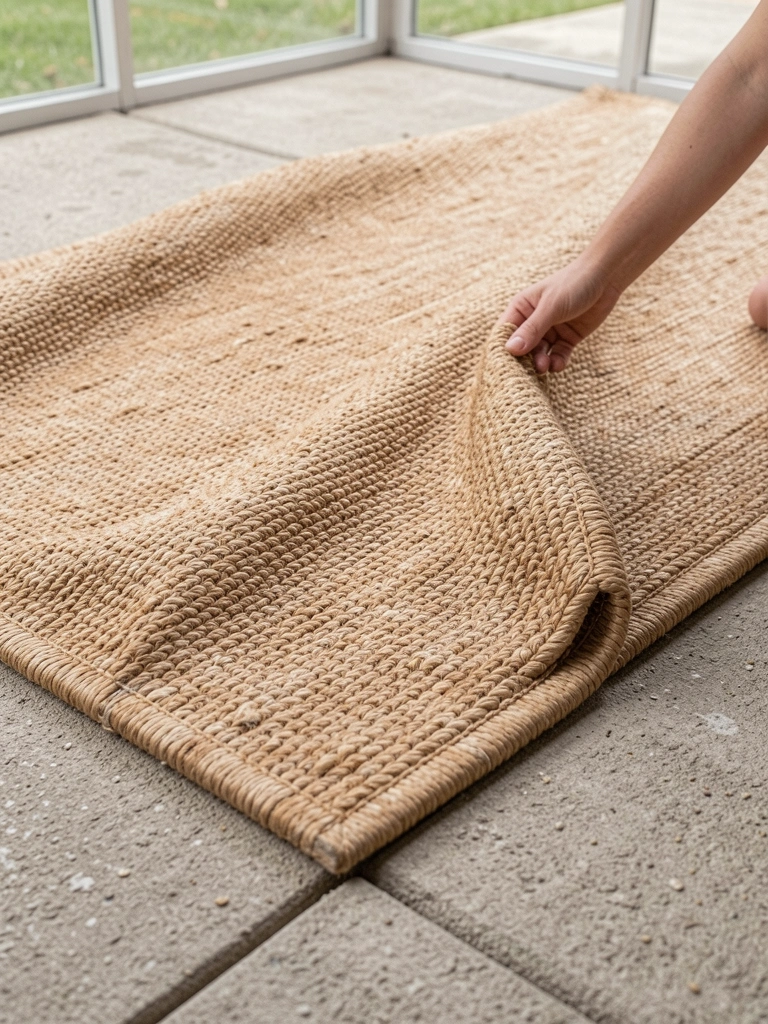
    I start with the floor. Roll out the rug off-center. It anchors everything. Why? Bare concrete feels cold. The rug warms it, pulls your eye in.

    Visually, the space shrinks comfortably. No longer a big empty box.

    People miss how height matters here. Rug low, plants will layer above. Mistake: centering it perfect. Off-center invites flow.

    I nudge mine toward the seating wall. Feels right.
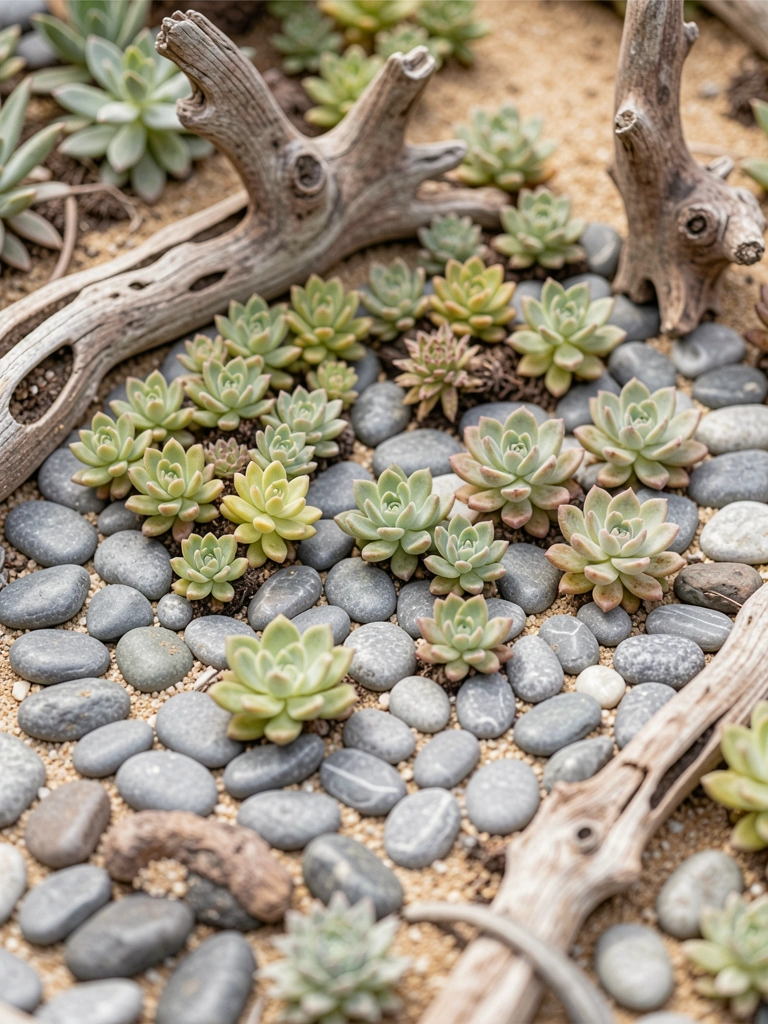
    Step 2: Place Seating for Flow

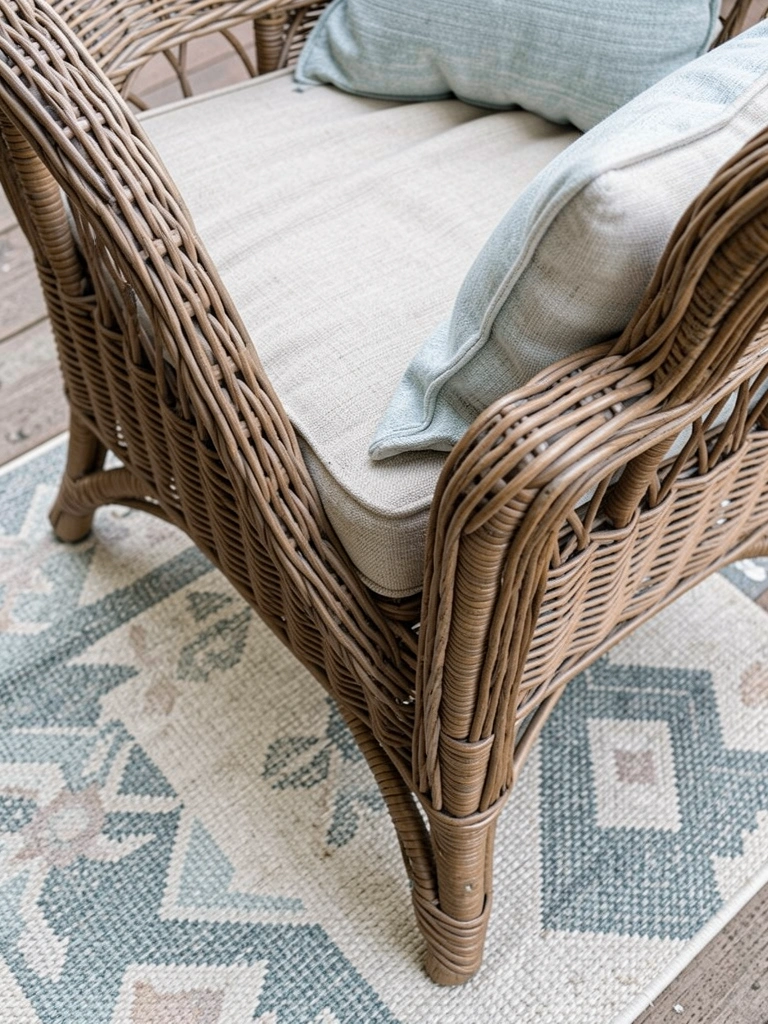
    Next, chairs go on the rug. One against the wall, one pulled out. Why? Creates a path. Draws you through.

    Now it feels like a spot to sit. Not scattered furniture.

    Insight: angle them slightly. Faces conversation, not walls. Avoid pushing backs tight to edges. Leaves dead space.

    Mine sits easy. I walk by, want to pause.

    Step 3: Layer Low Plants

    Pots hit the floor next. Cluster three near seating. Low growers like ferns. Why? Builds height without crowding.

    The patio gains depth. Green softens hard walls.

    Most overlook even spacing. Cluster tight for balance. Don't line them up. Skews the eye.

    I water mine there. Roots settle in.

    Step 4: Hang and Trail Greenery

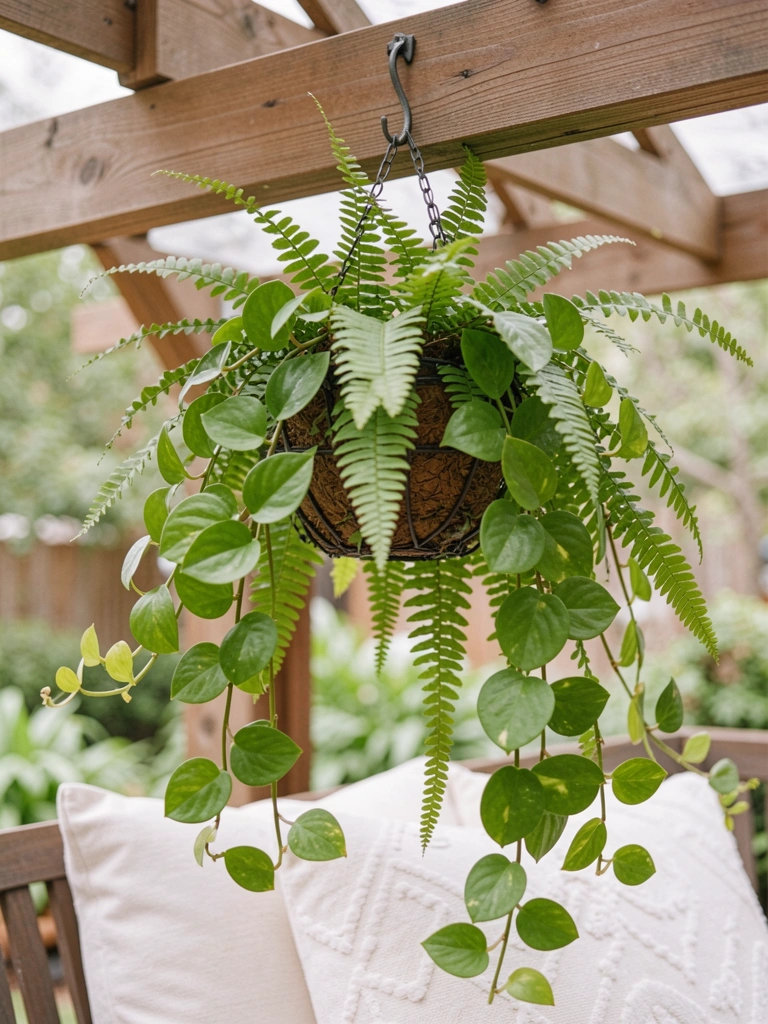
    Hang one basket high. Trailers drape down. Why? Fills vertical space. Breaks the box feel.

    Light filters softer now. Greenery connects floor to ceiling.

    Missed bit: check light first. Shade plants for enclosed spots. Avoid full sun lovers. They scorch.

    Pothos climbs mine slow. Natural.

    Step 5: Add Side Table and Pillows

    Table tucks beside the chair. Pillows lean casual. Why? Invites use. Makes it lived-in.

    Balance settles. No empty spots.

    People forget scale. Small table fits tight spaces. Skip huge ones. Overpowers.

    Pillows stay fluffed loose on mine.

    Step 6: String Soft Lighting

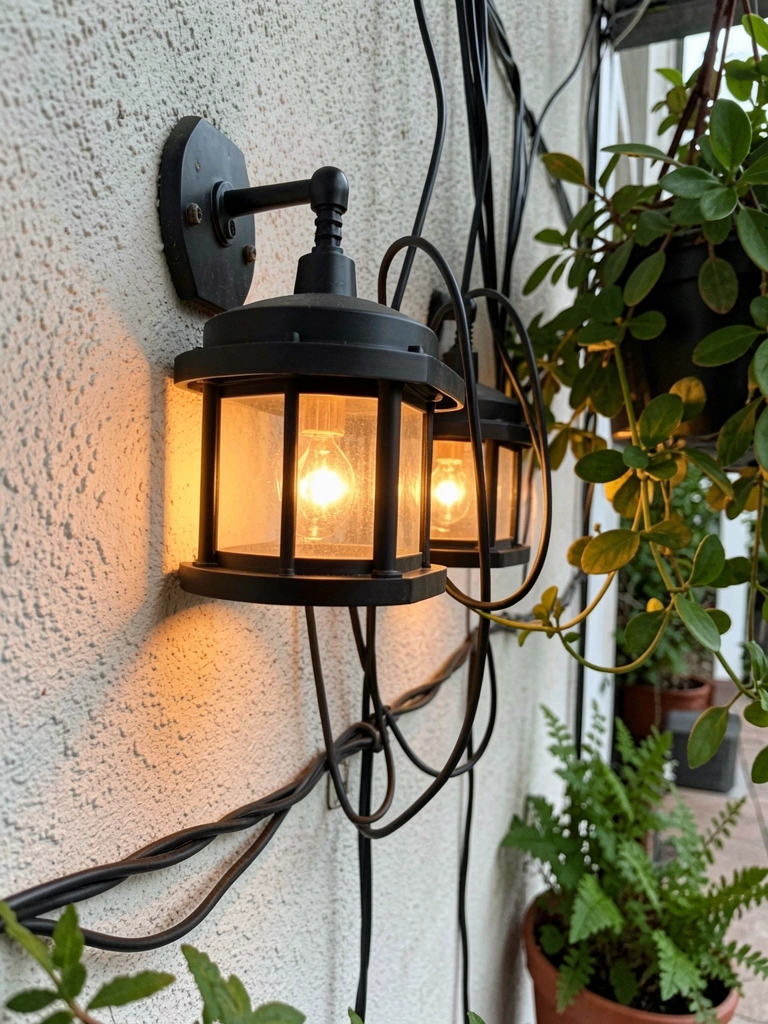
    Last, lights drape walls. Lantern style, not harsh. Why? Extends the day. Cozy evenings.

    Whole space glows balanced. Intentional.

    Insight: space them uneven. Feels organic. Avoid straight lines. Too rigid.

    Mine sways light now.

    Choosing the Right Plants

    Enclosed patios trap heat and shade. I pick what thrives there.

    Go for ferns and pothos. They handle low light. Trailers soften edges.

    • Ferns: Lush, forgiving.
    • Pothos: Grows anywhere.
    • Avoid succulents: Need sun.

    Test one plant first. See how it sits.

    Working with Your Light

    My patio gets morning sun, then shade. Directs choices.

    Observe yours a day. Note hot spots.

    Hang trailers in dim corners. Floor pots catch light.

    North-facing? All shade lovers. Balance green tones.

    Keeping It Balanced Year-Round

    Seasons shift. I swap spent plants.

    Winter: Hardy evergreens in pots.

    Summer: Refresh trailers.

    • Trim yellow leaves weekly.
    • Mist for humidity.

    It stays comfortable. No big changes.

    Final Thoughts

    Start with the rug. One step at a time.

    You'll see the shift. Feels like your space.

    Patios like this pull me outside daily. Yours will too. Just keep it simple.

  • How To Enclose A Patio Cheaply

    How To Enclose A Patio Cheaply

    My patio felt too exposed. Neighbors glancing over while I sat with coffee. Wind whipped through empty corners. I wanted privacy without spending much or building permanent walls.

    I stepped back one afternoon. Looked at the bare edges. Realized plants and simple screens could close it in. Made the space feel like mine.

    You can do this too. It changes everything.

    How To Enclose A Patio Cheaply

    This method uses screens, plants, and frames to create a cozy boundary. Your patio ends up private and balanced. It works on any size space.

    What You’ll Need

    Step 1: Map Your Patio Edges

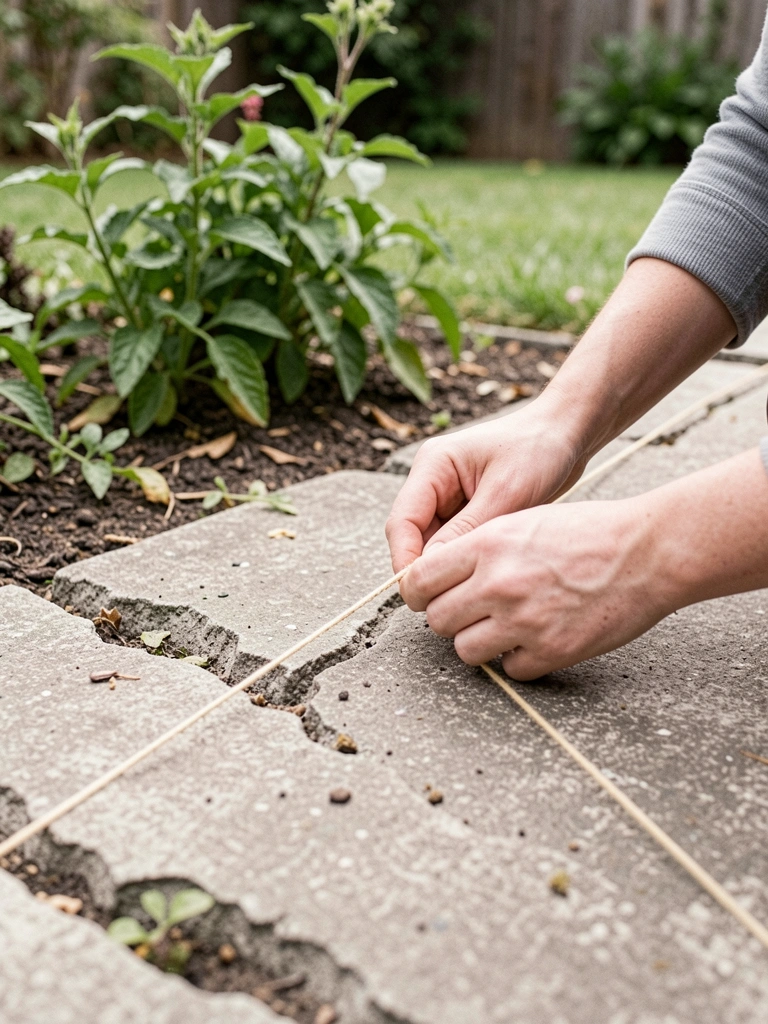
    I walk the patio first. Eye the open sides. Use twine to outline where walls would sit. This sets the enclosure's shape.

    Visually, lines appear. Space shrinks to feel contained. One insight: curves work better than straight lines here. They guide the eye softly.

    Don't pull twine too tight. It warps the balance. Keep it loose for natural flow.

    I step back. See if it frames my chairs right. Adjust once.
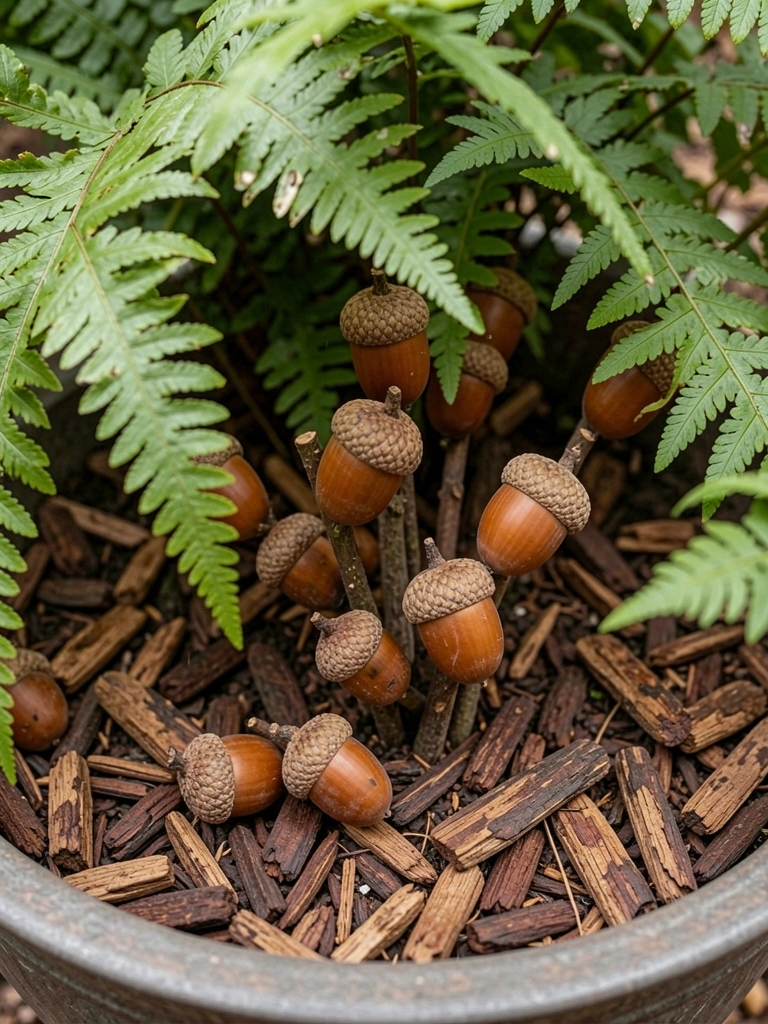
    Step 2: Anchor Screens Along Lines

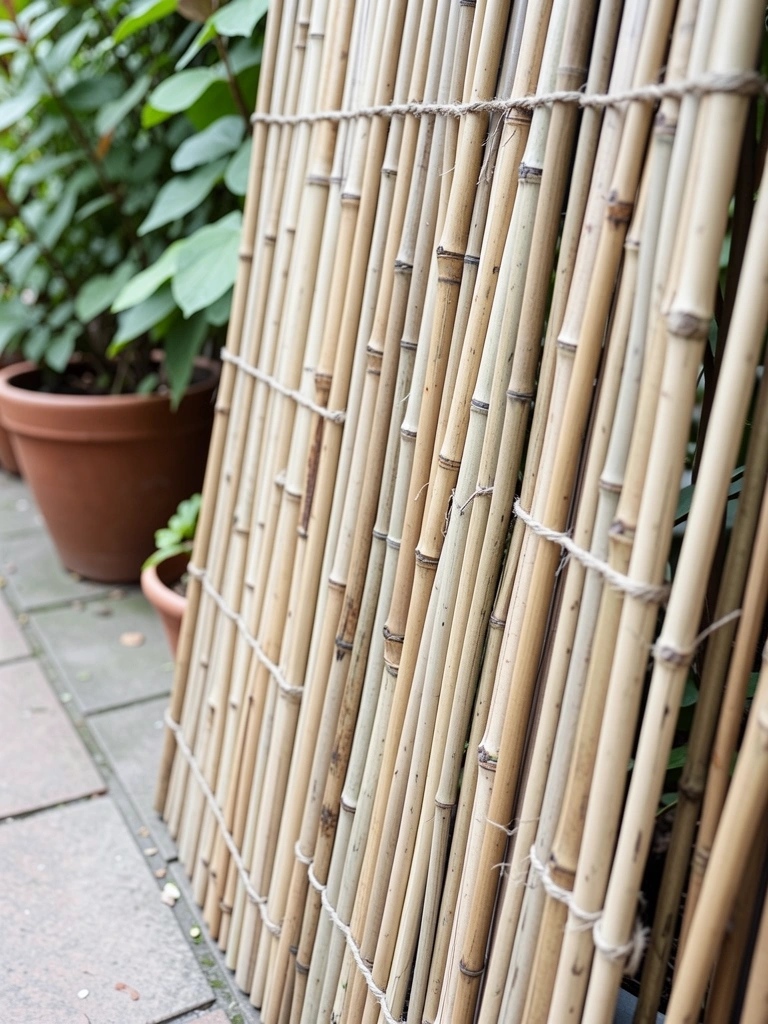
    I lean bamboo screens where twine marks. Wedge into soil or pots. They block views without digging.

    Now sightlines close. Patio breathes inward. People miss how screens layer depth—stack two for height.

    Avoid centering them perfectly. Offset pulls the eye around. Creates comfort.

    I tug gently. Ensure they sway with wind, not crash.

    Step 3: Frame with Trellises for Height

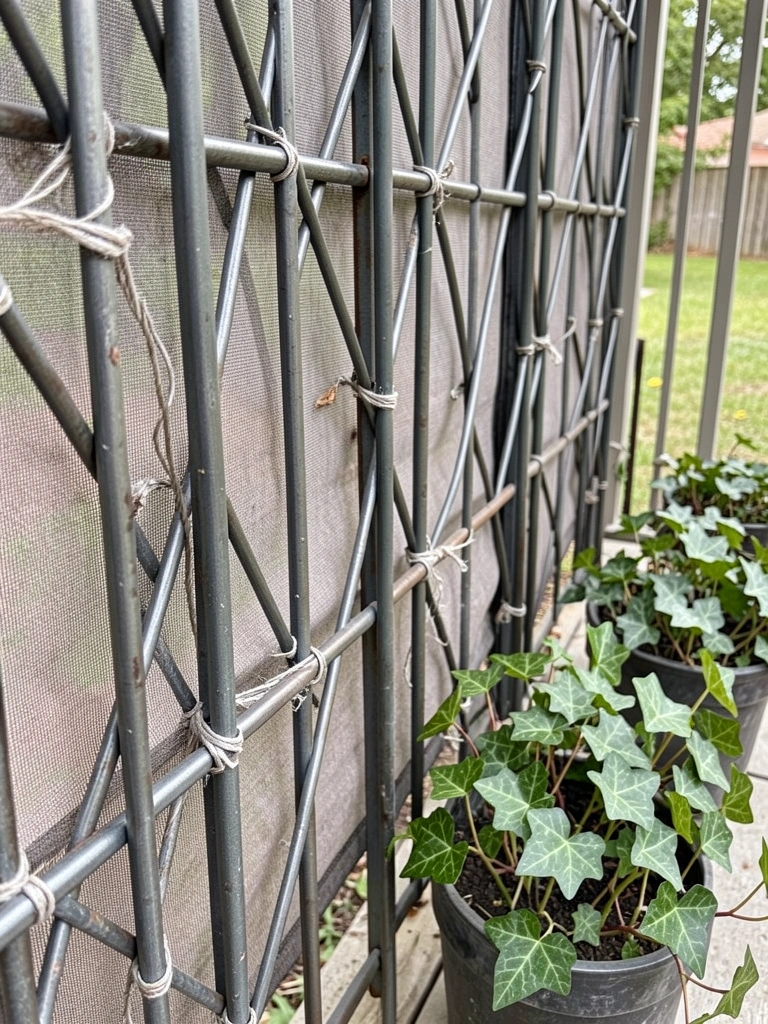
    I position trellises behind screens. Tie with twine to corners. They rise taller, ready for plants.

    Edges lift. Space gains vertical pull. Insight: gaps between let light filter, keeping it open.

    Skip glue or screws. Twine flexes better outdoors. Lasts longer.

    I check from my chair. Feels taller, safer.

    Step 4: Plant Climbers for Soft Fill

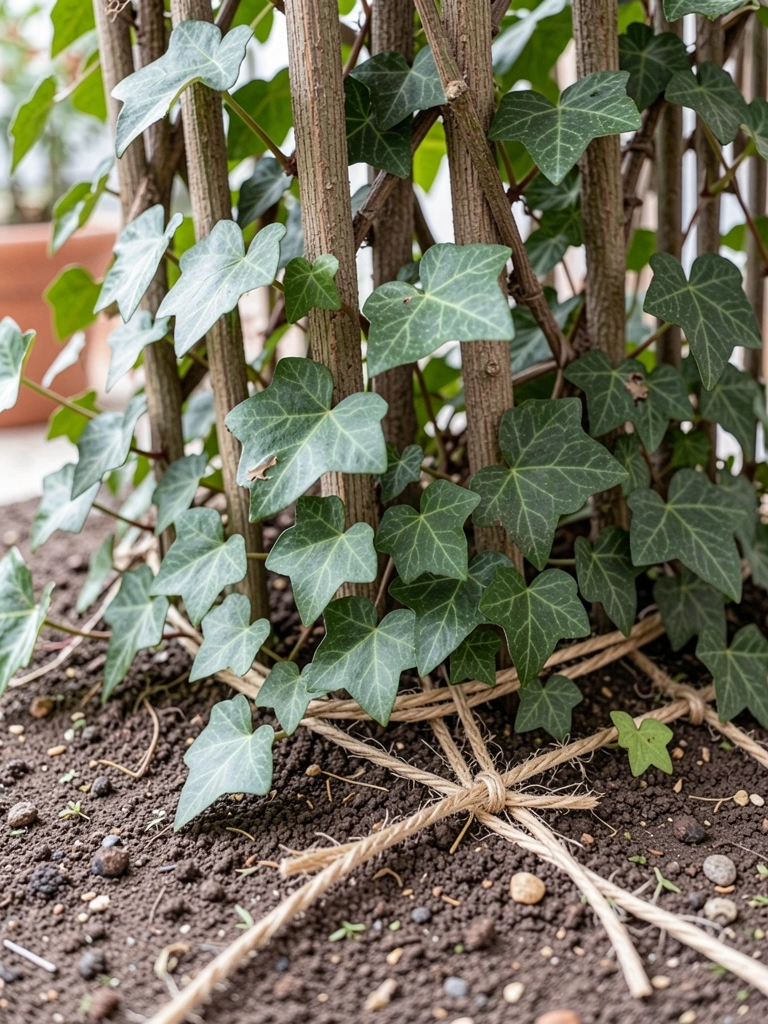
    I plant ivy at trellis feet. Water deep. Train stems up with loose ties.

    Greens soften lines. Fills emerge over weeks. Most overlook spacing—cluster three plants per trellis for quick cover.

    Don't overwater early. Roots rot fast. Let soil dry between.

    Patio warms. Feels alive now.

    Step 5: Layer Pots and Curtains for Depth

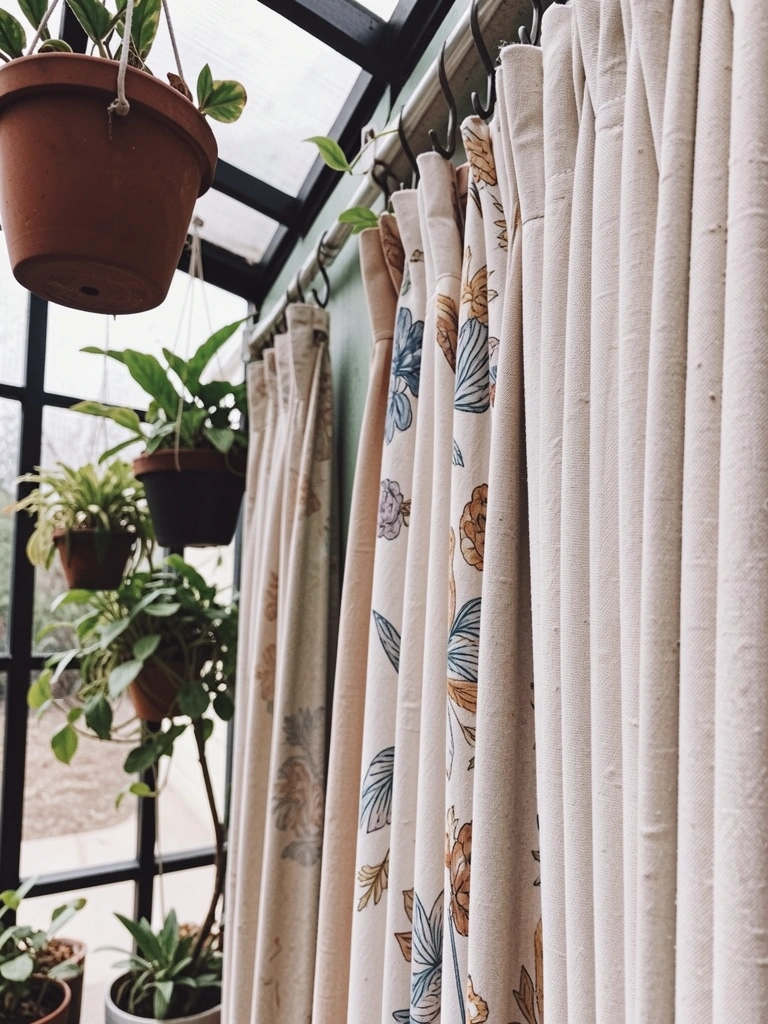
    I cluster pots along the base. Hang curtains from hooks on frames. Drape loosely.

    Layers build. Privacy deepens without walls. Tip: vary heights—tall pots block low, curtains mid.

    Resist filling every inch. Empty spots let breeze through. Keeps balance.

    Sit back. Space holds together.

    Picking Plants That Screen Best

    I stick to climbers like ivy or jasmine. They grip fast. Fill gaps in months.

    Start small pots. They establish quicker.

    • Ivy for shade tolerance
    • Honeysuckle for scent
    • Clematis for flowers

    Watch sun patterns first. Wrong spot slows growth.

    Handling Open Corners

    Corners catch eyes first. I tuck tall pots there. Add a screen fold.

    Wind hits hardest here. Anchor with rocks.

    • Weigh pots down
    • Tie screens low
    • Plant deep-rooted fillers

    It settles the whole enclosure.

    Budget Stretches for Bigger Patios

    Double up on cheap screens. Reuse pots year-round.

    Hunt end-of-season sales for plants.

    • Buy bare-root climbers
    • Split perennials
    • Layer thrift fabric

    Mine cost under $150. Yours can too.

    Final Thoughts

    Start with one side. See how it shifts the feel.

    You'll notice neighbors fade back. Space quiets.

    Patios like this grow with you. Just keep tending.

  • 15 Screened Enclosed Patio Ideas For Bug Free Comfort

    15 Screened Enclosed Patio Ideas For Bug Free Comfort

    I screened in my back patio last spring after too many mosquito evenings ruined dinners outside. Finally bug-free, but it sat empty, just concrete and echoes.

    I started small, hauling over spare pots of mint and ferns. The air changed—fresher, greener.

    That shift hooked me. Years later, these tweaks make it my favorite spot.

    15 Screened Enclosed Patio Ideas For Bug Free Comfort

    These 15 screened enclosed patio ideas come straight from my gardens. Real plants, simple buys. You'll know exactly what works for cozy, bug-free hangs.

    1. Layered Container Planting That Fills the Floor

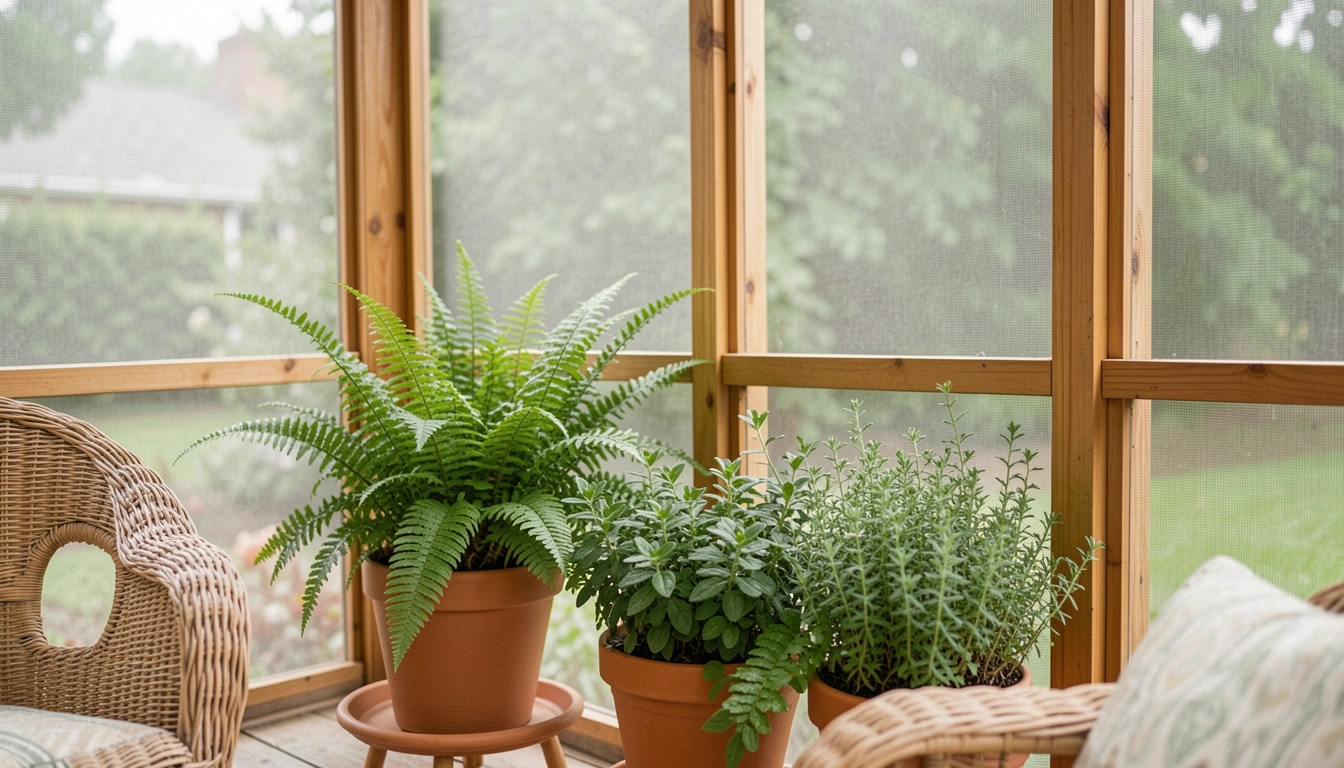
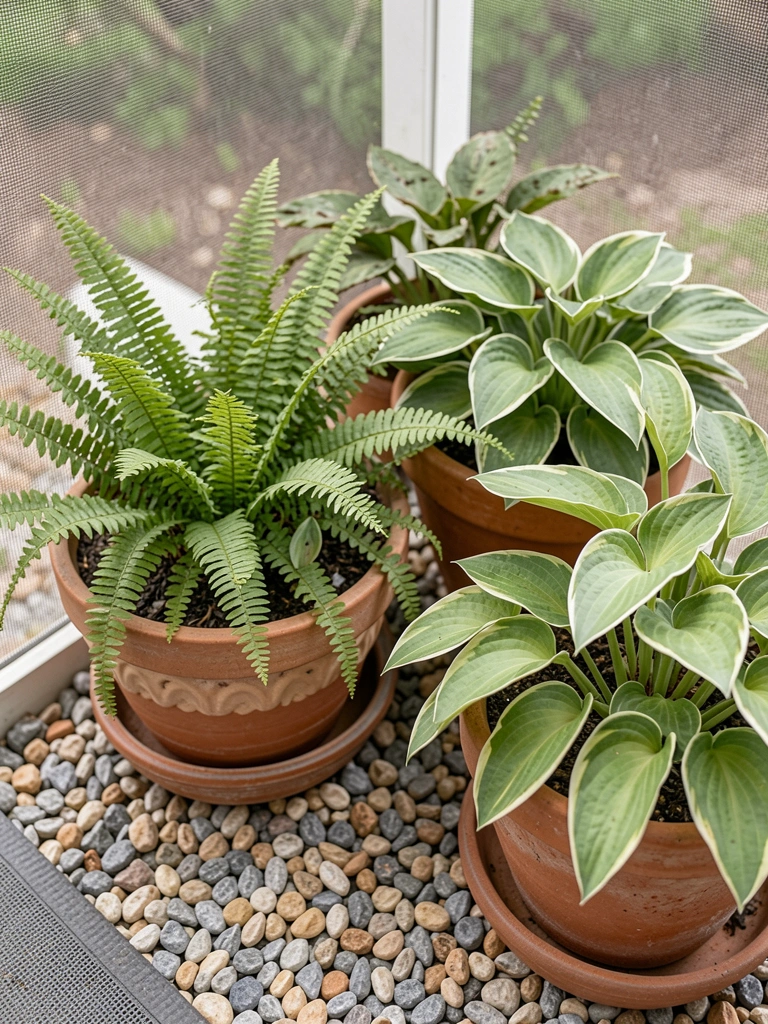
    I stacked pots of different sizes right on the patio floor under my screened enclosure. Short ones with hostas up front, taller ferns behind. It ate up empty space without blocking walks.

    The layers caught the eye, made the whole area feel deeper, like a real garden room. Light filtered through leaves onto the concrete, warming it up.

    Watch drainage—group them loose so water doesn't pool. I learned after one soggy mess.

    What You’ll Need for This Look

    2. Hanging Baskets Dripping Greenery from the Ceiling

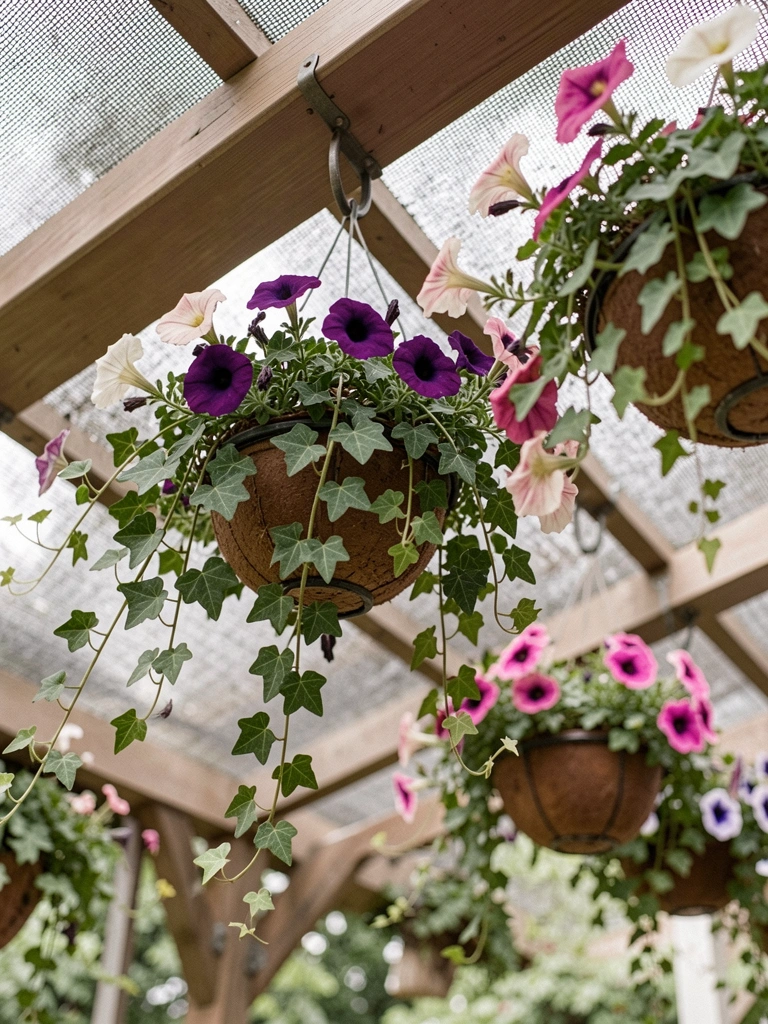
    I hooked baskets from the screened patio beams after noticing bare corners. Ivy and petunias trailed down, brushing the table lightly.

    It softened the screens, turned the ceiling into green waves. Mornings felt shaded and cool, perfect for coffee.

    Pick lightweight soil mix—mine got heavy once and pulled a hook loose.

    What You’ll Need for This Look

    3. Wall-Mounted Succulents for Clean Vertical Lines

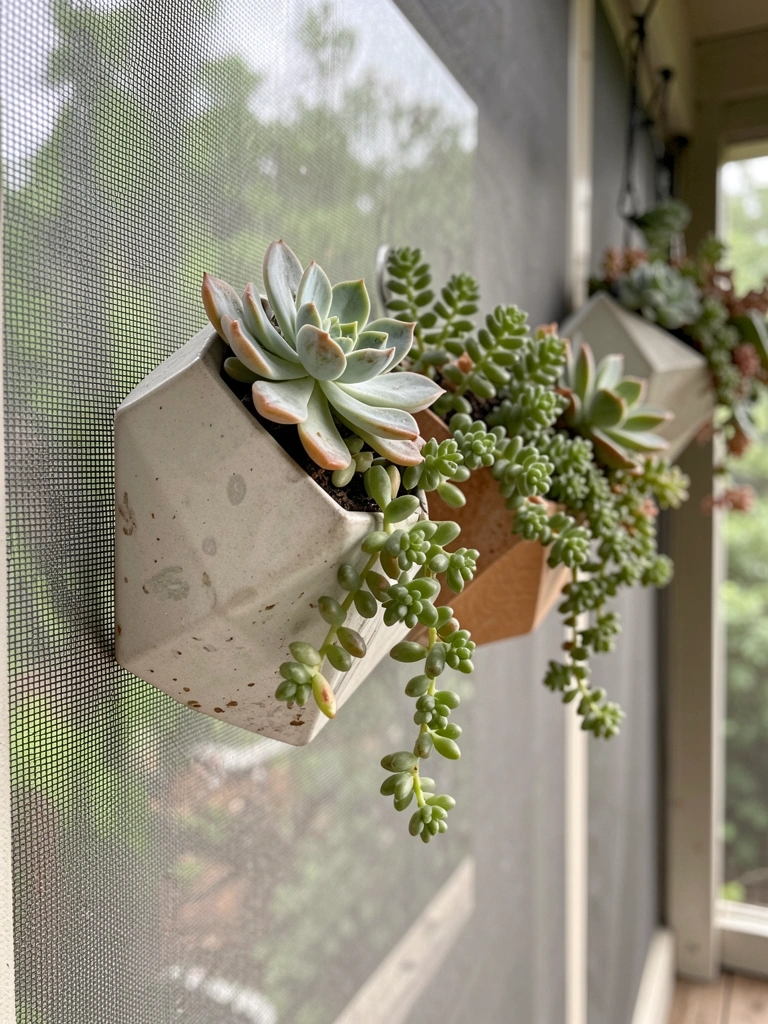
    Succulents in wall pockets transformed my blank screened walls. Echeveria clustered low, sedum higher up. Modern, no floor clutter.

    They held color through dry spells, made the patio feel wider. Dust settled less on leaves.

    I bought too much cactus mix first—too gritty. Switch to succulent soil.

    What You’ll Need for This Look

    4. Cozy Corner Herb Garden for Fresh Snips

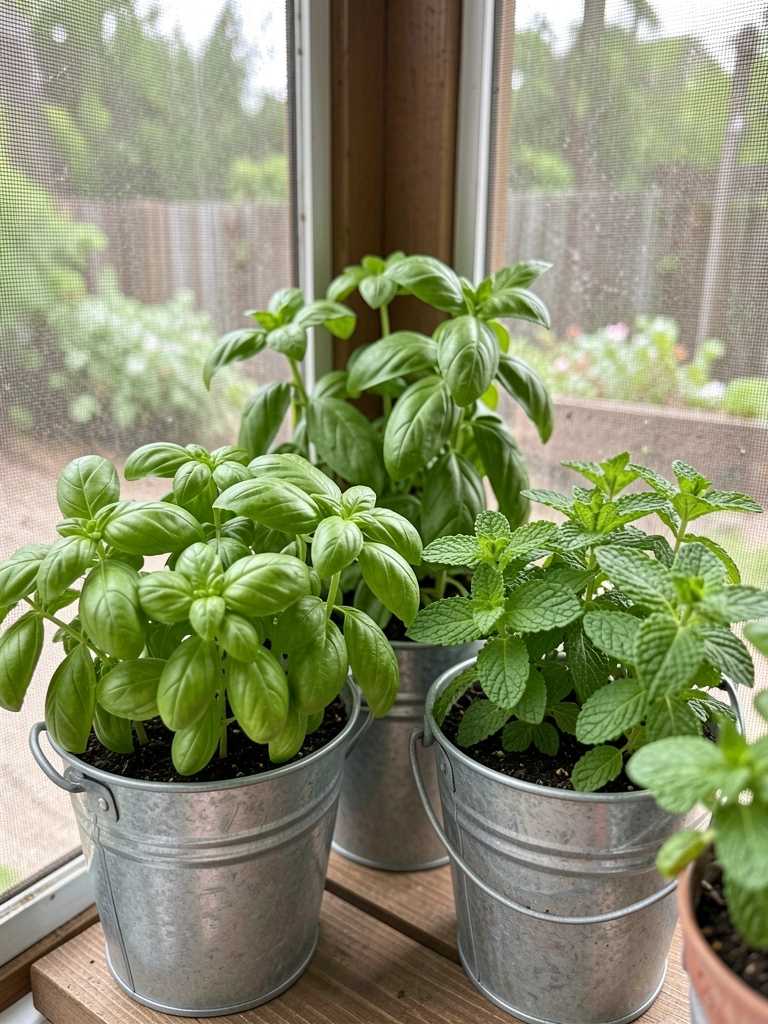
    A cluster of herbs in the screened corner became my daily pick spot. Basil for salads, mint for tea—right off the screens.

    Smells filled the air during meals, made it feel alive. Guests always grabbed leaves.

    Trim often or they flop. Mine did once, shading smaller ones.

    What You’ll Need for This Look

    5. Climbing Vines Framing the Screens for Shade

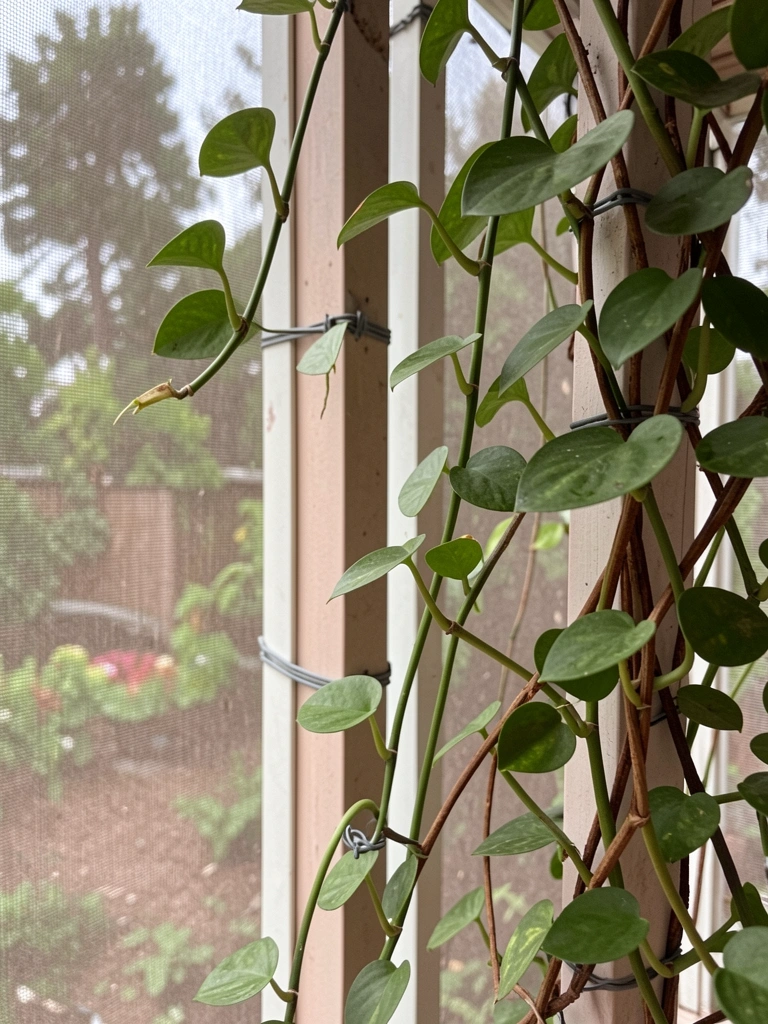
    Pothos climbed my screen frames, weaving without damaging mesh. Tendrils softened edges, filtered harsh light.

    The patio cooled down, felt enclosed yet open. Birds sang closer outside.

    Train young—mature ones tangle fast.

    What You’ll Need for This Look

    6. Oversized Floor Pots for Instant Drama

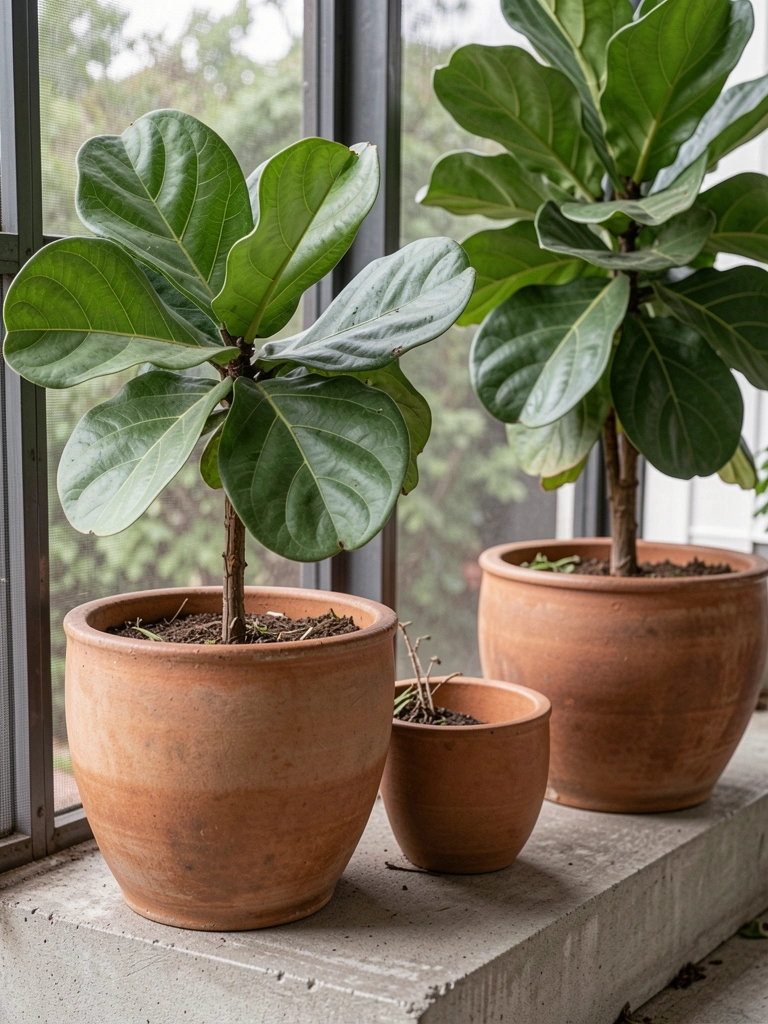
    One big fiddle leaf fig pot anchored my screened center. Leaves rustled in breezes, dwarfed chairs comfortably.

    It drew eyes up, made space feel established quick. Dust on big leaves? Hose them.

    Wheels underneath save backs.

    What You’ll Need for This Look

    7. Solar Lights Twinkling Through Plant Silhouettes

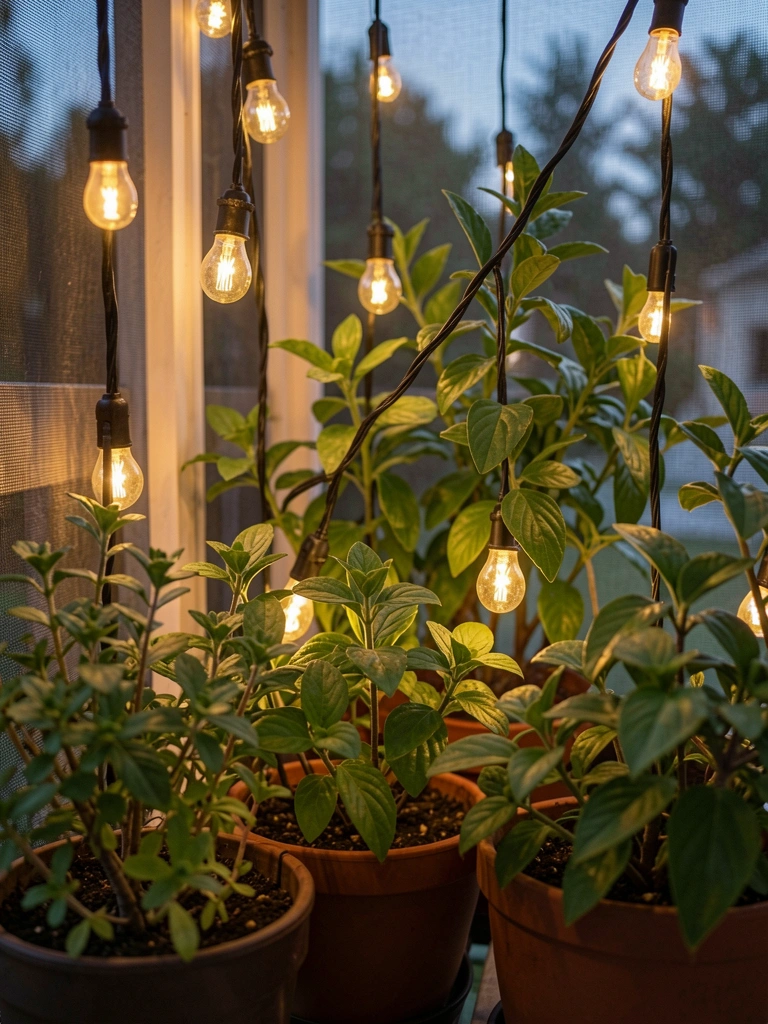
    Solar strings draped through ferns on my screened patio. Night shadows danced on screens.

    Evenings stretched longer, cozy without bugs. Batteries lasted seasons.

    Hang loose—tight lines snag leaves.

    What You’ll Need for This Look

    8. Woven Rug Edged with Low Potted Greenery

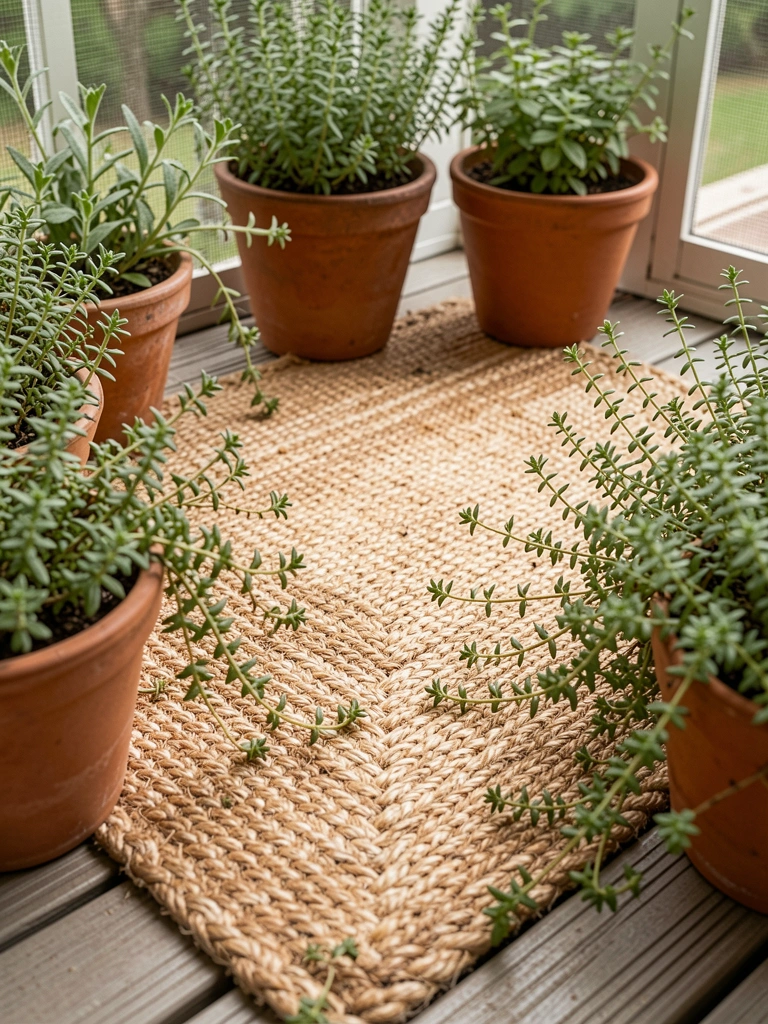
    A jute rug grounded my screened floor, edged with thyme pots. Greens softened hard lines.

    Feet felt welcome, space cozier under screens. Thyme spread gently.

    Vacuum rugs weekly—leaves stick.

    What You’ll Need for This Look

    9. Built-In Bench with Integrated Planter Boxes

    I built a bench with side planters on my screened wall. Lavender bloomed over edges.

    Sitting felt planted in greenery, smells right there. Wood weathered nicely.

    Seal boxes—water rots untreated pine.

    What You’ll Need for This Look

    10. Hammock Spot Surrounded by Trailing Pots

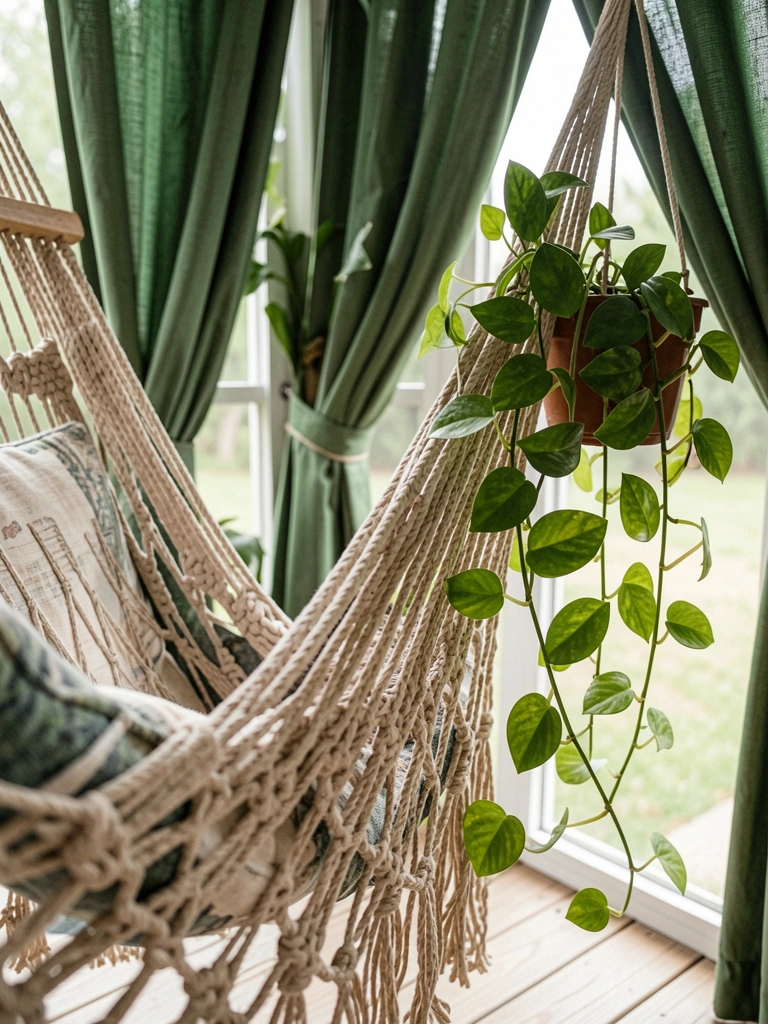
    Hammock between posts, pothos pots trailing nearby. Greens framed lazy swings.

    Naps deepened with leaf whispers. No sway tangles if spaced right.
    What You’ll Need for This Look

    11. Fire Pit Nook with Heat-Tolerant Succulents

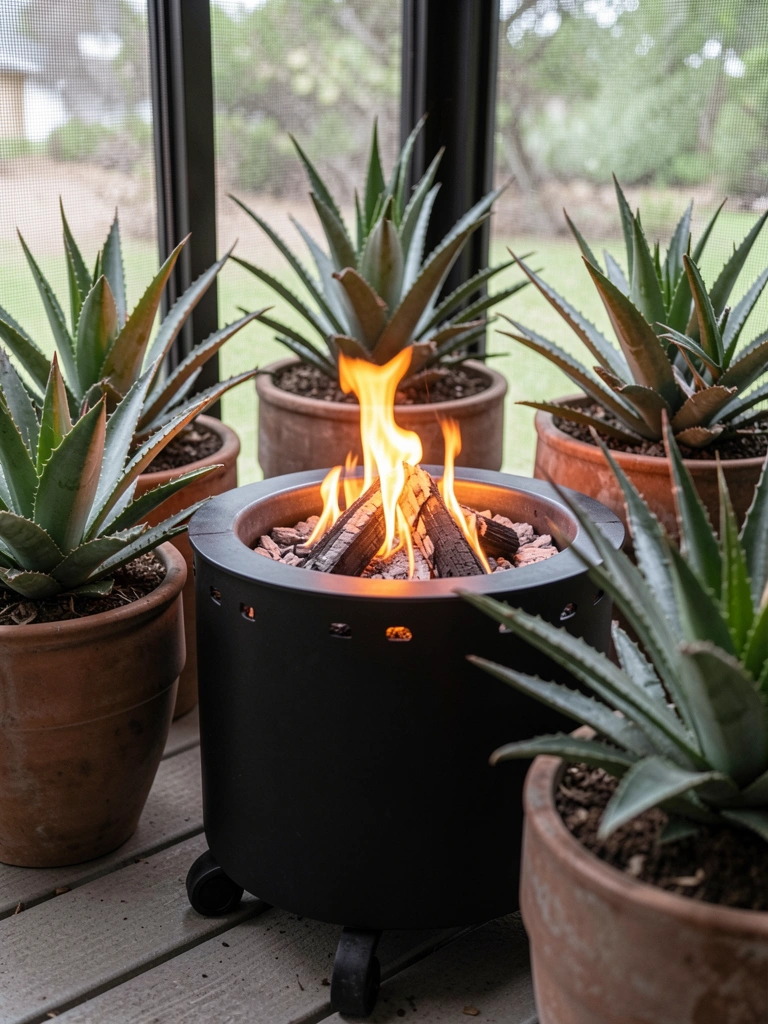
    Succulents ringed my portable fire pit in the screened corner. Agave held up to warmth.

    Nights glowed, plants safe at distance. Sparks added life.

    Keep 2 feet clear—embers jump.

    What You’ll Need for This Look

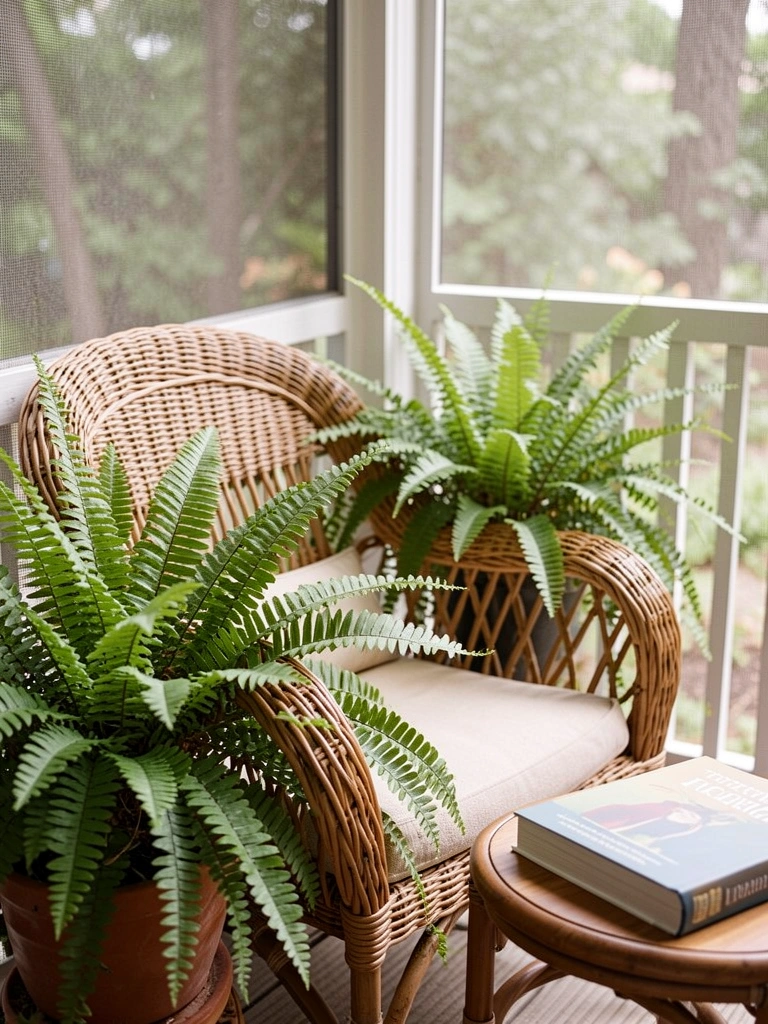
    12. Reading Chair with Shade-Loving Ferns

    Ferns flanked my reading chair in the screened shade. Boston types filtered light softly.

    Pages turned slower, air hushed. Fronds yellowed once from low humidity—mist them.

    What You’ll Need for This Look

    13. Dining Table with Edible Greenery Centerpiece

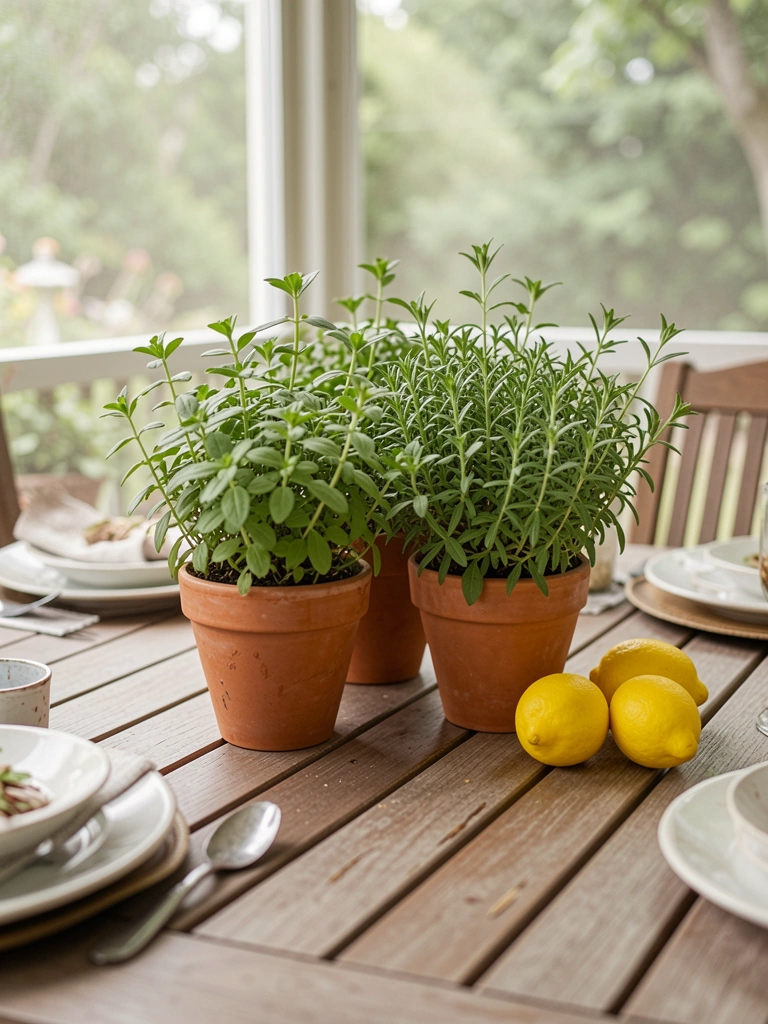
    Herb pots lined my screened dining table. Basil, rosemary—picked mid-meal.

    Talks lingered over fresh tastes. Pots shifted easy for serving.

    Rotate for even sun.

    What You’ll Need for This Look

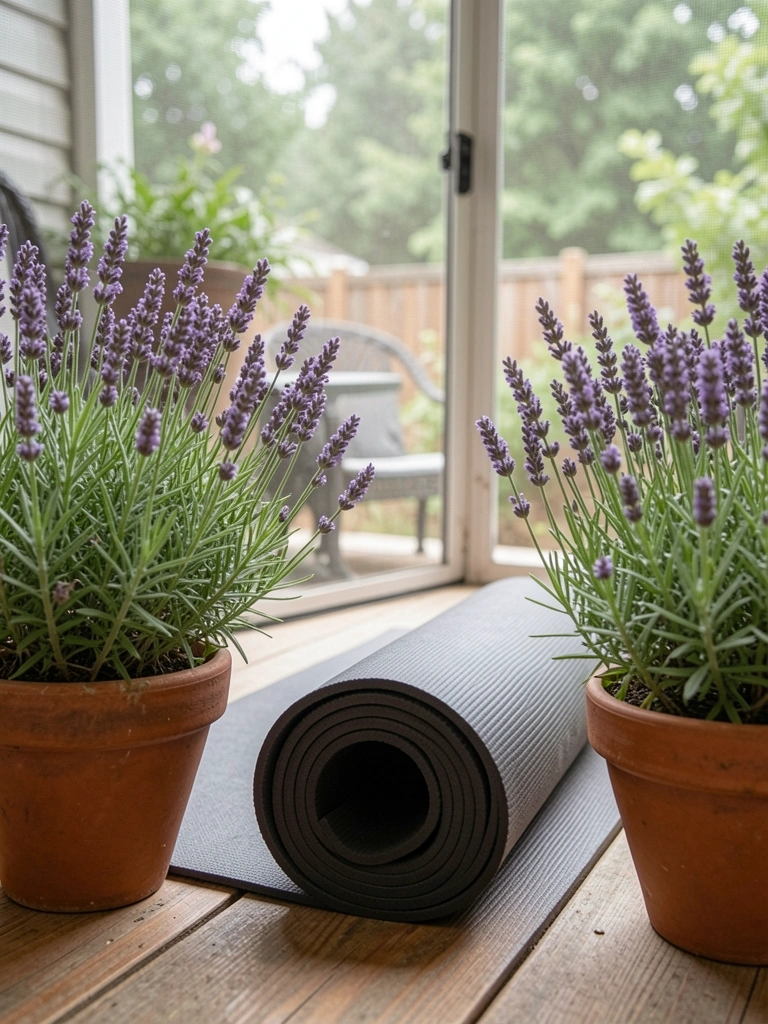
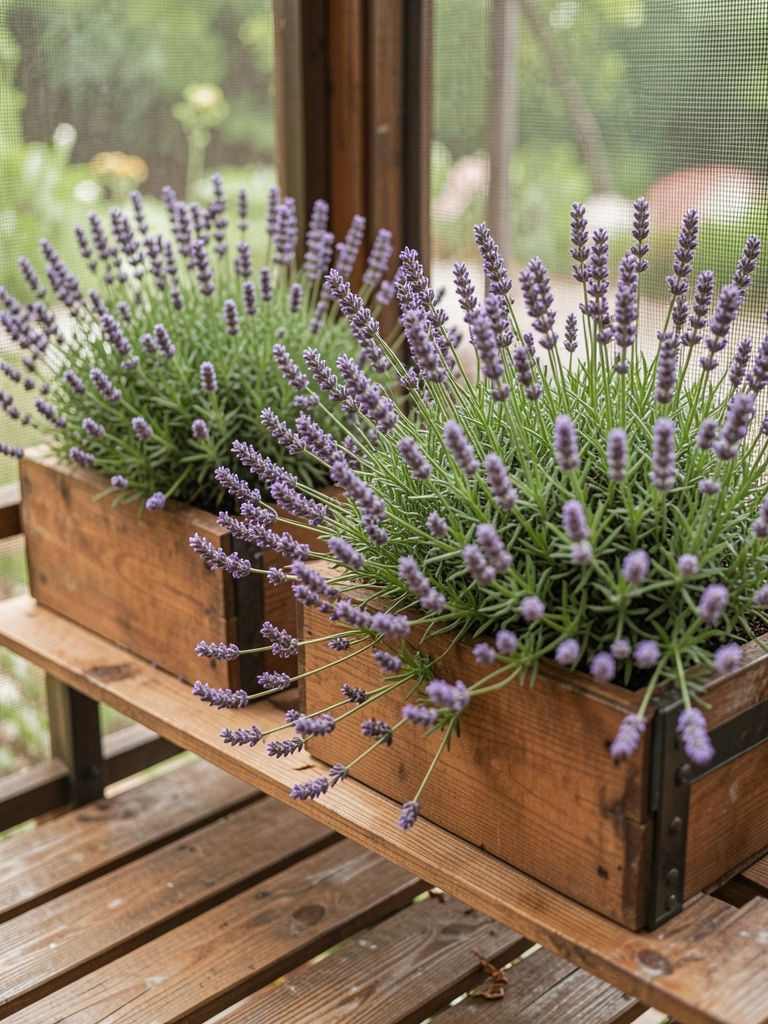
    14. Zen Yoga Mat with Lavender Borders

    Lavender pots bordered my yoga spot in the screened calm. Scents settled the mind.

    Stretches deepened, space quiet. Blooms faded yearly—deadhead.
    What You’ll Need for This Look

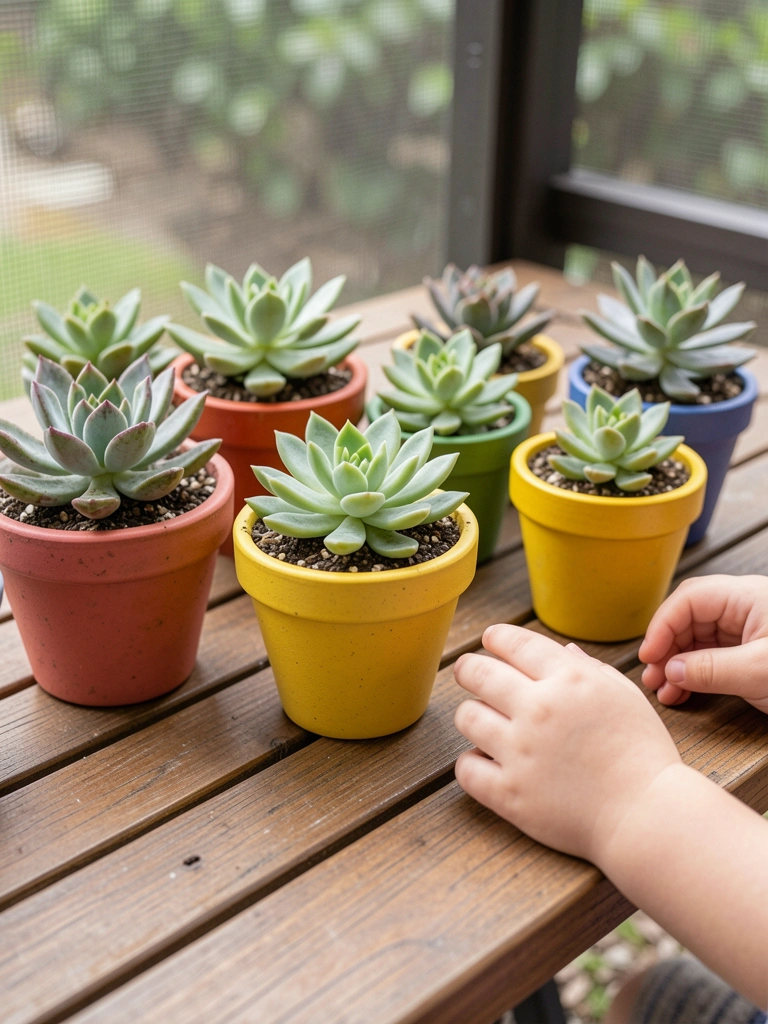
    15. Kid-Safe Succulent Tabletop Garden

    Shallow succulent trays on a low table kept kids busy in my screened patio. Hens and chicks spread slow.

    Laughter mixed with dirt play. Spills happened—choose plastic.

    What You’ll Need for This Look

    Final Thoughts

    Pick one or two ideas that fit your screened patio's light and size. No need for all 15.

    Start small, watch what grows happy there.

    You'll end up with a bug-free spot that feels like home. You've got this.

  • 7 Budget Enclosed Patio Ideas For Affordable Designs

    7 Budget Enclosed Patio Ideas For Affordable Designs

    I remember screening in my back patio last summer. The bugs were ruining every dinner out there. I wanted a spot to sit with coffee, read, feel the breeze without the bites. It took trial and error—cheap screens tore fast—but now it's my favorite room.

    No big budget needed. Just smart swaps.

    One afternoon, sunlight hit the plants just right, and it felt like an extension of the house. Real, not fancy.

    7 Budget Enclosed Patio Ideas For Affordable Designs

    These 7 ideas come from my own yard fixes. All under $200 total if you shop smart. You'll see exactly what to grab and how it plays out.

    1. Mesh Screen Panels That Block Bugs Without the Price Tag

    I stapled mesh panels to my patio frame after mosquitoes chased us inside one too many times. They let air flow but keep the pests out—way cheaper than pro screens. In my setup, I overlapped corners for full enclosure. Wind tugged them at first, so I added clips.

    Now evenings feel open yet safe. The light filters soft through the mesh, highlighting plants behind it.

    Pay attention to tension—too loose, and it sags. I learned that the hard way.

    What You’ll Need for This Look

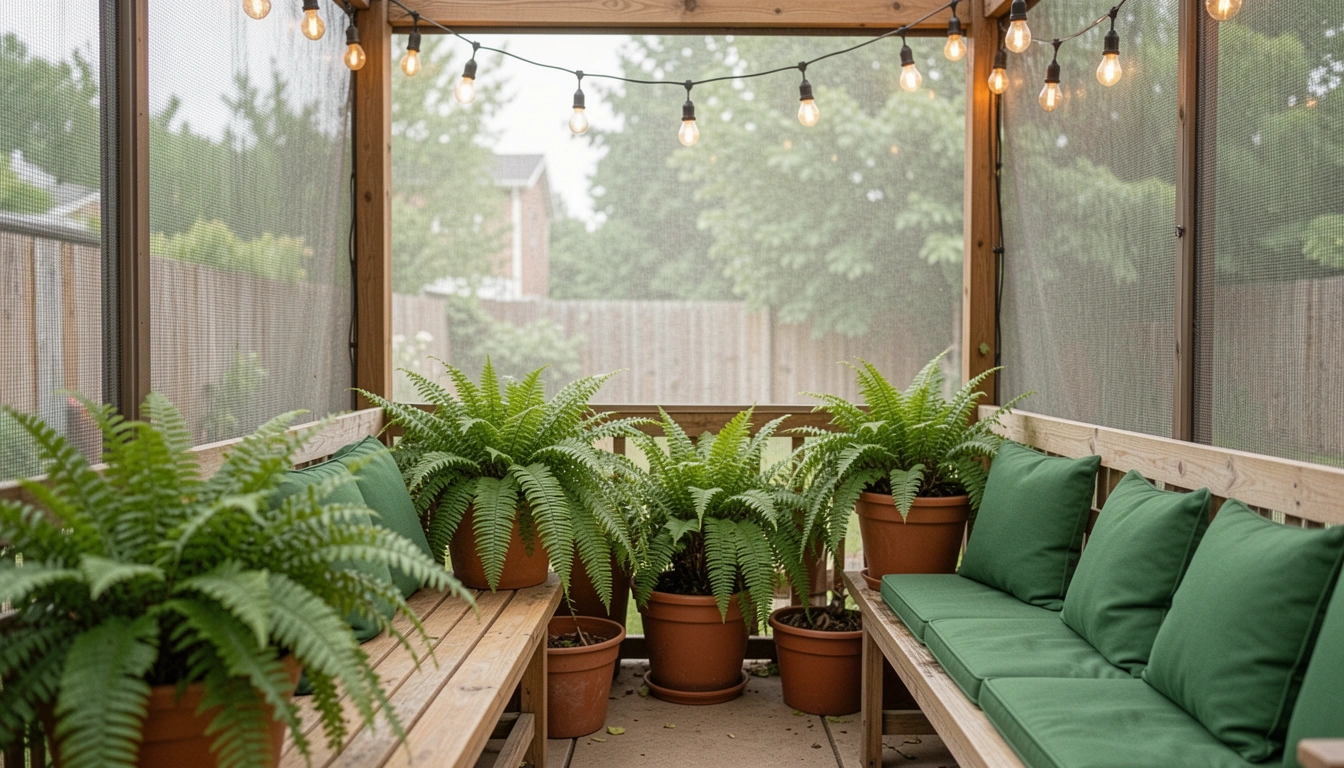
    2. Layered Potted Ferns for Instant Green Walls

    I crammed ferns into mismatched pots along my patio's bare walls. They grew fast, creating privacy without building fences. Started with three levels—floor pots, mid-shelf, hanging. Mistake: watered too much at first, roots rotted one out.

    The green softens the screens, makes it feel like a forest nook. Mornings, dew clings to fronds, smells fresh.

    Group by height for depth. Ferns thrive in shade, perfect for covered spots.

    What You’ll Need for This Look

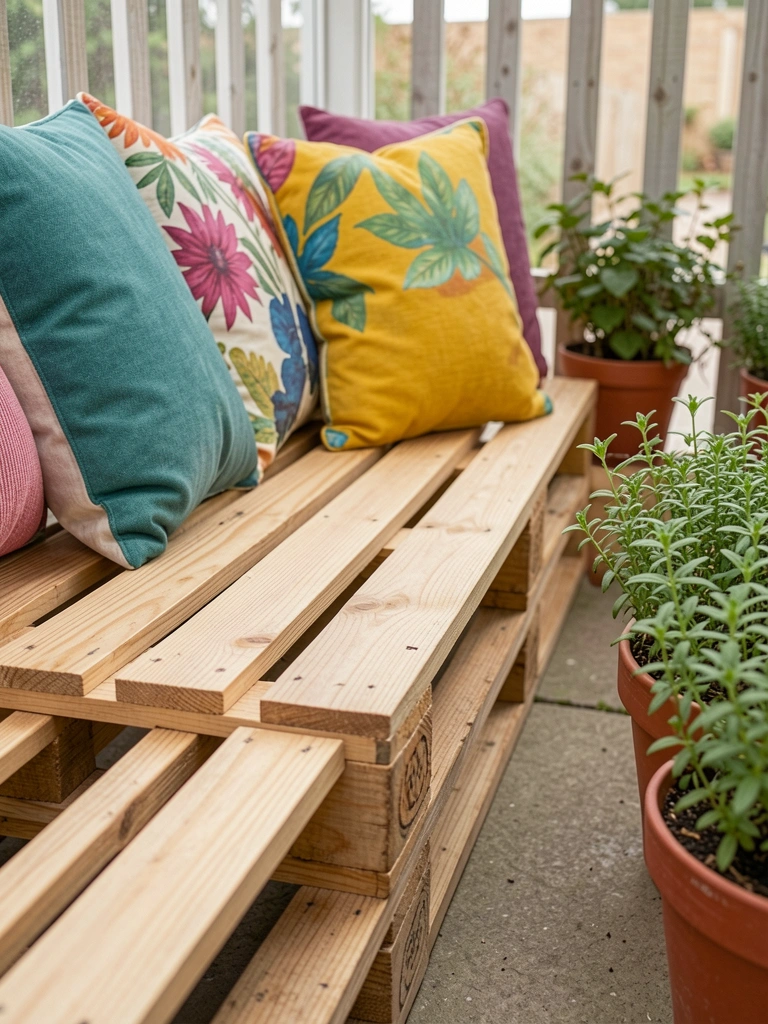
    3. Pallet Bench with Thrifted Cushions for Seating

    Broke down free pallets into a simple bench—sanded smooth, braced with screws. Added cushions from a garage sale. Fits two comfortably against the screen wall. I forgot bracing first time; it wobbled till I fixed it.

    Now it's the go-to spot for coffee. Cushions soften the wood, plants nearby add life.

    Sand well to avoid splinters. Cushions weather okay if stored in rain.

    What You’ll Need for This Look

    4. Solar String Lights Draped Over Screens

    Draped solar strings along the top screen edges after dark nights felt too dim. They charge by day, glow soft evenings—no wiring hassle. Positioned to cast light down, not harsh.

    Turns the patio cozy after sunset. Shadows play on plants, feels alive.

    Test placement daytime. I moved mine twice for even coverage.

    What You’ll Need for This Look

    5. Vertical Herb Ladder from Scrap Wood

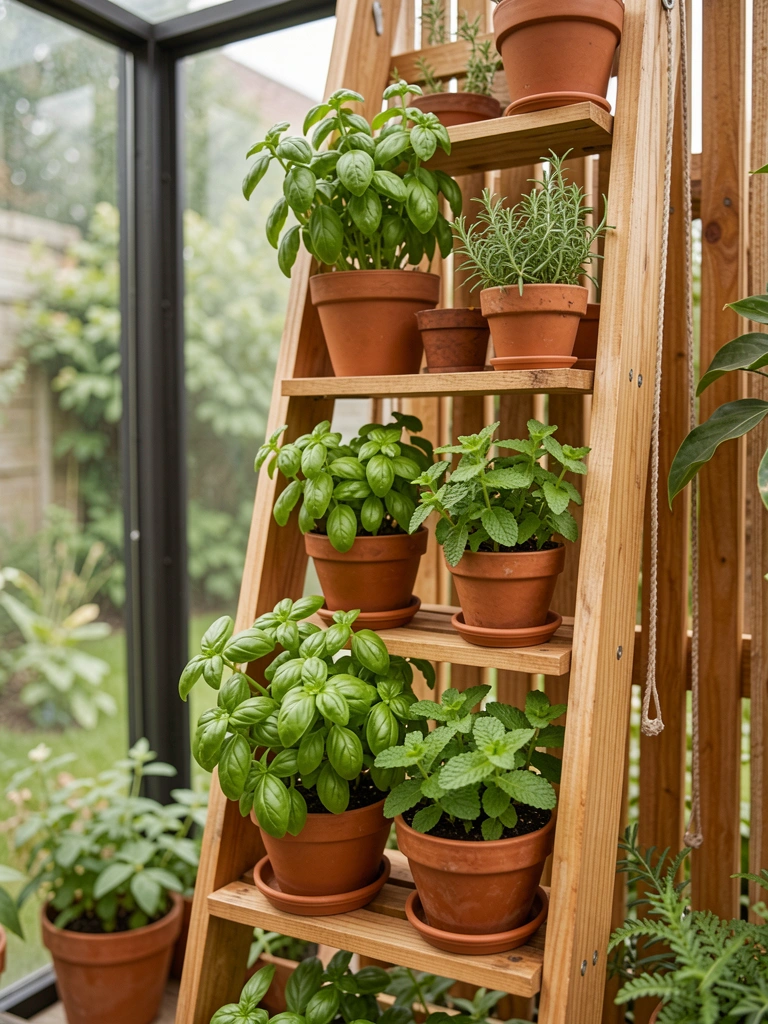
    Nailed scrap 2x4s into an A-frame ladder, added shelves for herbs. Herbs fill it out quick, easy reach for cooking. Overplanted at first—crowded, leggy stems.

    Fills a corner, smells great when brushed. Sun filters through screens, keeps them happy.

    Lean against wall, secure top. Herbs like drainage.

    What You’ll Need for This Look

    6. Woven Bamboo Rolls as Side Dividers

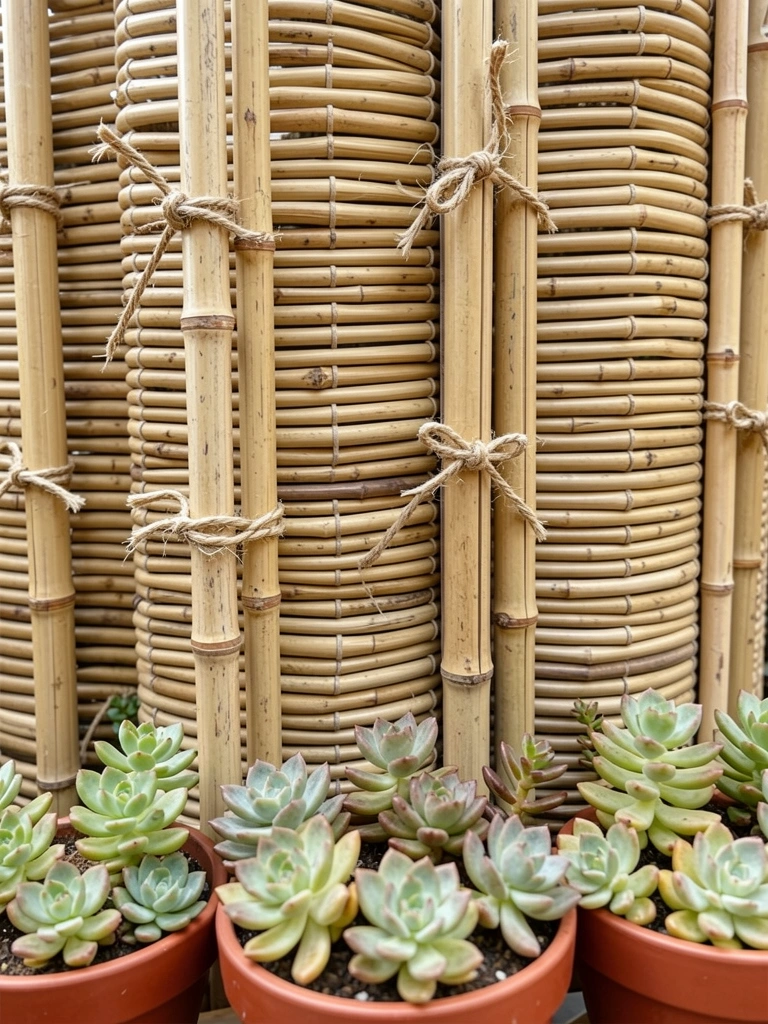
    Rolled bamboo mats along one side for wind block and style. Tied to posts—cheap, natural look. Faded fast in sun, so I sealed it.

    Breaks up the space, adds texture. Plants at base ground it.

    Measure twice; rolls shrink wet.

    What You’ll Need for This Look

    7. Hanging Fabric Panels for Soft Light Control

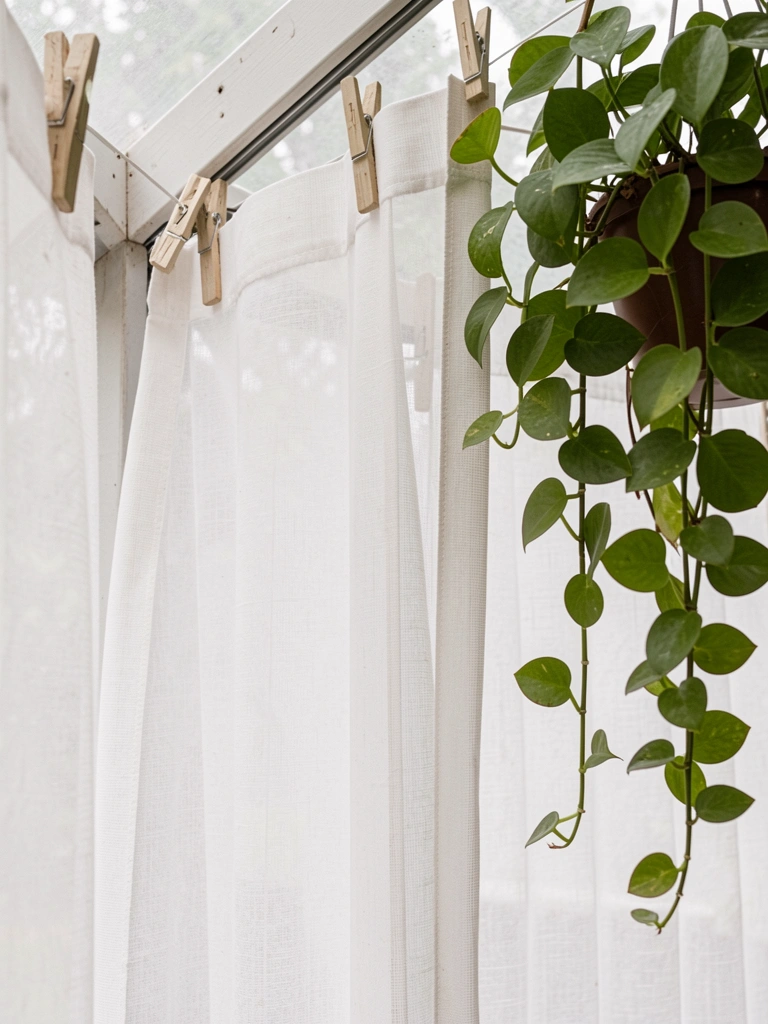
    Hung sheer drop cloths from a rod for adjustable light. Clips let me slide them open. Bought too heavy first—tore clips.
    Diffuses harsh sun, keeps it breezy. Pothos climbs them now.

    Use tension rod—no drilling.

    What You’ll Need for This Look

    Final Thoughts

    Pick one or two ideas that fit your space. Mine started small, grew over time.

    You'll mess up a bit—that's how it sticks. Now my patio's a daily spot.
    You got this. Plant it, sit back, watch it settle.