Author: Lily Victoria

  • How To Build A Paver Patio

    How To Build A Paver Patio

    My backyard sloped awkwardly toward the fence. Rain pooled there. Plants washed out. I needed a flat spot to set a chair, eat dinner outside. Not fancy. Just usable.

    I'd tried mulch paths before. They sank and scattered. Grass wouldn't hold. The dirt stayed empty.

    One summer, I laid pavers instead. Now it's level. Dry. Feels right.

    How To Build A Paver Patio

    This shows you how I create a simple paver patio that sits balanced in the yard. You'll end up with a clean, steady surface for chairs or pots. It's straightforward. I've done it in tight corners too.

    What You’ll Need

    Step 1: Mark and Clear the Spot

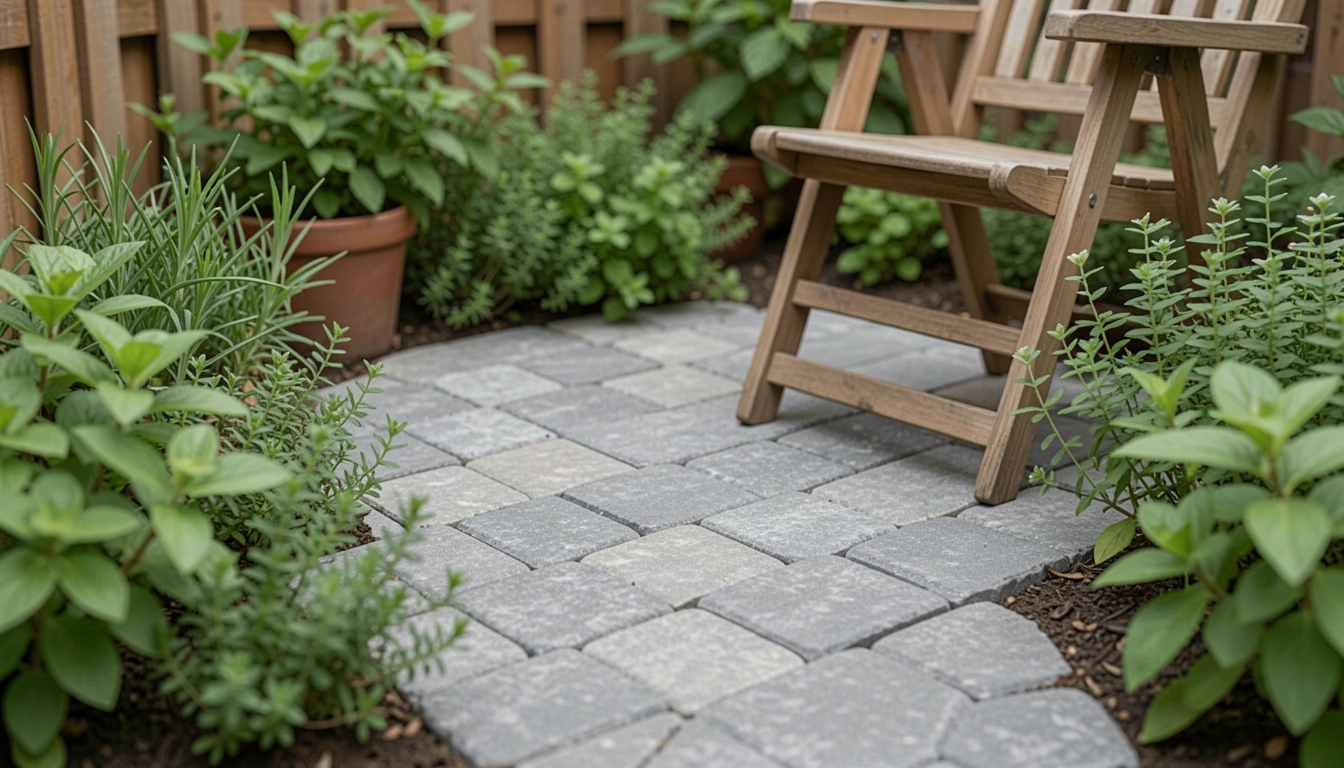
    I walk the yard first. Eye the flat stretch near the door. That's where chairs go. Mark it with stakes and string. Square it off. Twice the width of my table.

    Clear grass and roots. Dig even. Six inches deep feels right. The ground firms up. Looks ready.

    People miss checking slope here. Water must run off, not pool. I tilt it a hair away from house. Avoid digging too deep—makes the base shaky.

    Now the space breathes. Balanced outline.

    Step 2: Level the Base Layer

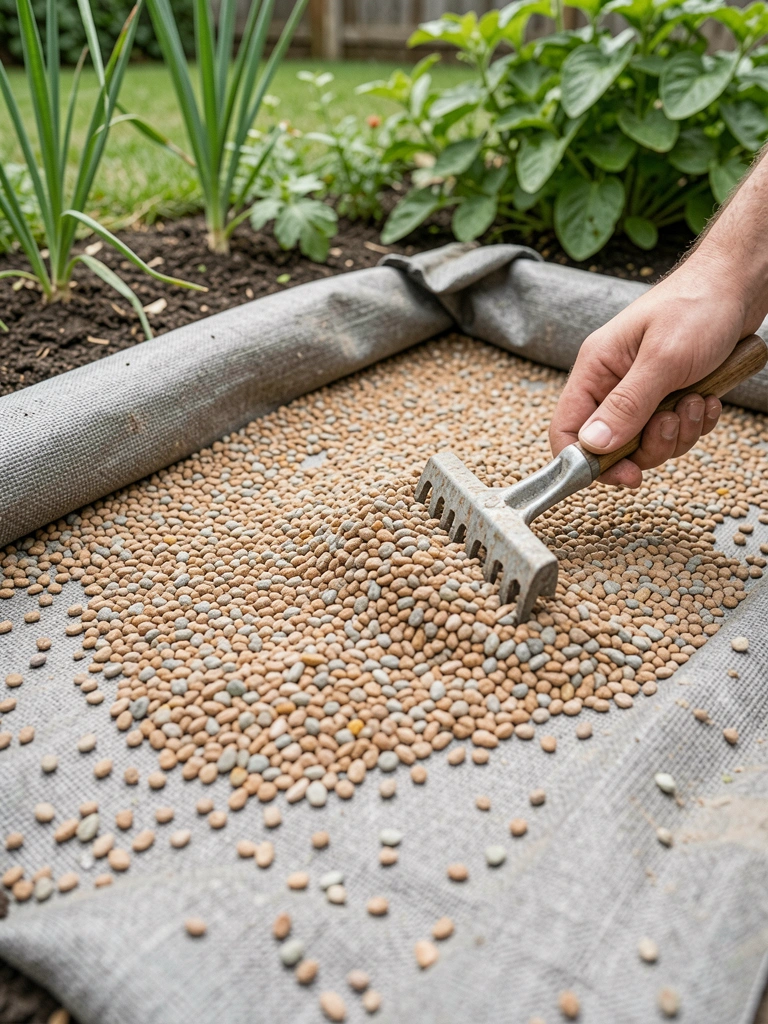
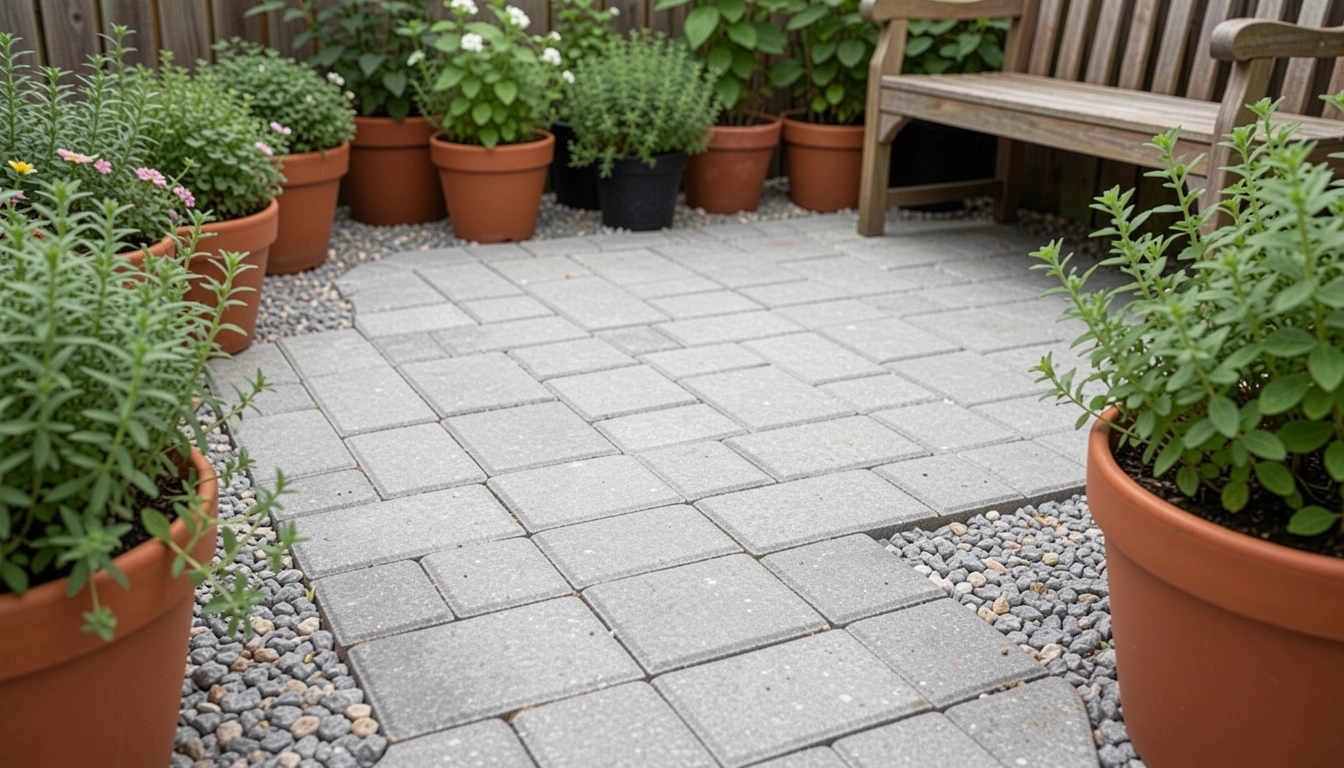
    Lay landscape fabric down. Cuts weeds. Add three inches of pea gravel. Rake smooth. Use the level often.

    Compact it with my feet first. Then the tamper. It settles firm. No wobble.

    Insight: Gravel drains rain fast. Dirt alone turns mud. Skip compacting? Pavers sink over winter.

    Visually, it's even now. Gray base peeks through. Steady underfoot.

    Step 3: Add Sand and Set Pavers

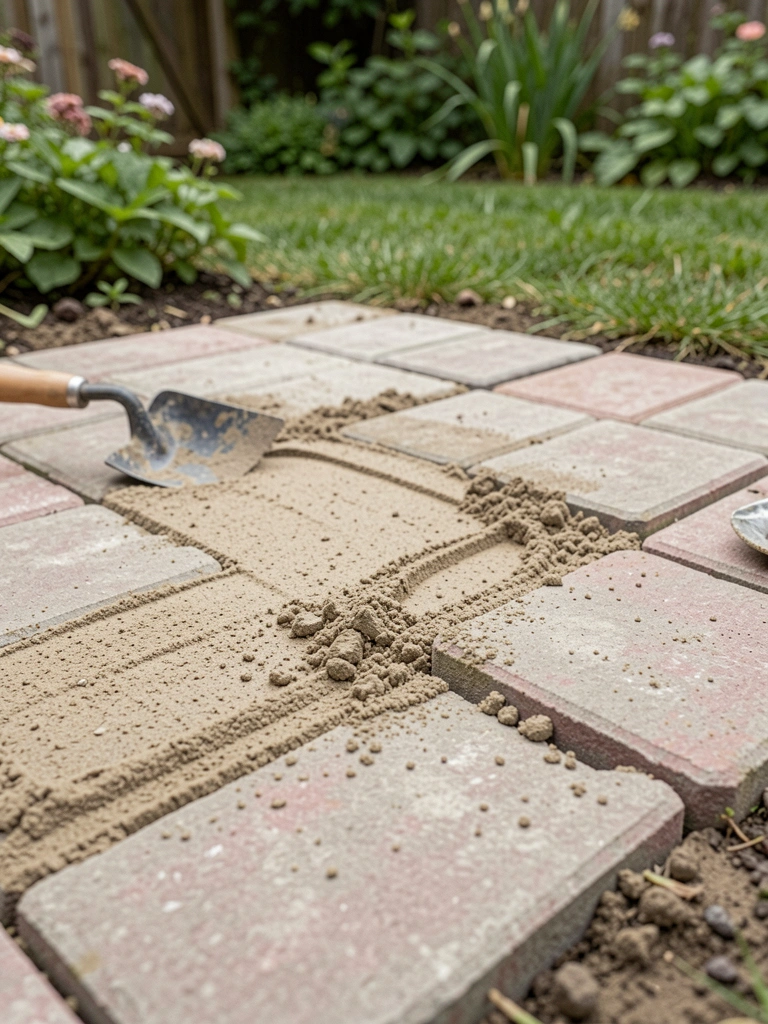
    Screed one inch of sand over gravel. Straight boards make it flat. Lay pavers in rows. Tap with mallet. Keep joints tight.

    Start center. Work out. They nestle close. Gray tones blend with yard.

    Missed insight: Dry lay first. Test pattern. Random looks busy—stick to rows for calm.

    Visual shift: Surface appears. Solid gray plane. Chairs test steady.

    Step 4: Edge and Fill Joints

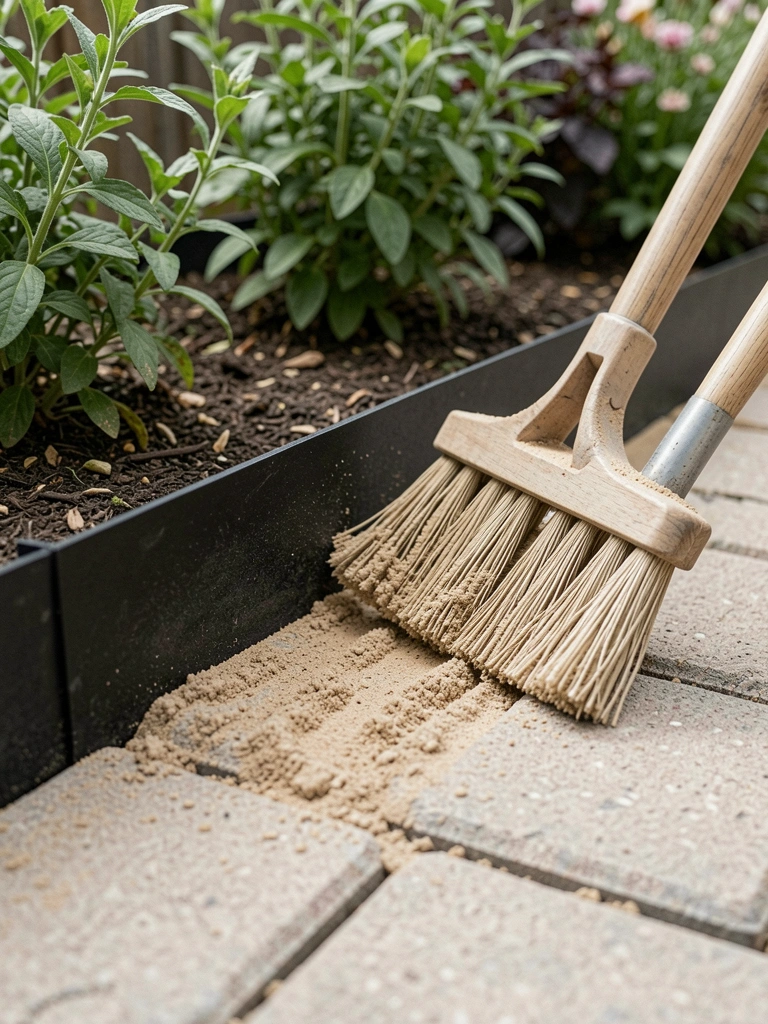
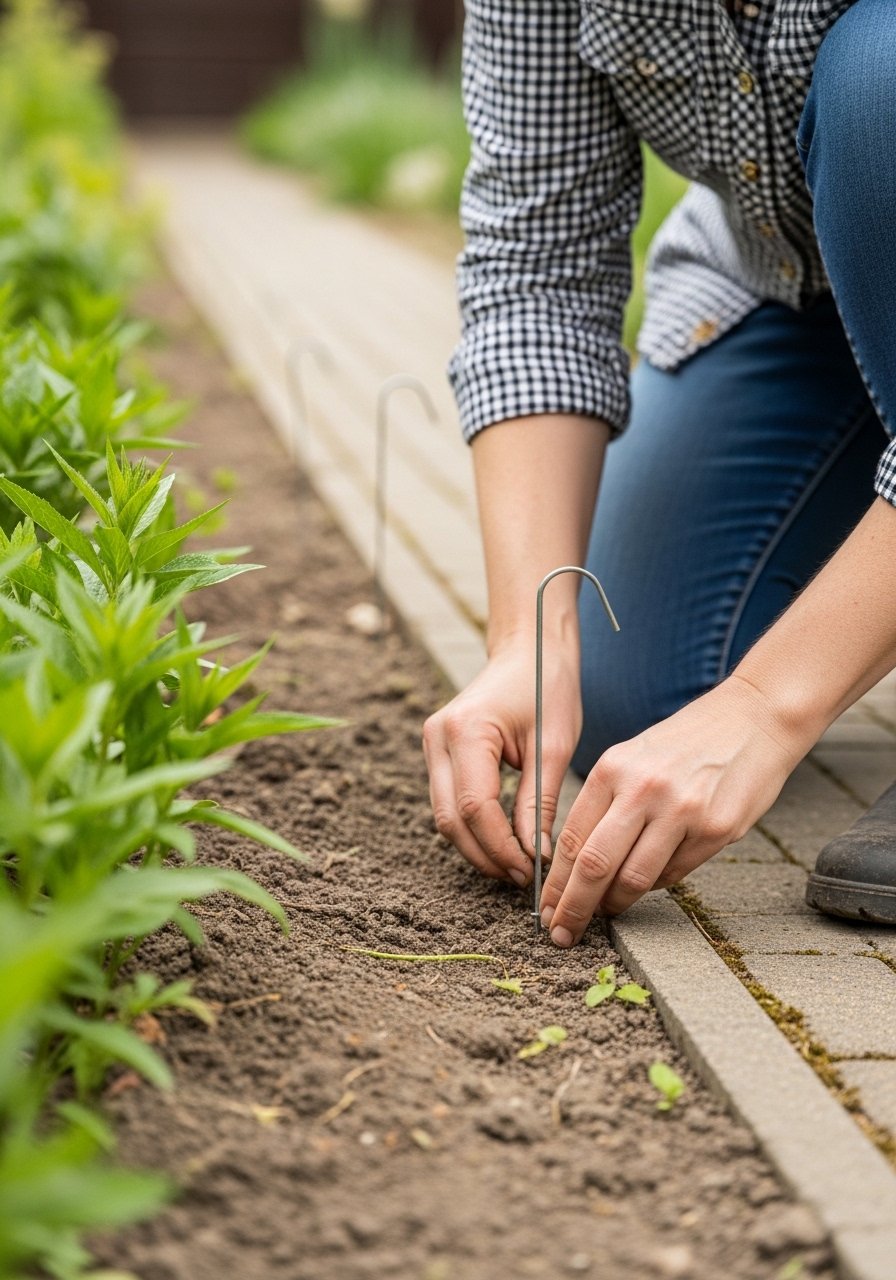
    Bury edging along sides. Pins hold it. Keeps pavers locked.

    Sweep polymeric sand in. Mist lightly. It sets hard.

    Common mistake: Over-water. Sand washes out. Let it haze dry.

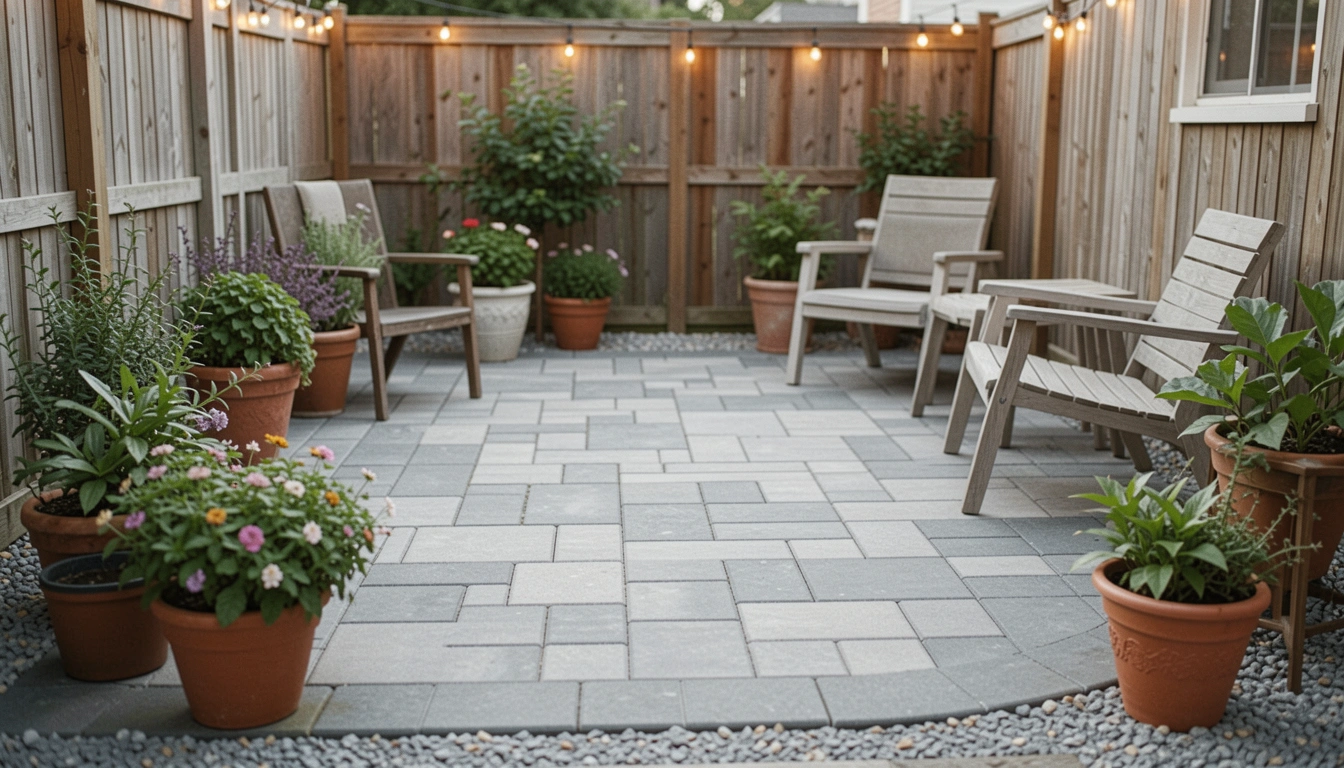
    Now it's done. Clean lines. Patio holds pots balanced.

    Step 5: Settle and Blend

    Walk over it heavy shoes. Tap any high spots. Add gravel outside edges.

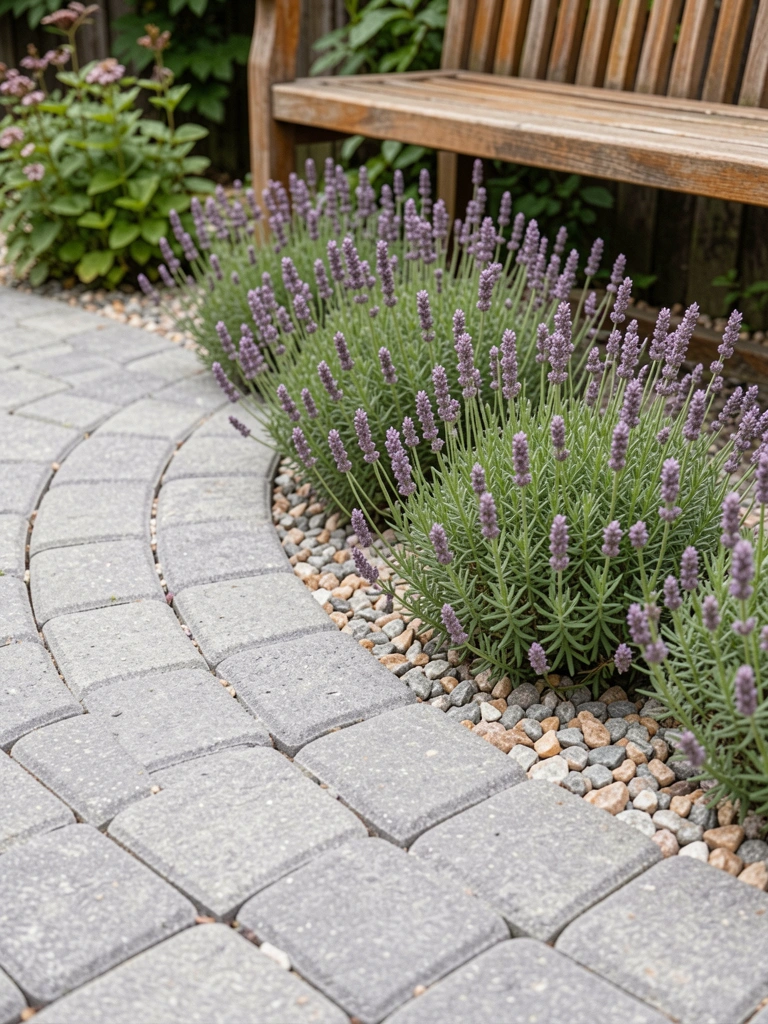
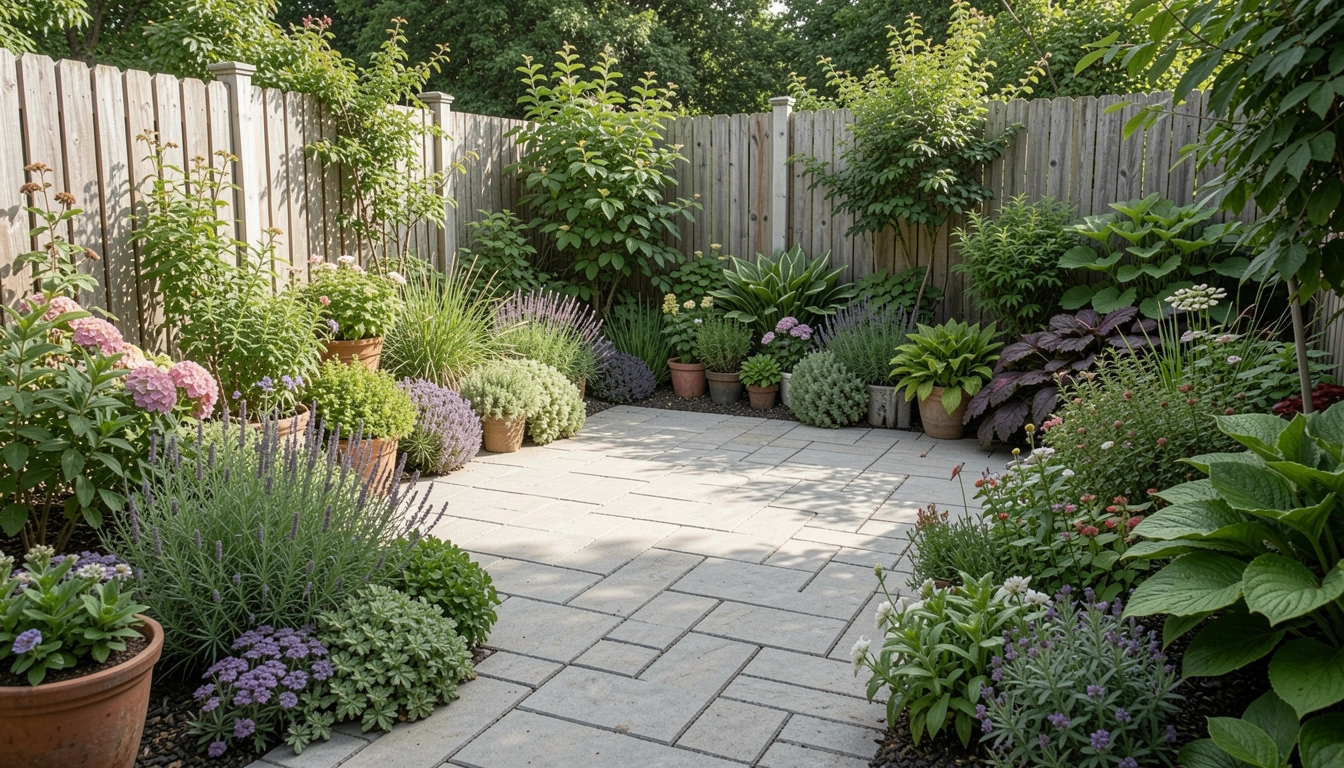
    Tuck low plants around. Lavender softens corners.

    People forget blending. Bare edges scream new. Plants make it lived-in.

    Feels complete. Warm under sun.

    Planting Around the Edges

    Pavers sit best with greens framing them. I plant low growers close.

    • Lavender or sedum trail over edges. Stay tidy.
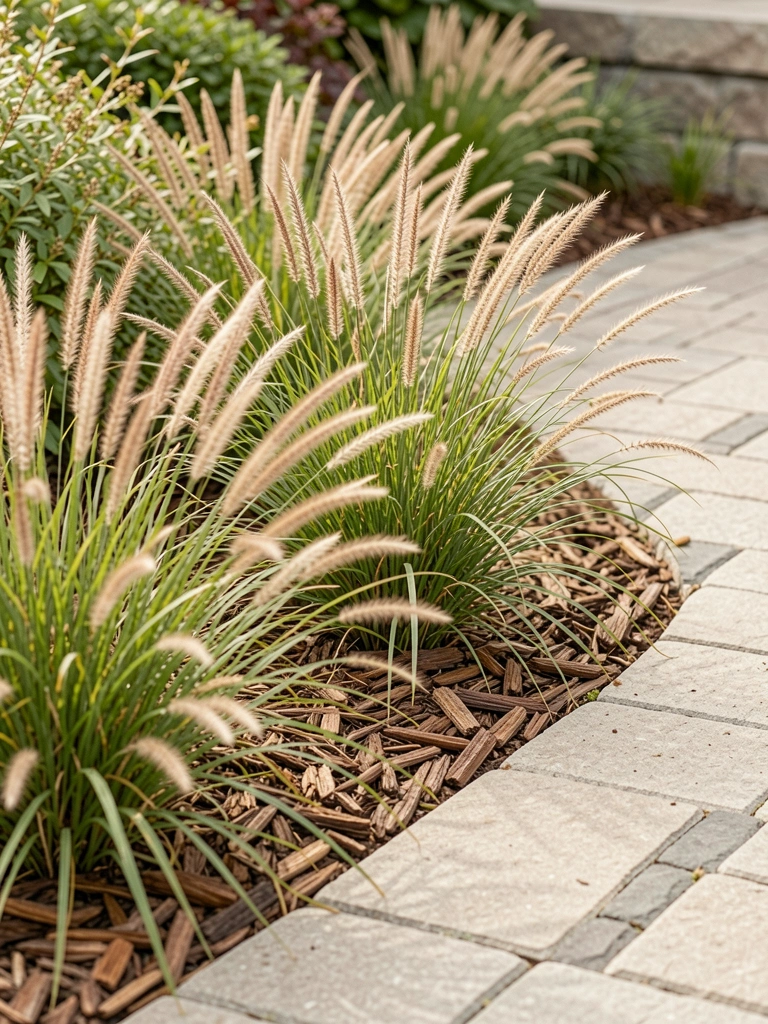
    • Taller grasses back it. Hide fence.
    • Mulch between. Ties to yard.

    It softens the hard lines. Yard flows now.

    One year, bare pavers felt stark. Added pots first. Then beds. Balanced.

    Keeping It Clean Year-Round

    Patios gather leaves. Moss in shade.

    • Hose joints monthly. Loose sand first.
    • Vinegar spray moss. Gentle.
    • Re-sand cracks yearly.

    Winter salt? Skip it. Ruins pavers.

    Mine stays comfortable. Chairs out early spring.

    When to Call It Good Enough

    Not every yard needs huge patios. Mine's 10×10. Fits two chairs, table.

    • Measure traffic first.
    • Skip fancy cuts. Straight works.
    • Add later if needed.

    Perfection waits. Use it as is.

    Final Thoughts

    Start with a small patch. Test by the door. You'll see how it grounds the yard.

    Pavers shift a space from messy to intentional. Without fuss.

    Mine gets used daily now. Sit with coffee. Feels like it belongs. Yours will too.

  • 15 Budget Paver Patio Ideas For Affordable Style

    15 Budget Paver Patio Ideas For Affordable Style

    I laid my first paver patio last spring. Bare gray squares stared back at me. Felt cold, empty.

    Then I started adding bits here and there. A pot, some lights. It warmed up fast.

    Now it's where I sit with coffee. You can do this too. No big budget needed.

    15 Budget Paver Patio Ideas For Affordable Style

    Here are 15 budget paver patio ideas from my own gardens. They're practical, cheap, and turn a plain slab into something comfortable. Each one under $100 to start.

    1. Layered Container Planting Along Edges

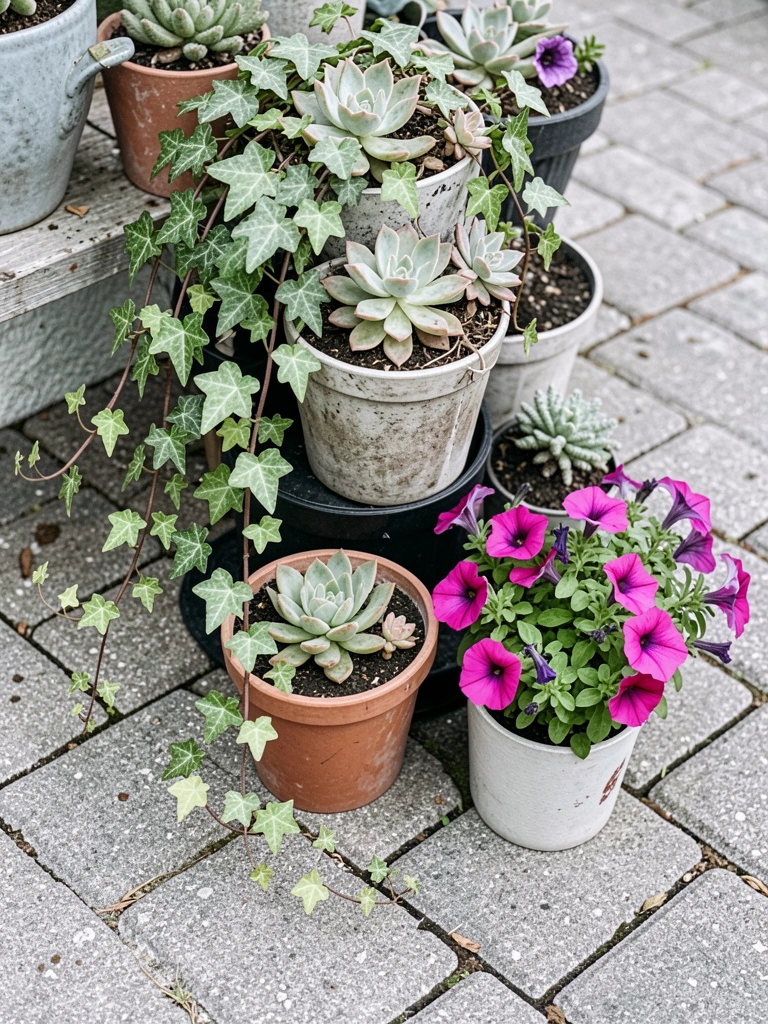
    I planted pots right along the paver edges in my back yard. Started with low growers like sedum at the base, then mid-height herbs, and trailing ivy spilling over.

    It softens the hard lines. Makes the patio feel wrapped in green. Walks changed—now it's cushioned, alive.

    Watch the sun there. Full blasts some spots, shade others. Group pots to shade each other.

    One mistake: overwatered once, rotted roots. Now I check soil first.

    What You’ll Need for This Look

    2. Gravel Borders for Clean Definition

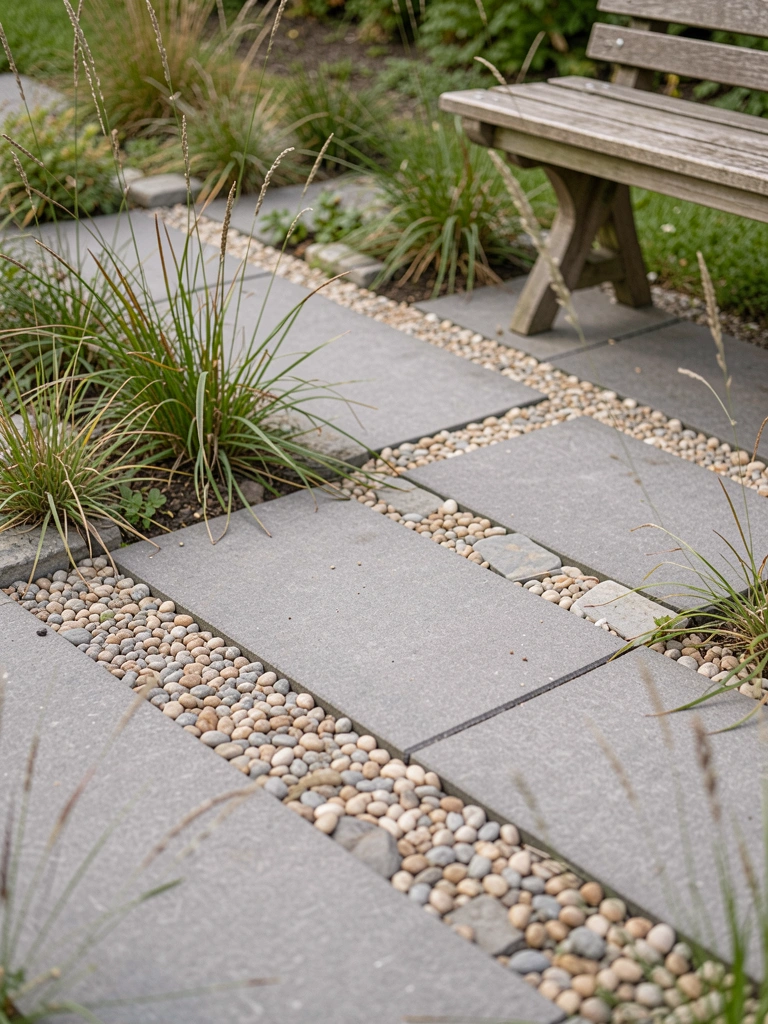
    Pea gravel between paver rows in my side patio. Filled gaps cheap, drained rain fast.

    Looks intentional, not sloppy. Ties the space together. Feet sink a bit—cozy underfoot.

    Rake it smooth weekly. Weeds pop less if you edge with plastic strips first.

    I skipped edging once. Gravel spread everywhere. Lesson learned.

    What You’ll Need for This Look

    3. Overhead String Lights on Tension Poles

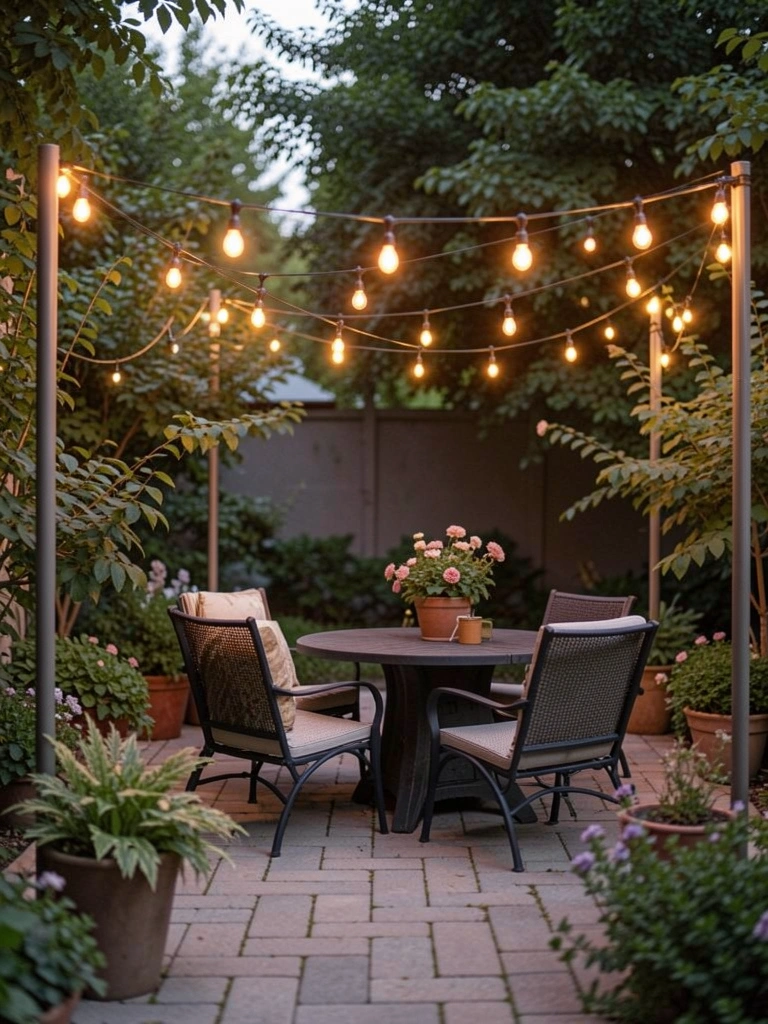
    Tension poles hold string lights over my pavers. No drilling, snaps up in minutes.

    Nights feel longer, warmer. Gathers people without trying.

    Pick warm white bulbs. Cool ones wash out colors. Wind tugs them—secure clips.

    Bought cheap ones first. Burned out quick. Solar now lasts seasons.

    What You’ll Need for This Look

    4. Mismatched Thrift Chairs with Cushions

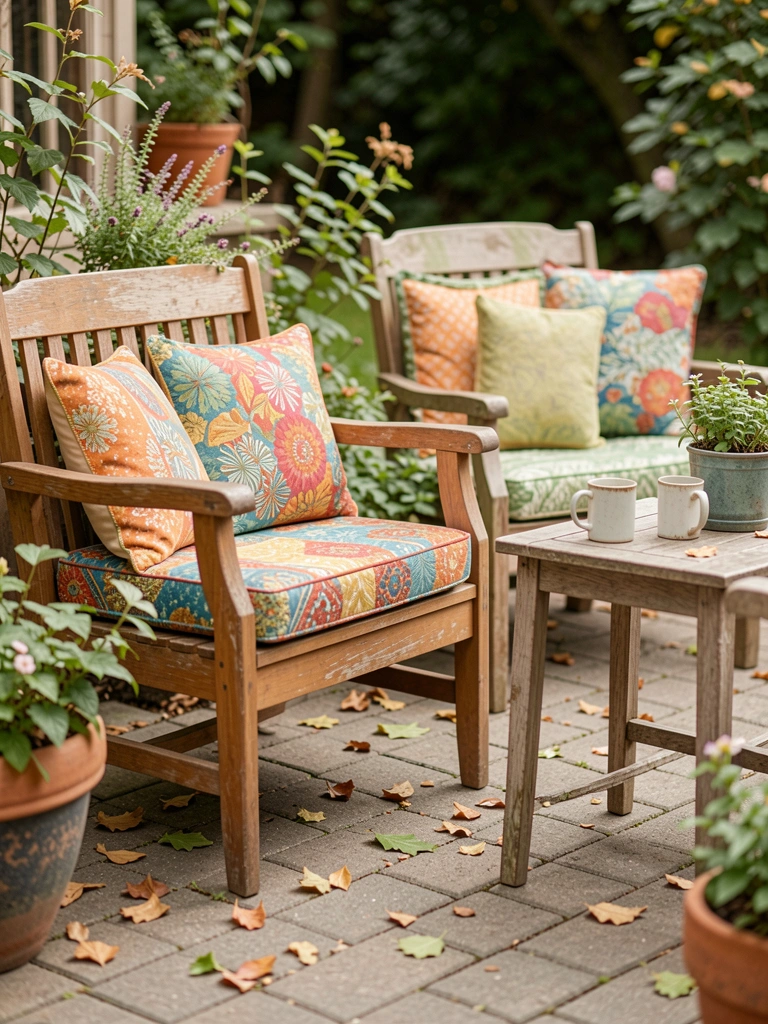
    Picked up old chairs cheap, added cushions on my front pavers. Mix adirondack with cafe styles.

    Feels collected, not matched. Sits comfy for hours.

    Sun fades fabric—pick outdoor grade. Stack when rain hits.

    One wobbled bad. Shims fixed it easy.

    What You’ll Need for This Look

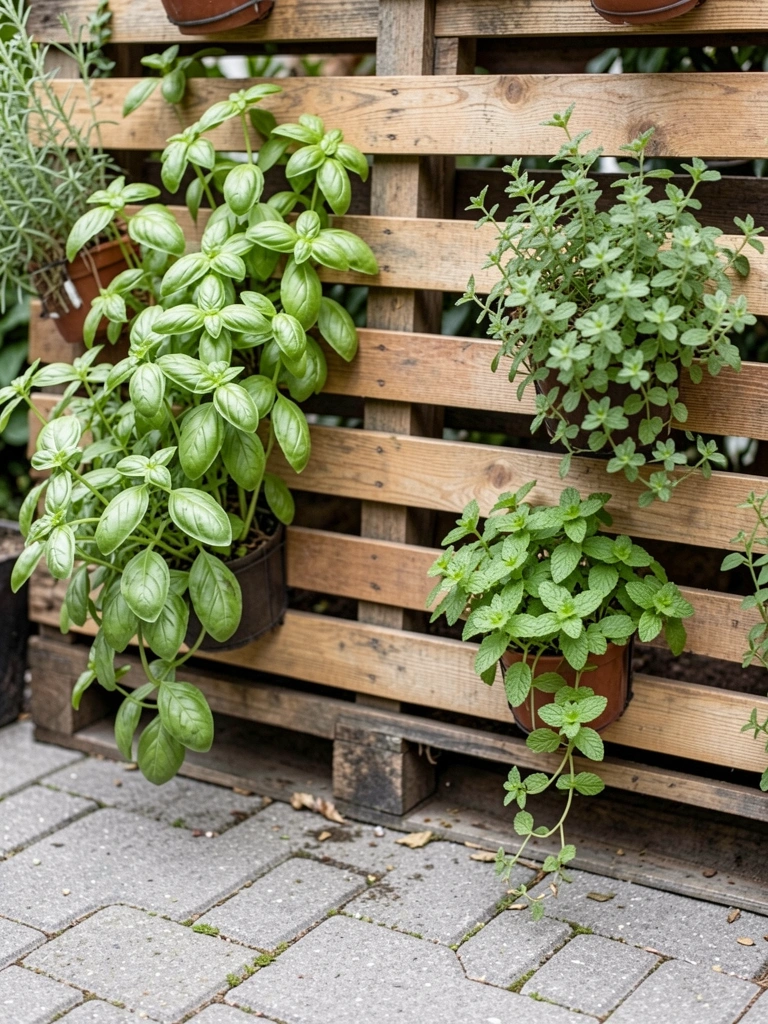
    5. Vertical Herb Wall from Pallets

    Nailed a pallet to the fence behind pavers. Pocketed pots with herbs.

    Snip fresh for meals right there. Green wall hides the fence.

    Water from top down. Herbs like basil trail nice.

    Overplanted once—toppled. Space them now.

    What You’ll Need for This Look

    6. Central Fire Pit with Log Seats

    Set a cheap metal pit in the paver middle. Log rounds for seats.

    Evenings crackle soft. Draws folks close.

    Clear ash weekly. Pavers handle heat fine.

    Logs rotted fast first year. Seal them now.

    What You’ll Need for This Look

    7. Mulch-Filled Gaps for Soft Texture

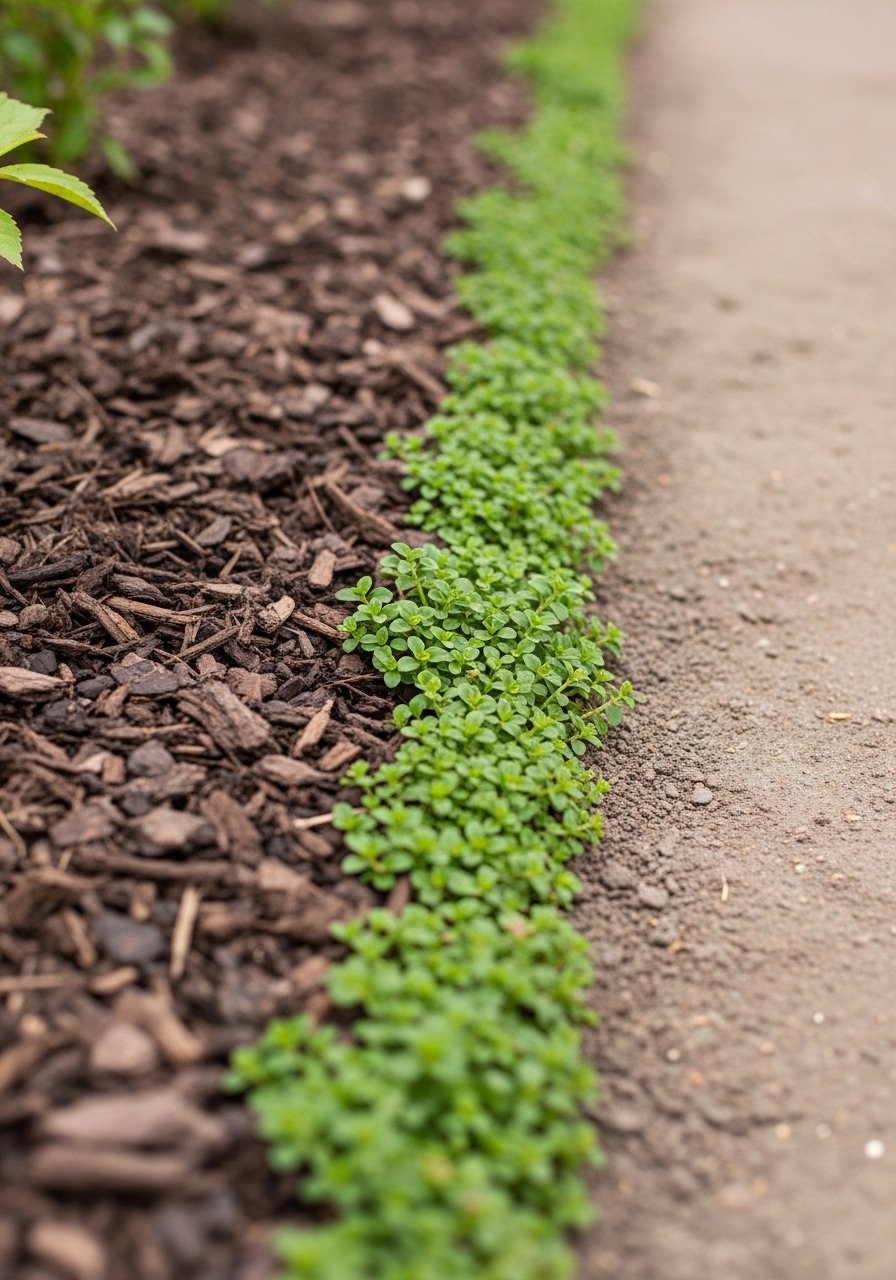
    Dug shallow, filled paver gaps with mulch and thyme seeds.

    Weeds stay out, smells good when walked. Blends patio to yard.

    Top up yearly. Thyme fills slow.

    Mulch washed first rain. Pressed it in after.

    What You’ll Need for This Look

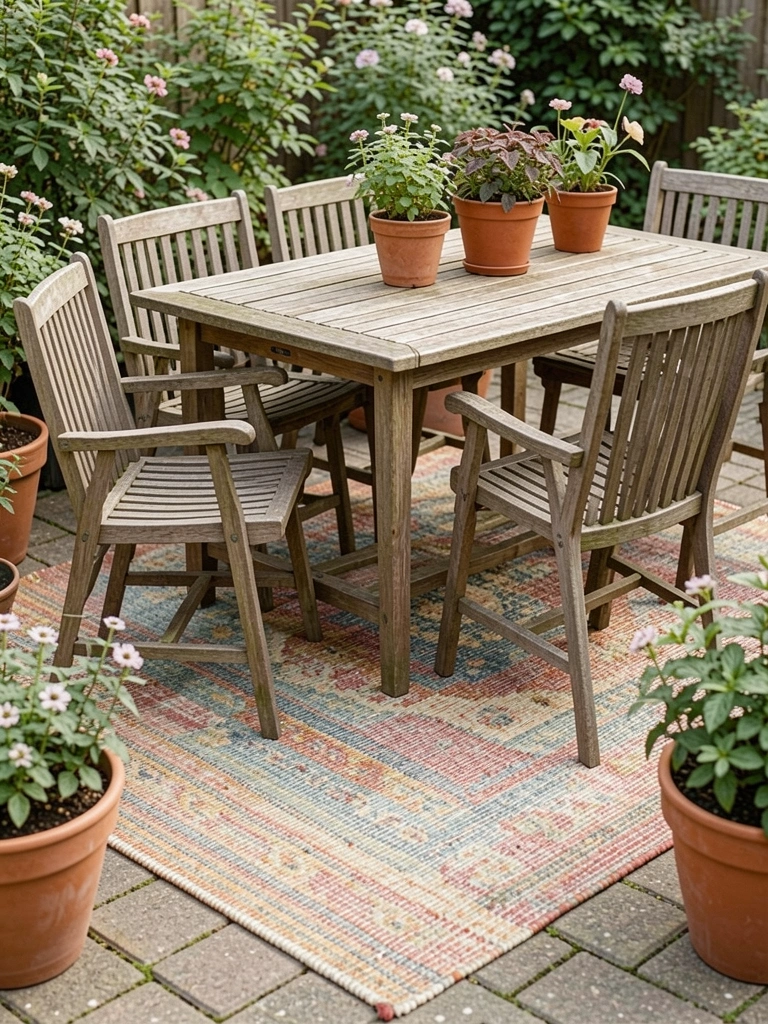
    8. Outdoor Rugs Under Seating Area

    Rolled a thrifted rug over pavers where we sit.

    Defines the spot, warms bare feet. Hides uneven lays.

    Shake dust off, hose down. Pick flatweave.

    Slipped first time. Rug gripper fixed.

    What You’ll Need for This Look

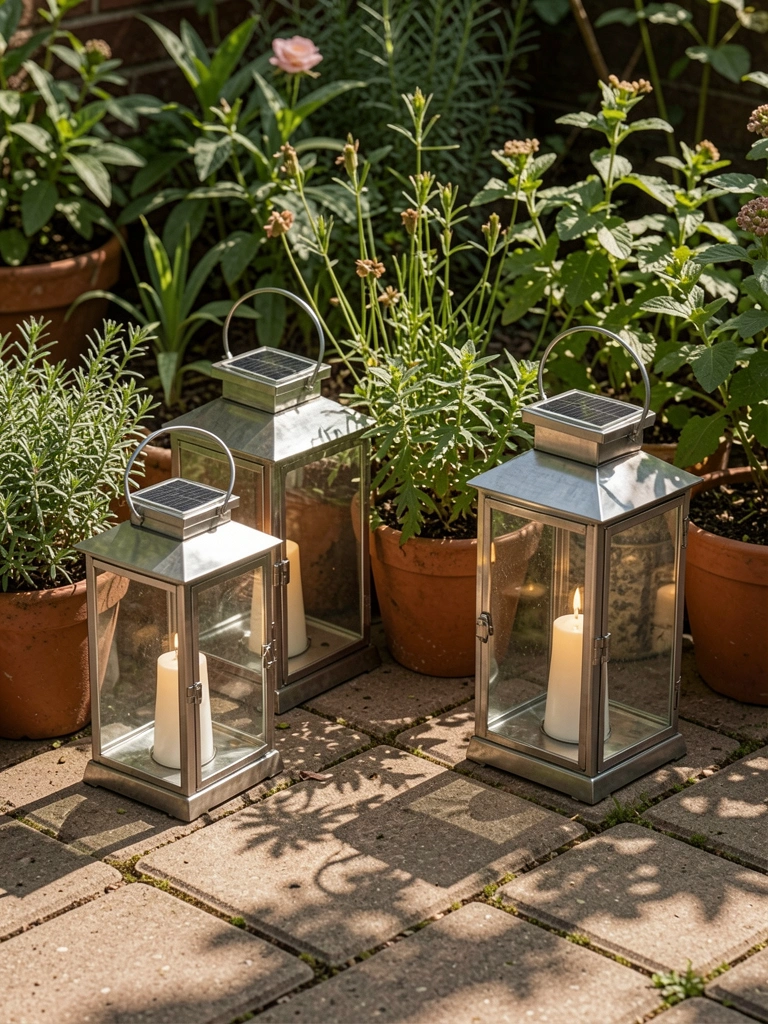
    9. Solar Lanterns Clustered on Ground

    Dropped solar lanterns in clusters on paver edges.

    Path lights up at dusk. Cozy pools of light.

    Charge full sun. Mix heights.

    Cheap ones dimmed. Metal lasts better.

    What You’ll Need for This Look

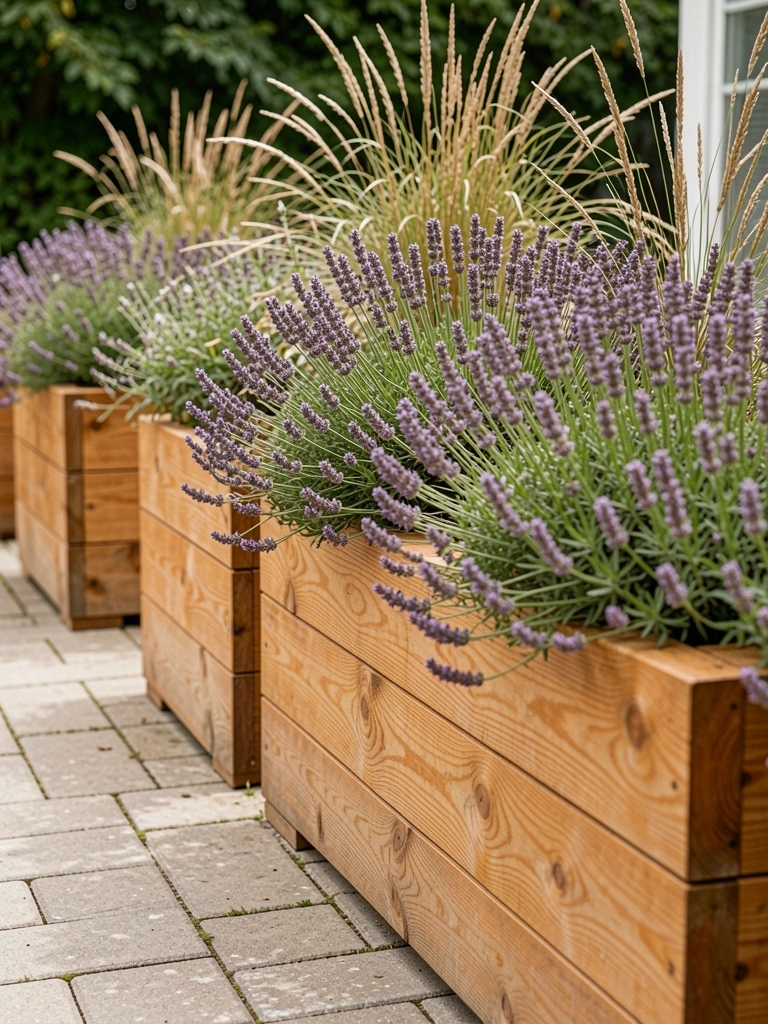
    10. Raised Planter Boxes as Borders

    Built low cedar boxes around paver edges. Filled with lavender.

    Frames the space soft. Bees hum summer.

    Drain holes key. Wood weathers gray nice.

    Leveled wrong once. Shimmed even.

    What You’ll Need for This Look

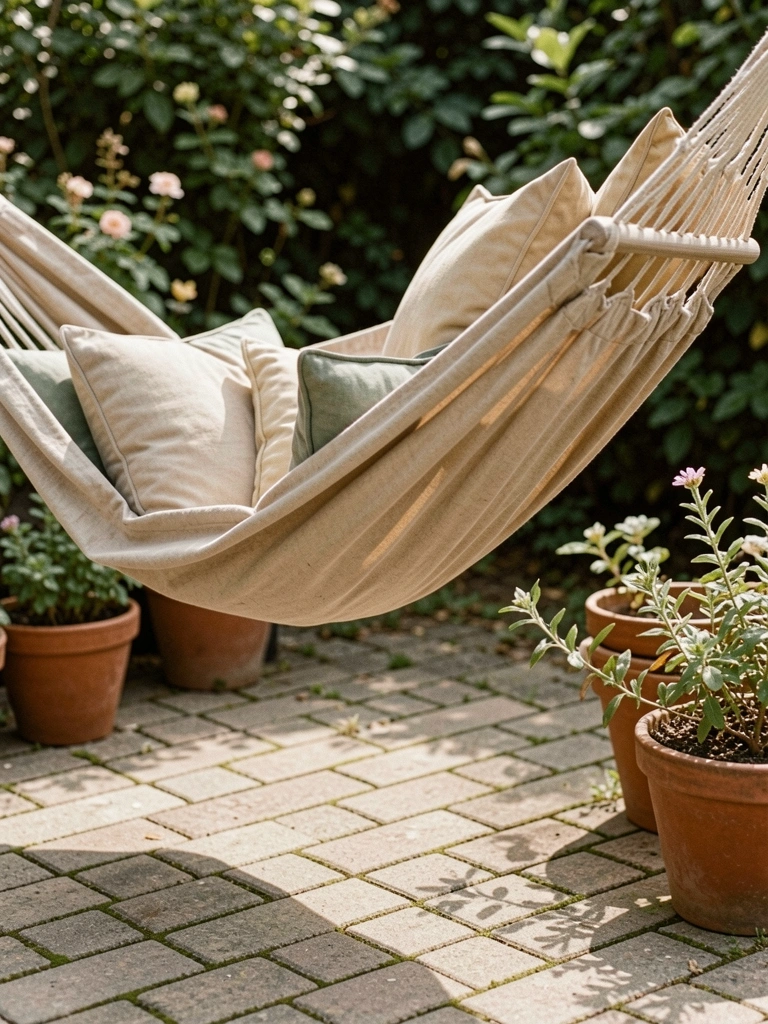
    11. Hammock Between Trees Over Pavers

    Hung a hammock low over pavers, trees as posts.

    Nap spot magic. Breeze right there.

    Knots tight, spreader bars. Test weight.

    Slid first hangs. Eye bolts helped.

    What You’ll Need for This Look

    12. Potting Station in Corner

    Set a shelf station in paver corner. Tools, pots handy.

    Work without trekking. Stays organized.

    Cover soil bags. Shelf strong.

    Spilled dirt everywhere first. Tray catches now.

    What You’ll Need for This Look

    13. Pebble Mosaic Accents in Pavers

    Pressed pebbles into wet mortar at paver joins.

    Subtle art pops. Feet feel it crunch.

    Smooth pebbles grip mortar. Seal top.

    Grout too thick once. Thinner flows.

    What You’ll Need for This Look

    14. Bird Bath as Focal Point Center

    Placed a shallow bird bath mid-pavers.

    Birds come daily. Life in the space.

    Clean weekly, fresh water. Level it true.

    Tipped first spot. Packed base.

    What You’ll Need for This Look

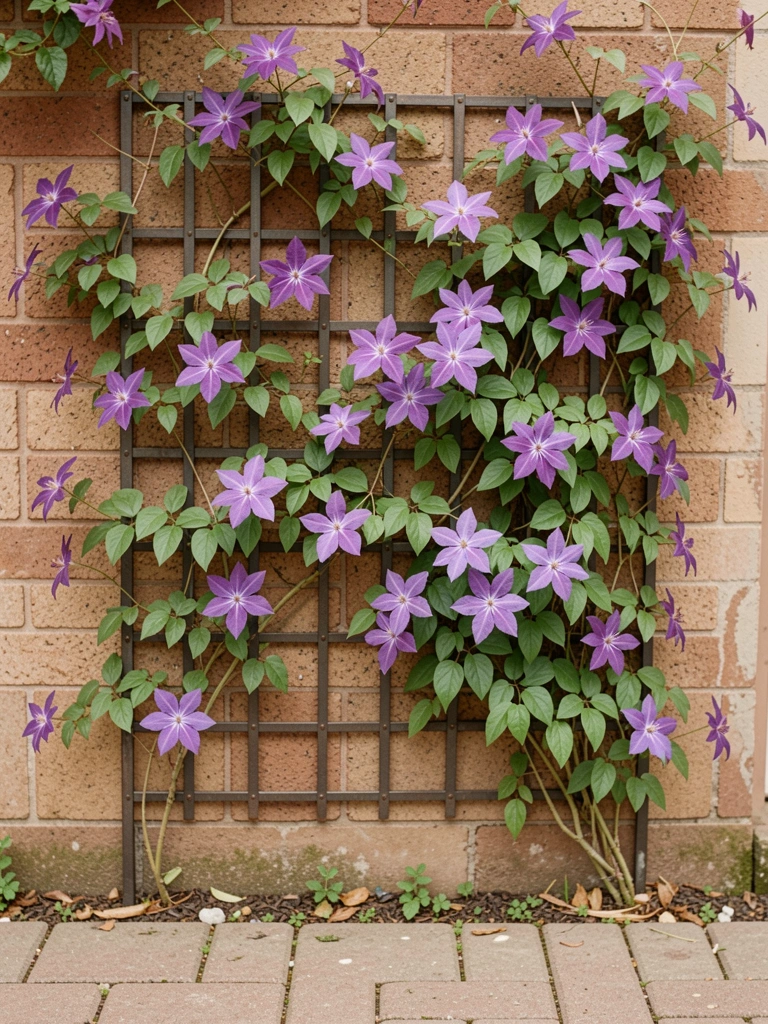
    15. Climbing Vine Trellis Backdrop

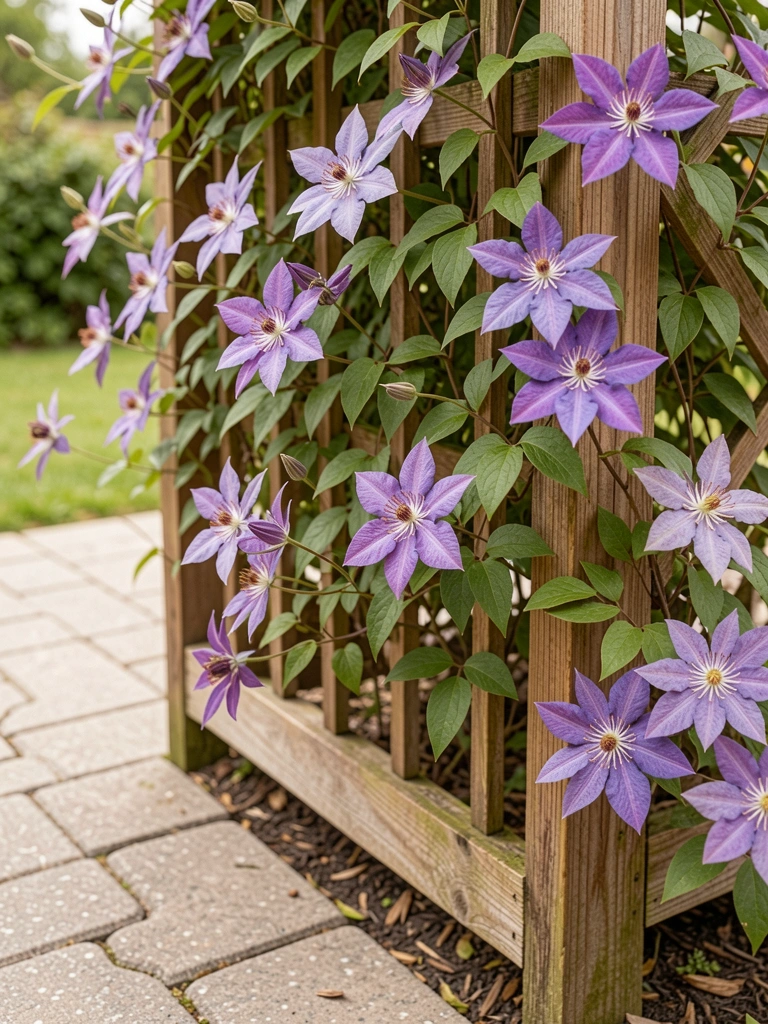
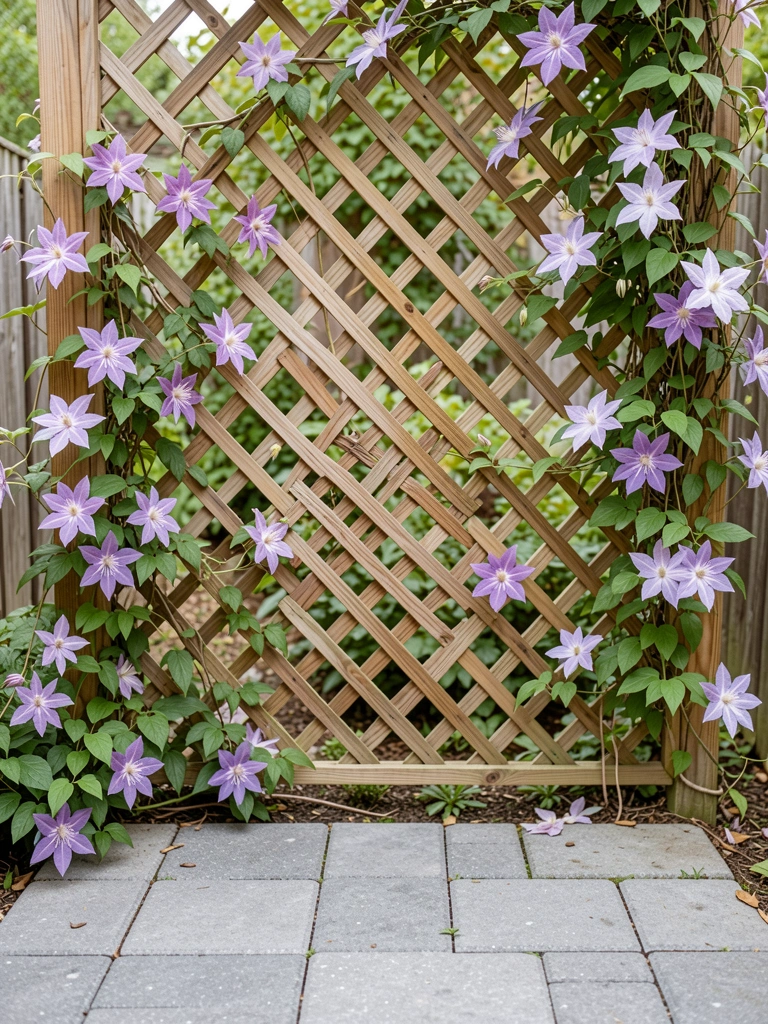
    Lean trellis on fence behind pavers, clematis twines up.

    Green screen privacy. Flowers nod.

    Train young. Full sun spot.

    Grew wild once. Prune keeps tidy.

    What You’ll Need for This Look

    Final Thoughts

    Pick one or two ideas that fit your spot. Start small.

    My patios grew over time. Yours will too.

    You'll end up with a place that feels like home. Just get out there.

  • 7 Backyard Paver Patio Ideas For Relaxing Outdoors

    7 Backyard Paver Patio Ideas For Relaxing Outdoors

    I remember stepping out onto fresh pavers last spring. No more sinking into mud. Just solid ground underfoot.

    But the space felt bare. Cold even. I started small—pots here, a bench there.

    Now it's my spot to unwind. Feet up, coffee in hand. You can get this too.

    7 Backyard Paver Patio Ideas For Relaxing Outdoors

    These 7 backyard paver patio ideas come from my own yard. Simple tweaks that make it cozy. No big budget or skills needed.

    1. Container Edges That Frame Your Pavers

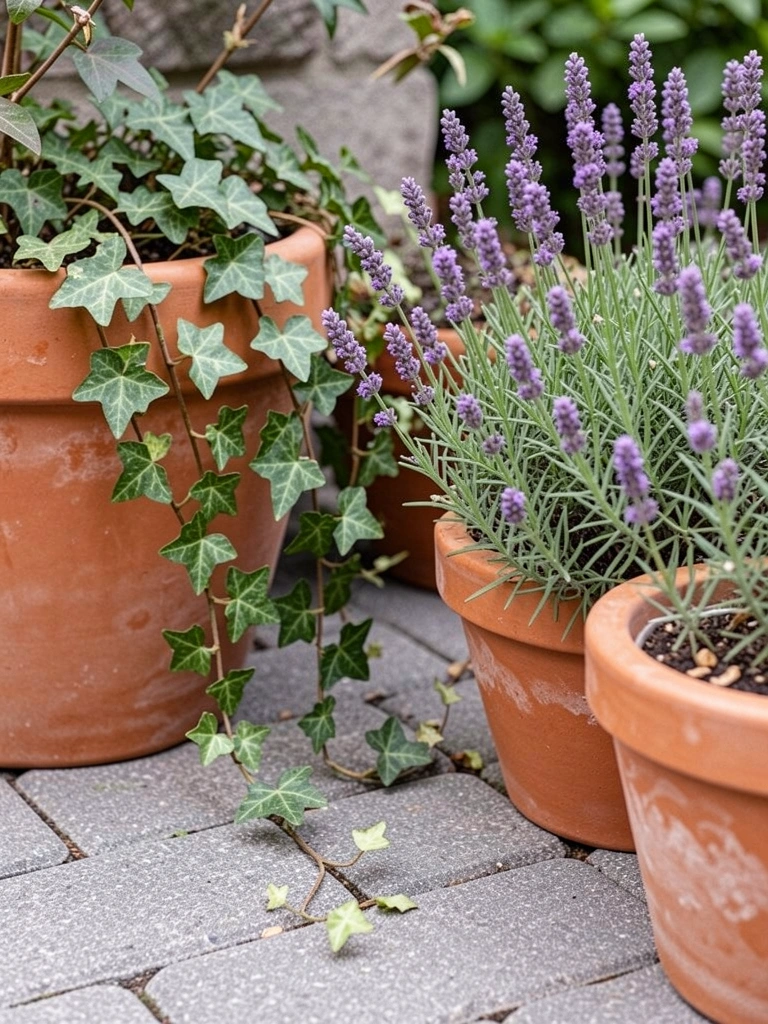
    I lined my paver edges with pots first. Started with cheap plastic ones—big mistake, they cracked in sun. Switched to terracotta.

    Now ivy trails over, lavender spills soft purple. It softens the hard lines. Makes the patio feel hugged.

    Sit there evenings, smell hits you. Bees hum. No fancy design, just fuller.

    Watch pot size—too big blocks walking paths. Cluster three or five, uneven heights.

    What You’ll Need for This Look

    12-inch terracotta planters

    Trailing ivy plants

    Lavender starter plants

    2. Gravel-Filled Gaps with Low Creepers

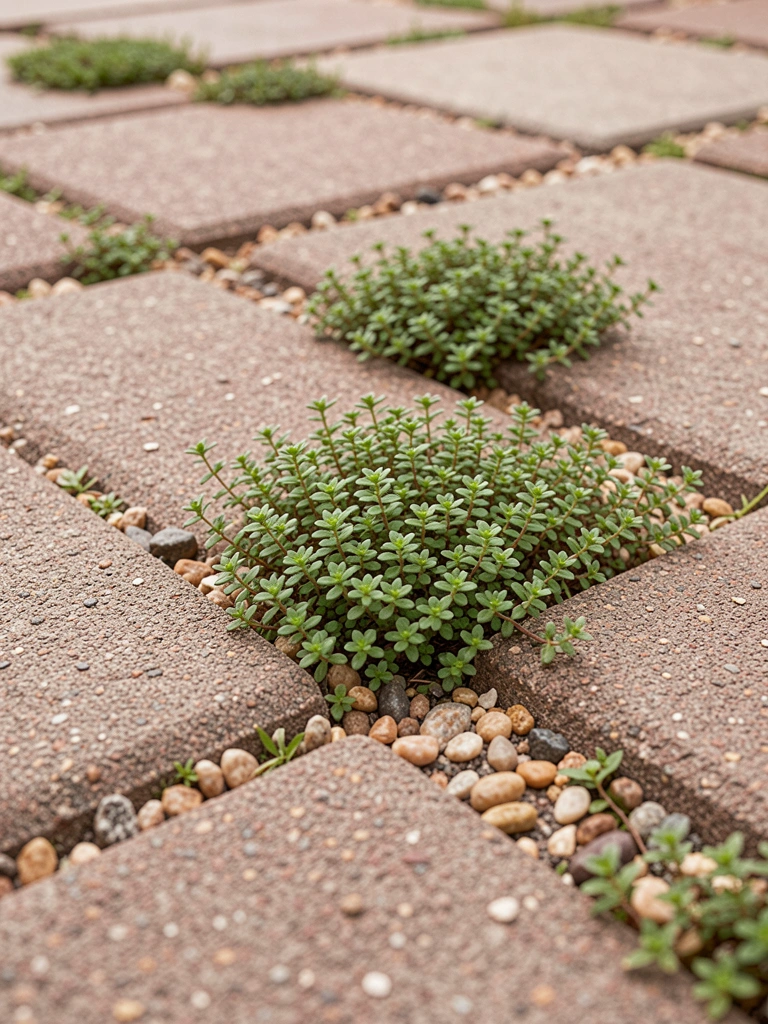
    Pavers alone looked stark. I filled gaps with gravel, then added creeping thyme. Thought it'd stay low—grew faster than expected.

    Now it puffs green between stones. Step on it, faint herb scent releases. Ties the patio together without mowing.

    Evenings, it glows soft. Feet feel cushioned. Less weed pulling too.

    Leave some gaps wider for drainage. Rake gravel yearly.

    What You’ll Need for This Look

    Creeping thyme seeds

    Pea gravel bag (50 lb)

    Hand tamper tool

    3. Built-In Paver Bench with Cushions

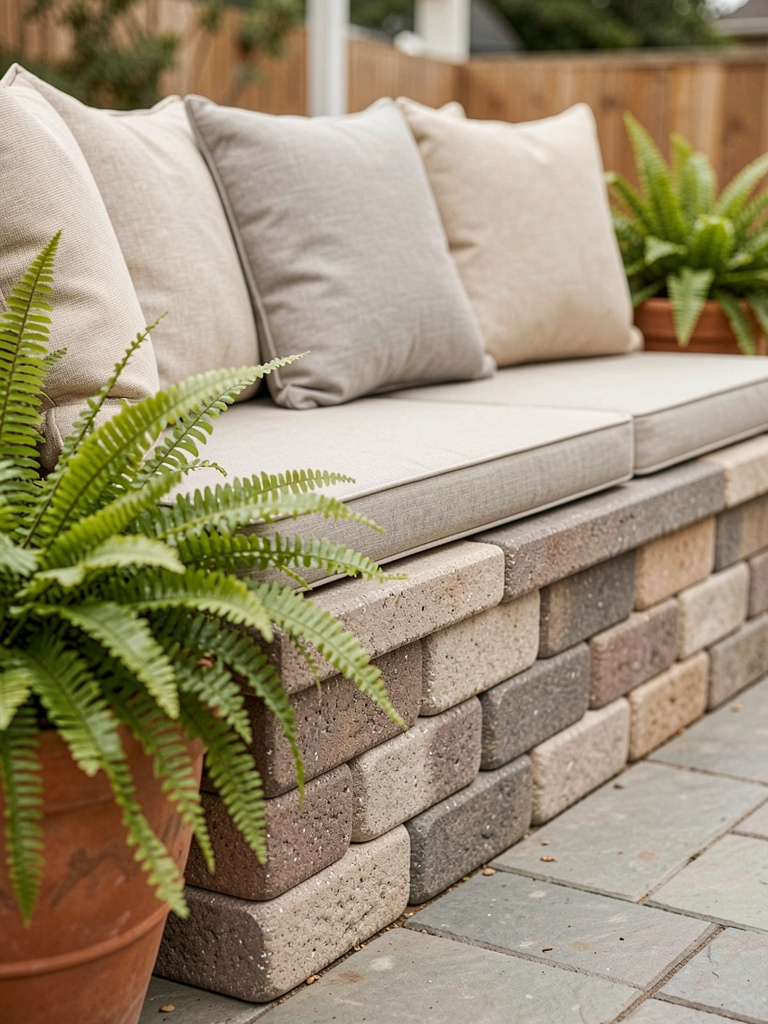
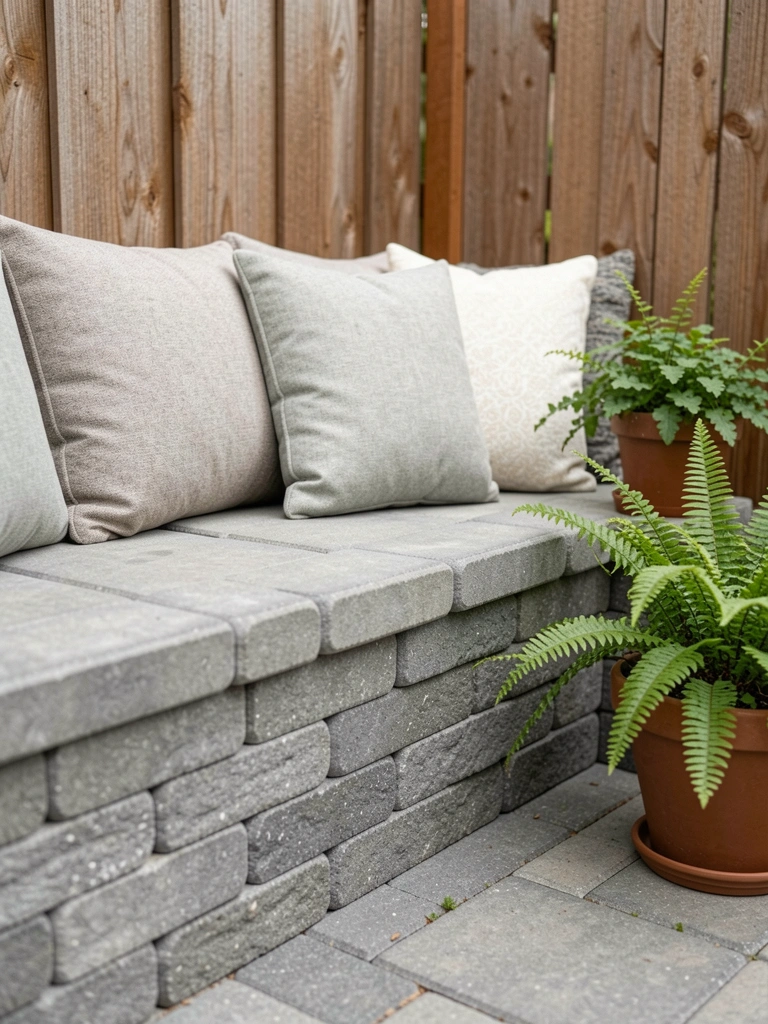
    I stacked pavers for a bench one weekend. Used extras from the patio—free. Added cushions after.

    Now it's my reading spot. Ferns shade it. Solid, but cushions make it sink-in comfortable.

    Windy days, it holds. No wobbles since I leveled base.

    Size to your height—knee-high works best. Test sit before mortar.

    What You’ll Need for This Look

    Outdoor bench cushions (18×18 inch)

    Fern plants in pots

    Landscape adhesive

    4. Solar Lights Tucked Along Paver Lines

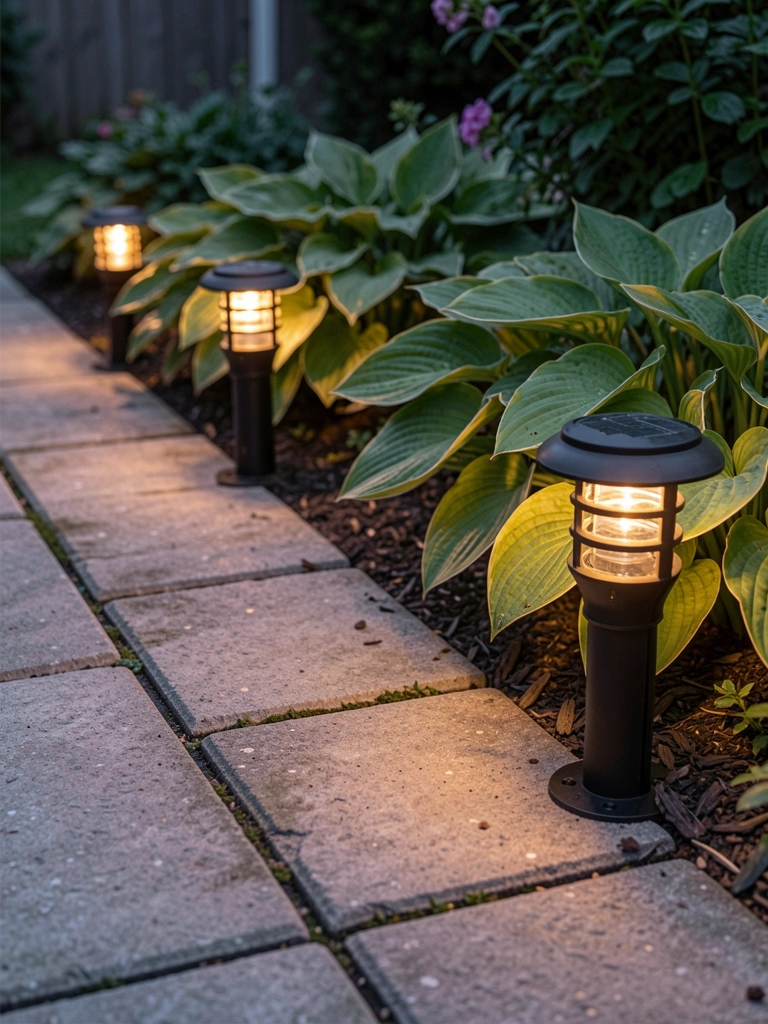
    Nights were dark before. Stuck solar lights in gravel gaps. Forgot to charge first—dud.

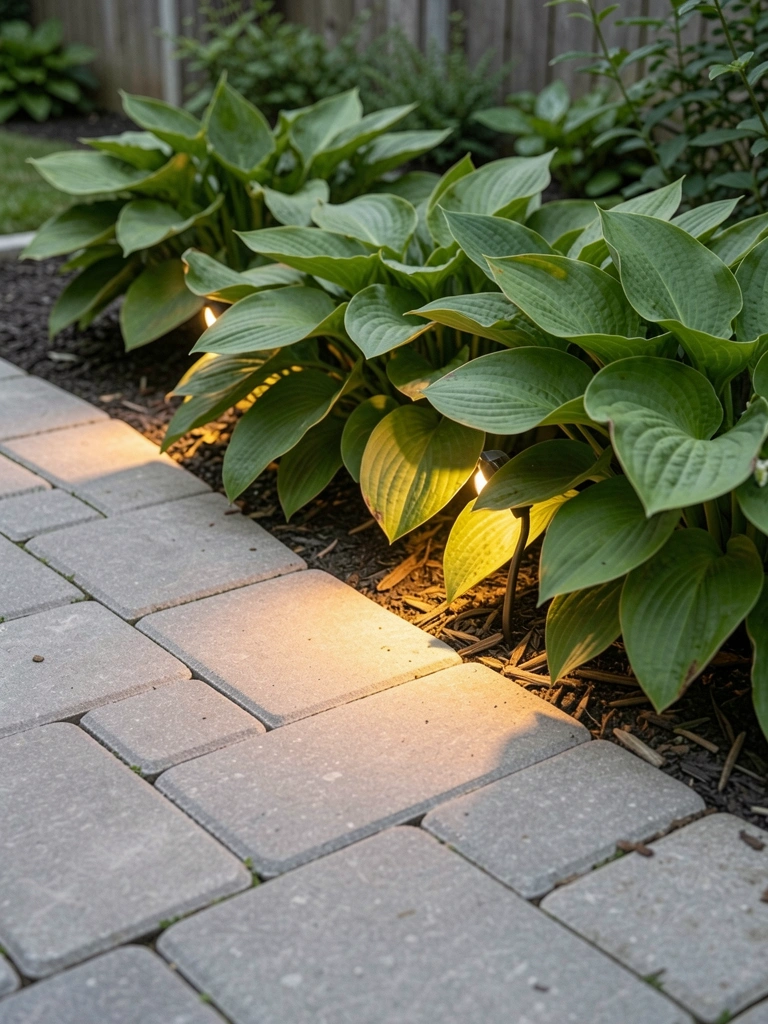
    Now they flicker on at dusk. Lines the pavers soft. Hostas catch the glow.

    Patio feels longer, safer. Sit late without bugs swarming bright bulbs.

    Space 2 feet apart. Clean lenses monthly.

    What You’ll Need for This Look

    Solar pathway lights warm white

    Hostas bare root plants

    5. Herb Wheels in Paver Corners

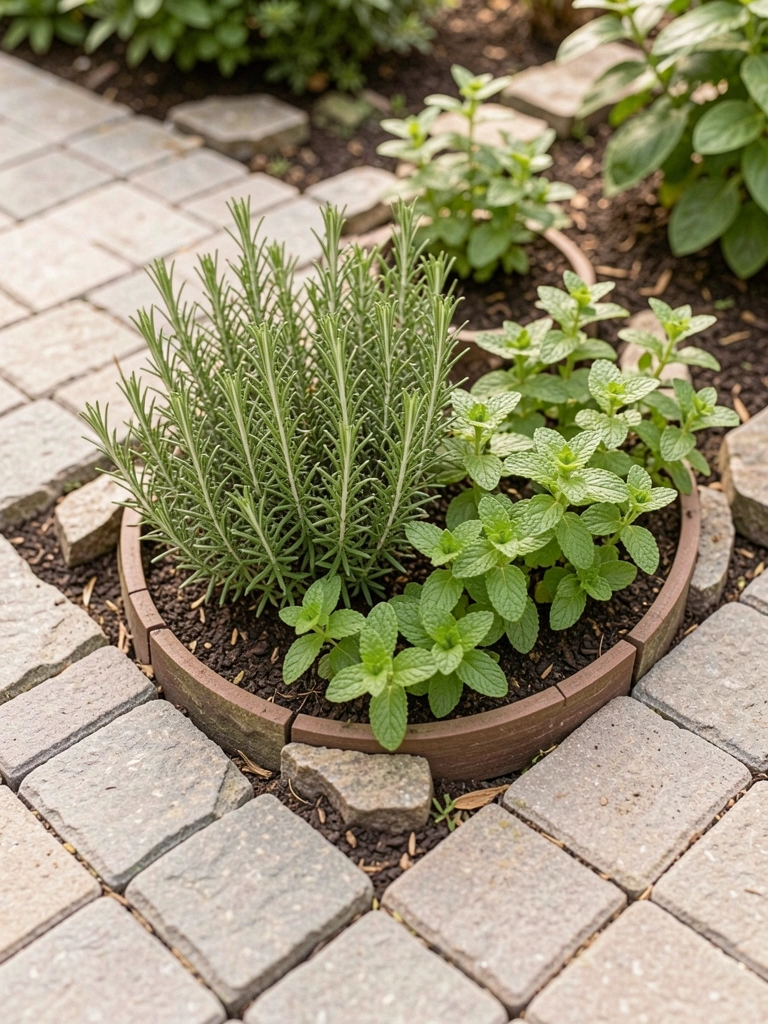
    Corners sat empty. Mounded soil into wheels, planted herbs. Mint took over once—pulled it back.

    Now rosemary brushes knees when sitting. Snip for tea. Fresh, easy reach.

    Fills dead space green. Smells better than any candle.

    Circle with pavers for neat. Thin soil for drainage.

    What You’ll Need for This Look

    Rosemary herb plants

    Mint starter pots

    Topsoil bag (40 lb)

    6. Climbing Vines on Simple Trellis Ends

    Patio ended abrupt. Added trellis, planted clematis. Grew wild first year—trimmed hard.

    Now blooms pink over head. Shades the end bench. Feels private.

    Blooms surprise yearly. Breeze rustles leaves.

    Anchor trellis in paver gaps. Train loose at first.

    What You’ll Need for This Look

    Clematis vine plants

    Metal garden trellis (6 ft)

    Garden ties soft

    7. Succulent Clusters on Raised Paver Stands

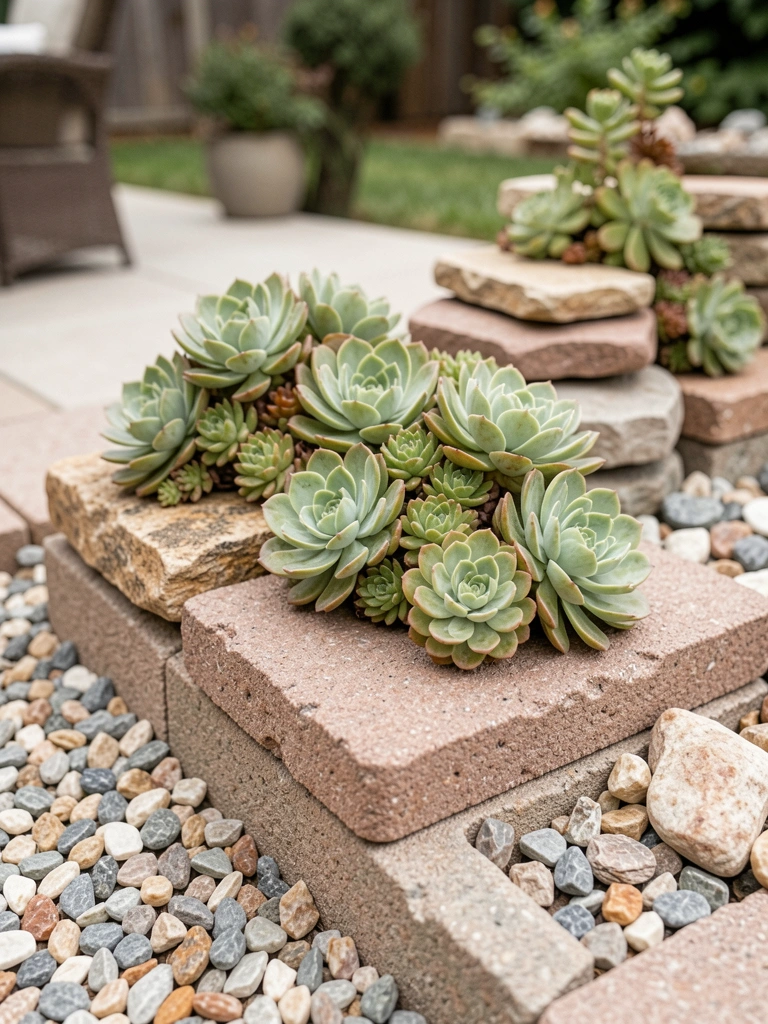
    Wanted height without walls. Stacked pavers into stands, topped with succulents.

    They plump up dry spells. No daily water. One overwatered—rotted, lesson learned.

    Now clusters add layers. Textures mix rosettes and spikes.

    Patio feels deeper. Low fuss forever.

    Drill drainage holes if solid pots. Group colors.

    What You’ll Need for This Look

    Echeveria succulent pack

    Shallow succulent pots

    Final Thoughts

    Pick one idea. Start there. My patio grew over years, not days.

    It won't be perfect. That's fine—plants shift, you adjust.

    Yours will feel right soon. Grab a chair, breathe. You've got this.

  • 21 Small Paver Patio Ideas For Compact Yards

    21 Small Paver Patio Ideas For Compact Yards

    I remember staring at my tiny backyard, just 10 feet wide, thinking no patio would fit without crowding everything out. Then I laid the first pavers myself—crooked at first, but it opened up the space.

    That shift felt huge. Suddenly, I had a spot to sit with coffee, watch birds.

    Small yards like mine don't need big designs. They need smart ones that breathe.

    These ideas come from years of trial, pulling up failed stones, replanting around them.

    21 Small Paver Patio Ideas For Compact Yards

    I've packed 21 small paver patio ideas here, all for yards under 200 square feet. They're straightforward, from my own patches and neighbor fixes. Pick one, start small—you'll see the difference right away.

    1. Curved Paver Edge That Softens Tight Corners

    I laid curved pavers along my side yard fence to break up the boxy feel. Straight lines made it feel like a hallway before. The gentle sweep pulled my eye around, made 8×8 feet feel twice as deep.

    Pavers in a soft gray nestled right against the grass edge. I tucked lavender in the gaps—smells good when you brush past.

    Watch the radius; too tight and they wobble. Use a rope template on the ground first.

    One mistake: I skipped sand base at first. Stones shifted in rain. Now it's level year-round.

    What You’ll Need for This Look

    12×12 inch gray concrete pavers
    Landscape lavender plants
    Polymeric sand for paver joints

    2. Central Fire Pit Ringed by Wide Pavers

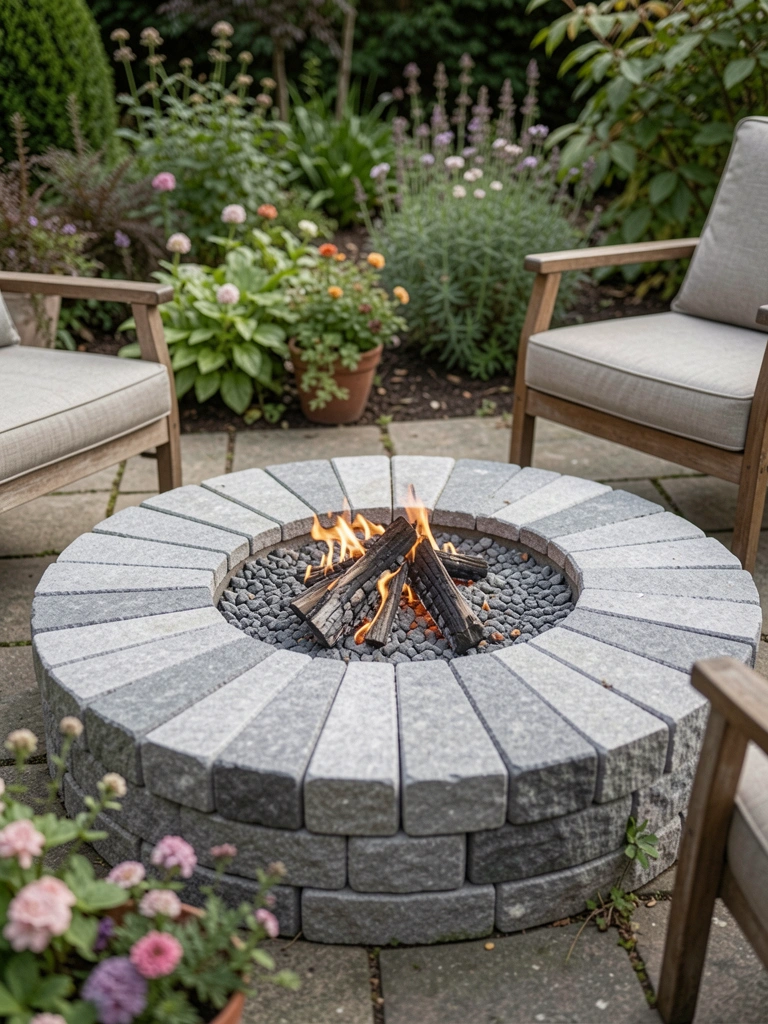
    My 6×6 patio got a low fire pit dead center, circled by 18-inch pavers. Evenings changed—no more huddling inside. The warmth drew us out, flames reflecting off stones.

    I chose wide pavers to keep it stable; narrow ones cracked under heat.

    Cap the circle with caps for seating. Add a screen—sparks fly.

    I bought a cheap pit once; rusted in a season. Go metal with legs.

    What You’ll Need for This Look

    Portable outdoor fire pit 24 inch
    18×18 inch beige pavers
    Fire pit spark screen

    3. Built-In Bench from Stacked Pavers

    Stacked pavers made a backless bench along my fence—saved buying furniture. It's 18 inches high, fits two. The rough texture grounds it.

    Cushions make it comfortable; I swap seasonal ones.

    Mortared loosely for drainage. No glue—lets it breathe.

    Overstacked mine once; toppled. Three layers max, check level often.

    What You’ll Need for This Look

    Concrete paver blocks 12x12x4 inch
    Outdoor bench cushions gray
    Construction adhesive for stone

    4. Overhead String Lights on Paver Base

    String lights clipped to my pergola over pavers turned dusk cozy. No dark corner anymore. Pavers reflect the glow softly.

    Solar ones charge all day. Stake ends into gaps.

    I strung too low first; heads bumped. Eight feet minimum.

    Mix bulb sizes for interest.

    What You’ll Need for This Look

    Solar string lights 50 feet warm white
    Freestanding pergola kit small

    5. Vertical Planter Wall Backing Pavers

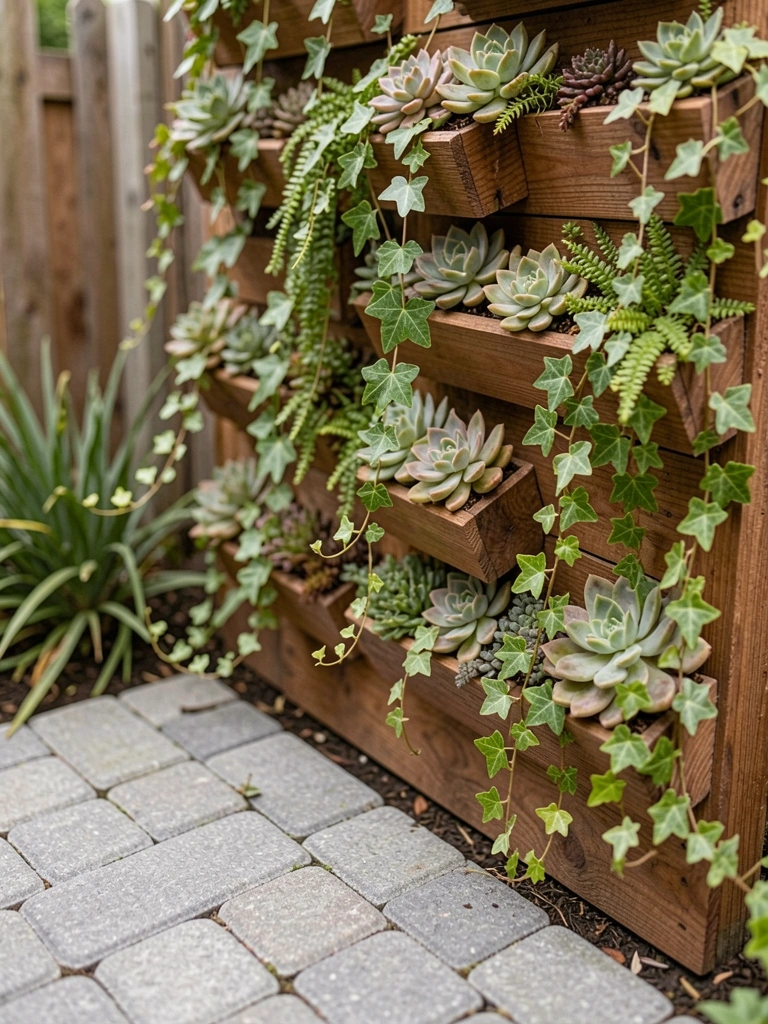
    Wood slats with pockets went up my fence over pavers—greenery without floor space. Ivy trails down, softens the hard lines.

    Pavers catch drips. Succulents in top rows.

    Drill drainage holes. I forgot once; roots rotted.

    Water from top, let trickle.

    What You’ll Need for This Look

    Vertical wall planter pockets wood
    Trailing ivy plants
    Assorted succulents pack

    6. Gravel-Filled Paver Joints for Drainage

    Gravel in joints around my pavers lets rain soak fast—no puddles. Yard stays dry, plants happy nearby.

    Coarse gravel grips better than sand.

    Sweep in dry. I hosed too soon; washed out.

    Weeds pull easy.

    What You’ll Need for This Look

    Coarse pea gravel 50 lb bag
    12×12 tumbled concrete pavers

    7. Herb Wheel Bordering Patio Edge

    Paver circle for herbs hugs my patio—pick dinner fresh. Thyme fills gaps, smells when walked on.

    Mix heights: rosemary tall, chives low.

    Sun check; herbs sulk in shade.

    Planted too deep once; drowned. Crown level.

    What You’ll Need for This Look

    Herb plants thyme rosemary basil
    Round paver retaining wall blocks

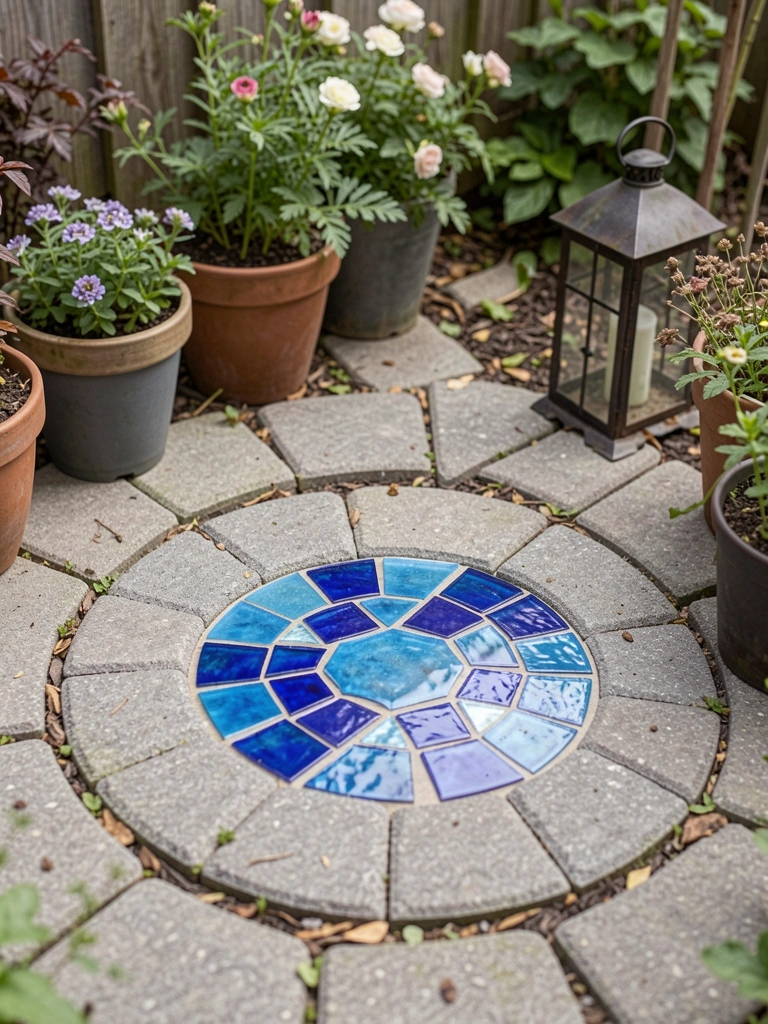
    8. Mosaic Tile Inset in Paver Center

    Glass tiles set in paver middle catch light—a quiet focal point. Draws you in without overwhelming.

    Cut pavers around. Grout seals.

    I used thinset wrong; tiles popped. Epoxy now.

    Simple pattern: waves or dots.

    What You’ll Need for This Look

    Recycled glass mosaic tiles blue
    Epoxy grout for outdoors

    9. Folding Bistro Set on Tight Pavers

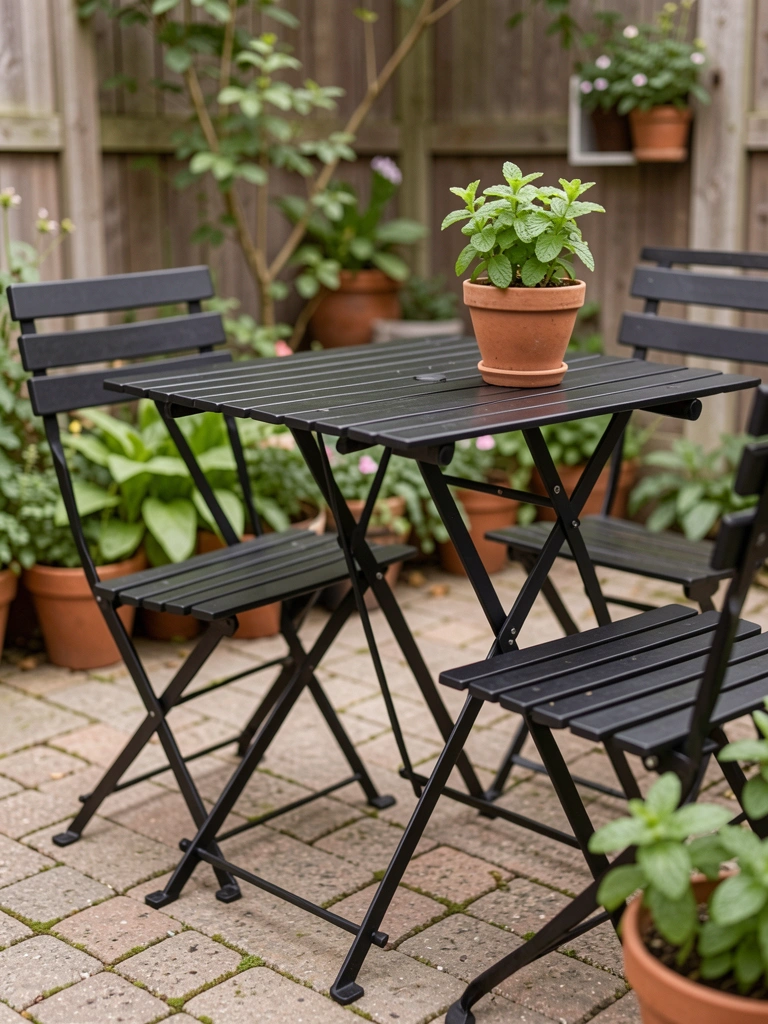
    Metal bistro folds against wall when not used—space saver on my 4×6 pavers. Sturdy for coffee.

    Pavers level it perfect.

    Rust check; powder-coated lasts.

    Tucks mint pot underneath.

    What You’ll Need for This Look

    Folding bistro set black metal
    Potted mint plant

    10. Solar Lanterns Lining Paver Path

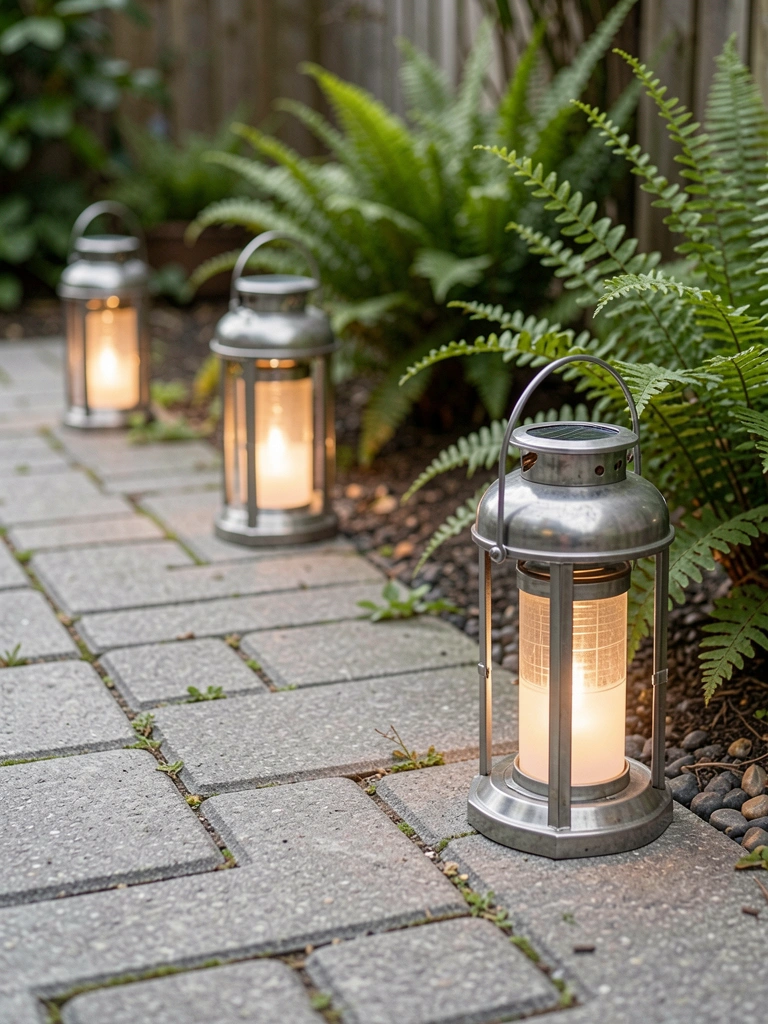
    Stake lanterns glow along paver edges at night—path lights without wires. Cozy without clutter.

    Black metal blends. Recharge full sun.

    I placed too close; shadows merged. Space 2 feet.

    What You’ll Need for This Look

    Solar lanterns stake black metal
    LED pathway solar lights

    11. Pebble Mosaic Border on Pavers

    River pebbles edged my pavers—textural frame. Feels beachy, hides uneven cuts.

    Press into mortar. Seal top.

    Graveled wrong size; loose. Medium 1-inch best.

    What You’ll Need for This Look

    River pebbles 1 inch assorted
    Outdoor stone sealer spray

    12. Trellis Screen with Climbing Vines Over Pavers

    Lattice trellis leans on pavers—vines block neighbor view. Privacy greens up fast.

    Clematis climbs eager. Tie loose.

    I planted too close; crowded pavers. Foot off edge.

    What You’ll Need for This Look

    Garden trellis lattice wood 4×8
    Clematis vine plant

    13. Birdbath Perch on Paver Island

    Three pavers base a birdbath—birds splash mornings. Brings life to bare spot.

    Level pavers first. Fresh water daily.

    Chipped cheap one; ceramic holds.

    What You’ll Need for This Look

    Pedestal birdbath stone 20 inch

    14. Low-Voltage Uplights Under Pavers

    Uplights tucked under paver lips wash walls soft at night. Drama without fuss.

    Transformer hides in bed. Waterproof.

    Wired wrong once; tripped. Pro plug now.

    What You’ll Need for This Look

    Low voltage uplights warm white
    Outdoor transformer 12V 50W

    15. Succulent-Filled Paver Gaps

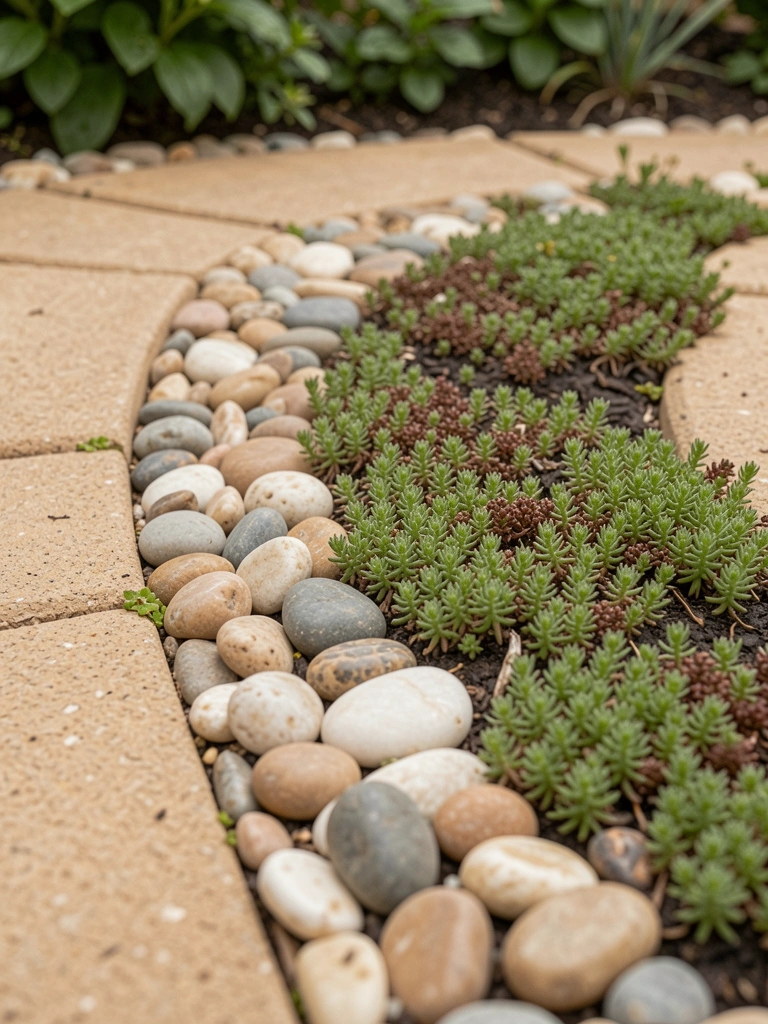
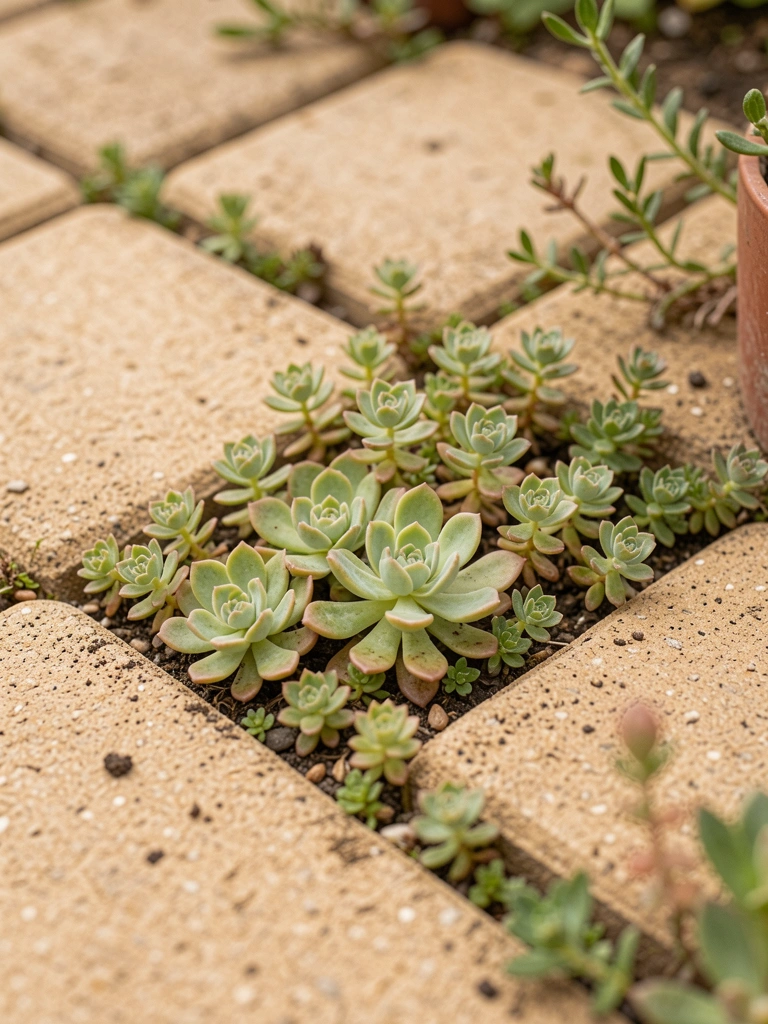
    Sedum in wide joints greens pavers alive. Low care, spreads slow.

    Coarse soil mix. Water rare.

    Overwatered first; mush. Dry tolerant.

    What You’ll Need for This Look

    Sedum groundcover plants
    Succulent soil mix cactus

    16. Woven Mat Over Central Pavers

    Jute mat covers paver middle—warms feet, defines seating. Rolls up easy.

    Trim to fit. Shake dirt off.

    Frayed edges; bind them.

    What You’ll Need for This Look

    Outdoor woven jute rug 5×7

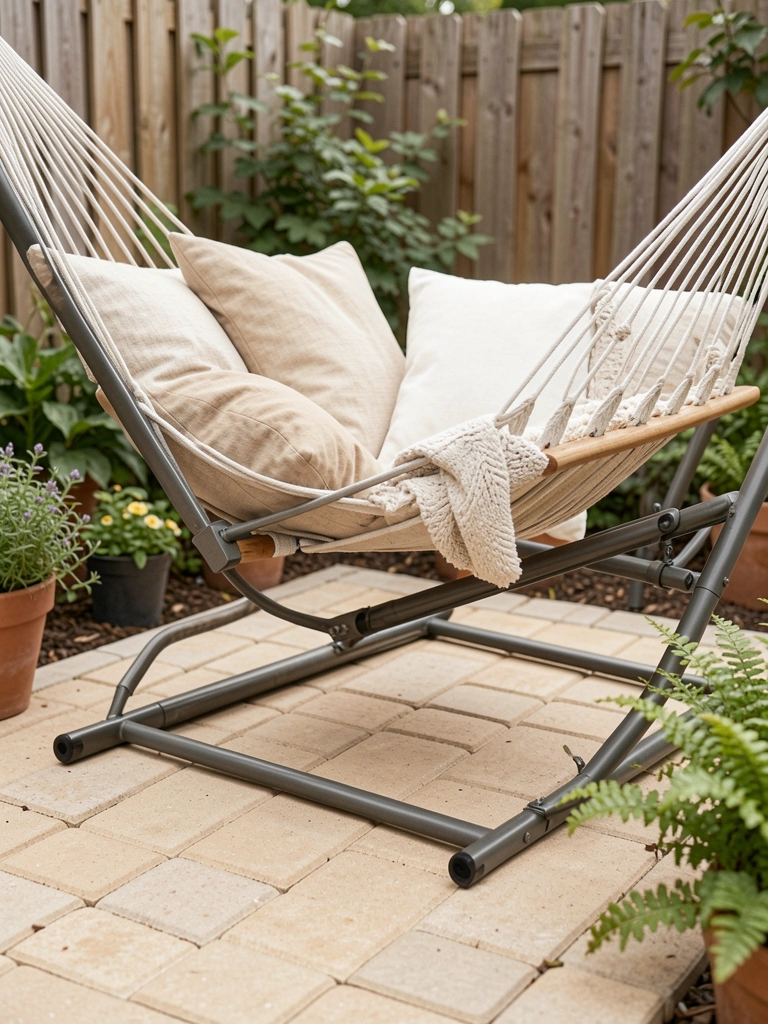
    17. Hammock Stand Anchored by Pavers

    Compact hammock stand sits on pavers—lazy afternoons fit. No trees needed.

    Heavy base stable. Pavers protect grass.

    Sagged cheap fabric; cotton weave holds.

    What You’ll Need for This Look

    Freestanding hammock stand small
    Hammock cotton weave 10 ft

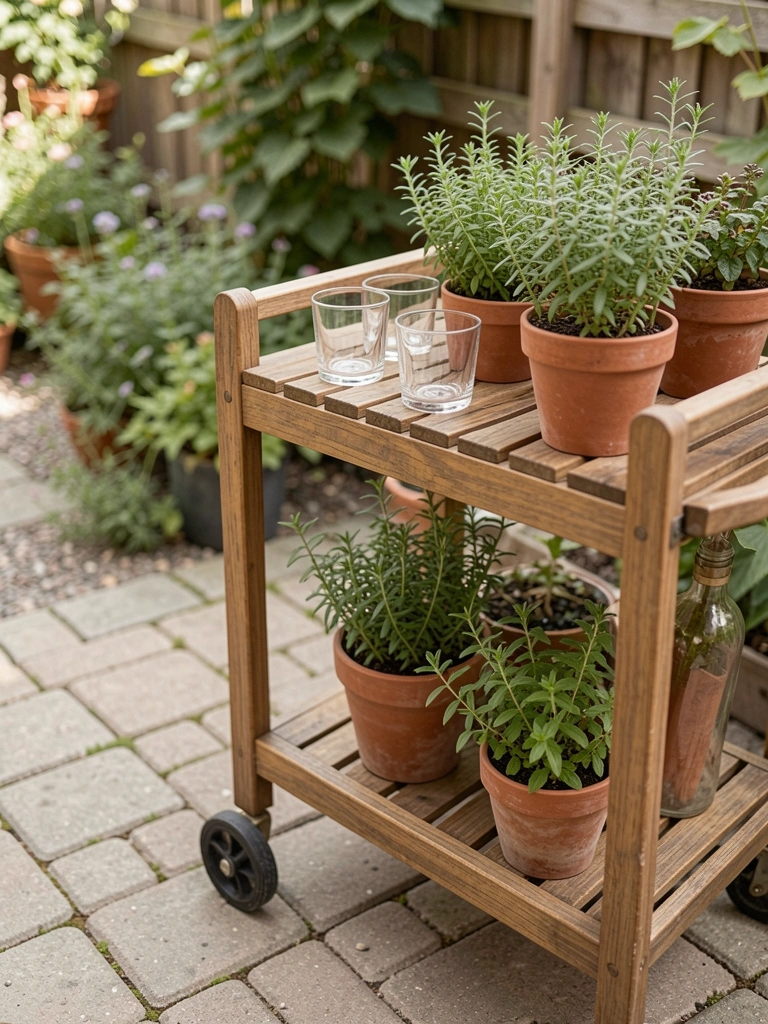
    18. Rolling Bar Cart Beside Pavers

    Wood cart rolls onto pavers for drinks—moves when done. Handy without bulk.

    Lock wheels. Shelves for bottles.

    Rusted metal one; sealed wood.

    What You’ll Need for This Look

    Outdoor rolling bar cart wood

    19. Dwarf Tree in Paver-Cutout Center

    Cutout for dwarf maple shades paver middle—height without width. Leaves rustle soft.

    Big root hole. Mulch top.

    Wrong size tree once; outgrew. Dwarf only.

    What You’ll Need for This Look

    Dwarf Japanese maple tree
    Paver saw rental tool

    20. Edible Berry Border on Paver Rim

    Strawberries rim pavers—snack at hand. Berries hang over edges.

    Sun south side. Net birds.

    Birds ate all first; mesh now.

    What You’ll Need for This Look

    Strawberry plants everbearing
    Blueberry bush dwarf variety

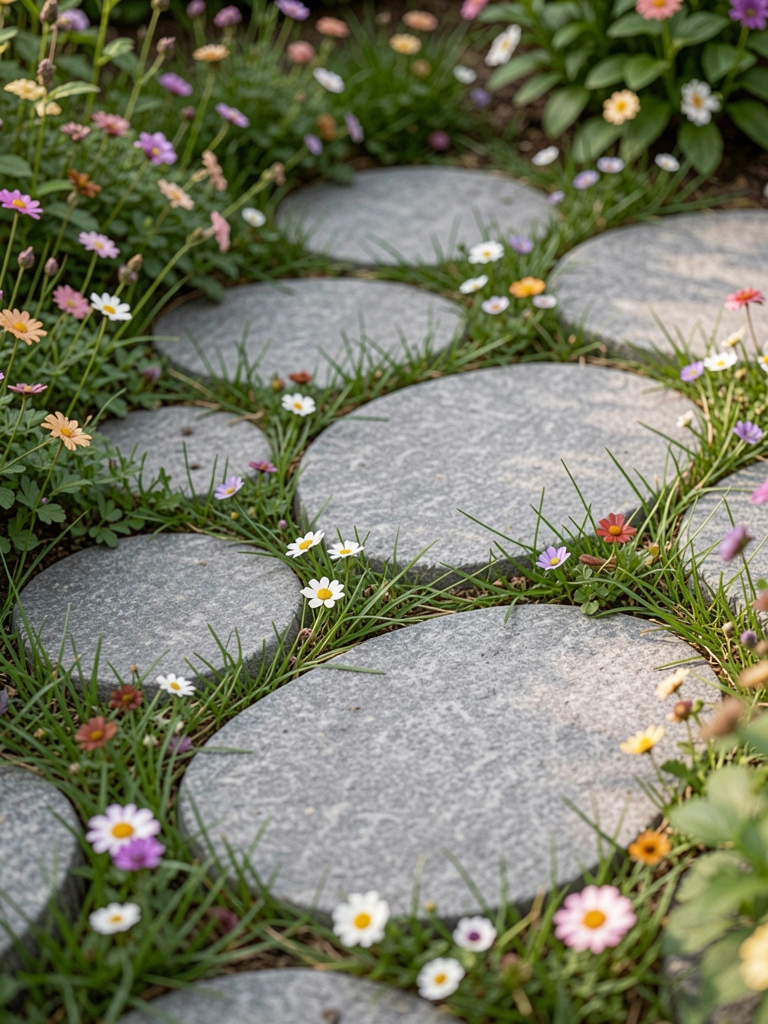
    21. Stepping Stone Pavers in Irregular Layout

    Round pavers stepped across my patio grass—flows natural, not rigid. Bare feet love it.

    Space for toes. Firm base.

    Sank uneven; sand under each.

    What You’ll Need for This Look

    Round stepping stones 18 inch concrete
    All-purpose sand 50 lb

    Final Thoughts

    You don't need all 21—just one that fits your dirt and light.

    Start with pavers level, plants happy. It'll grow on you, like mine did.

    Your small yard can hold mornings with coffee, evenings with quiet. You've got this.

  • 11 Paver Patio Ideas For Modern Outdoor Spaces

    11 Paver Patio Ideas For Modern Outdoor Spaces

    Last summer, I ripped up my old deck because it trapped water and felt dated. Pavers changed that. They gave my patio a clean, modern base that lets plants breathe around it. No more mud after rain. Just solid ground that pulls the yard together. If your outdoor space feels unfinished, start here.

    11 Paver Patio Ideas For Modern Outdoor Spaces

    These 11 paver patio ideas come from my own backyards. They're straightforward, modern looks I've built myself. You'll see exactly what works.

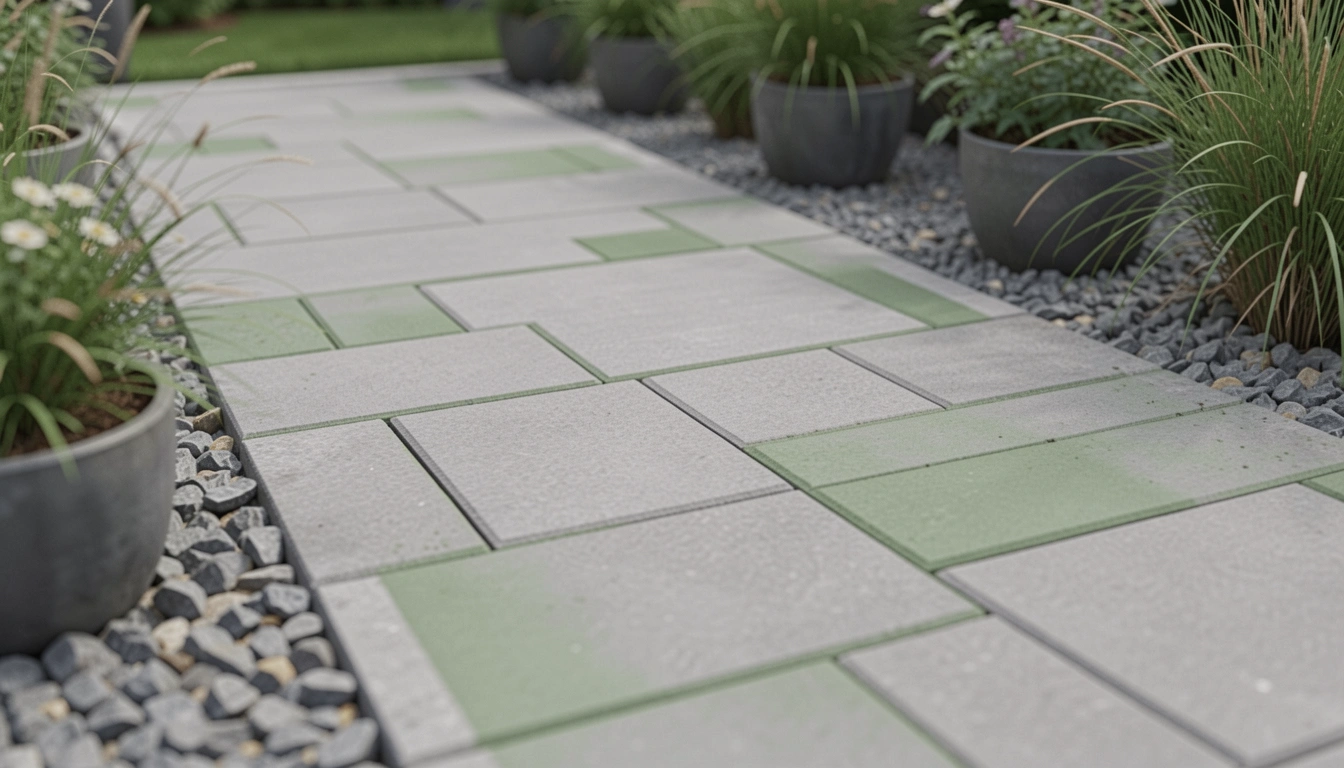
    1. Linear Gray Pavers with Gravel Margins

    I laid slim gray pavers in straight runs across my side yard patio. Flanked them with fine gravel to soften the edges. It makes the space feel longer, more intentional. Walk barefoot on those pavers at dusk—they hold the day's warmth.

    The gravel keeps weeds down without mulch mess. I skipped fancy borders; this stays low-key. One mistake: I bought too-wide pavers first time. Stick to 4-inch ones for tight modern lines.

    Emotionally, it quiets the yard. No clutter, just calm flow from house to plants.

    Visually, grasses nod over the gravel like they're meant to be there.

    What You’ll Need for This Look

    2. Built-In Planter Boxes Along Paver Edges

    My front patio needed greens without eating floor space. I mortared low concrete blocks right into the paver layout as planters. Filled them with sedum and ivy that spill over. Now it feels wrapped in garden, modern and snug.

    Those blocks match the pavers—no jarring colors. Plants root deep, stay put through wind.

    I learned: don't overplant at first. They fill out fast, or you get leggy messes.

    The shift? Patio went from stark slab to breathing room. Sit there with coffee; it's peaceful.

    What You’ll Need for This Look

    3. Circular Paver Fire Pit Zone

    Center of my backyard patio begged for gatherings. I set a ring of curved pavers around a simple fire pit. Radiates out to seating. Evenings, flames dance on those stones—warm, modern heart.

    Pavers handle heat without cracking if you leave gaps for drainage. I added agave nearby; their spikes echo the fire's edge.

    Mistake I made: too-small pit. Go 36 inches wide minimum for real fire.

    It pulls people in. Yard felt lonely before; now it's alive.

    What You’ll Need for This Look

    4. Modular Paver Lounging Nooks

    I broke my long patio into nooks with L-shaped paver runs. Each holds a chair and side table. Feels like rooms outdoors, clean lines. Ferns in pots tuck into corners.

    Pavers define without walls—air flows free. Cushions sink in soft.

    Watch levels; one dip I missed pooled water. Shim as you go.

    Now, I read there afternoons. Space feels bigger, more mine.

    What You’ll Need for This Look

    5. Recessed LED-Lit Paver Paths

    Nighttime stumbles ended when I cut slots in paver edges for low LEDs. Runs from door to grill zone. Glows soft, modern—no harsh floods.

    Wires hide under sand base. Lights last years on solar.

    I wired wrong once—flickering mess. Test before burying.

    Patio extends after dark. Feels safe, welcoming.

    What You’ll Need for This Look

    6. Herringbone Pattern Pavers with Clean Borders

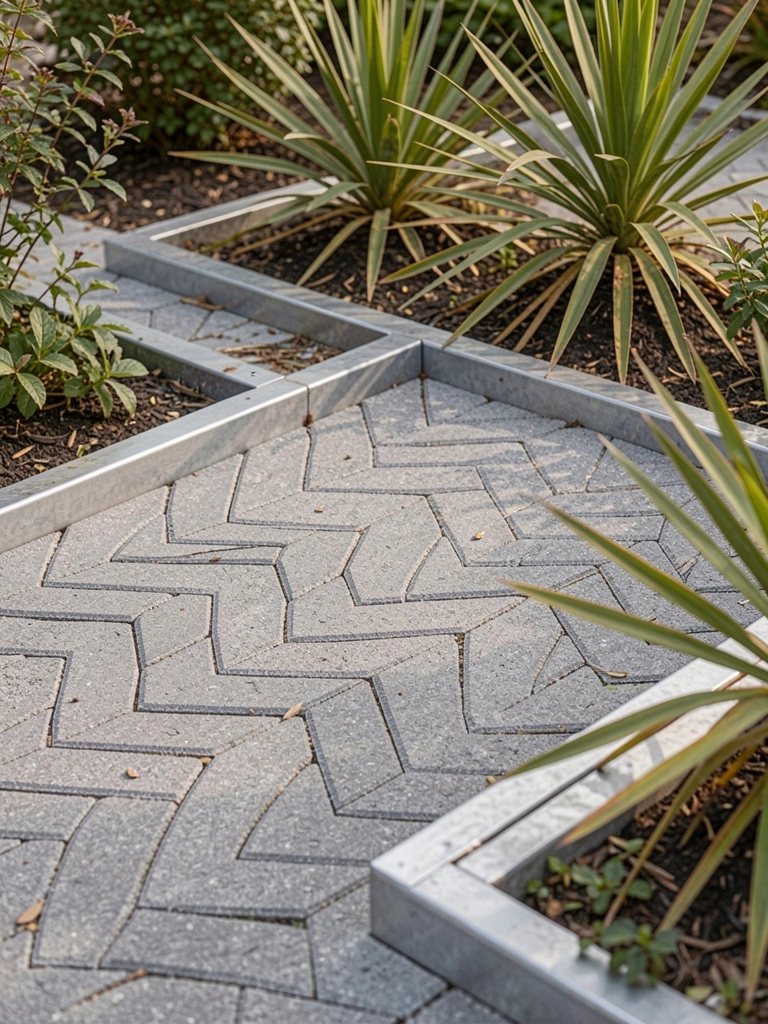
    Herringbone pavers on my roof deck add subtle pattern without busyness. Thin metal strips border it crisp. Yuccas stand tall at ends.

    Pattern grips feet dry or wet. Metal won't rot.

    Overdid sand depth first—shifted. Compact well.

    Looks sharp from above. Modern without trying.

    What You’ll Need for This Look

    7. Herb Strip Channels Between Pavers

    Narrow channels of soil between pavers on my kitchen patio grow thyme and oregano. Step on them—they release scent. Modern herb garden, no pots clutter.

    Soil stays moist, herbs thrive close.

    Planted too dense once—choked out. Space 6 inches apart.

    Snip fresh for meals. Patio smells alive.

    What You’ll Need for This Look

    8. Pergola Frame Over Paver Dining

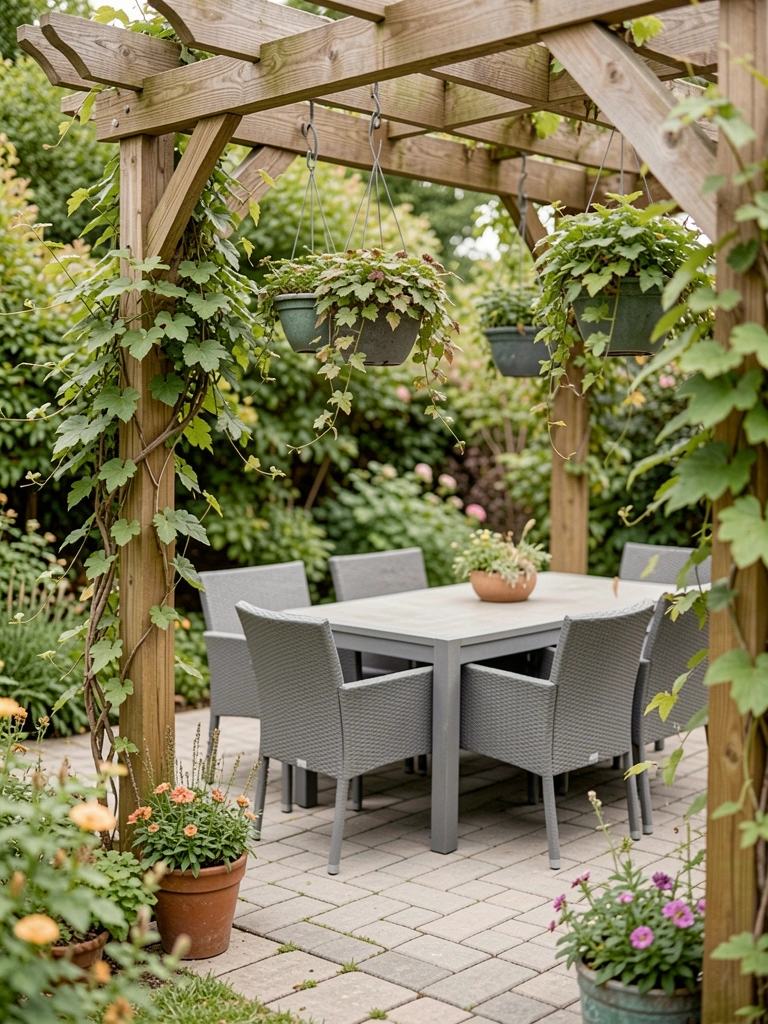
    Wood pergola spans my paver dining patio. Vines climb beams slow. Shade dapple through—cozy modern spot.

    Pavers below stay cool underfoot.

    Bolted wrong angle once—wobbly. Level posts first.

    Meals there feel special. Light shifts beautiful.

    What You’ll Need for This Look

    9. Linear Water Channel Through Pavers

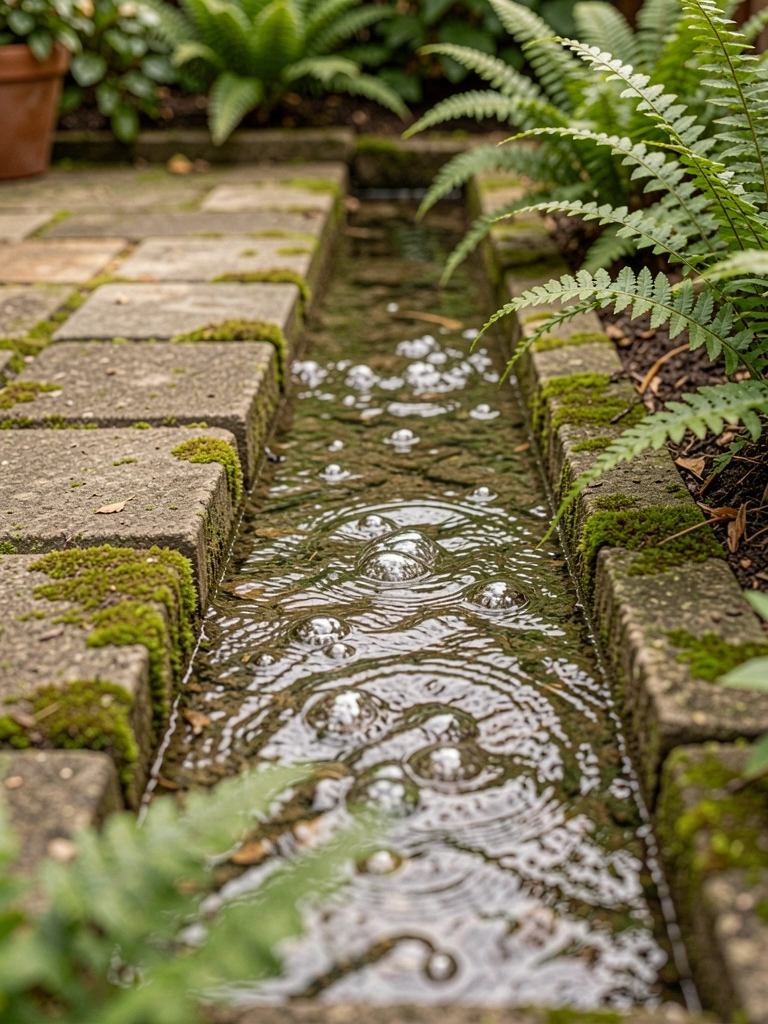
    Shallow channel cut through pavers on my zen patio trickles water end to end. Pumps quiet, sound soothes. Ferns line it soft.

    Pavers frame water crisp—no leaks if sealed.

    Pumped too strong first—splashy. Low flow best.

    Calms the whole yard. Sit and breathe.

    What You’ll Need for This Look

    10. Vertical Panels Backing Paver Walls

    Succulent panels lean on my paver retaining wall. Pocket plants thrive in full pockets. Green wall without soil spill.

    Pavers ground it solid. Water from top trickles feeds all.

    Overwatered once—rot. Mist weekly only.

    Wall feels alive now. Modern pop.

    What You’ll Need for This Look

    11. Native Grass Borders Framing Pavers

    Switchgrass and muhly line my paver patio edges. They sway, frame without crowding. Low water, tough as nails.

    Pavers pop against soft greens. Mulch between keeps tidy.

    Planted shallow first—dried out. Dig deep holes.

    Wind moves them gentle. Yard feels native, settled.

    What You’ll Need for This Look

    Final Thoughts

    Pick one or two ideas that fit your yard's light and soil. I've mixed a few in mine over years—no rush to do it all. Pavers give that steady base; plants fill the rest. You'll end up with a space you actually use. Get out there and lay some.

  • 27 Genius Low Maintenance Ground Cover Plants For Easy Landscaping

    27 Genius Low Maintenance Ground Cover Plants For Easy Landscaping

    I finally stopped overplanting and learned to let the ground do the heavy lifting. I wanted coverage that wouldn’t need constant fuss.

    I tried a lot of hard lessons—wrong sun, wrong soil—and kept the survivors. These picks are plants and small setups I actually use, so you’ll know what to buy and where to tuck it.

    27 Genius Low Maintenance Ground Cover Plants For Easy Landscaping

    These 27 ideas are practical, easy to copy, and honest about what I actually use in my garden. You’ll get plant choices, a few small fixes I learned, and exact items to buy. These are 27 real options.

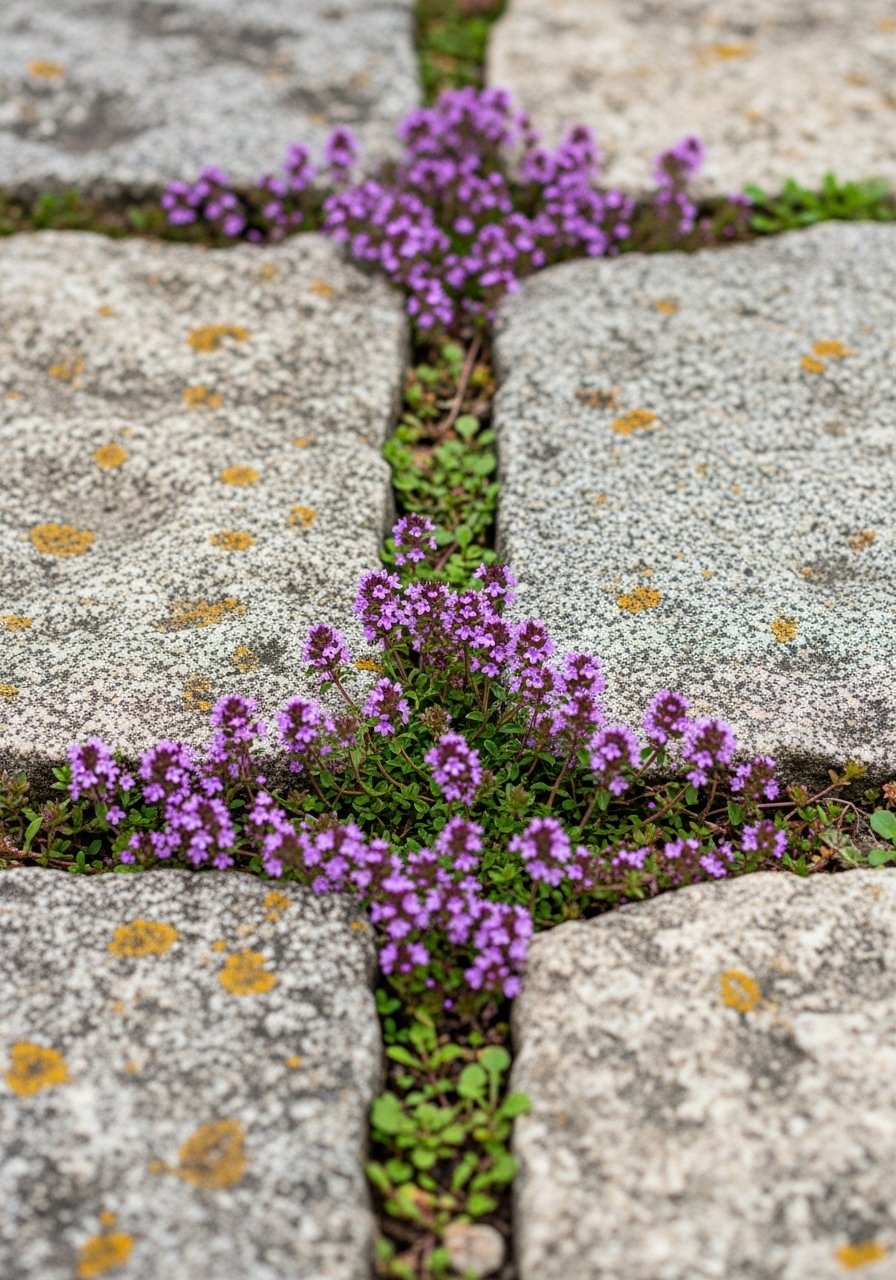
    1. Creeping Thyme Between Stepping Stones

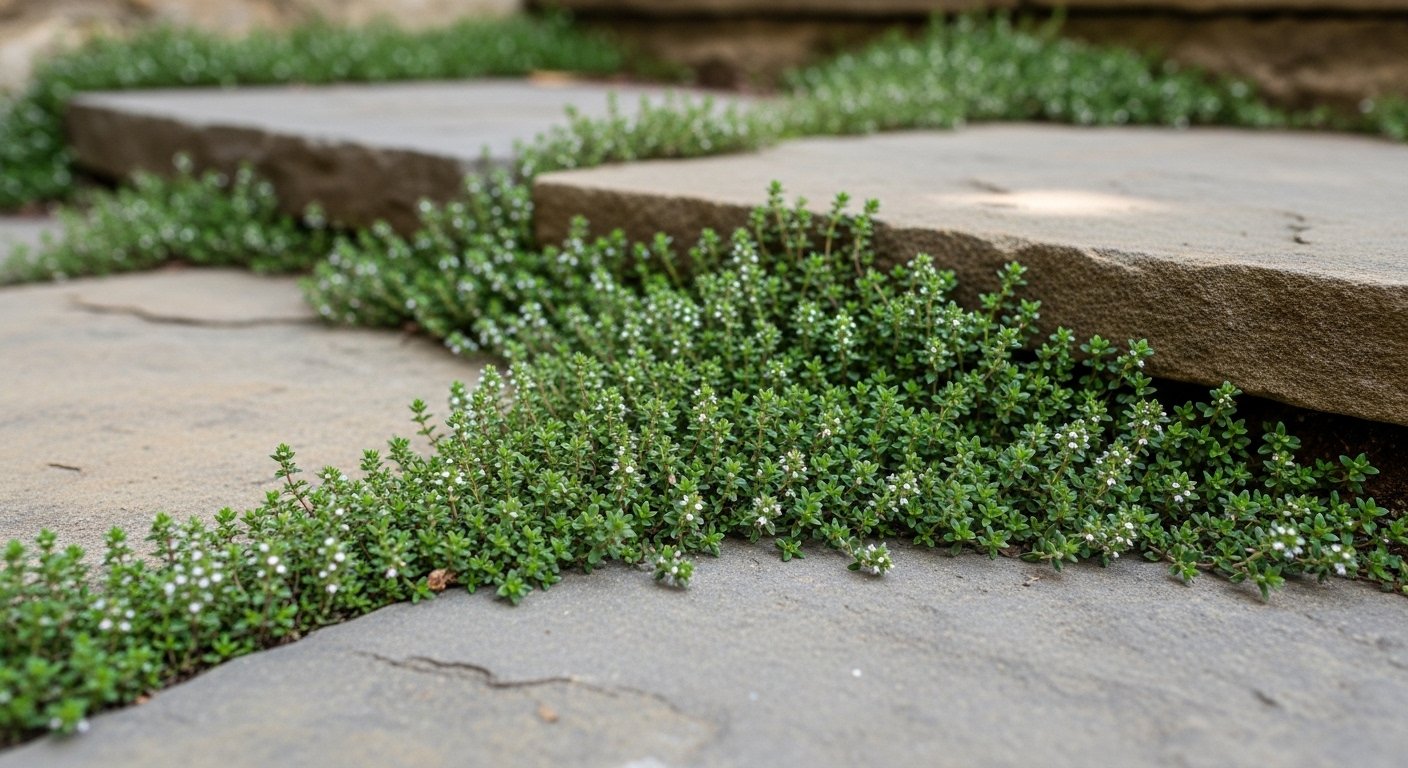
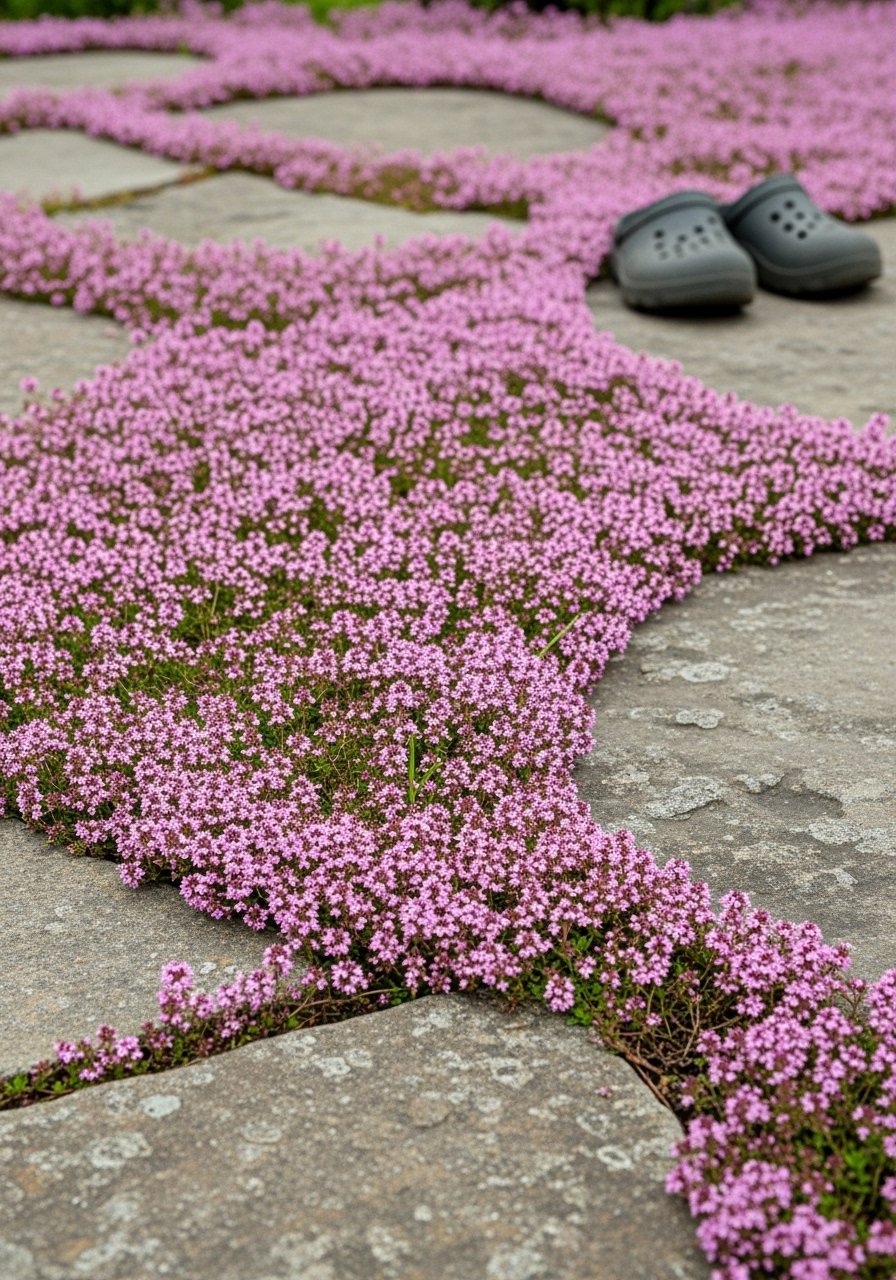
    I planted creeping thyme between my stepping stones to soften rigid paths. It smells like summer when I walk over it and stays low without trimming. It prefers sun and drains well—mine struggled where mulch stayed damp.

    Visually it ties stones together with a green carpet and tiny blooms. I learned to only add a shallow layer of soil so it wouldn’t sit wet.

    What You’ll Need for This Look

    2. Woolly Thyme for a Soft, Sun-Baked Mat

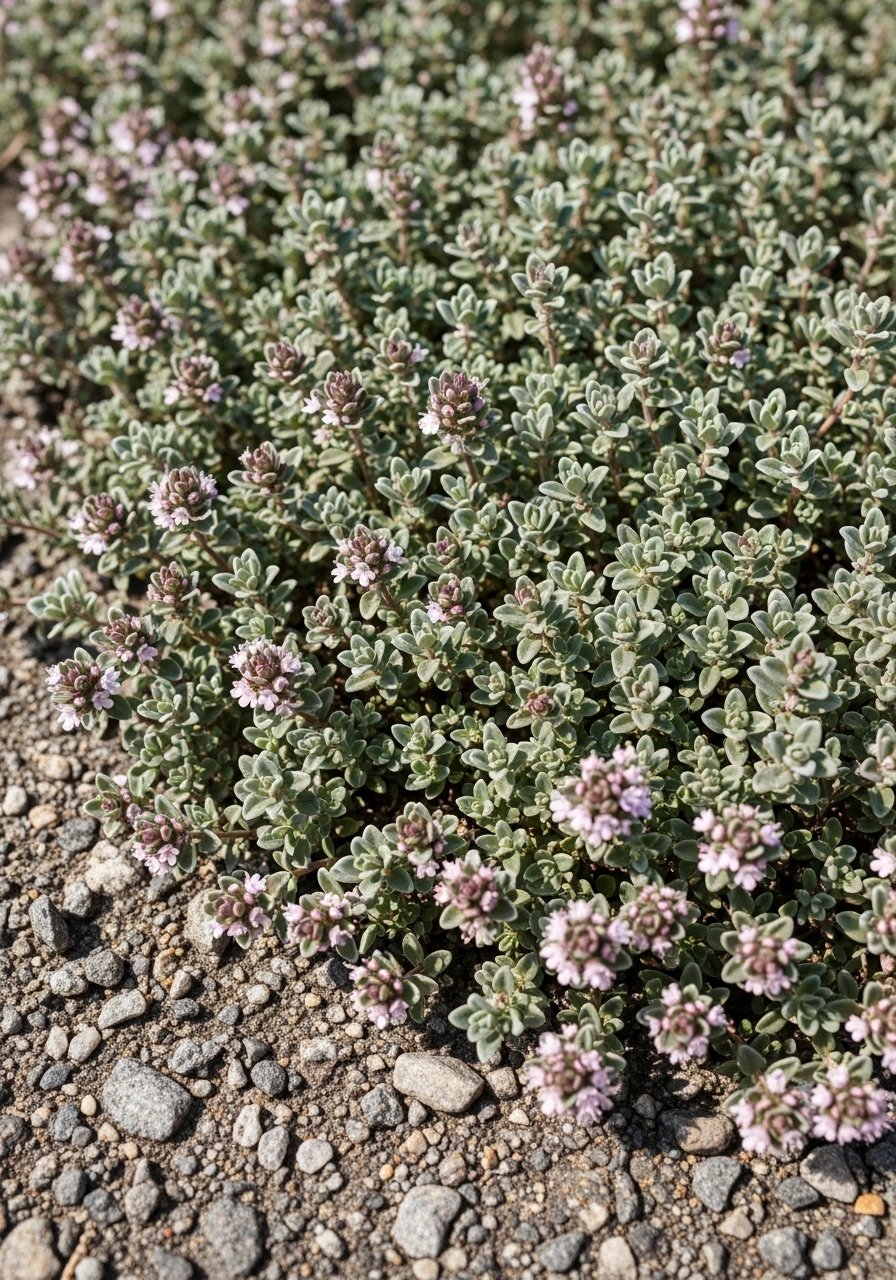
    I planted woolly thyme on a hot, dry patch where little else lived. Its fuzzy leaves handle drought and give a lovely silver tone next to warm pavers. It’s low and slow—no trimming needed.

    It doesn’t like heavy shade. I found it works best as a filler in rock gardens or along sunny edges where water is scarce.

    What You’ll Need for This Look

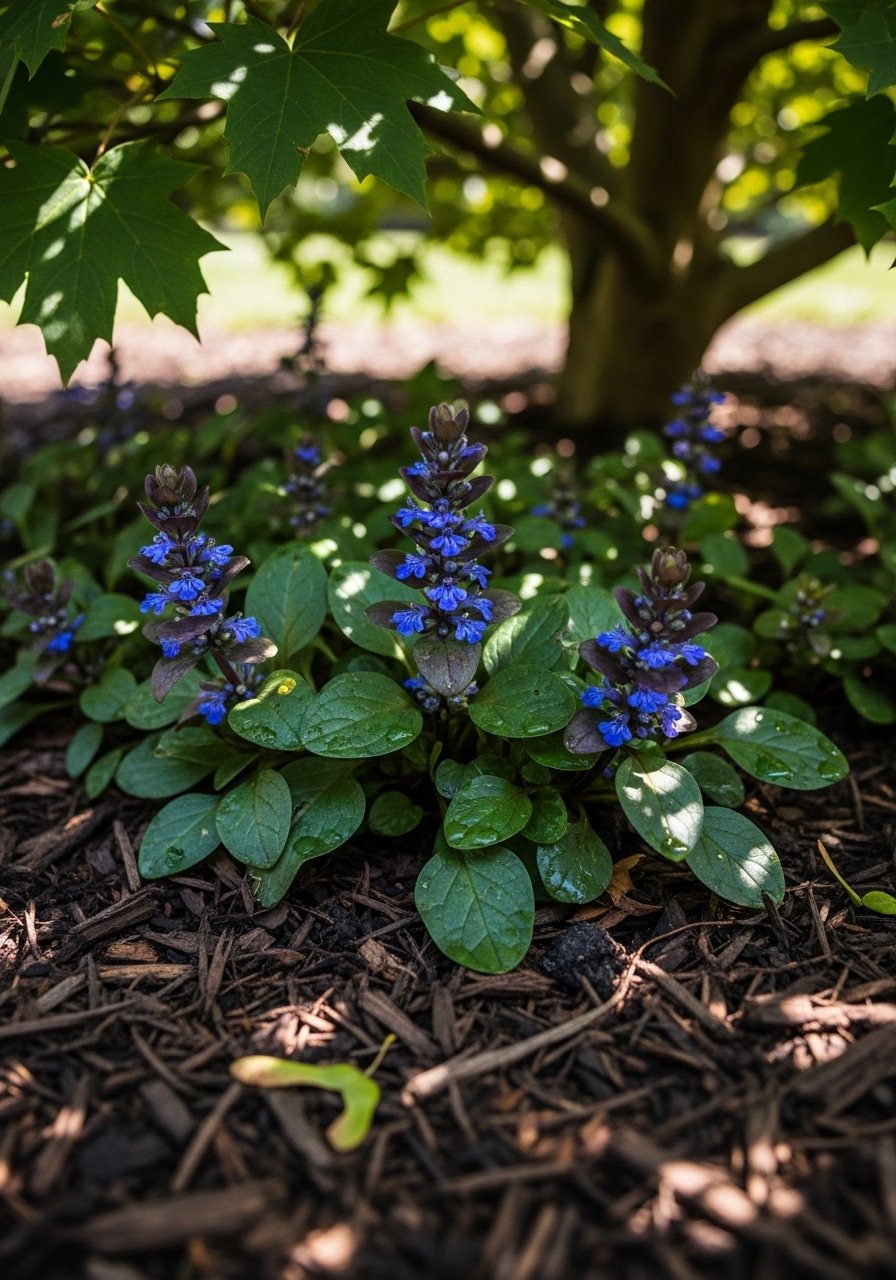
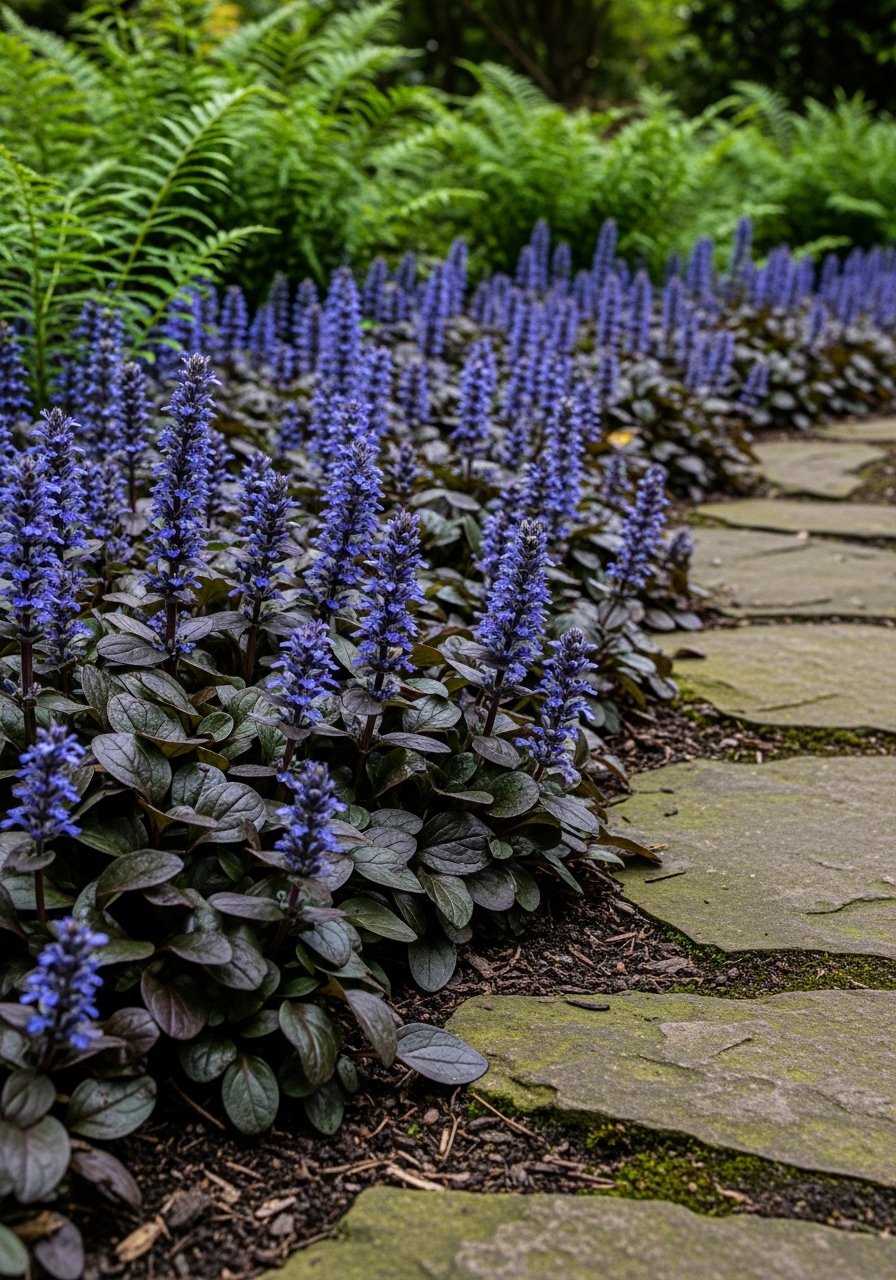
    3. Ajuga (Bugleweed) for Fast Shade Cover

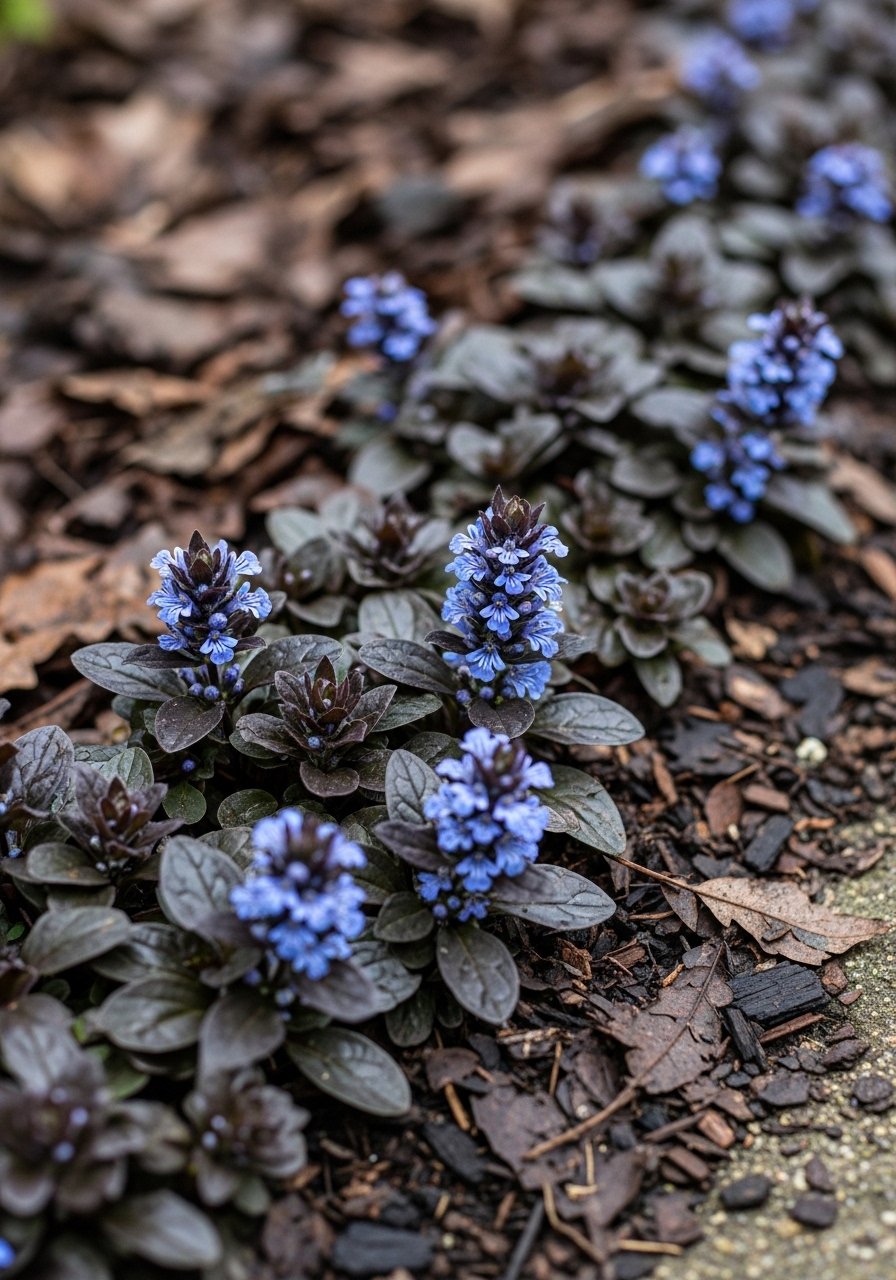
    I used ajuga to patch an under-tree bare spot and it filled in fast. The dark leaves brighten shady corners and it tolerates compact soil. My mistake was planting it too close to delicate perennials—it can creep into beds.

    It spreads by runners, so I now plant it where I want a bold swath of color. It’s one of the few shade covers I’ve kept without daily tending.

    What You’ll Need for This Look

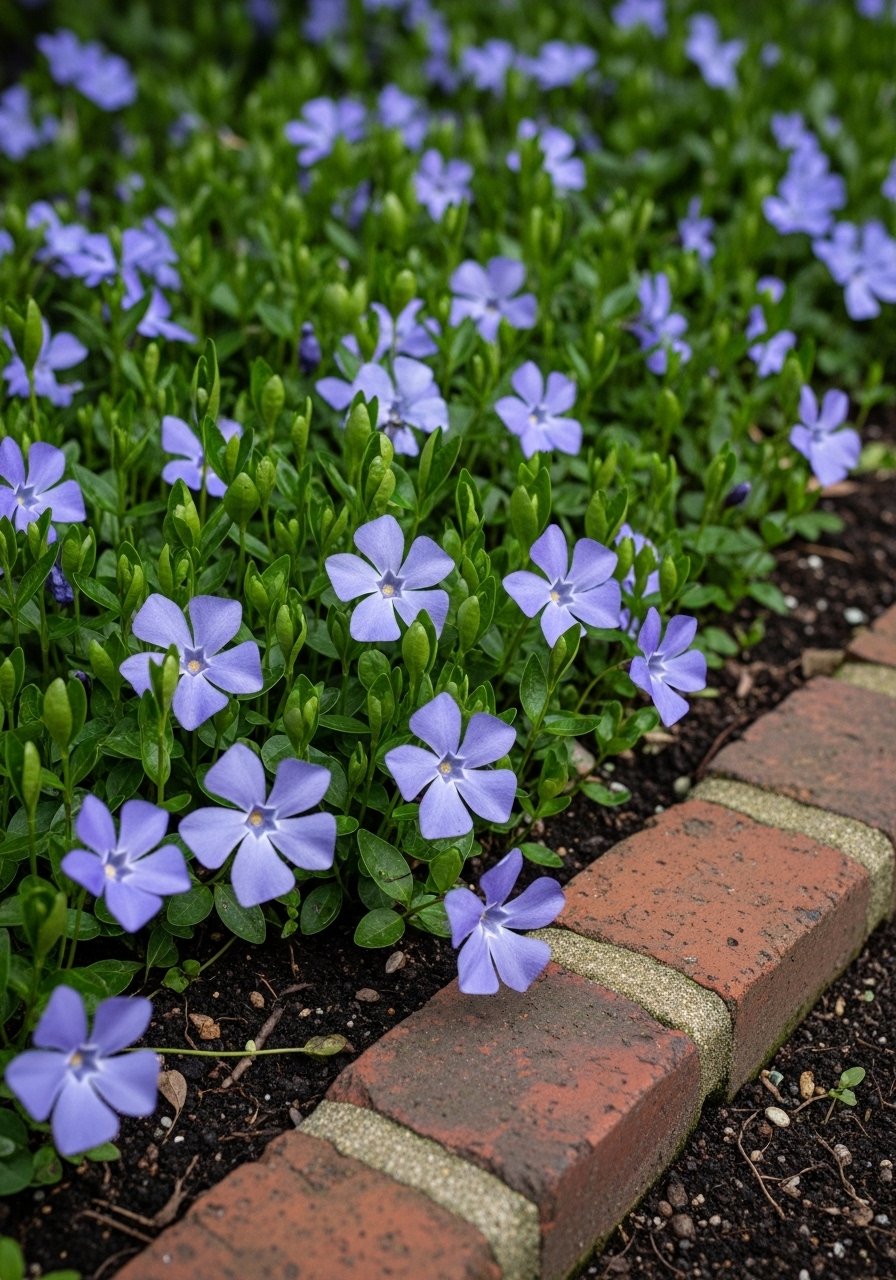
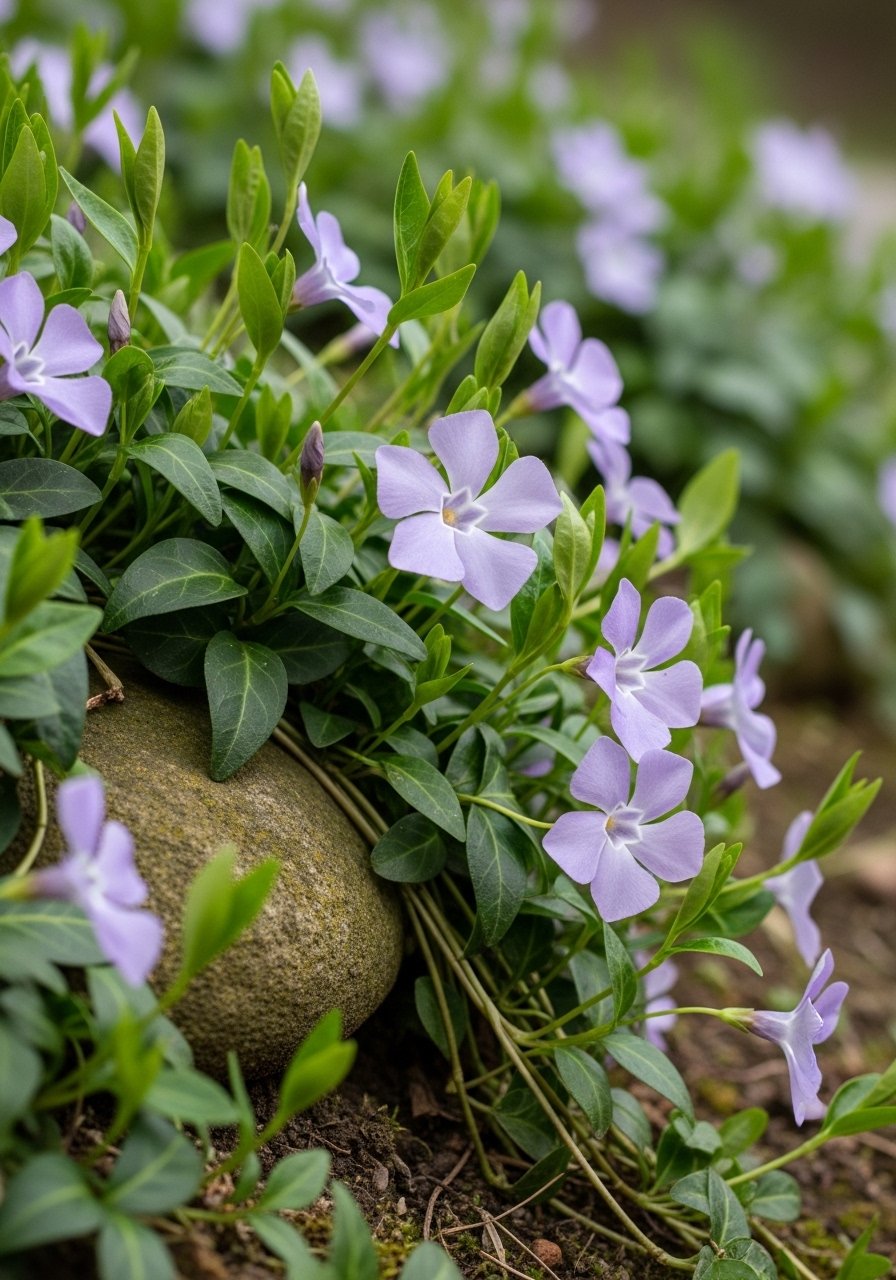
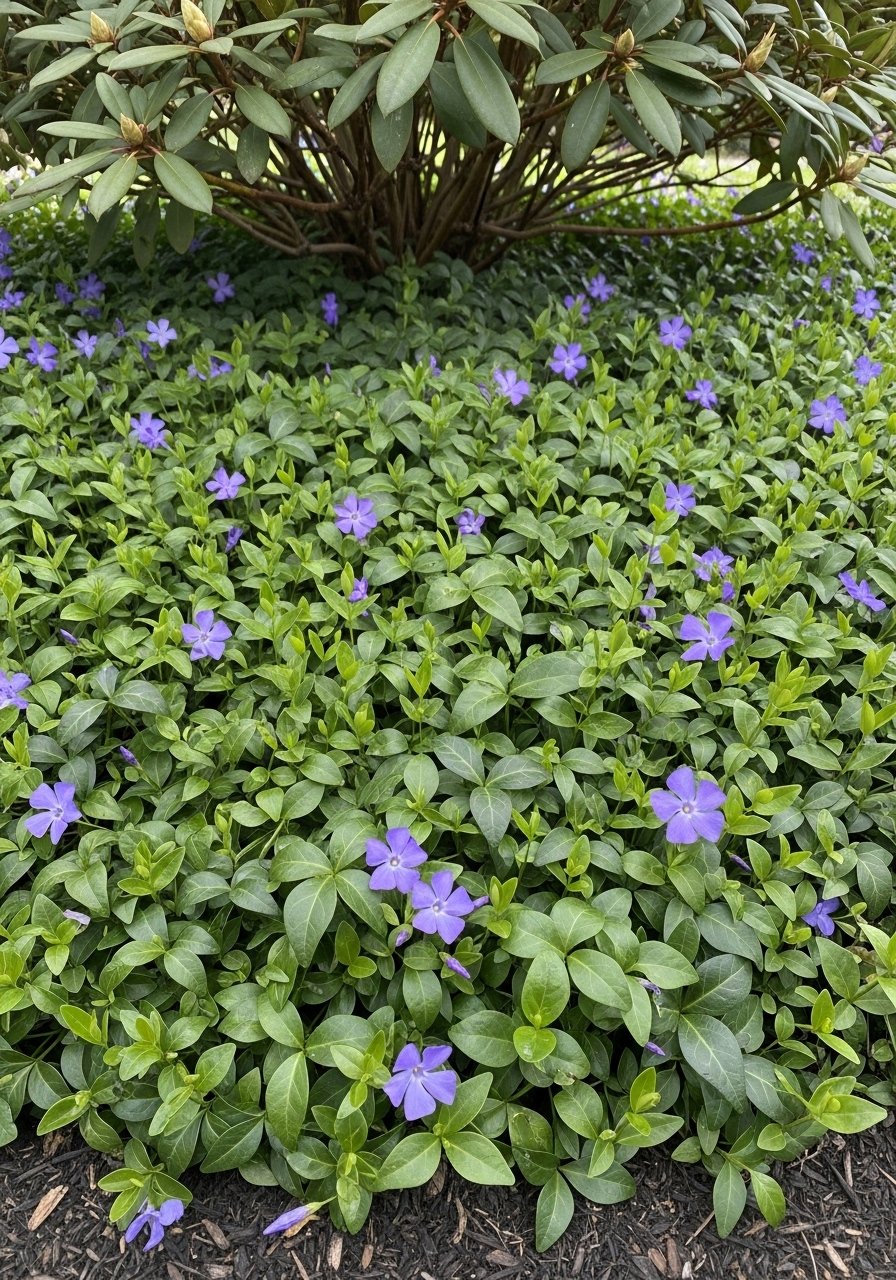
    4. Vinca Minor (Periwinkle) for Evergreen Shade

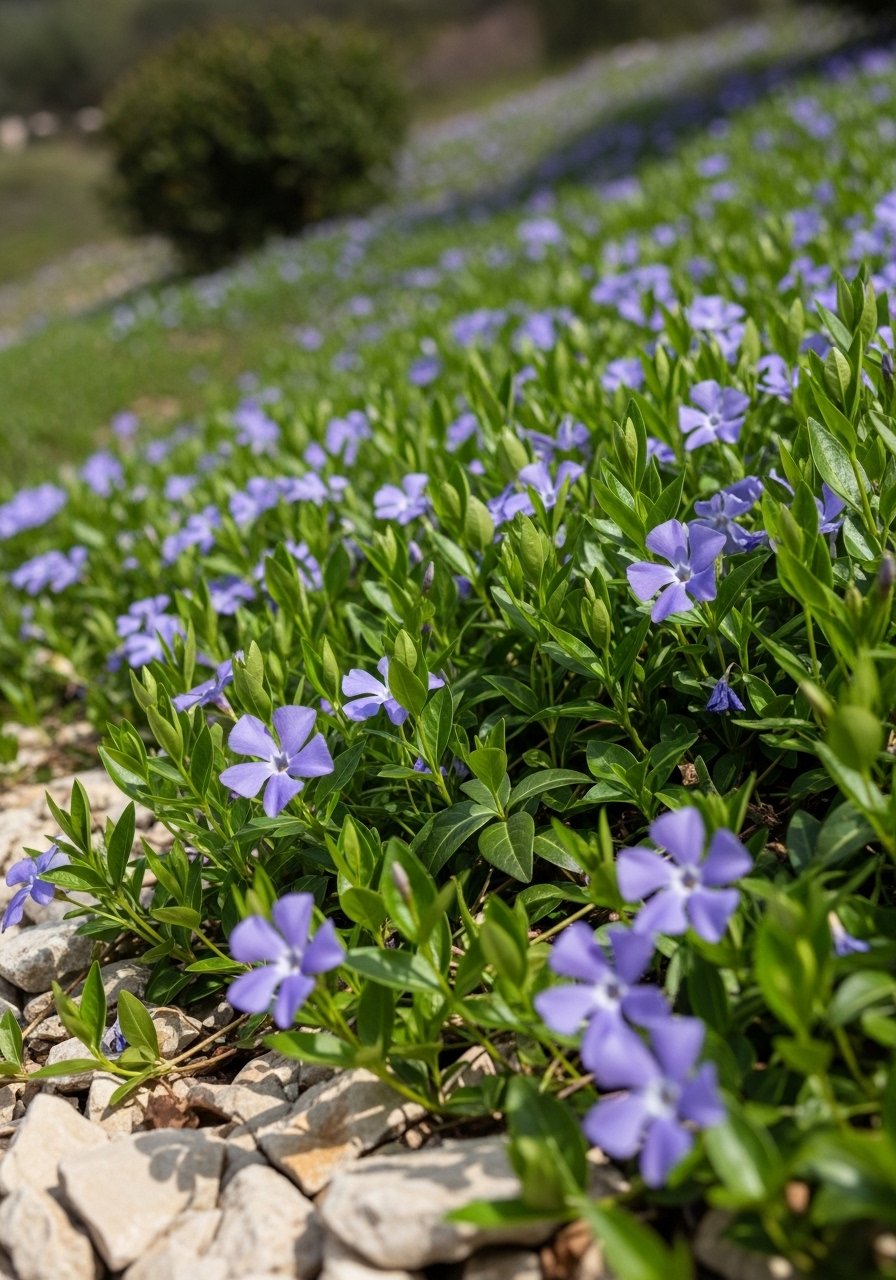
    I planted periwinkle along a north-facing fence where nothing stayed green. It stayed evergreen and flowered in spring, bringing life to a gloomy border. It climbs slightly, so I keep it trimmed back from walkways.

    It’s forgiving of soil types and dries out less than many shade plants. I treat it like a permanent green carpet rather than a showy bed.

    What You’ll Need for This Look

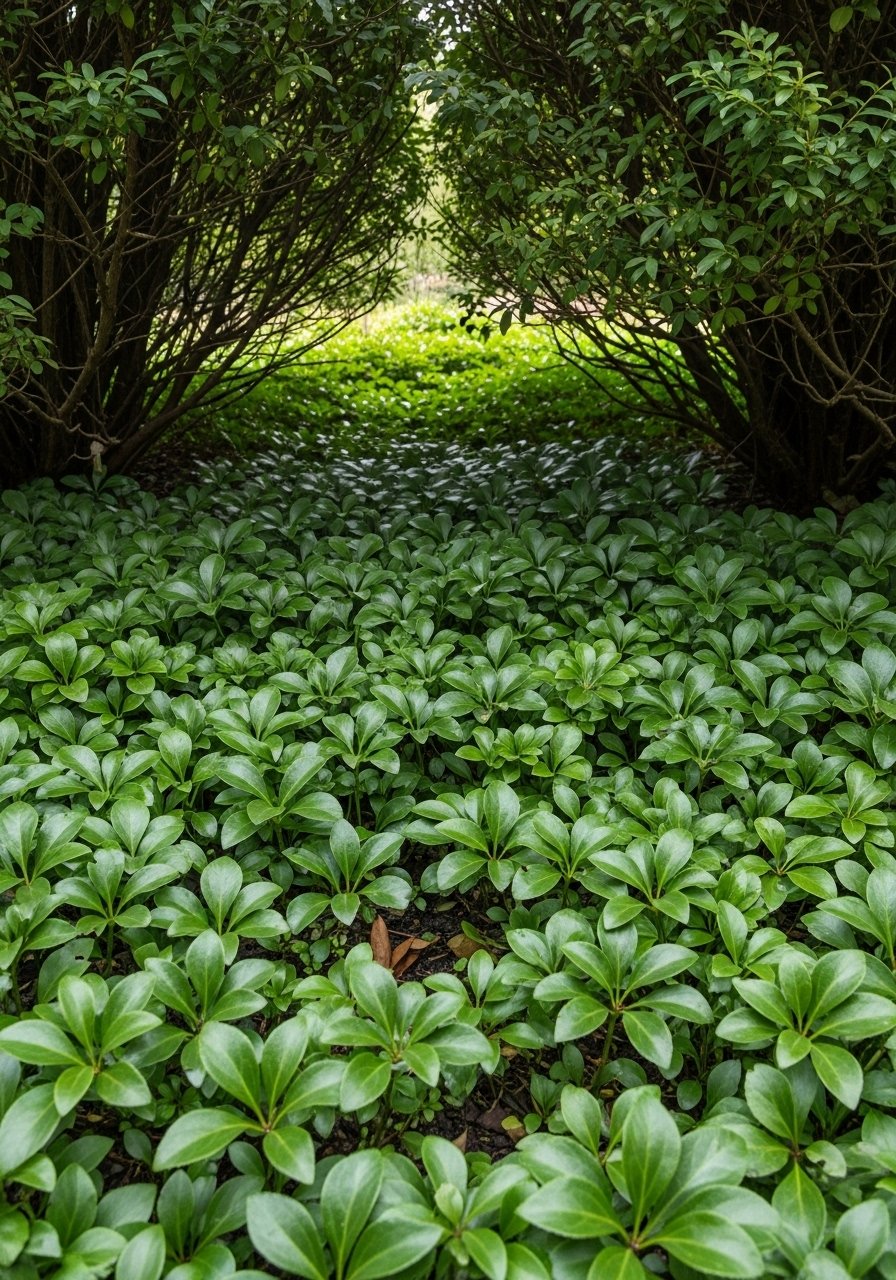
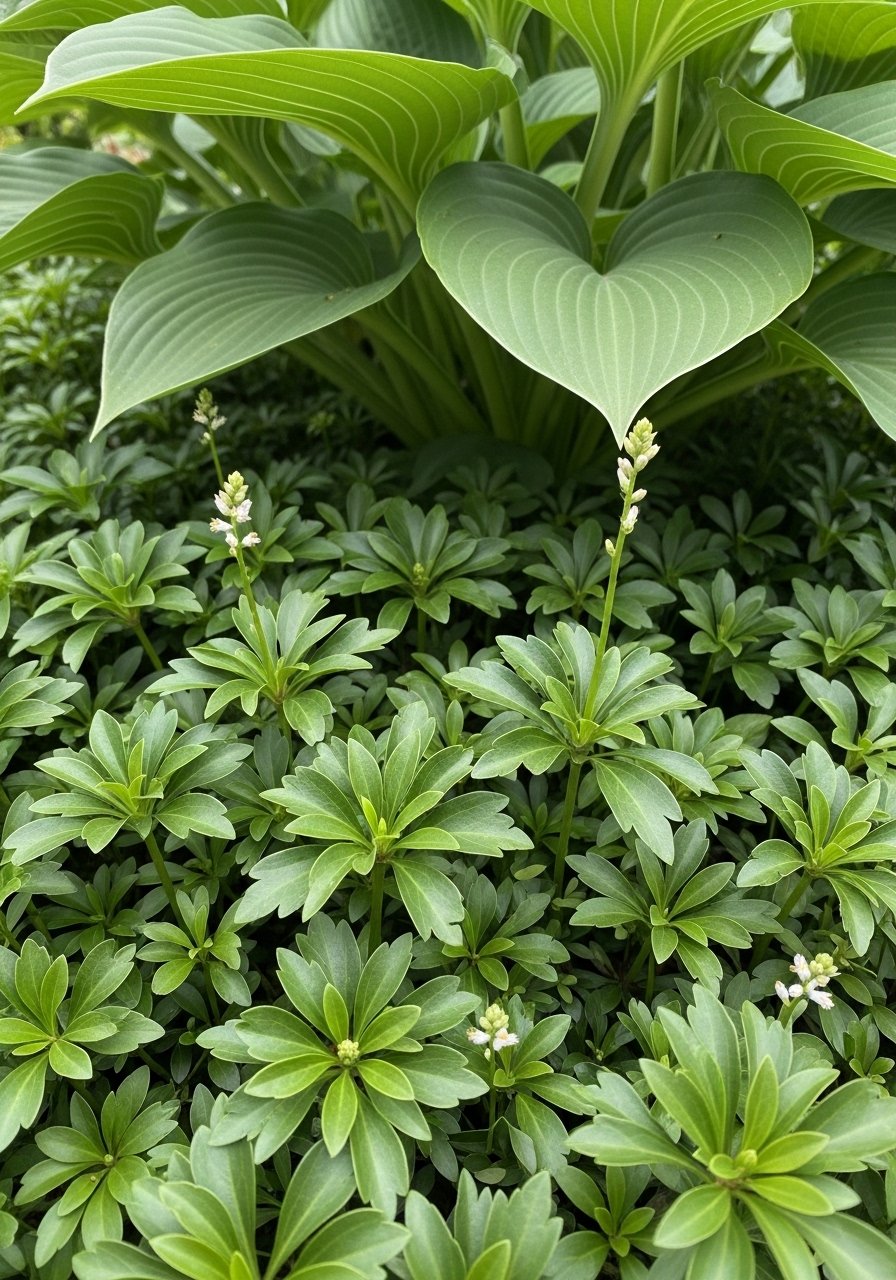
    5. Pachysandra for Deep Shade and Low Fuss

    I turned a gloomy strip under shrubs into a dense green carpet with pachysandra. It tolerates deep shade and stays green all winter. Early on I overcrowded it and had crown rot in a soggy spot—lesson learned: space it and improve drainage.

    It’s slow to flower but great for a clean, low-maintenance look where grass won’t grow.

    What You’ll Need for This Look

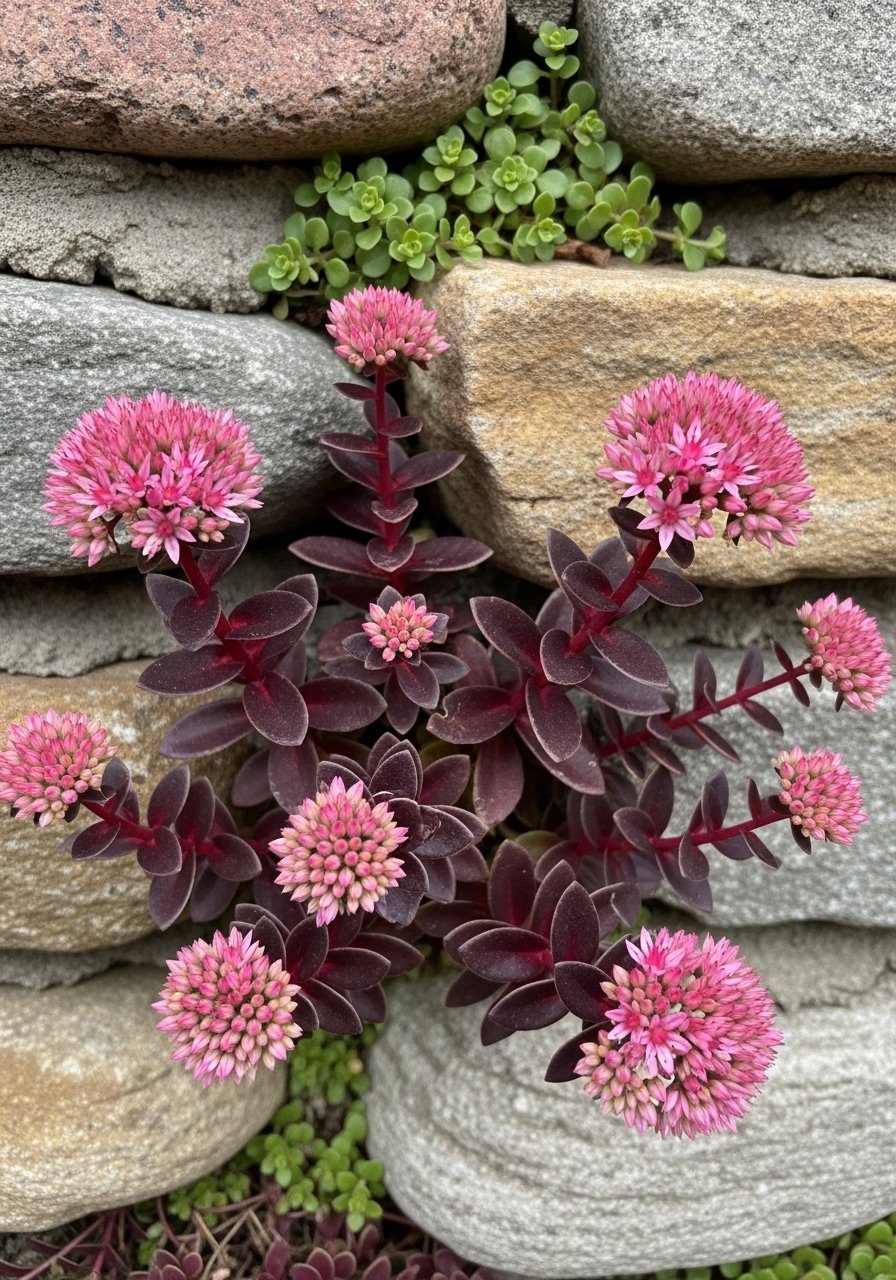
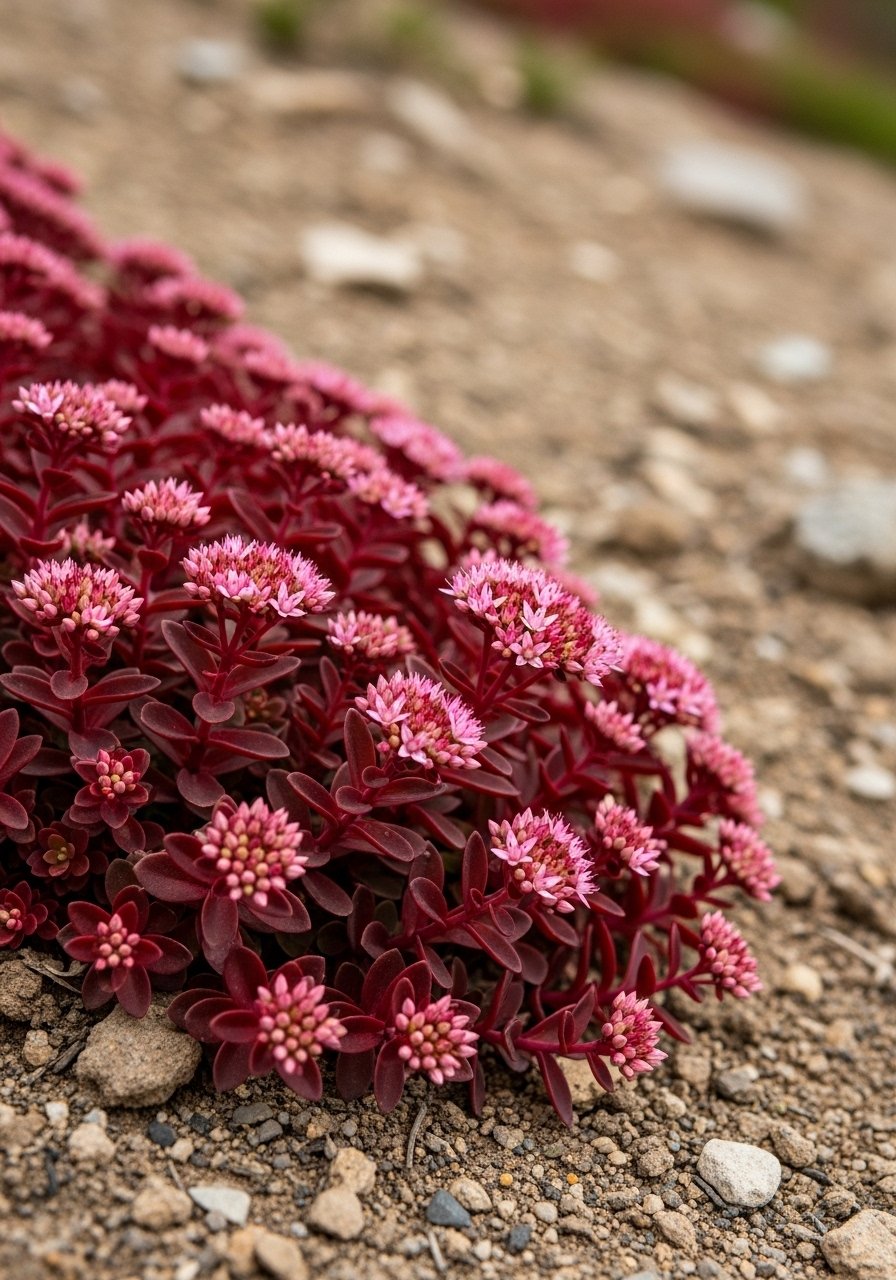
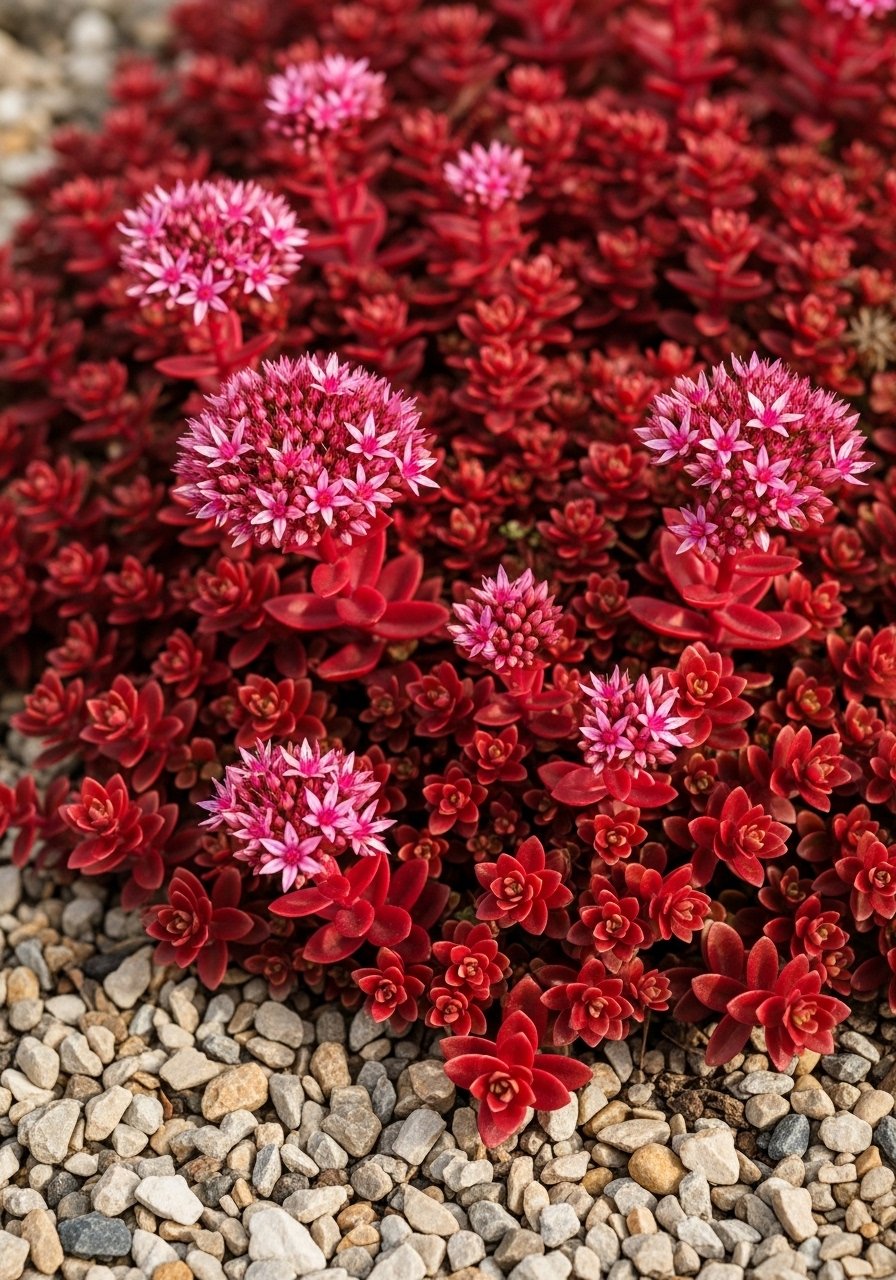
    6. Sedum spurium 'Dragon's Blood' for Color and Rock Garden Charm

    I use Dragon’s Blood sedum along dry stone walls. It colors up in sun, tolerates drought, and hugs crevices. It never needed much attention, and the blooms attract pollinators.

    I once planted it in shade and it sulked, so I moved it to full sun. Now it’s my go-to for low, colorful texture on slopes and rocks.

    What You’ll Need for This Look

    7. Sedum album for Cracks, Steps, and Hot Spots

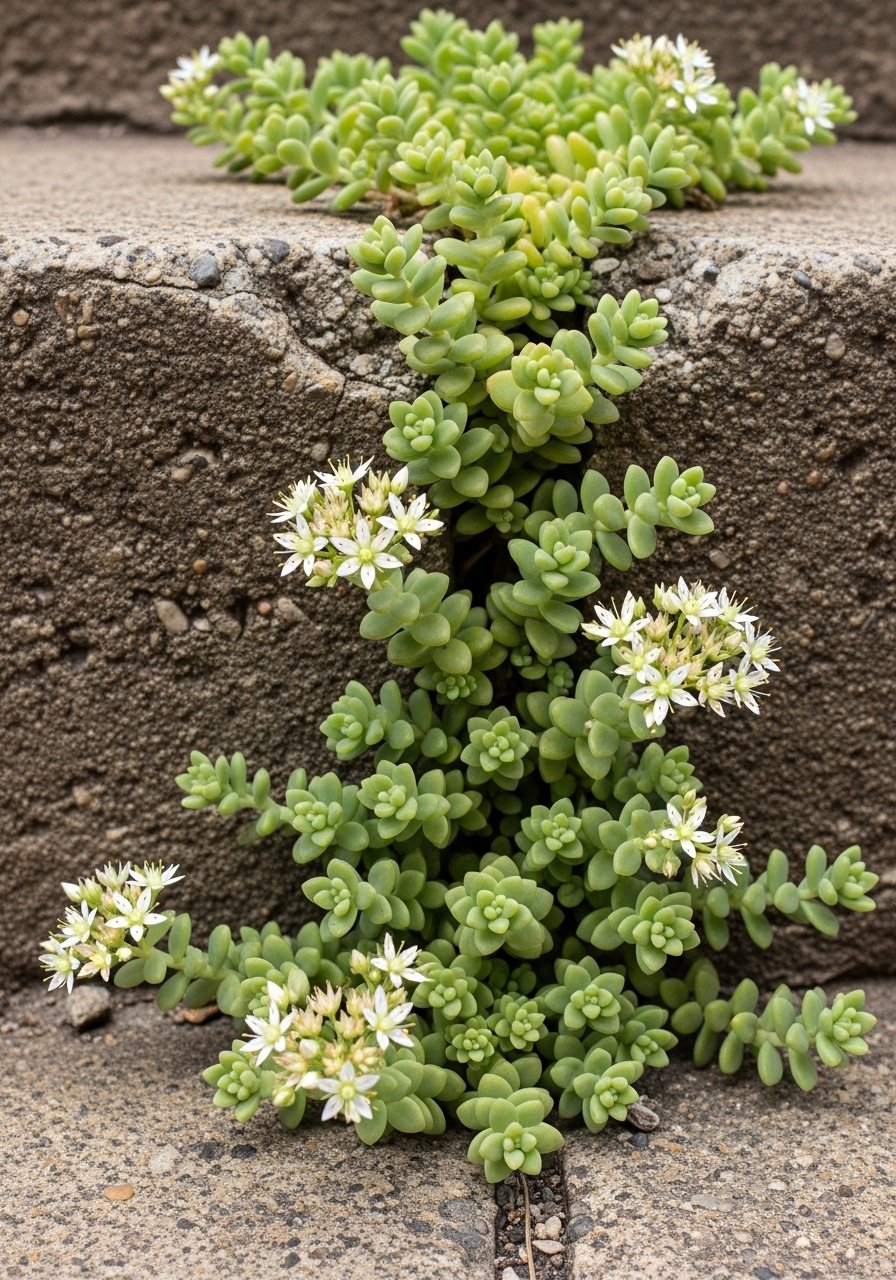
    I let Sedum album colonize cracked concrete and it softened harsh edges instantly. It’s a succulent, so it tolerates heat and thin soil. I like its tiny white blooms and how it survives drought summers.

    The key is sun and drainage; where I put it in heavy shade it thinned out. Now I plant it in edges, containers, and sunny cracks.

    What You’ll Need for This Look

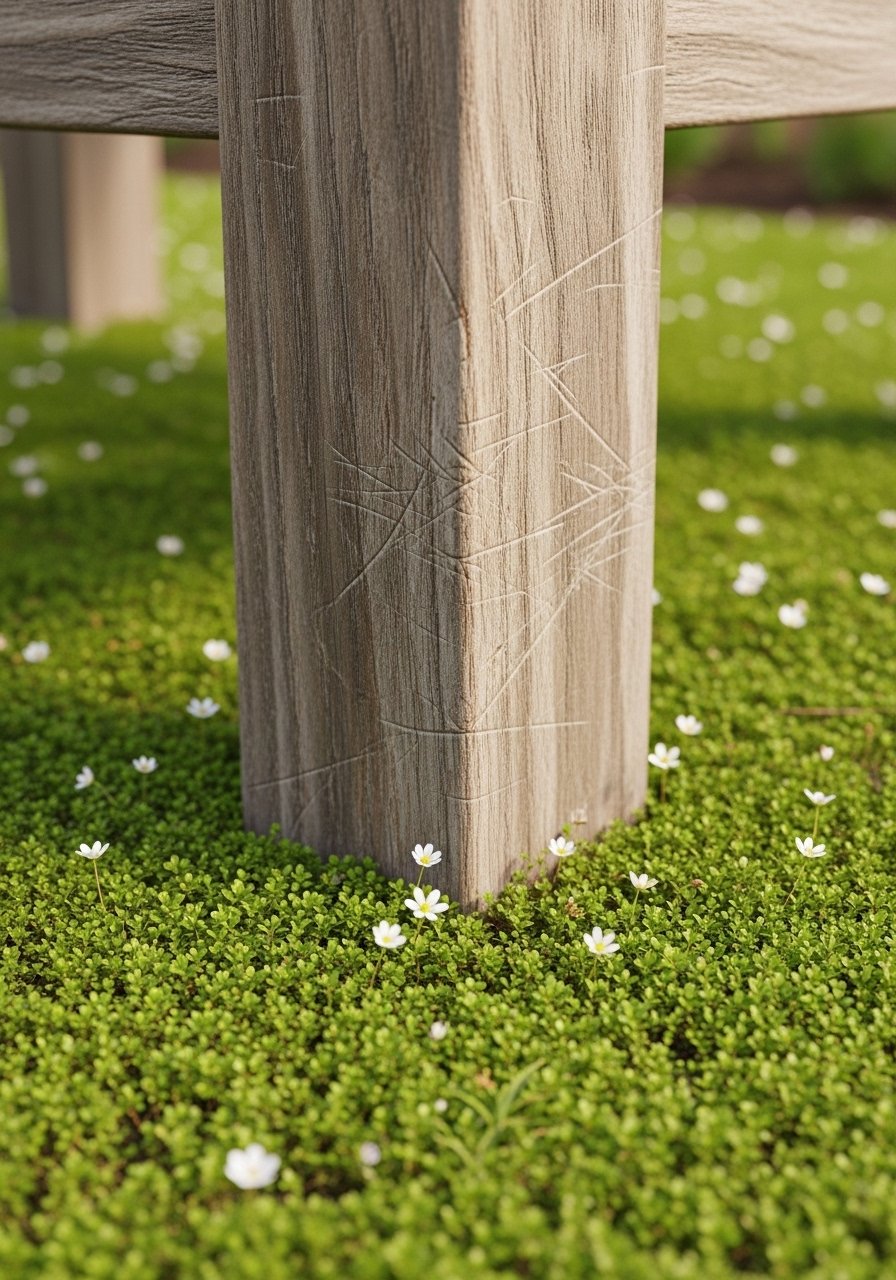
    8. Irish Moss (Sagina subulata) for Soft, Low Green Rugs

    I planted Irish moss around a bench to make a soft green rug that stays low. It likes consistent moisture and bright shade to sun transition. I found it can brown if stepped on constantly, so I save it for edges.

    It’s amazing between pavers if you water a bit more. The tiny flowers are a sweet bonus in spring.

    What You’ll Need for This Look

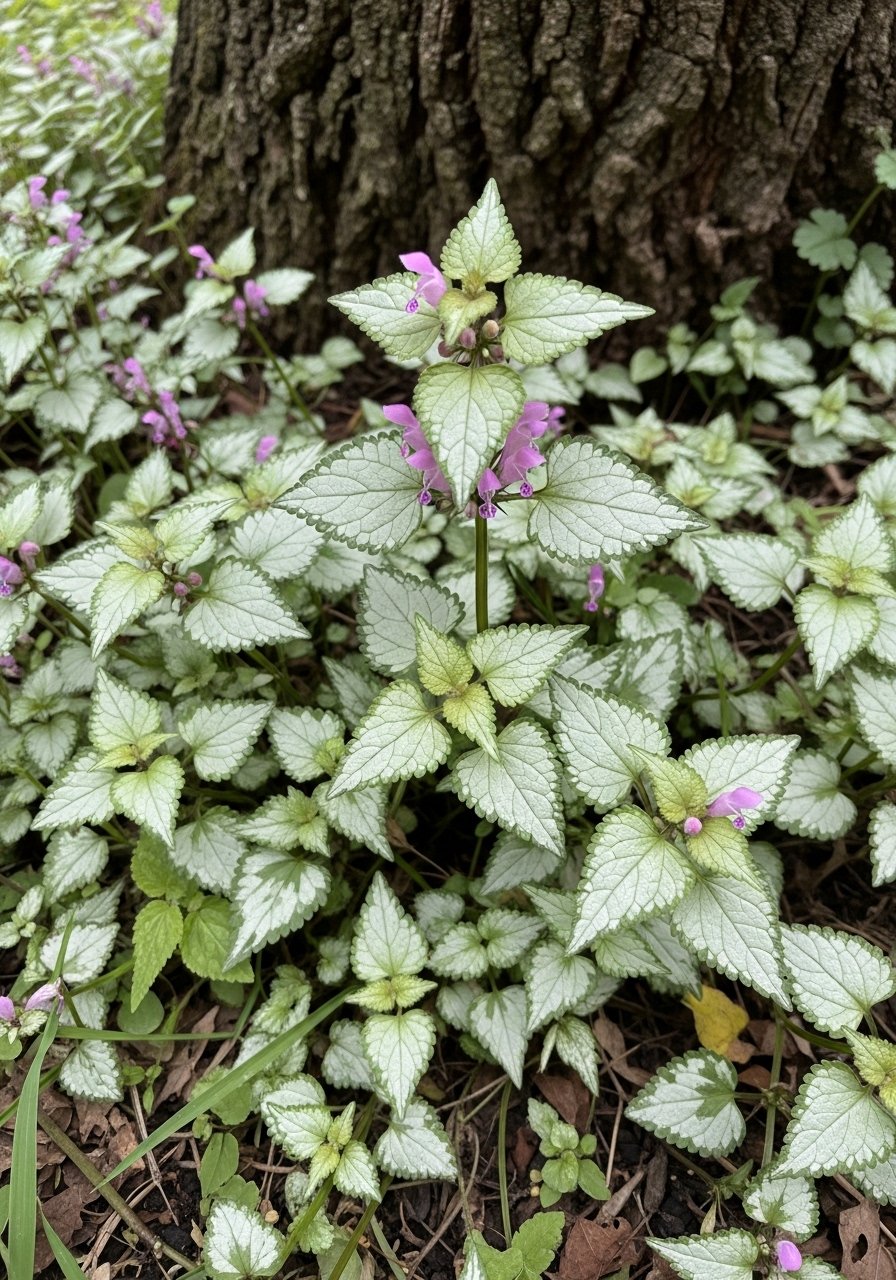
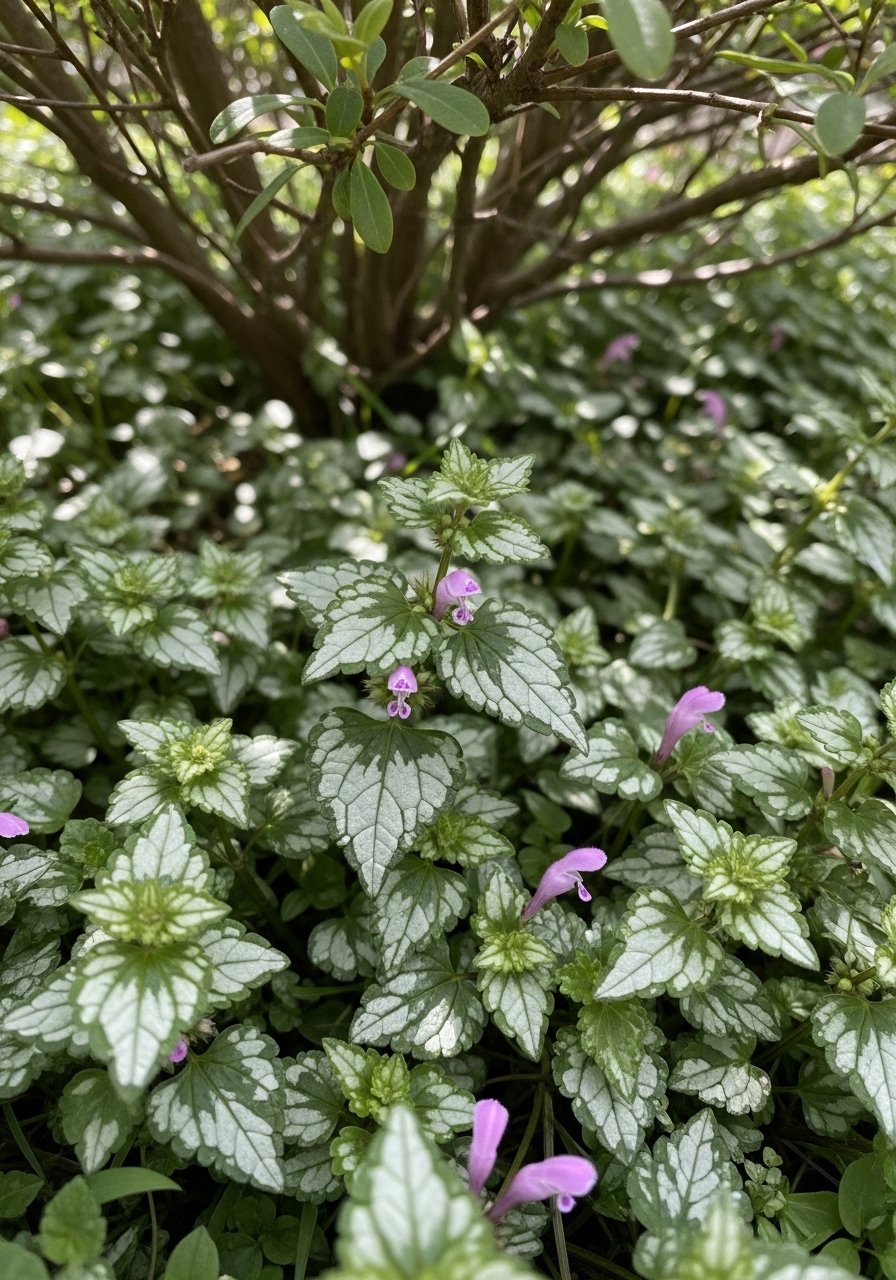
    9. Lamium maculatum (Variegated Dead-Nettle) for Shade with Pattern

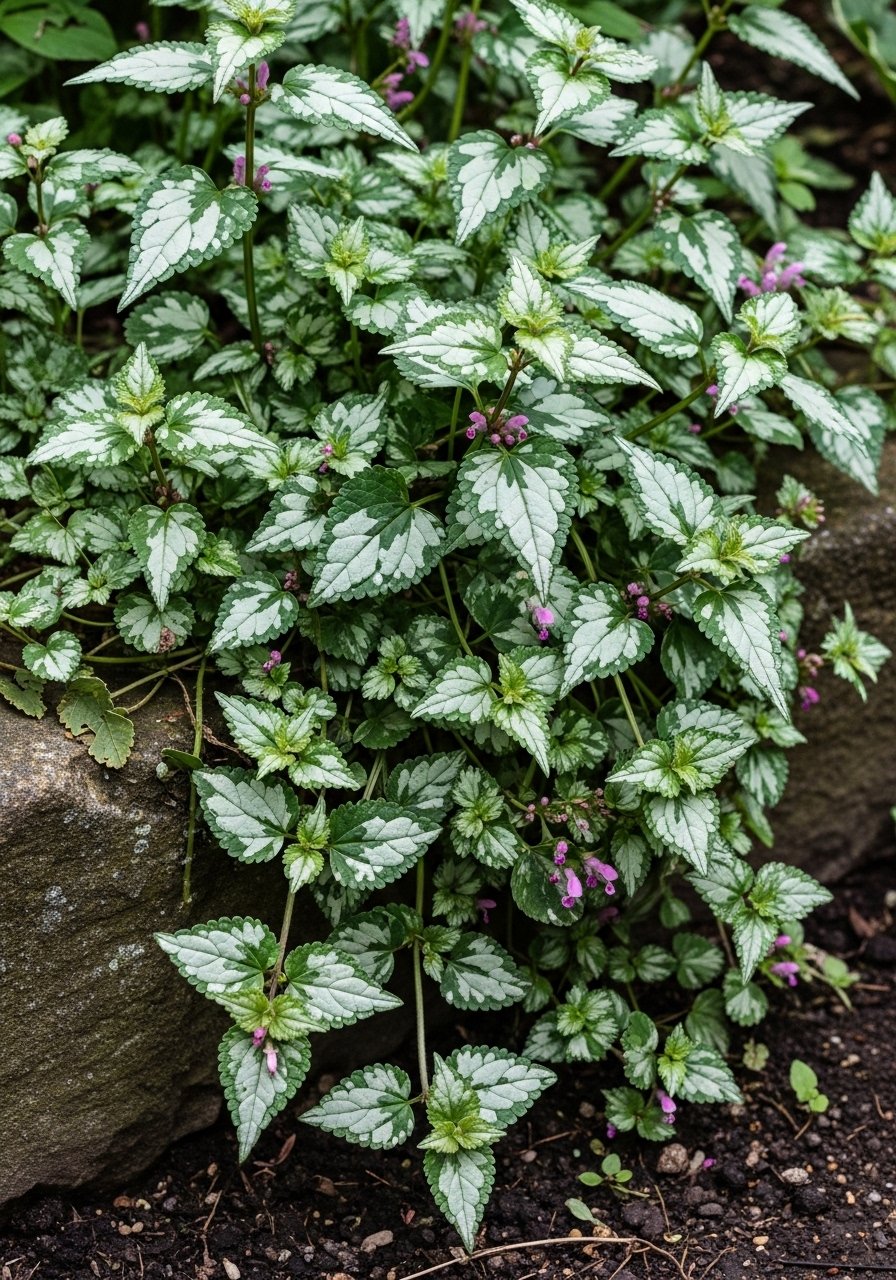
    I love lamium’s patterned leaves under my shade trees. It brightens dark corners and stays low. My early mistake was planting a roadside variety that flopped in summer heat—I switched to a cultivar that tolerates warmer microclimates.

    It’s a forgiving filler and plays well with hostas and ferns. I just watch for aggressive spread in very fertile beds.

    What You’ll Need for This Look

    10. Mazus reptans for Spring Carpet and Fast Fill

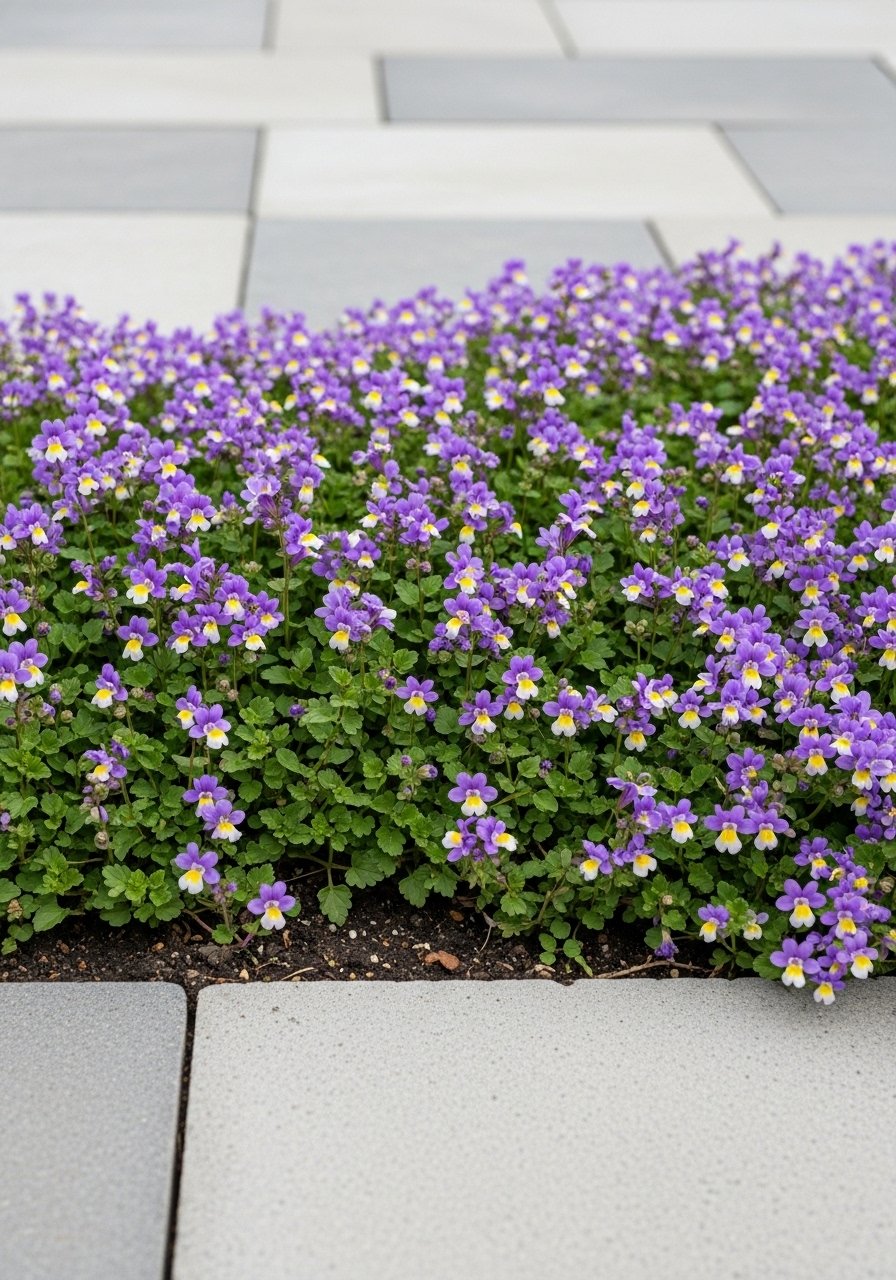
    I discovered mazus when I needed quick spring color for a patio gap. It fills fast, flowers early, and tolerates light foot traffic. It dies back a bit in heat but returns quickly in cooler seasons.

    I use it where I want a lush spring look without constant planting. It’s especially nice next to containers and low walls.

    What You’ll Need for This Look

    11. Dichondra repens (Kidney Weed) for a Soft Lawn Alternative

    I swapped a tiny front-lawn patch for dichondra and stopped mowing weekly. It stays very low and has a soft, velvety look. It dislikes heavy foot traffic, so I keep it in small, visual lawn pockets.

    It’s forgiving in sun or part shade but can thin in drought. A light watering routine keeps it lush without fuss.

    What You’ll Need for This Look

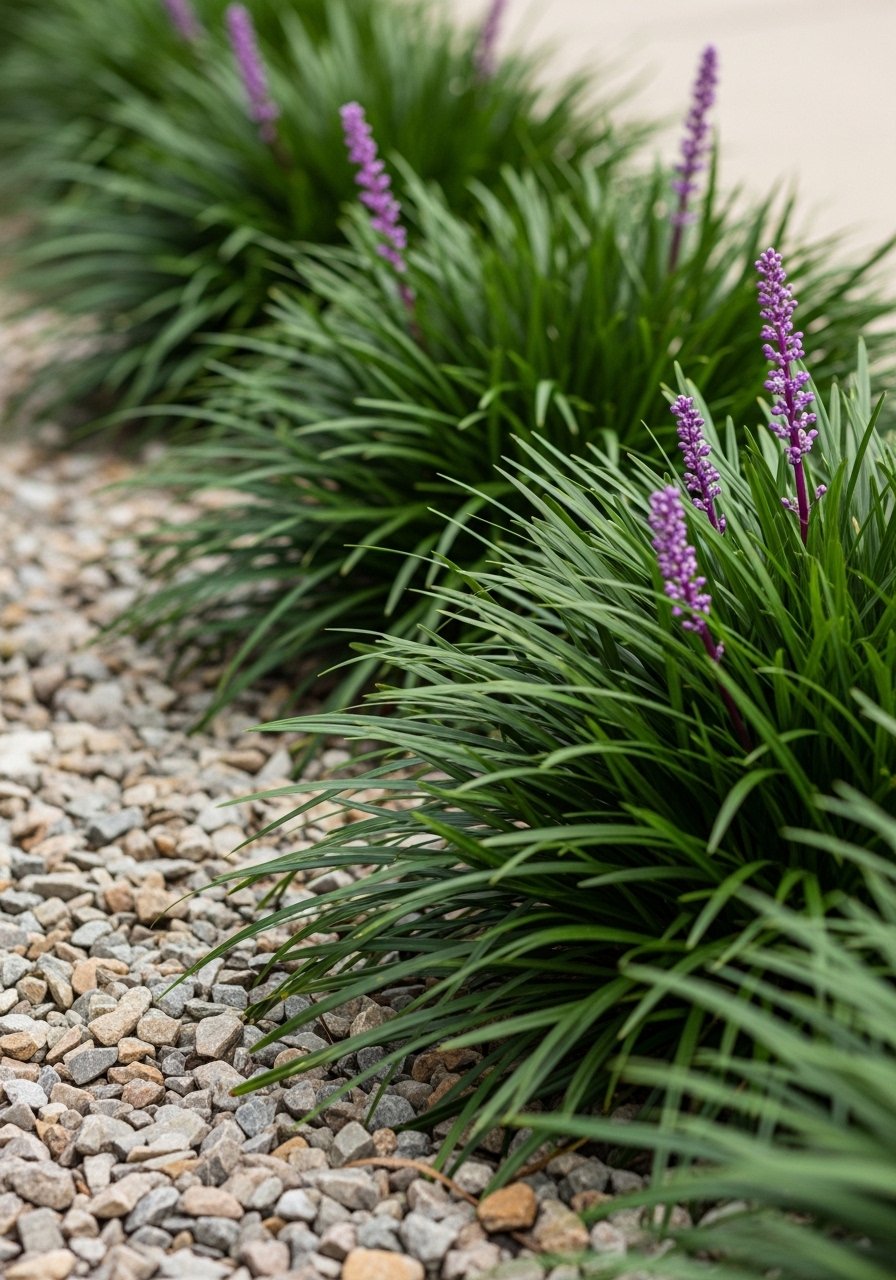
    12. Liriope spicata for Evergreen Stripes and Easy Borders

    I use Liriope spicata along driveways because it tolerates sun and shade and stays tidy. It forms a dense stripe that resists erosion. I once planted the wrong variety and had larger clumps than I wanted—now I buy the spreading type.

    It gives a neat edge without frequent trimming and handles compacted soil well.

    What You’ll Need for This Look

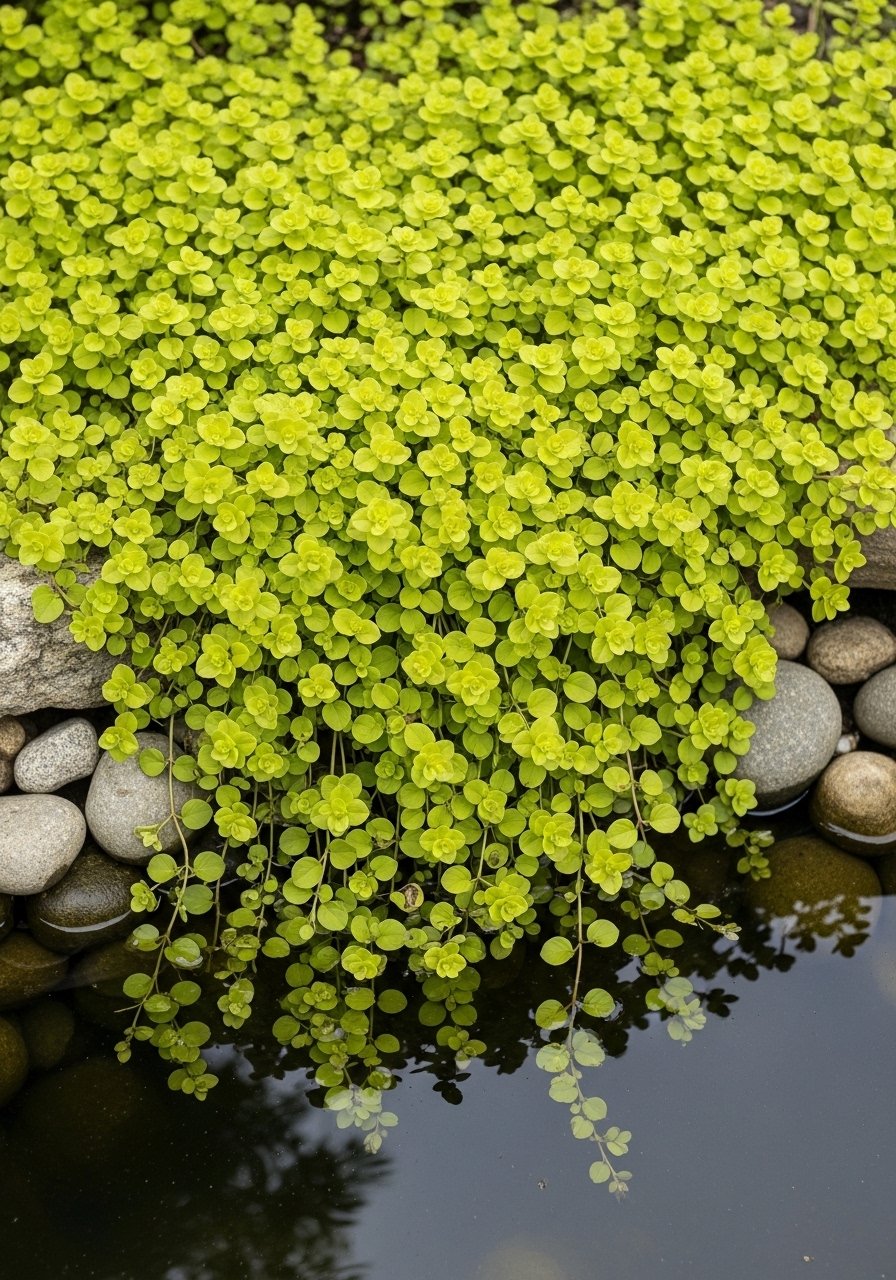
    13. Creeping Jenny (Lysimachia nummularia) for Bright, Wet Spots

    I planted Creeping Jenny at a damp pond edge to add immediate color. Its chartreuse leaves pop against water and it tolerates soggy soil. My mistake was planting it in dry soil where it browned—now I reserve it for wet spots.

    It spreads fast, so I plant in contained beds or let it drape from stone-bordered ponds.

    What You’ll Need for This Look

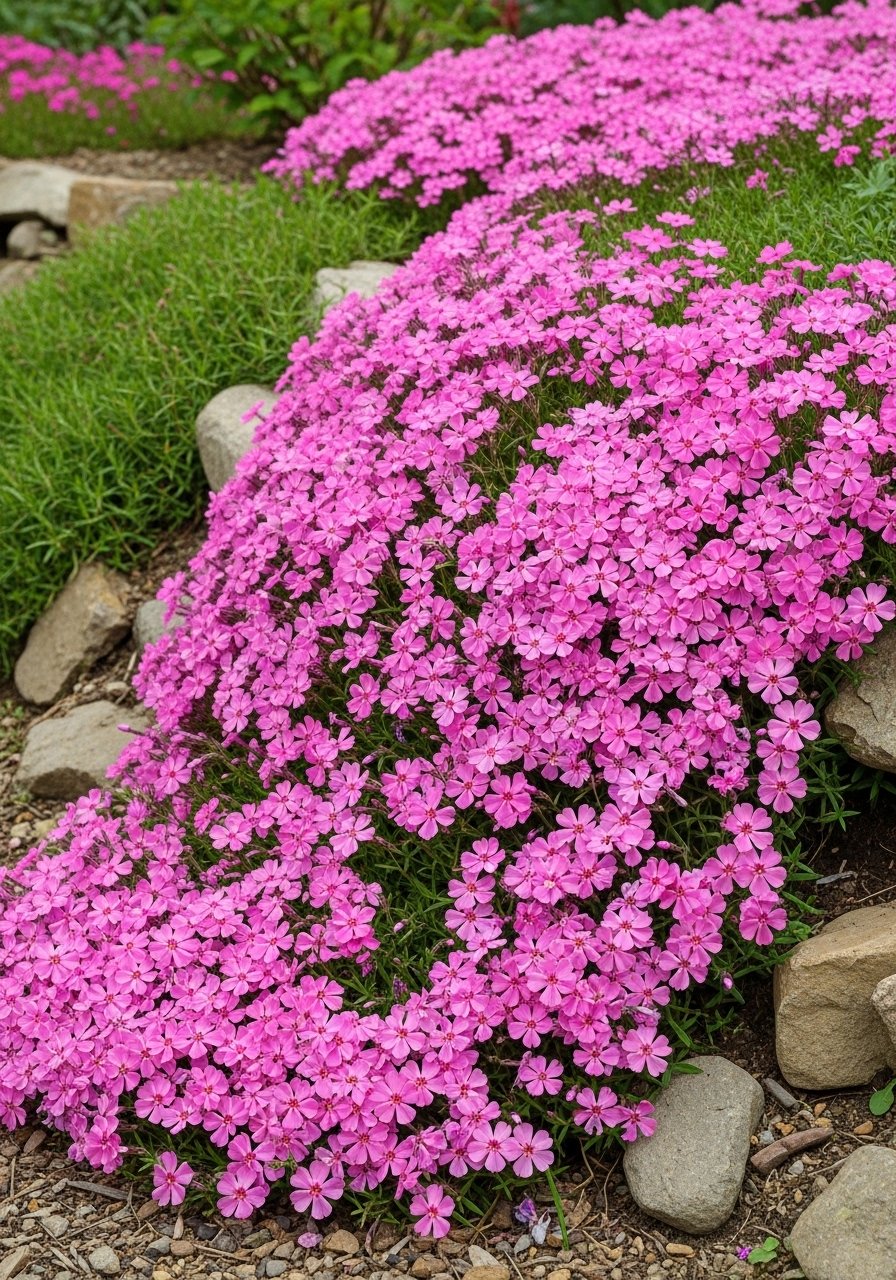
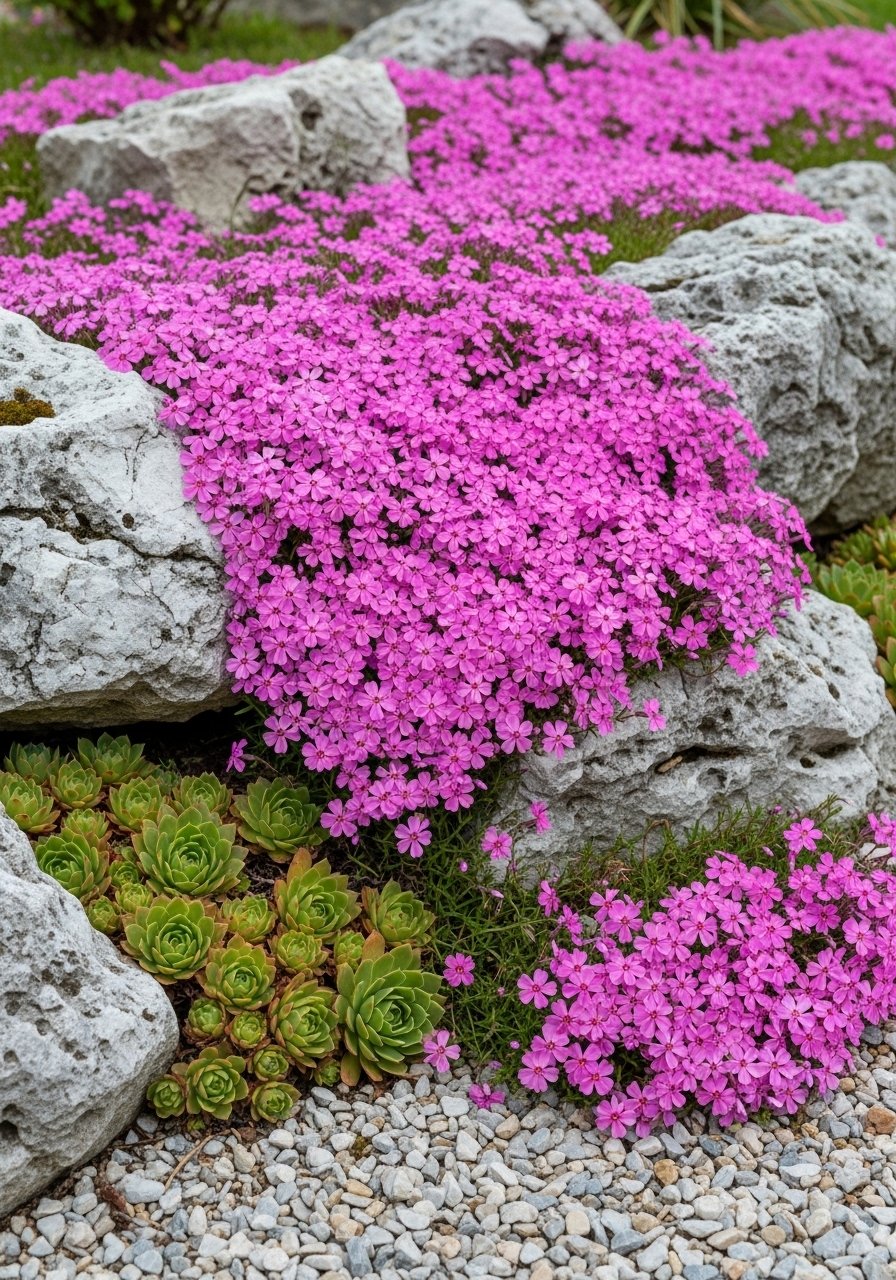
    14. Creeping Phlox for Spring Color on Slopes

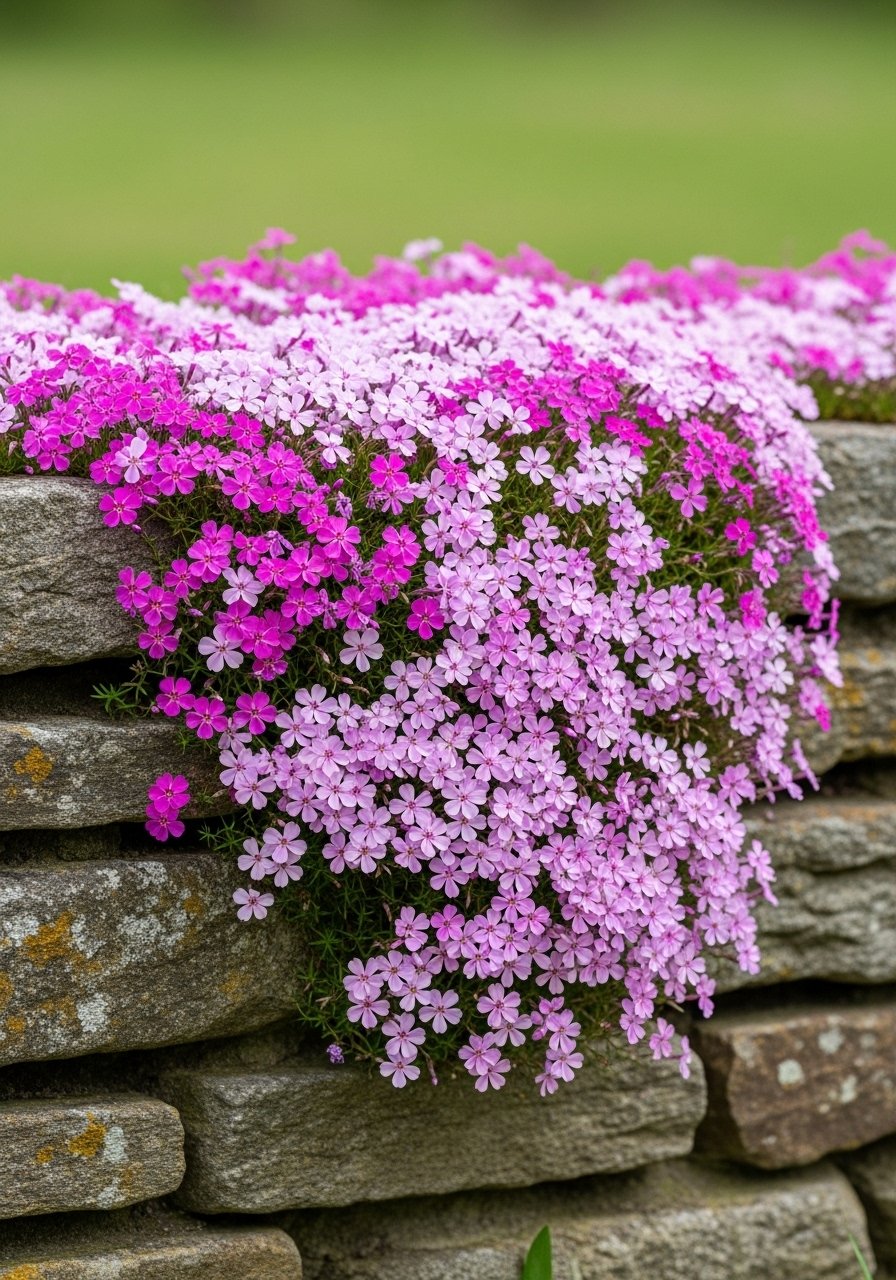
    I planted creeping phlox on a sunny slope and loved the spring carpet of flowers. It handles cool winters and bright sun, and it reduces erosion on steeper banks. It dies back after bloom but the foliage still looks tidy.

    I now pair it with sedums for summer interest so the slope isn’t bare after phlox fades.

    What You’ll Need for This Look

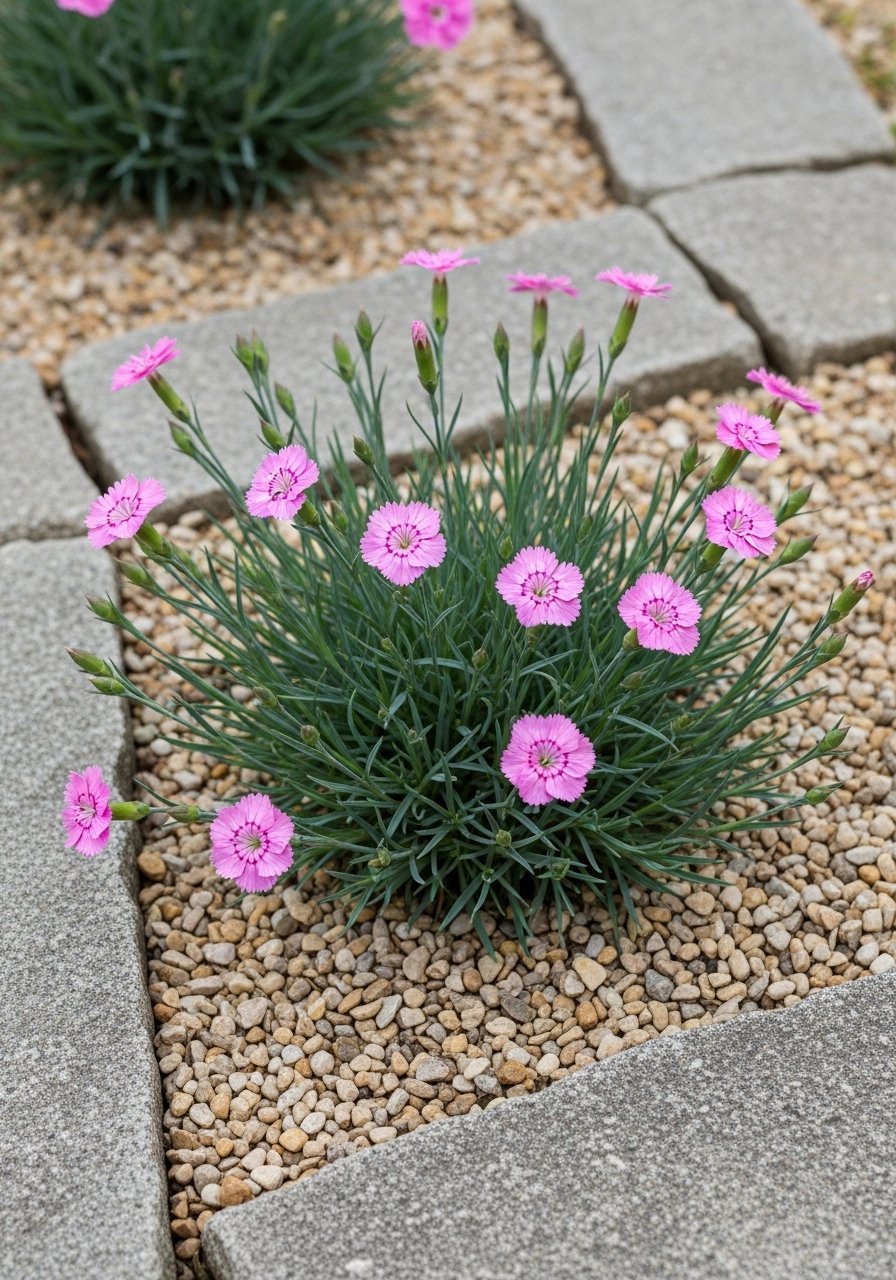
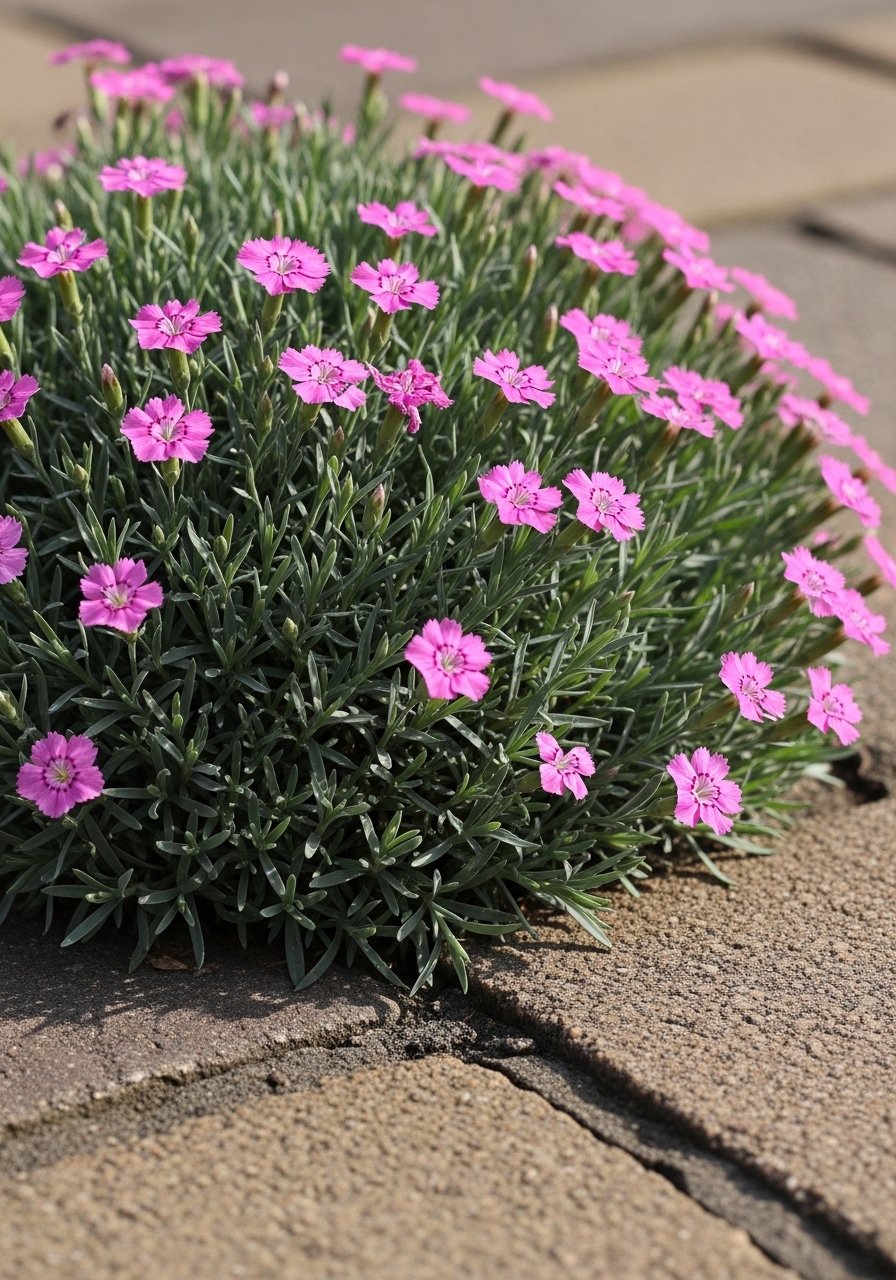
    15. Dianthus deltoides (Maiden Pink) for Textured Rock Garden Patches

    I tucked maiden pink into a sunny rock garden to add a cottagey edge that needs almost no care. It prefers sharp drainage and sun. I learned not to overwater—too much rich soil makes it floppy.

    It reseeds lightly in my garden, giving a pleasant, natural spread without being invasive.

    What You’ll Need for This Look

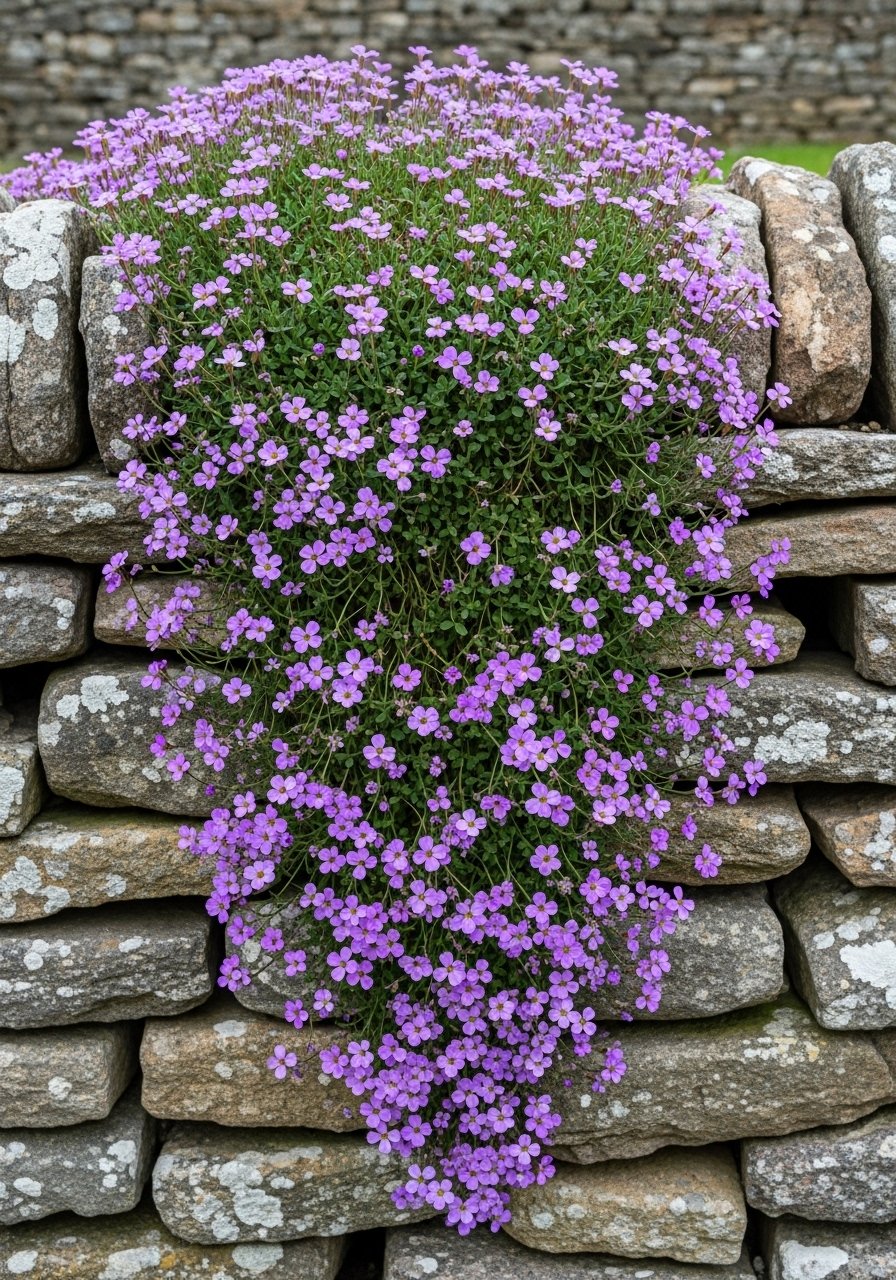
    16. Aubrieta for Long-Lasting Wall Cascades

    I planted aubrieta along an old wall and it cascaded beautifully each spring. It handles windy, exposed sites and clings to crevices. It’s low and dense, perfect for softening stone edges.

    It’s happiest in sun and thin soil—too rich and it sulks. I let it naturalize and only tidy after bloom.

    What You’ll Need for This Look

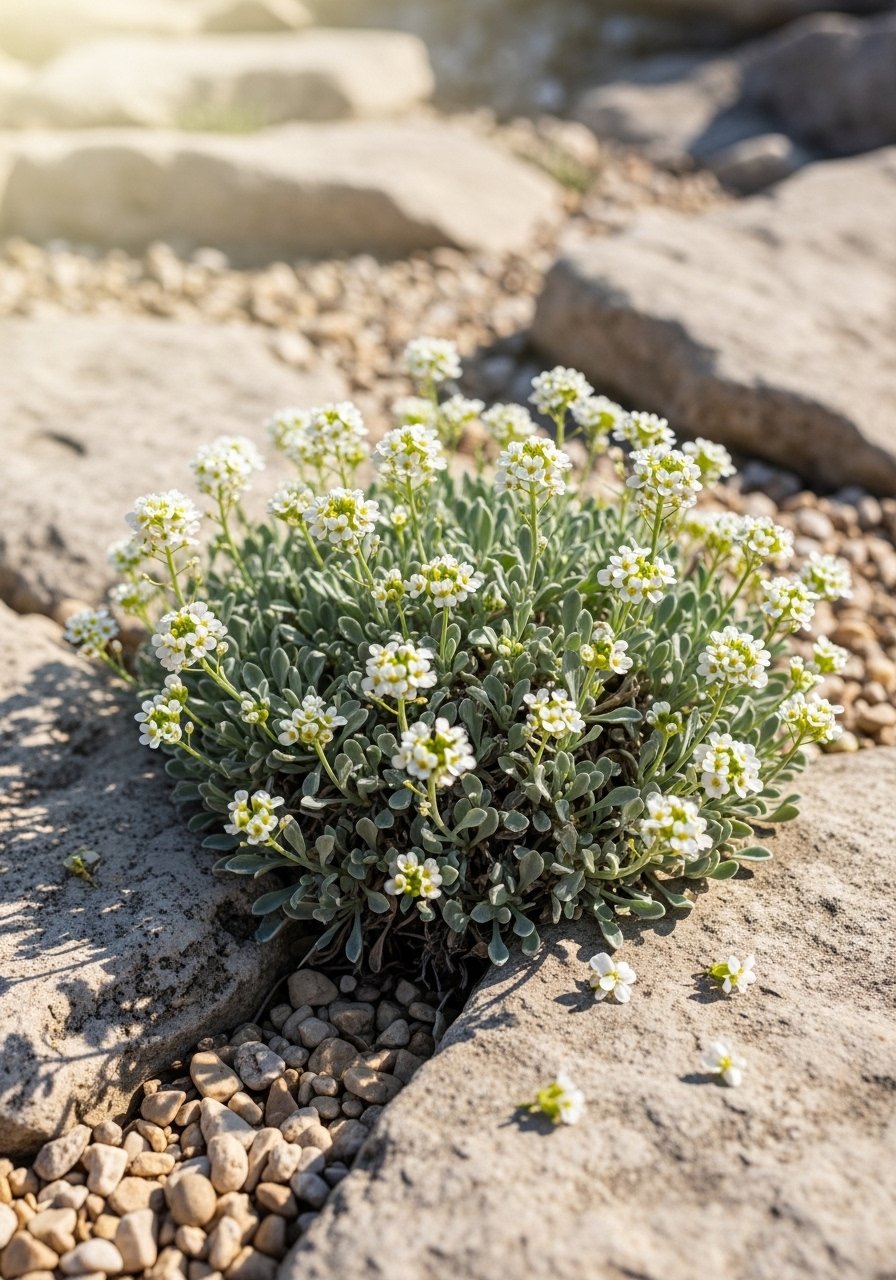
    17. Arabis caucasica (Rock Cress) for Early White Spring Bloom

    I planted rock cress for reliable early-season white blooms that brighten a stony slope. It’s super low-care, tolerates poor soil, and stays compact. I like that it signals spring before most other ground covers wake up.

    It doesn’t need rich soil—lean sites make it happiest. I use it in front of low walls and along sunny walkways.

    What You’ll Need for This Look

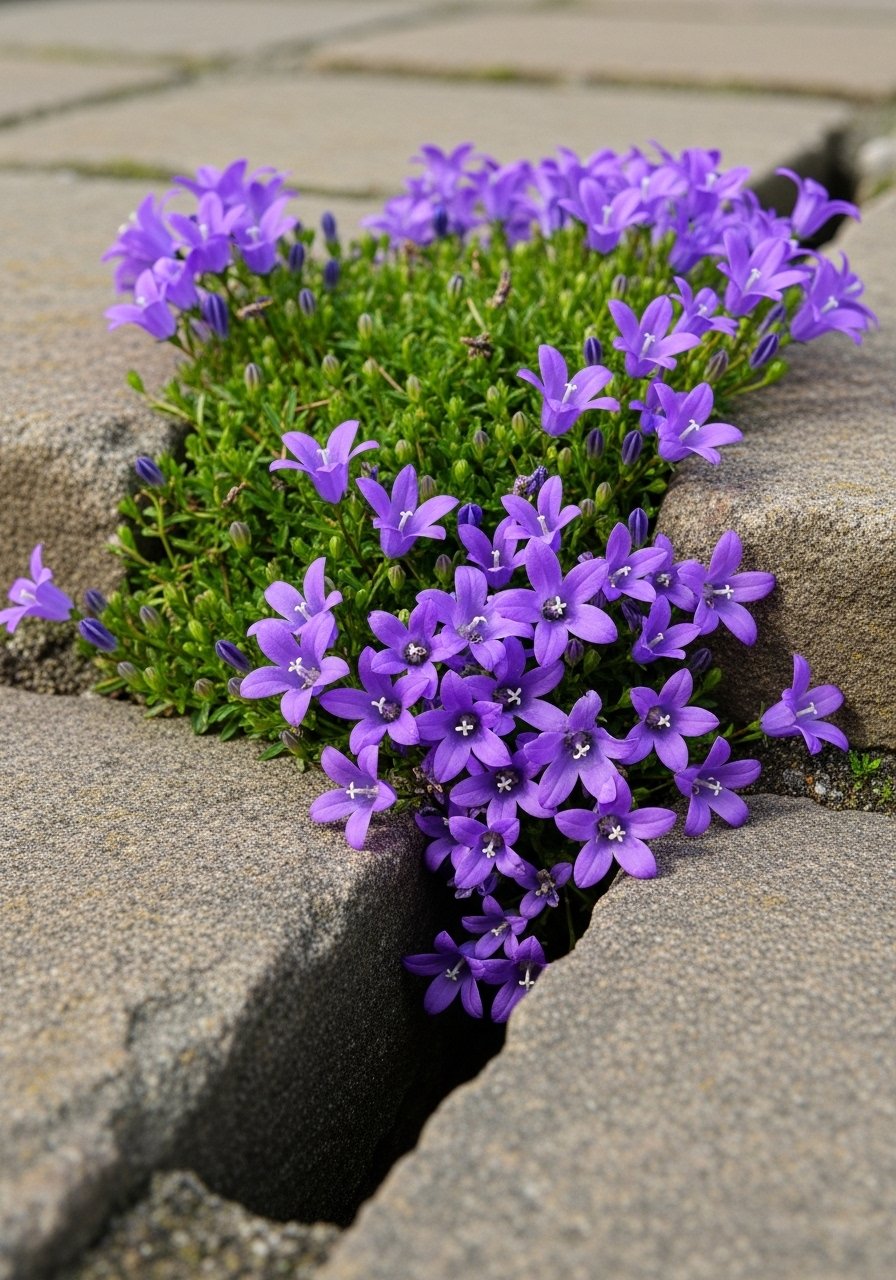
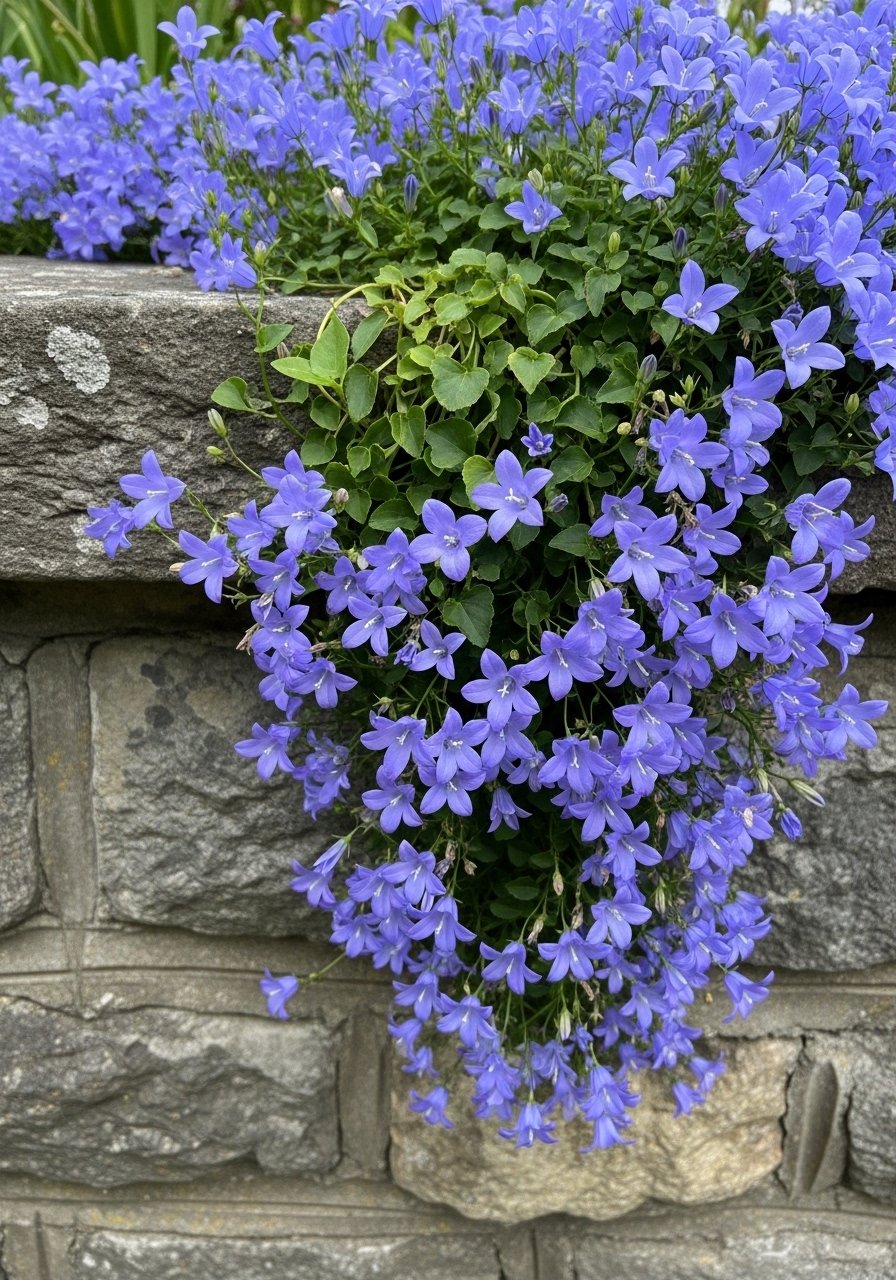
    18. Campanula portenschlagiana (Dwarf Bellflower) for Cracks and Borders

    I planted dwarf bellflower in patio cracks for pockets of summer lavender-blue bells. It tolerates some foot traffic and blooms reliably. My early mistake was planting it too deep; I raised the crowns and it recovered.

    It’s a great filler for tight spaces where nothing else settles easily. I let it seed lightly where I want a relaxed meadow feel.

    What You’ll Need for This Look

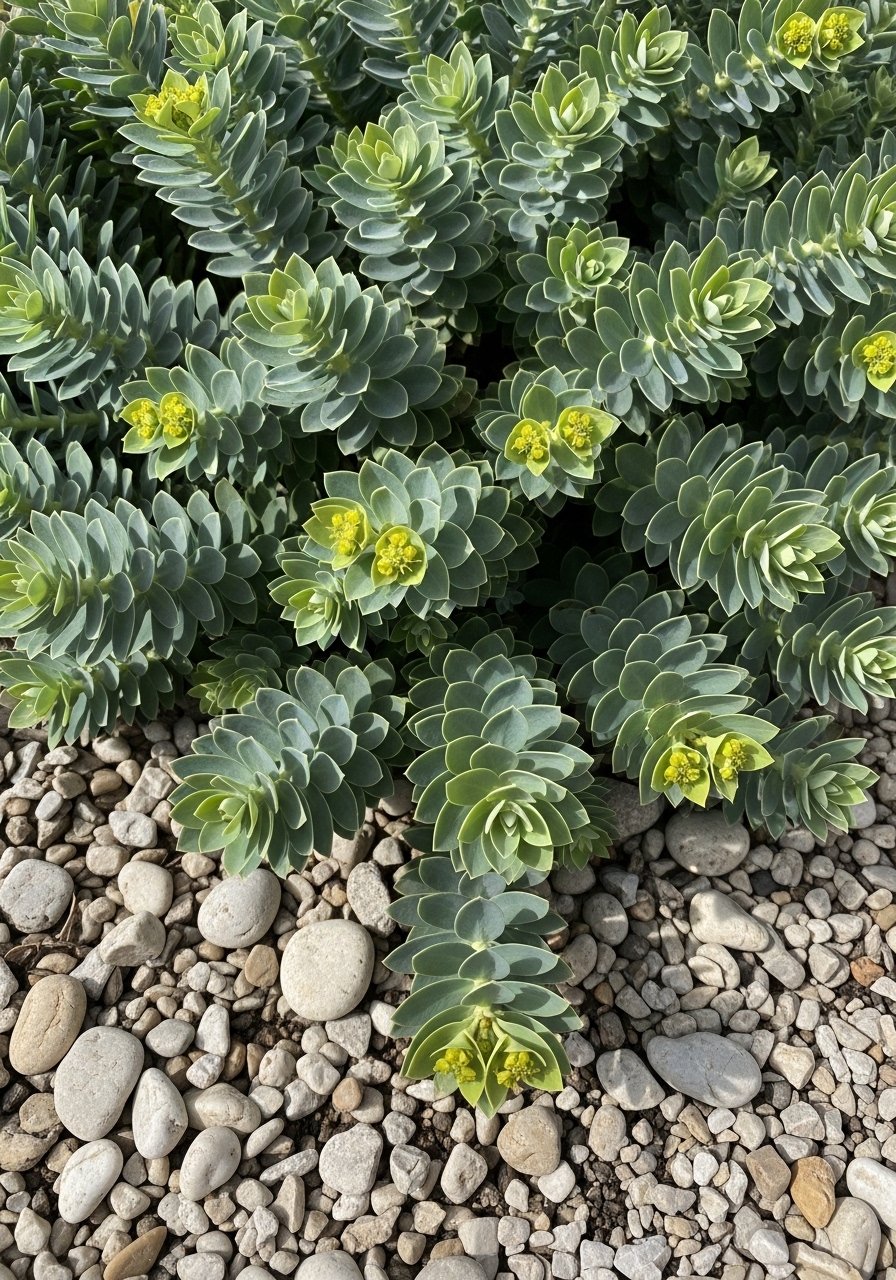
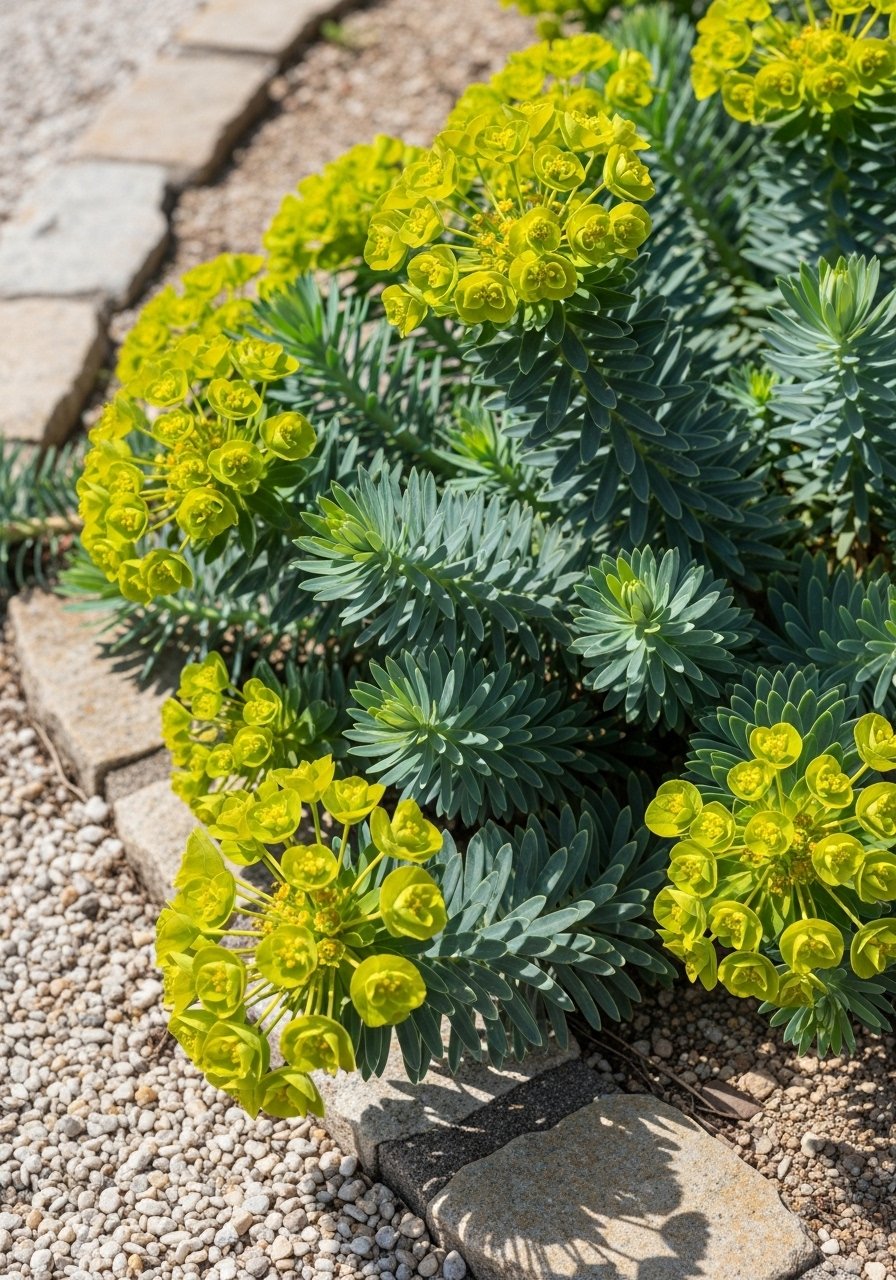
    19. Euphorbia myrsinites (Donkey Tail Spurge) for Architectural Low-Care Color

    I used donkey tail spurge where I wanted architectural form with minimal water. It holds color through dry spells and adds a modern edge. It can be toxic to pets, so I keep it away from play areas.

    It’s drought-hardy and rarely needs feeding. I pair it with gravel and grasses for a clean, low-tending bed.

    What You’ll Need for This Look

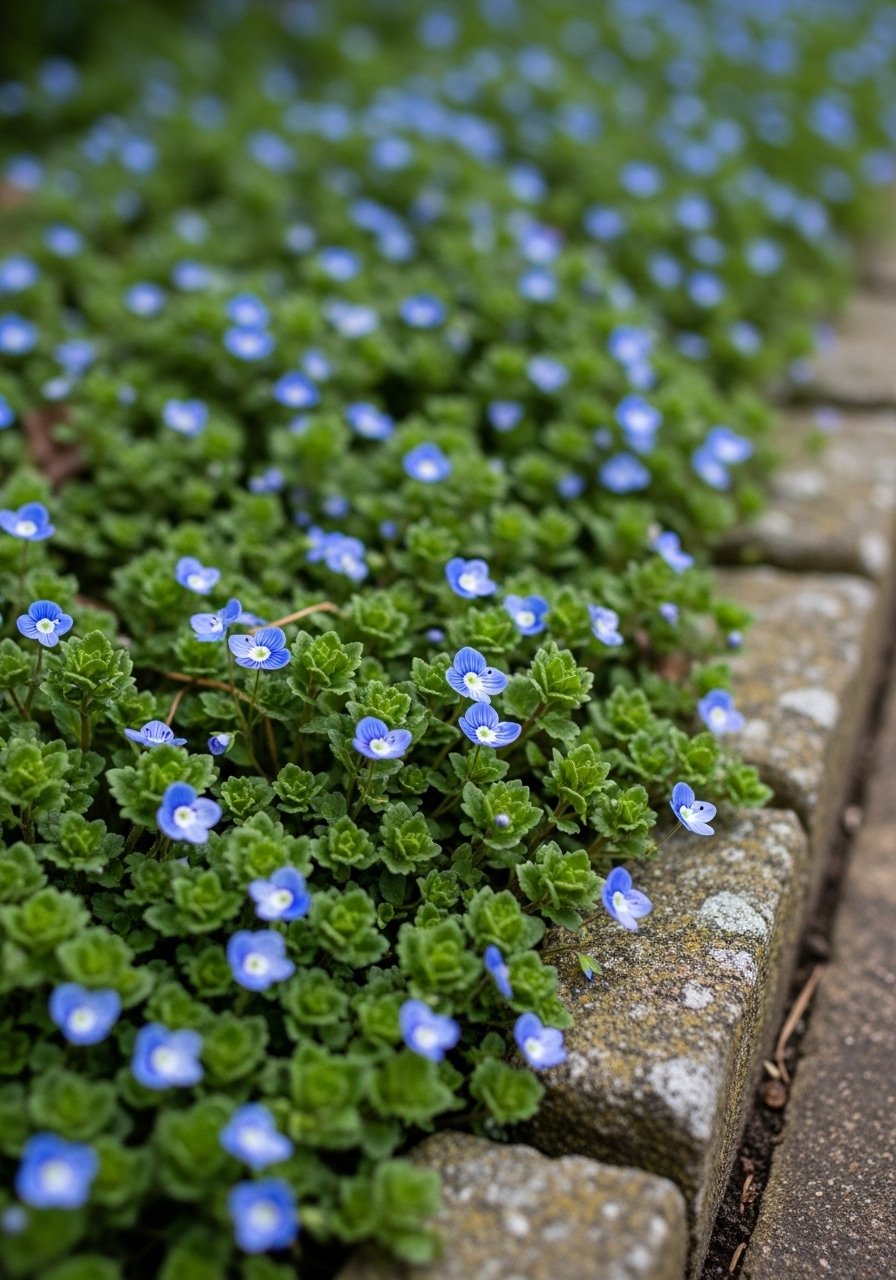
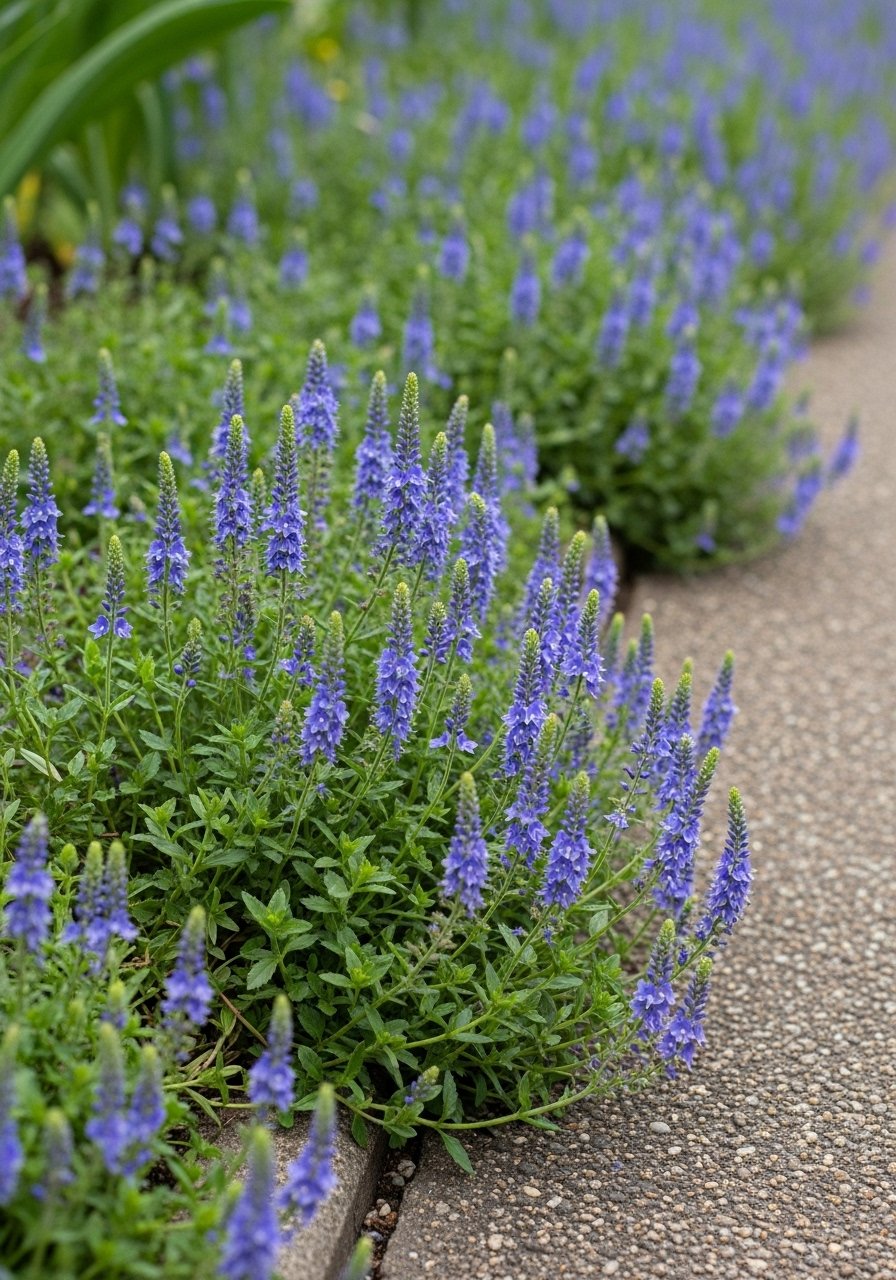
    20. Veronica repens for Low Blue Carpet

    I tried Veronica repens for a low blue carpet that blooms repeatedly. It’s a patient spreader and handles light foot traffic better than some mats. It prefers sun to part shade and looks delicate even when left alone.

    I use it in mixed beds where I want a tidy, low ground layer that returns every year without fuss.

    What You’ll Need for This Look

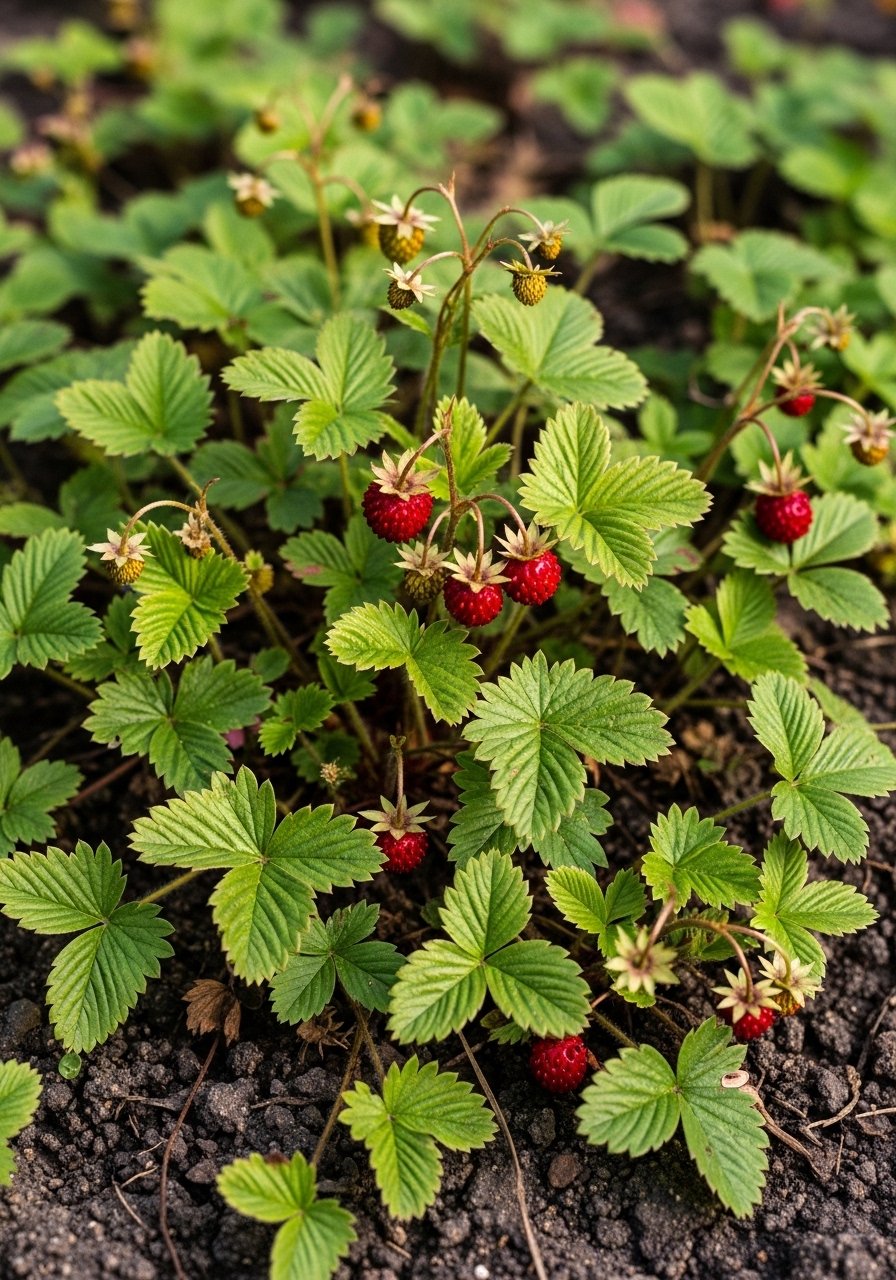
    21. Wild Strawberry (Fragaria vesca) for Edible Groundcover

    I let wild strawberries roam a sunny patch for an edible groundcover that blooms and fruits. The berries are small but tasty and the flowers are pretty. My early mistake was letting it creep into planted beds—now I keep it contained with low edging.

    It’s simultaneously useful and pretty. I pick berries and enjoy the low, pet-friendly cover in spring and early summer.

    What You’ll Need for This Look

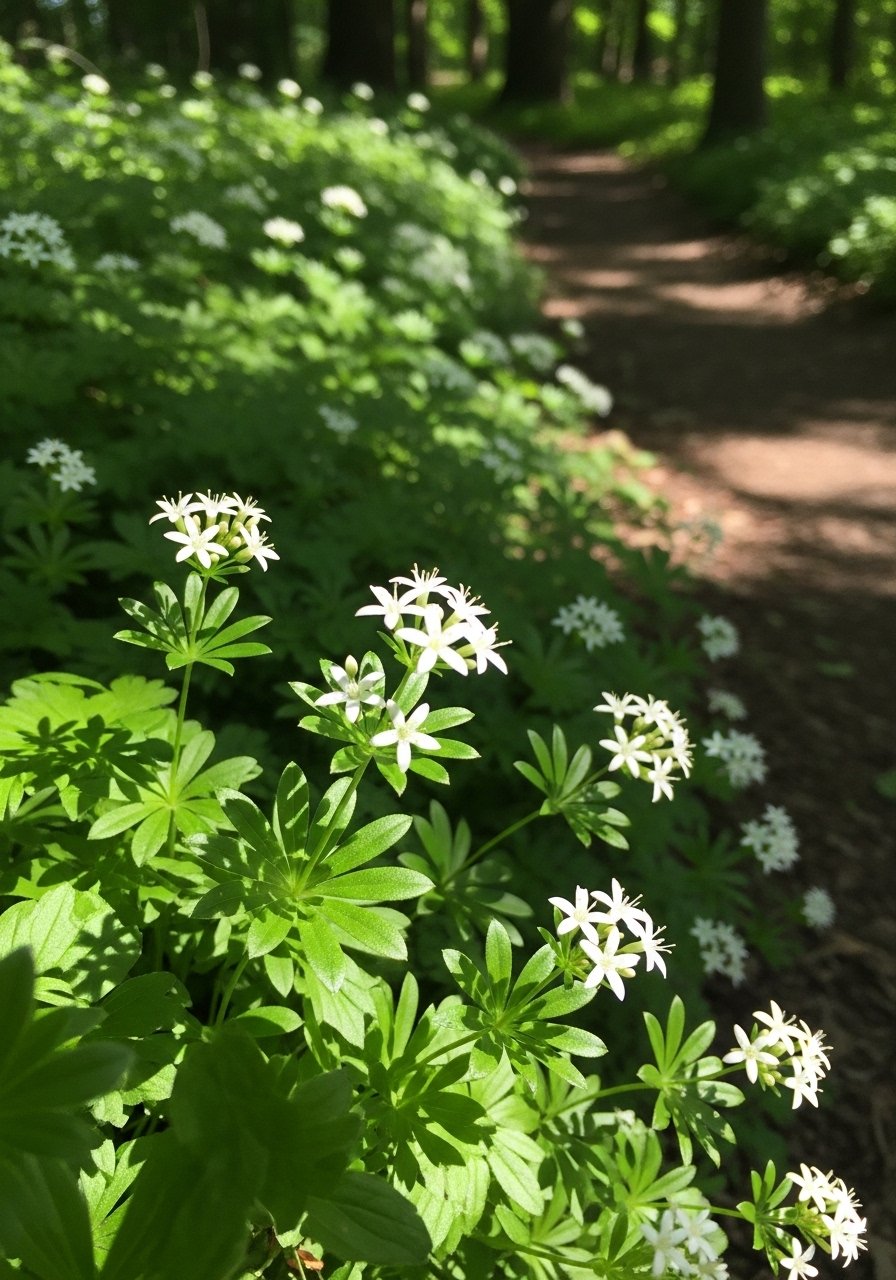
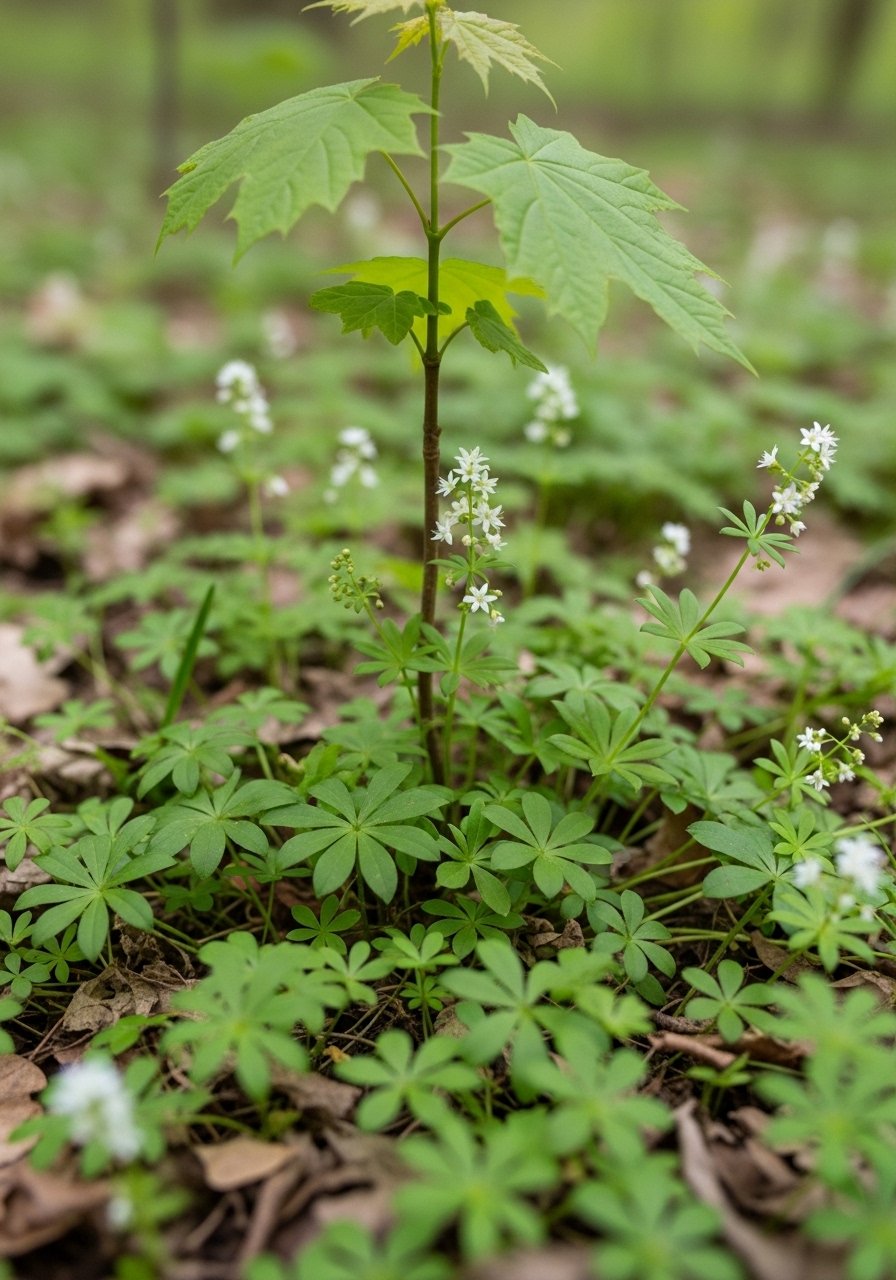
    22. Sweet Woodruff (Galium odoratum) for Shady, Fragrant Paths

    I plant sweet woodruff along shaded garden paths; its spring scent is lovely when damp. It forms a neat carpet and tolerates deep shade. It dies back in hot summers here but comes back in cooler seasons.

    It’s an easy, fragrant choice for underplanting shrubs and creating soft walkways without mowing.

    What You’ll Need for This Look

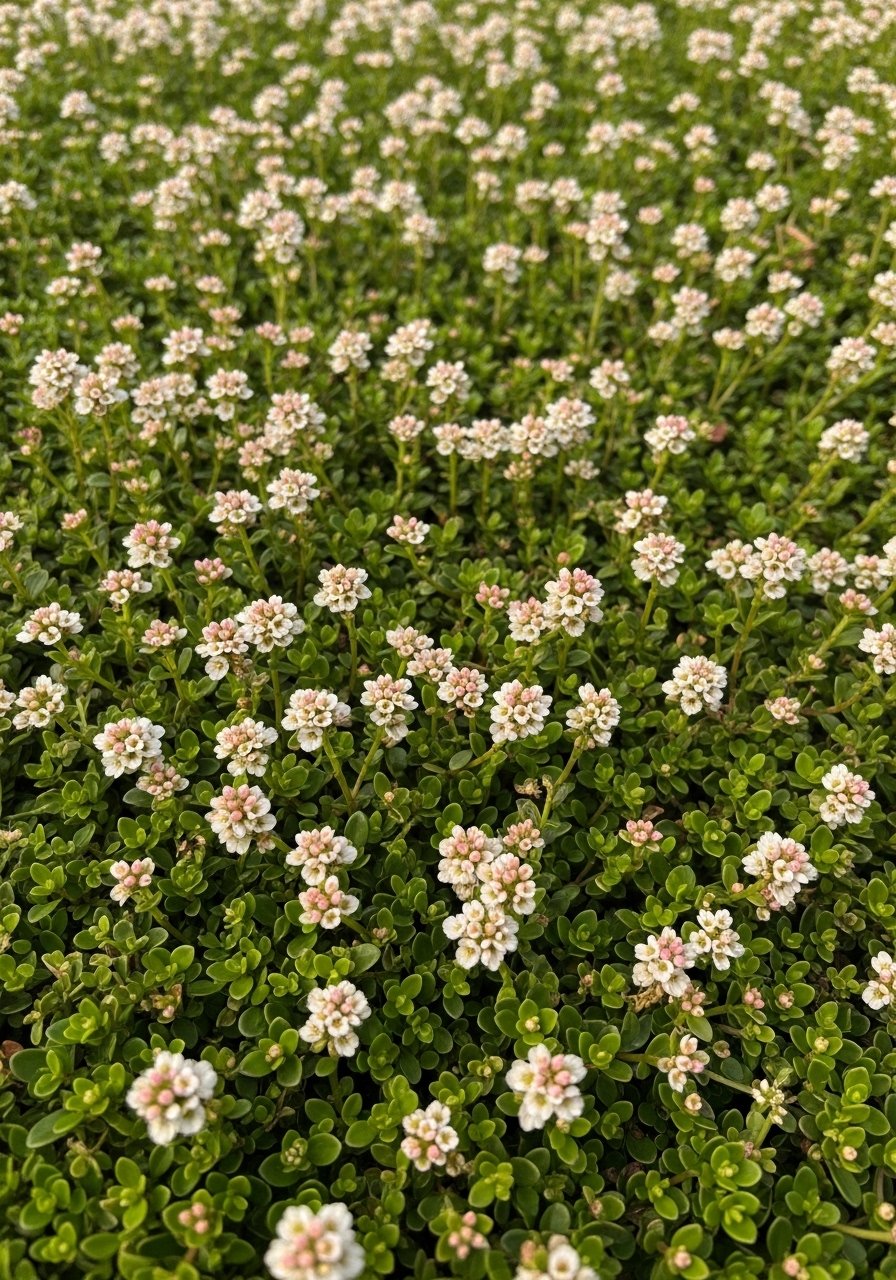
    23. Phyla nodiflora (Lippia / Frogfruit) for Hot, Low Water Lawns

    I used lippia as a hot-climate lawn substitute on a patch where grass kept failing. It tolerates heat and little water and blooms with tiny white flowers. It spreads to cover quickly and recovers from neglect.

    It’s especially useful in coastal or southern yards where standard grass struggles. I treat it like a living mulch.

    What You’ll Need for This Look

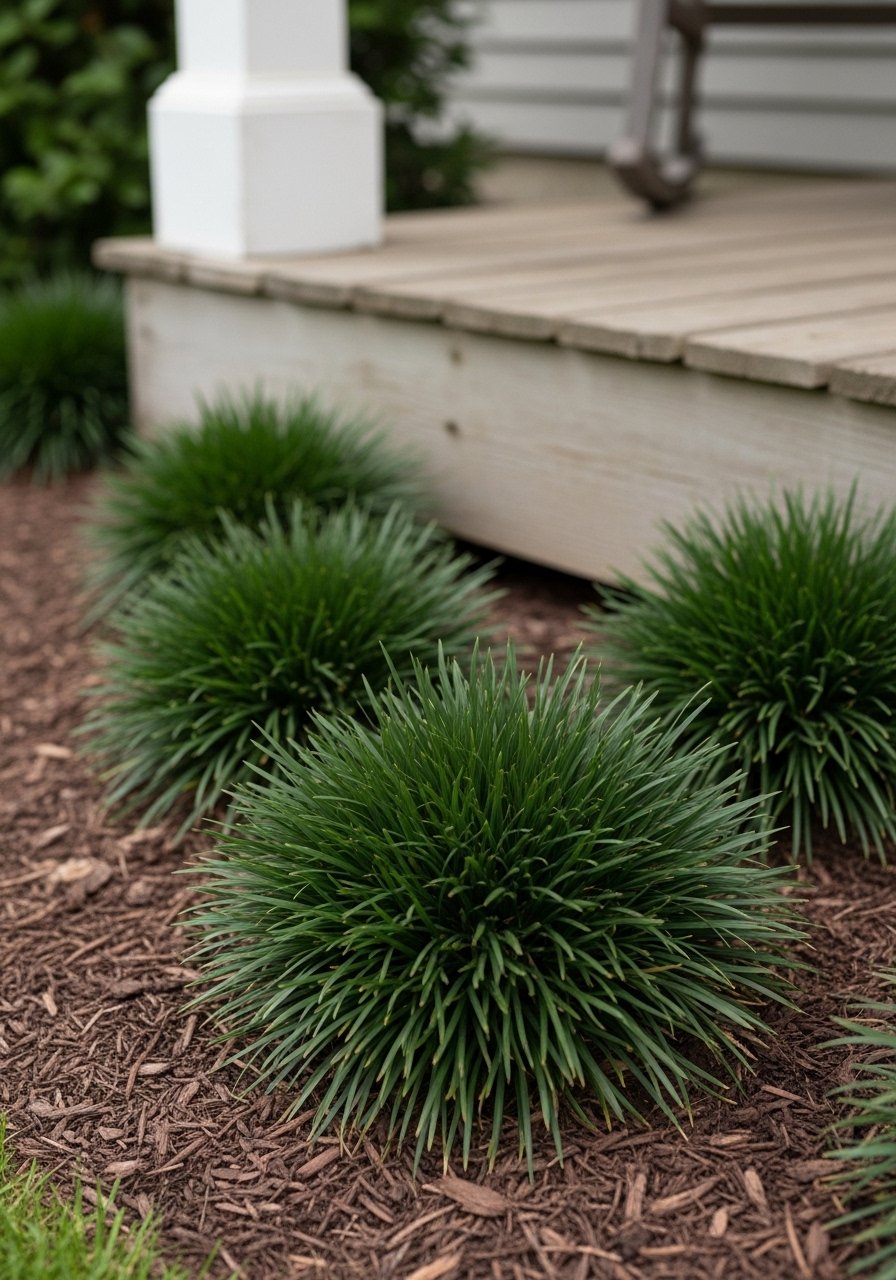
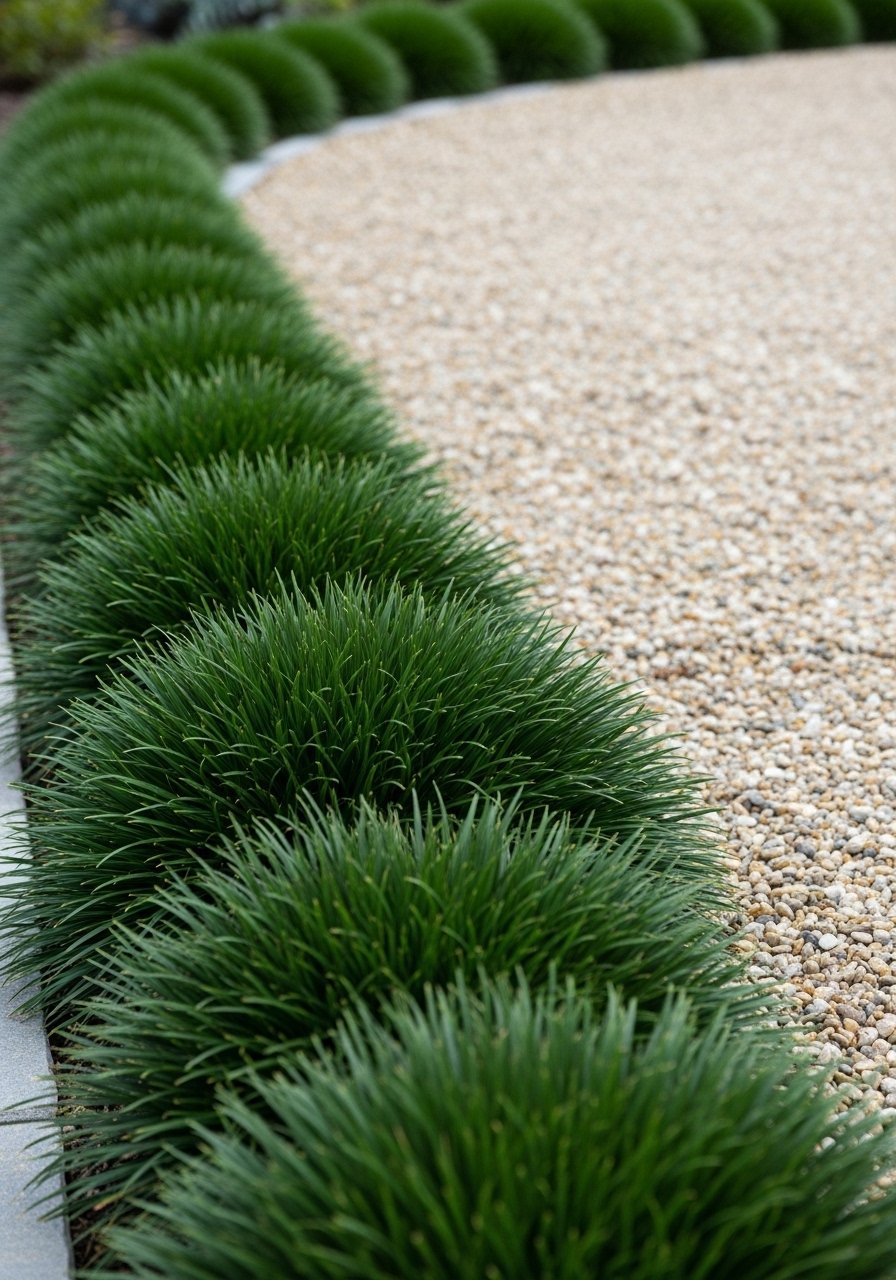
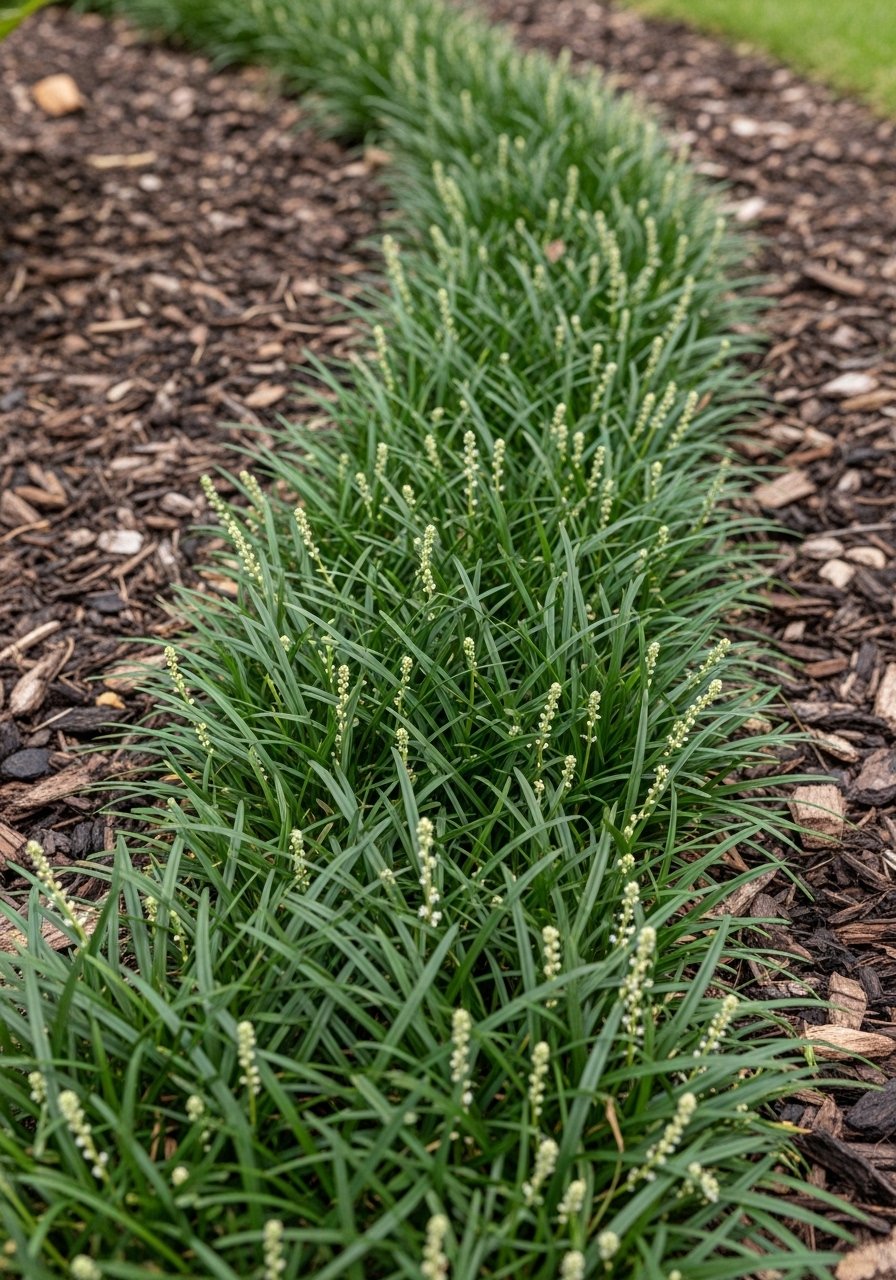
    24. Mondo Grass (Ophiopogon japonicus) for Evergreen Texture

    I plant mondo grass in narrow borders and under shrubs for evergreen texture. It’s slower than liriope but finer and cleaner. It tolerates shade and I hardly need to care for it.

    I learned that planting in groups creates a stronger visual impact than single blades scattered about.

    What You’ll Need for This Look

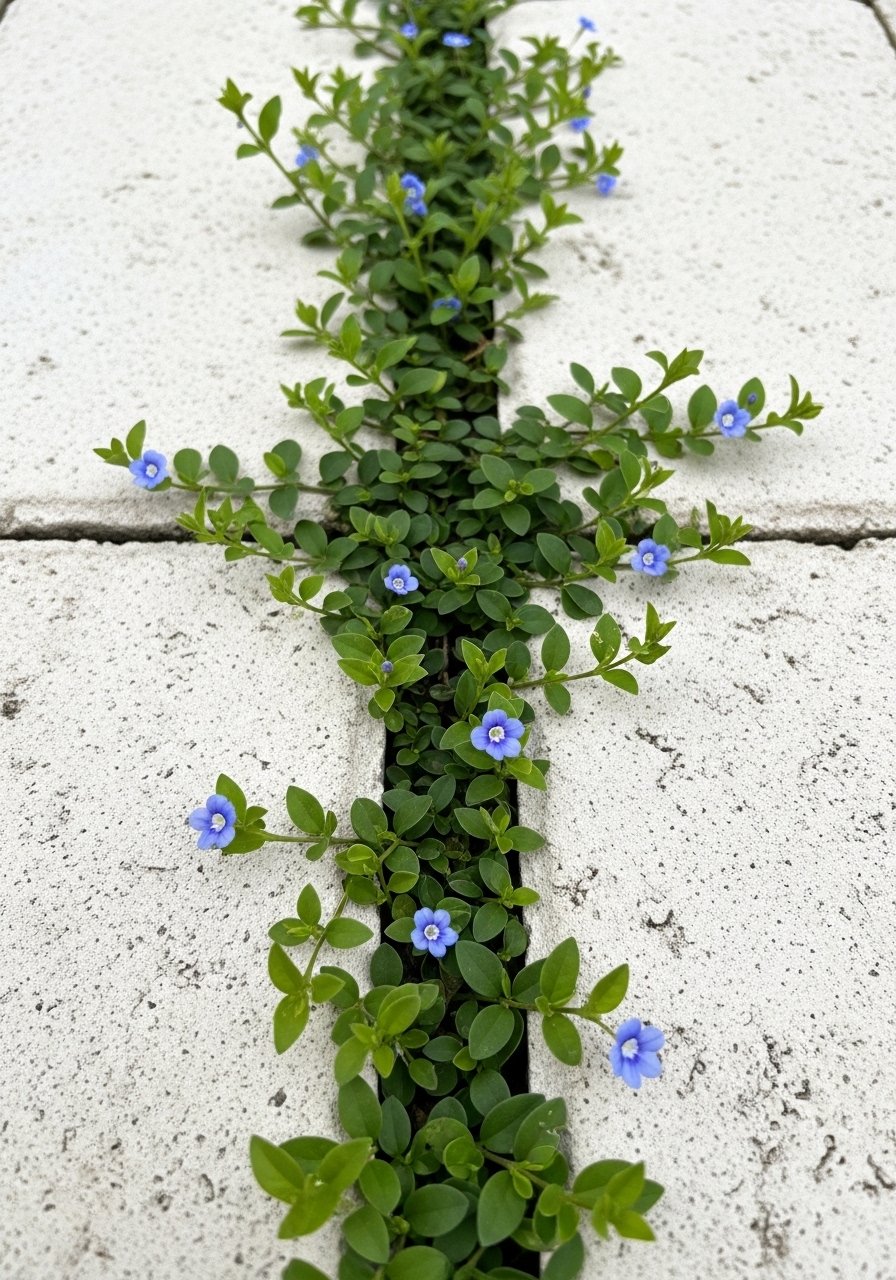
    25. Blue Star Creeper (Isotoma fluviatilis) for Tiny Starry Ground Cover

    I use blue star creeper between pavers for a delicate, starry look. It tolerates light foot traffic and fills gaps gracefully. It’s low-growing and flowers intermittently through the season in my yard.

    I water it more during heatwaves and it rewards me with a soft, integrated patio surface.

    What You’ll Need for This Look

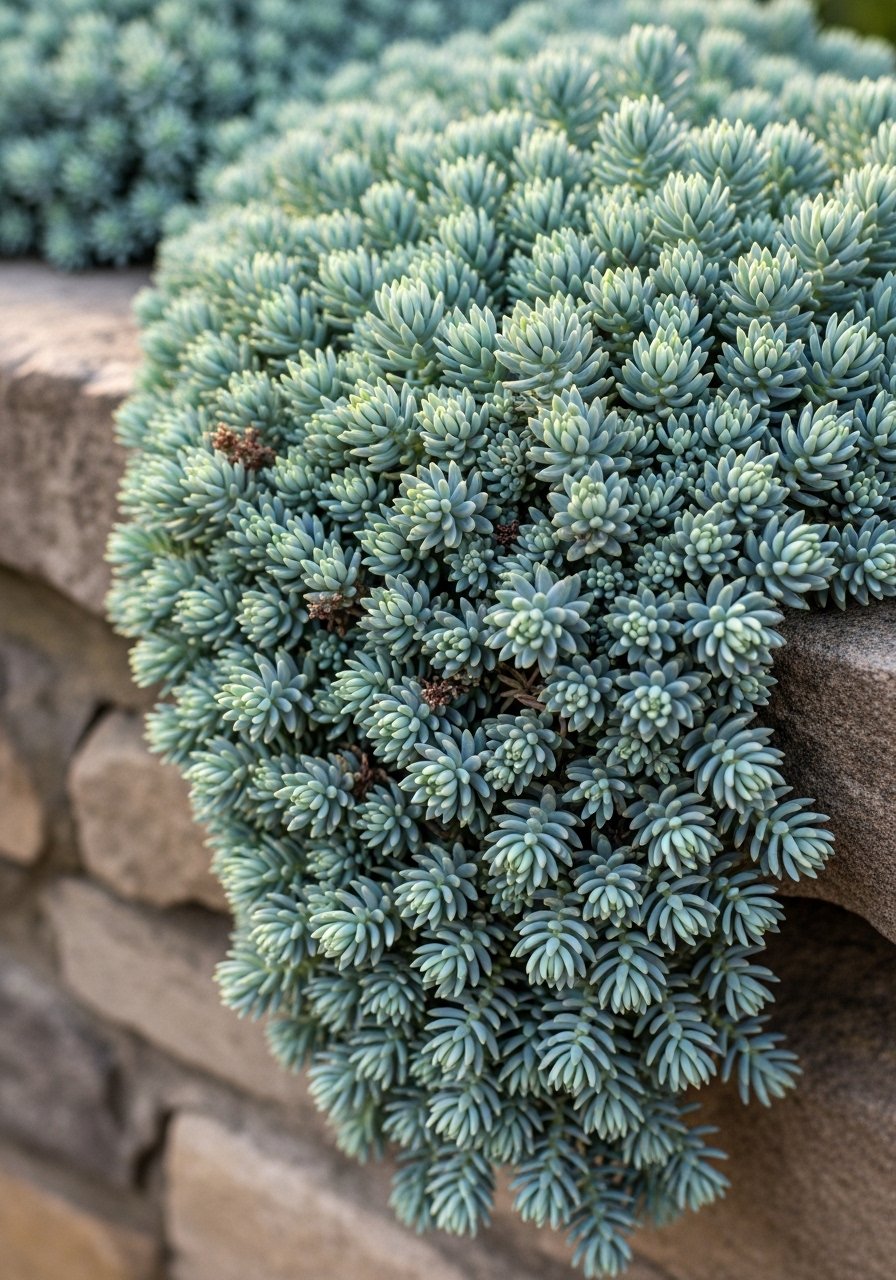
    26. Sedum rupestre 'Blue Spruce' for Architectural Succulent Lines

    I plant Blue Spruce sedum along ledges and sunny borders for sculptural texture. It tolerates drought and poor soil and keeps a neat thread of color through summer. It’s low and slowly spreads into a pleasing mat.

    It’s practically care-free once established and pairs well with grasses and other succulents.

    What You’ll Need for This Look

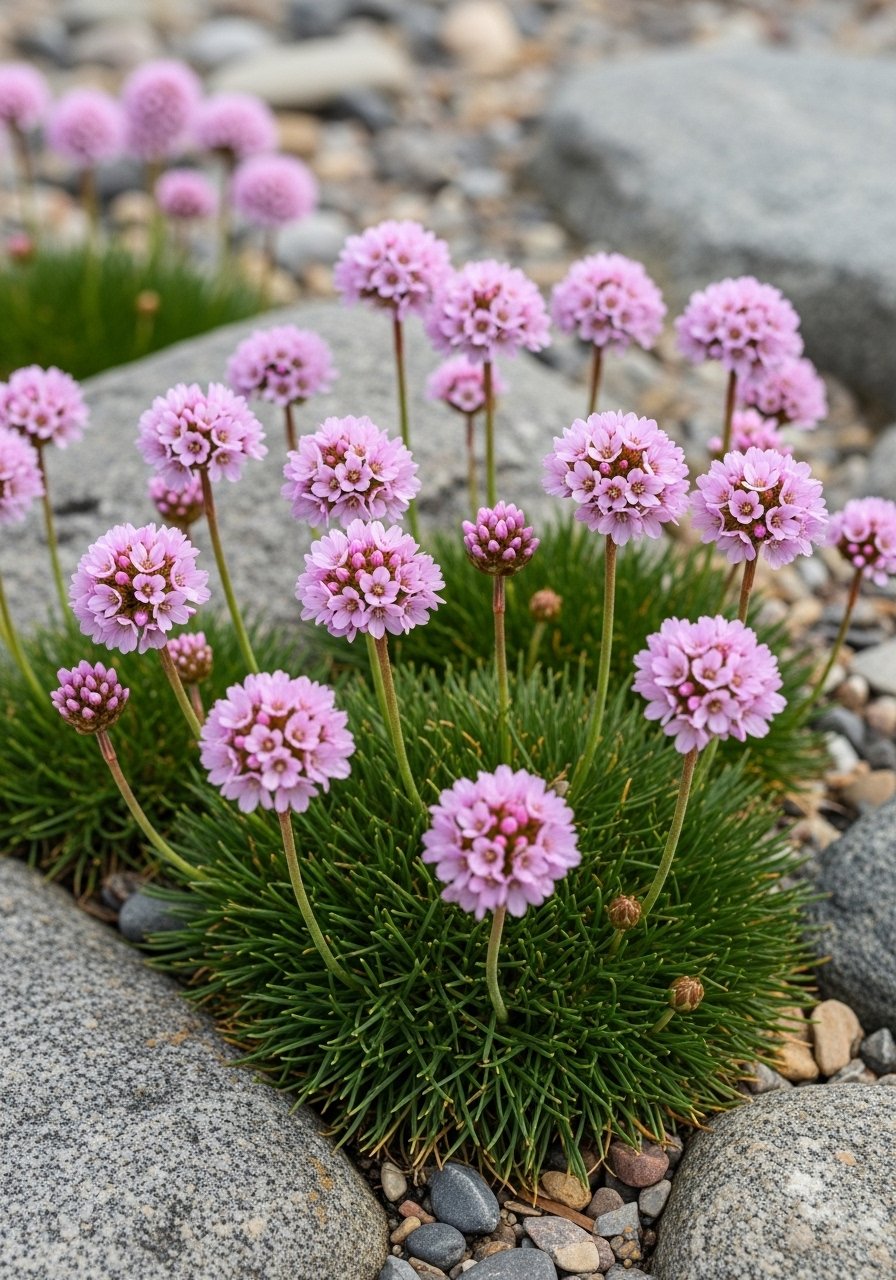
    27. Armeria maritima (Sea Thrift) for Coastal Toughness and Pink Pom-Poms

    I use sea thrift on exposed banks and coastal-style borders because it shrugs off wind and salt spray. The little pom-pom flowers add a long-lasting spring-to-summer display. It’s compact and likes gritty soil.

    It’s one of those plants that looks intentional even when you forget it for weeks.

    What You’ll Need for This Look

    Final Thoughts

    Low-maintenance ground covers change the garden by doing the slow, steady work. I don’t plant everything at once; I pick a few places and let them settle.

    Start with one or two of these and buy the small tools or edging I mentioned. You’ll see steady payoff without daily chores.

  • 22 Gorgeous Flowering Ground Cover Plants For Colorful Garden Borders

    22 Gorgeous Flowering Ground Cover Plants For Colorful Garden Borders

    I finally stopped overthinking low plants. I planted small things where they could actually spread and breathed easier when they filled gaps.

    These ground covers have become my go-to fixes for tired borders. They’re practical, colorful, and forgiving.

    22 Gorgeous Flowering Ground Cover Plants For Colorful Garden Borders

    These 22 ideas are plants and planting combos I’ve used in real, messy gardens. Each one shows what to expect and what to buy. You’ll get 22 clear, usable looks.

    1. Creeping Thyme Mats That Smell Like Summer

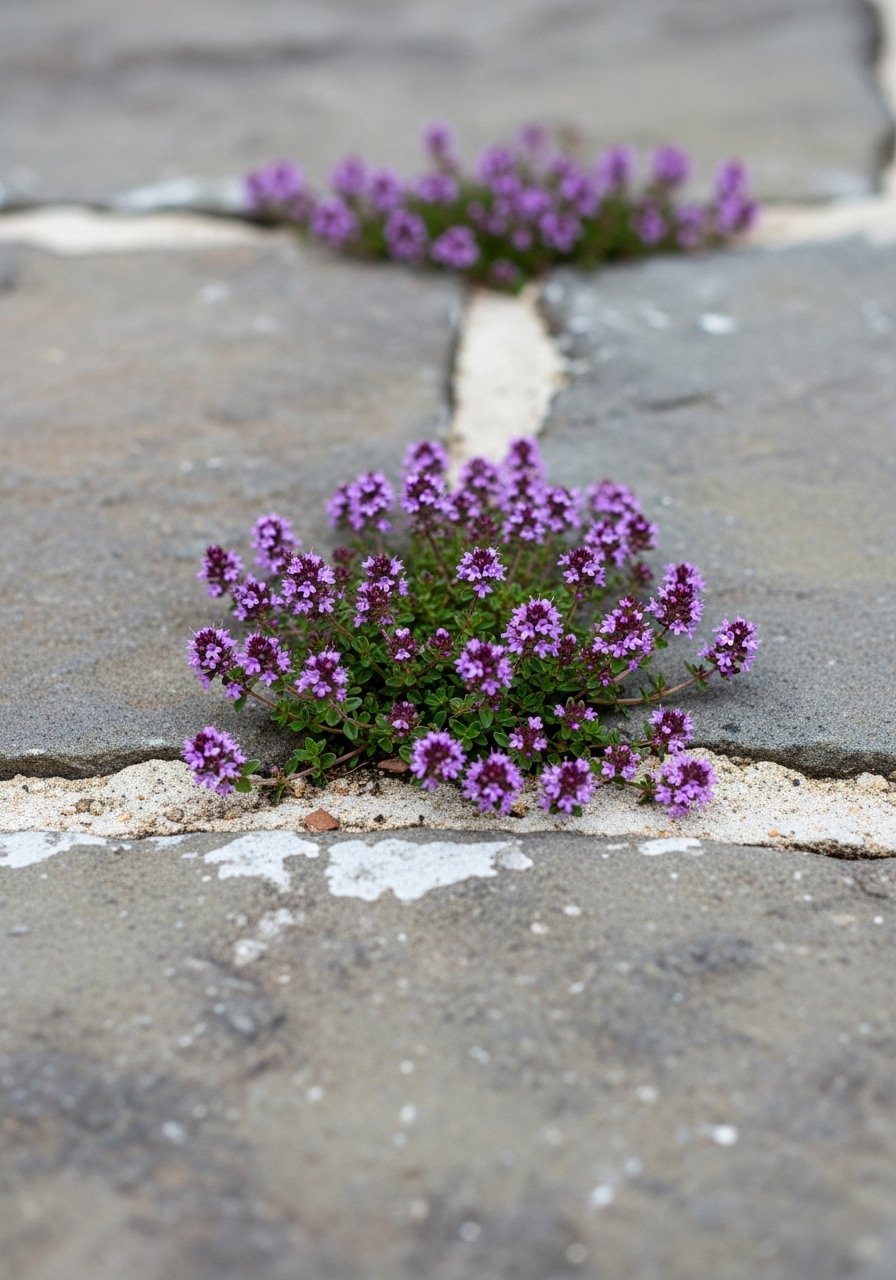
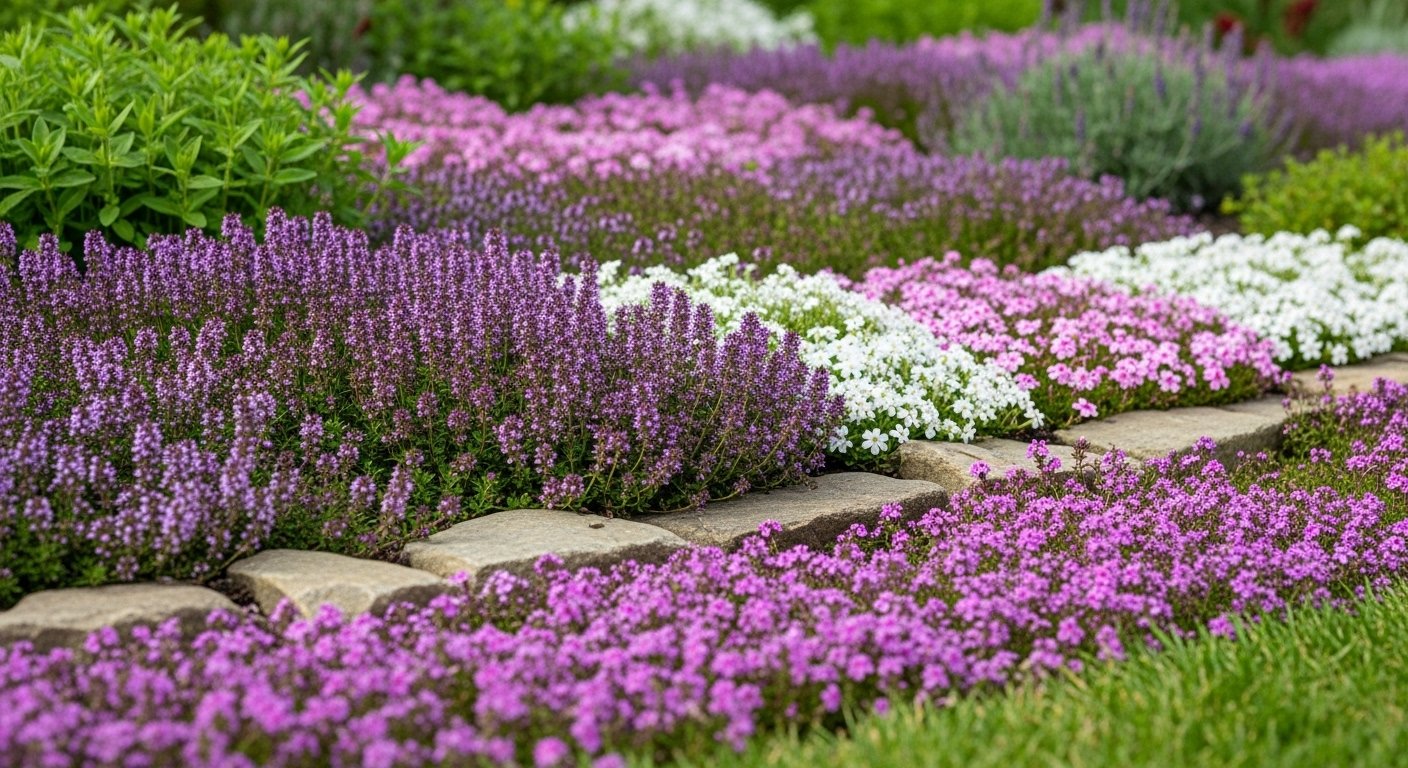
    I planted creeping thyme along a sun-warmed path and stepped on it every day. The scent when you brush it is exactly why I keep it. It fills gaps, tolerates light foot traffic, and carpets out weeds if you give it sun.

    The blooms are tiny but packed with pollinators. I did overplant once and had to thin it after a year—lesson learned.

    What to watch: needs sharp drainage and full sun. Trim after flowering to keep it tidy.

    What You’ll Need for This Look

    2. Spring Carpet with Creeping Phlox

    I have a thin slope where nothing else wanted to grow; creeping phlox changed that in one spring. The color surge is immediate and covers bare soil in a way that feels intentional, not frantic.

    It dies back after bloom but leaves fresh foliage. I learned to avoid planting too close to taller perennials or it can get smothered.

    What to watch: needs sun and lean soil. Feed lightly in spring for stronger blooms.

    What You’ll Need for This Look

    3. Shady Edge with Ajuga 'Chocolate Chip' (and my one big mistake)

    I loved Ajuga’s dark leaves in shade, so I planted a long run. It looked great for two seasons, then decided to spread into my hostas. My mistake: I ignored its habit. It’s fantastic for instant color but can be bossy.

    It tolerates wet shade and forms a low, shiny carpet. I now use it where I want a bold accent and keep a small border edge to stop runaway runners.

    What You’ll Need for This Look

    4. Slope Anchoring with Vinca Minor (Periwinkle)

    I use Vinca on slopes where erosion is the enemy. It establishes quickly, keeps soil in place, and stays reasonably neat year-round. The glossy leaves give a steady green backdrop, and the little flowers are a quiet bonus.

    It tolerates light shade and drought once established. I watch for it creeping into beds where I want other plants to shine.

    What You’ll Need for This Look

    5. Variegated Lamium Under Shrubs

    I put Lamium beneath a spindly viburnum and it filled the empty space with soft variegated leaves. It’s one of those plants that reads bright in shade and keeps things tidy without fuss.

    It flowers in spring and often again later. I made the error once of planting it in too much sun; the leaves scorched. Now I reserve it for true shade or very light dapple.

    What You’ll Need for This Look

    6. Dry Border Drama with Sedum 'Dragon's Blood' (and my timing flub)

    I used Dragon’s Blood on a hot, gravelly strip. The dark red leaves contrast with gravel and the blooms are surprisingly bright. It survives drought and looks clean through summer.

    My mistake: I planted bare-root too late in spring and lost a few passes. Now I plant earlier and water in well at the start. It spreads slowly—good for low-maintenance sweeps.

    What You’ll Need for This Look

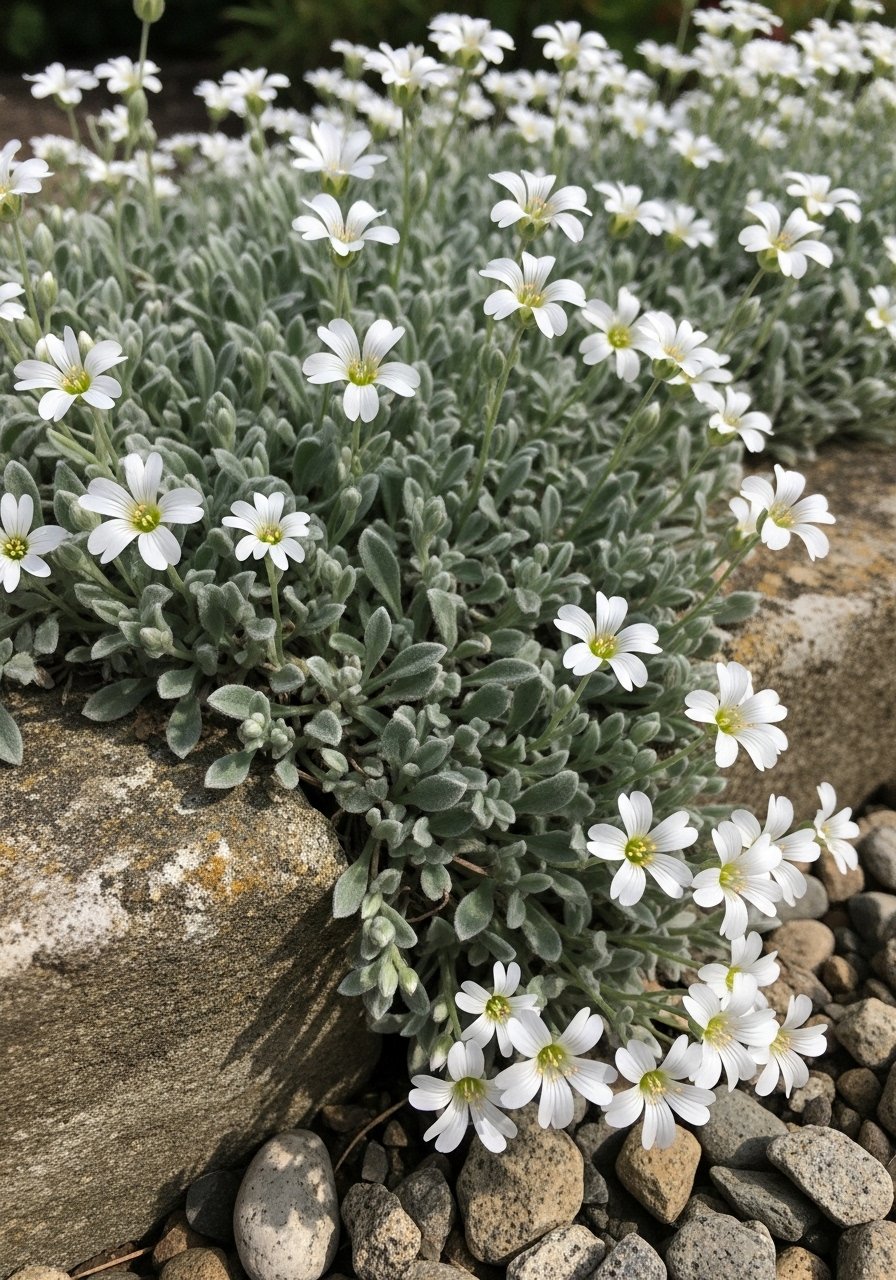
    7. Silver Glow with Snow-in-Summer (Cerastium tomentosum)

    I use Snow-in-Summer where I want a cool counterpoint to bright blooms. The silver foliage reads like a soft blanket and the white flowers are a clean punctuation in late spring.

    It tolerates poor soil and baked spots. It’s tidy if you don’t overwater. I once planted it in rich compost and it sulked, so keep the soil lean.

    What You’ll Need for This Look

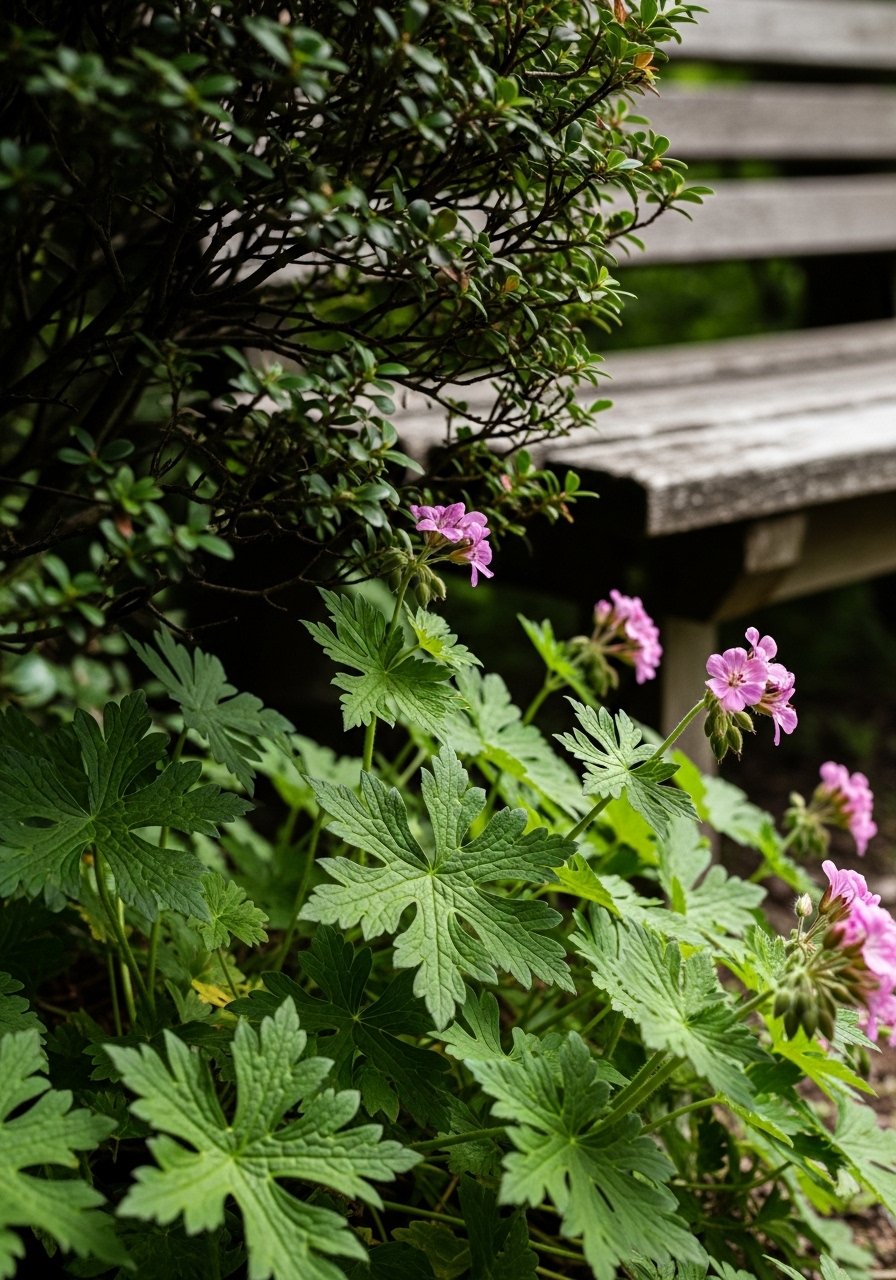
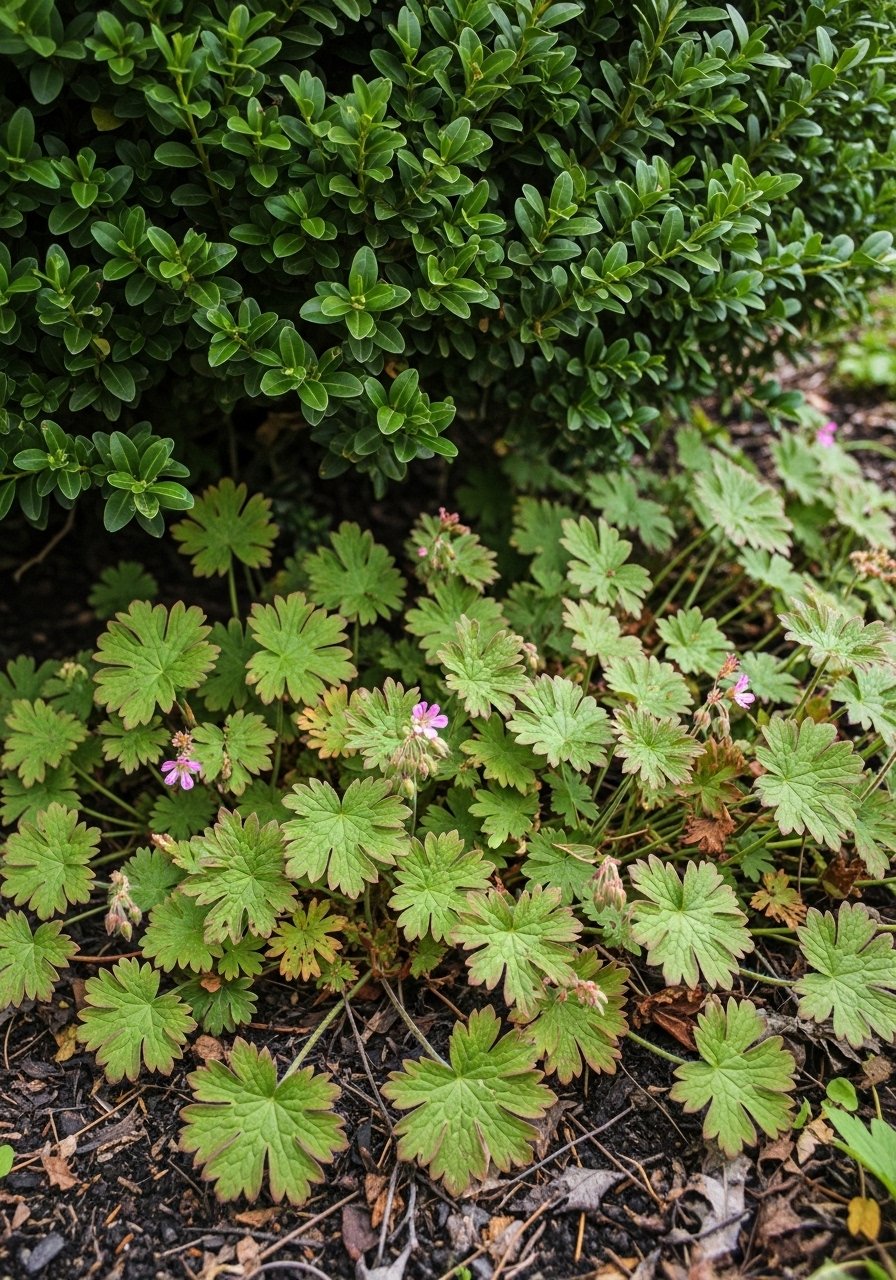
    8. Scented Ground with Geranium macrorrhizum

    I planted this geranium where I wanted scent and cover. The leaves smell faintly piney when crushed, which I love when I’m weeding. It’s evergreen-ish and makes a steady low mound of foliage.

    The flowers are small but the overall effect is a tidy, aromatic carpet. It resists deer and is tough in poor soils.

    What You’ll Need for This Look

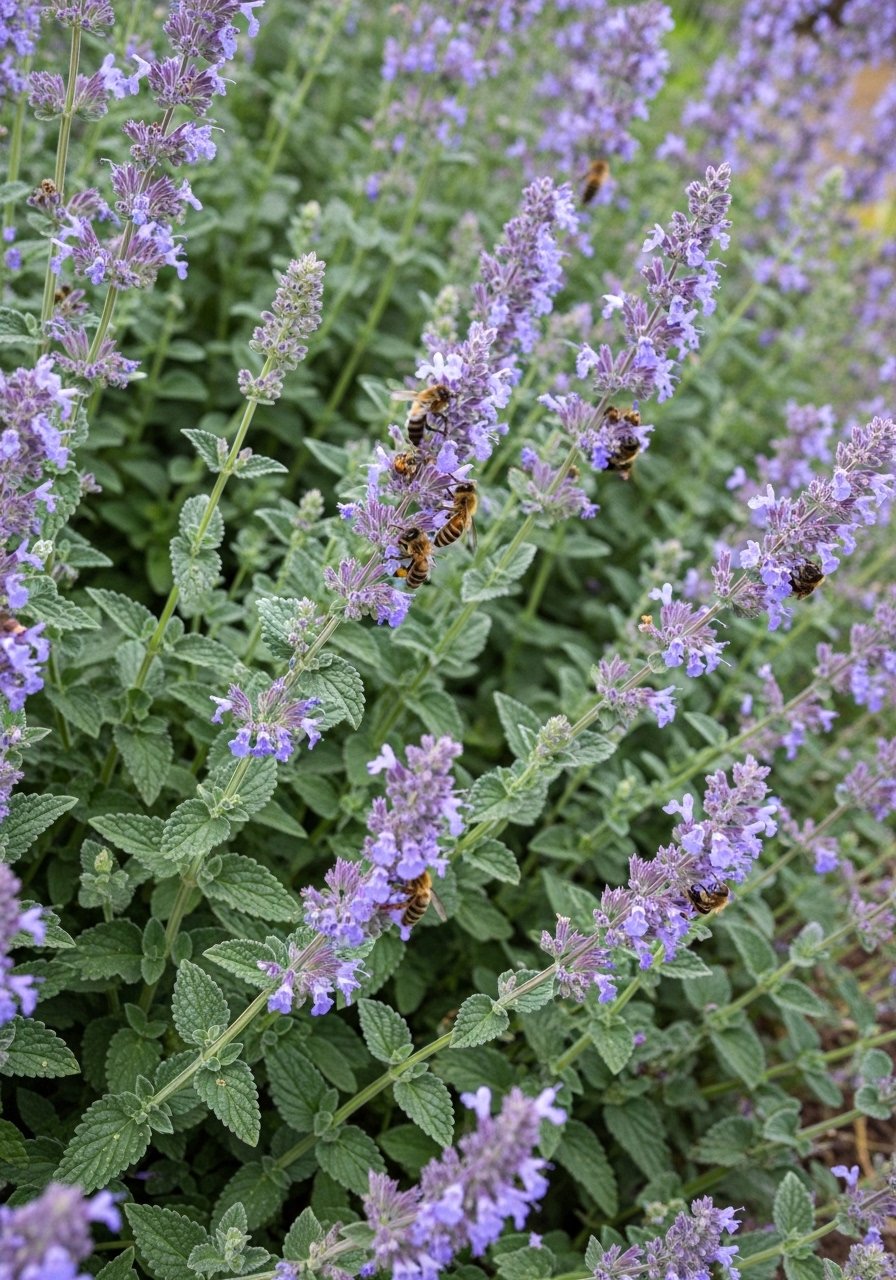
    9. Catmint as an Informal Edge (and the deer test)

    I planted Nepeta along a front border for a relaxed spill of silver foliage and long blue flowers. It blooms forever if you deadhead lightly and softens hard edges.

    It attracts bees and smells herbal when brushed. I once thought deer wouldn’t touch it—wrong. In a high-deer year I lost a few patches, so I pair it with stronger plants now.

    What You’ll Need for This Look

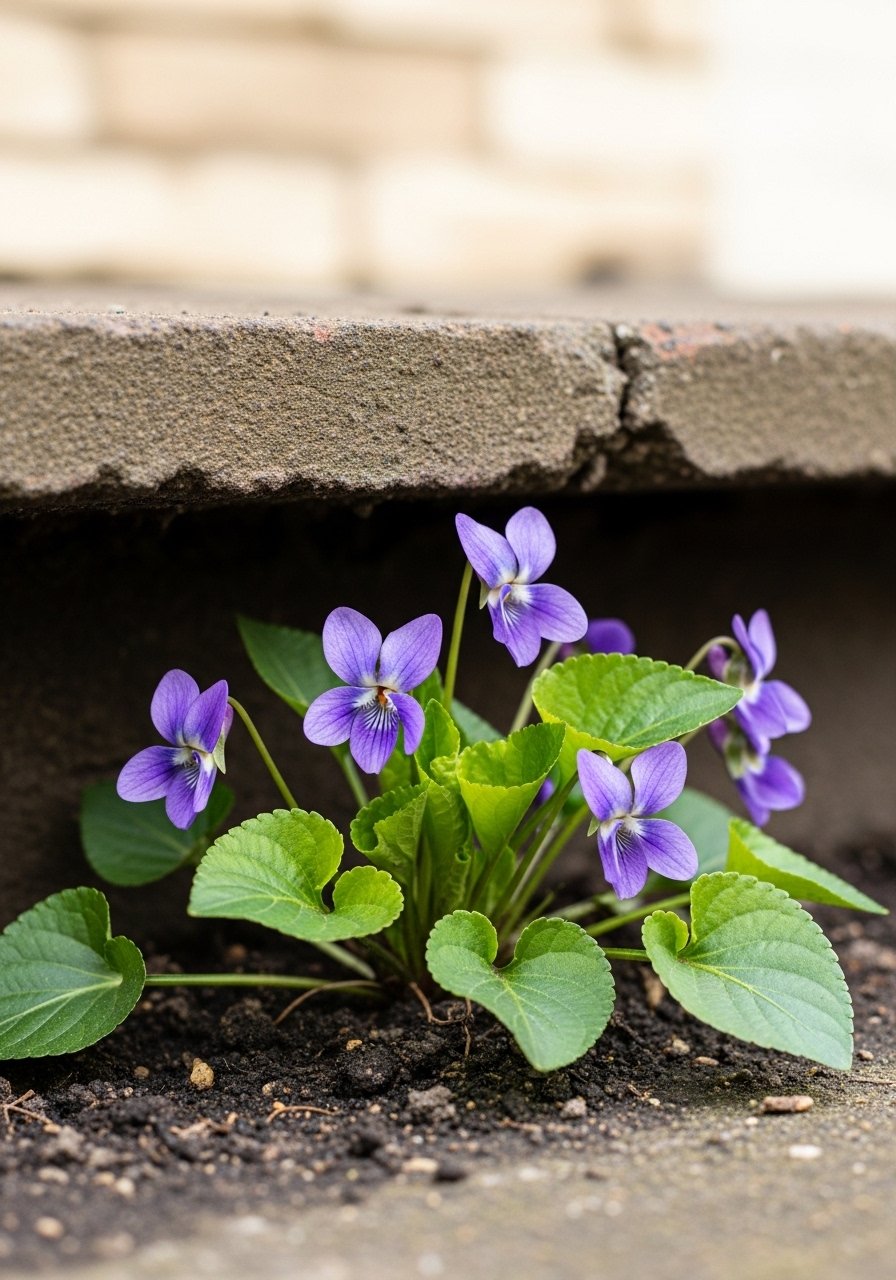
    10. Sweet Violets for a Cozy Cottage Edge

    Sweet violets came back every spring along a shady border I mostly ignored. They’re humble but add a soft cottage feel and a sweet, low scent if you lean in.

    They spread slowly and tolerate light shade and moisture. I let them naturalize into a soft patch rather than fighting to keep them formal.

    What You’ll Need for This Look

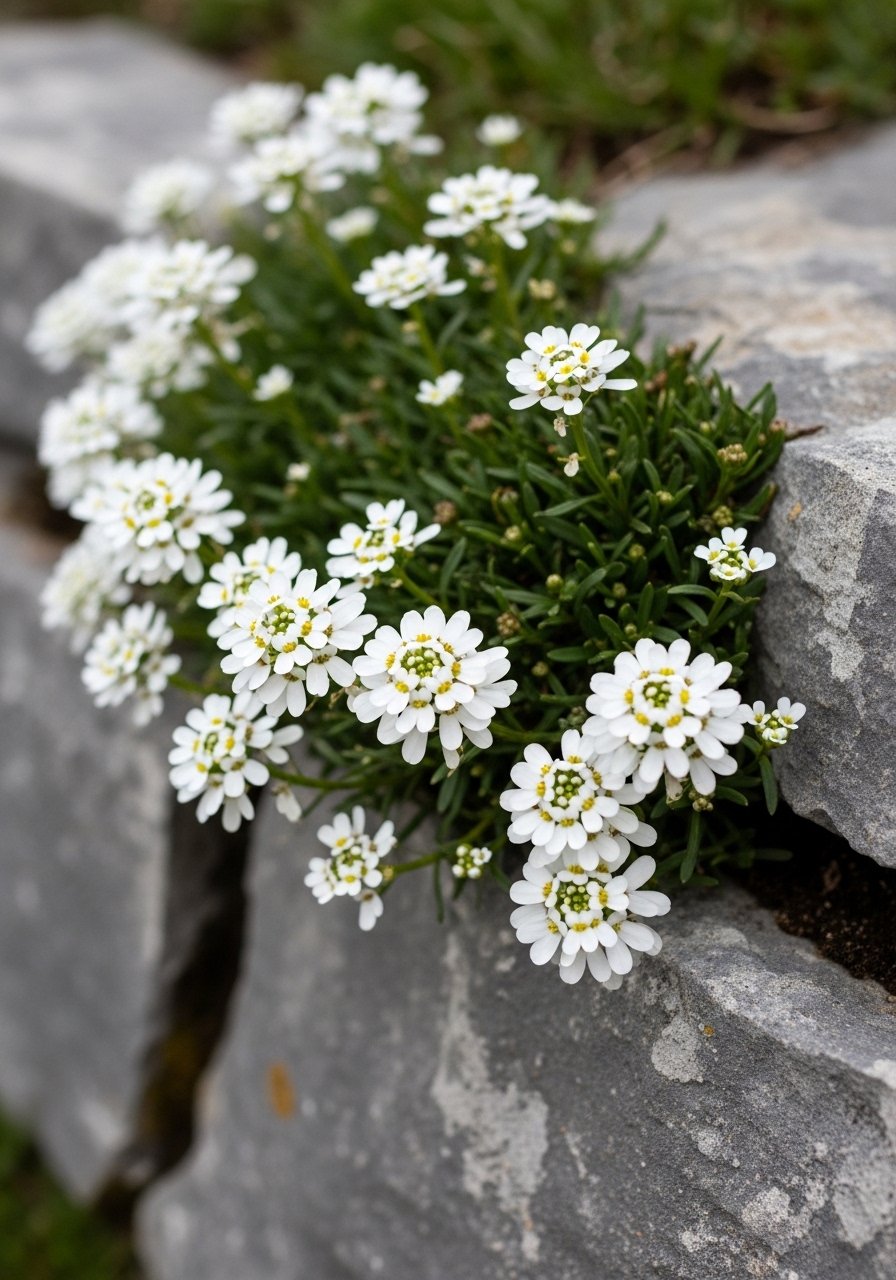
    11. Rock-Edged Candytuft for Clean White Blooms

    I use candytuft at the front of beds where I want a neat, white edge in spring. It holds a compact mound and the white clusters are a crisp contrast next to textured foliage.

    It likes sun and good drainage. I learned to prune lightly after flowering to keep the shape and encourage a fresh flush the next year.

    What You’ll Need for This Look

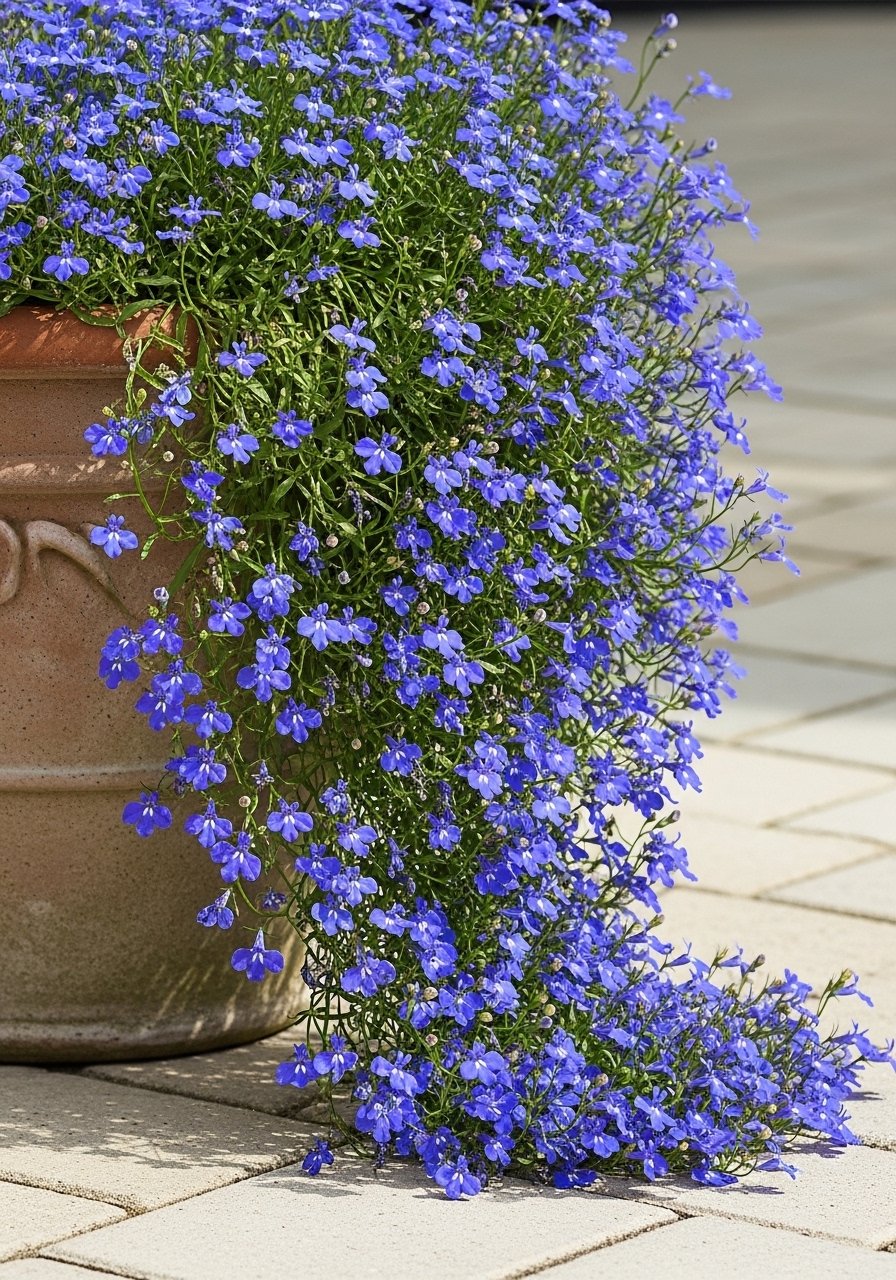
    12. Trailing Lobelia for Bright Container Borders (I under-watered once)

    I plant trailing lobelia in low pots to spill color over a patio edge. It’s one of those plants that reads like a ribbon of pure blue across the front. It multiplies the effect when mixed with a contrasting foliage plant.

    I under-watered one season and watched it sulk quickly—lobelia likes regular moisture. Now I use it where I check pots often or pair with a self-watering insert.

    What You’ll Need for This Look

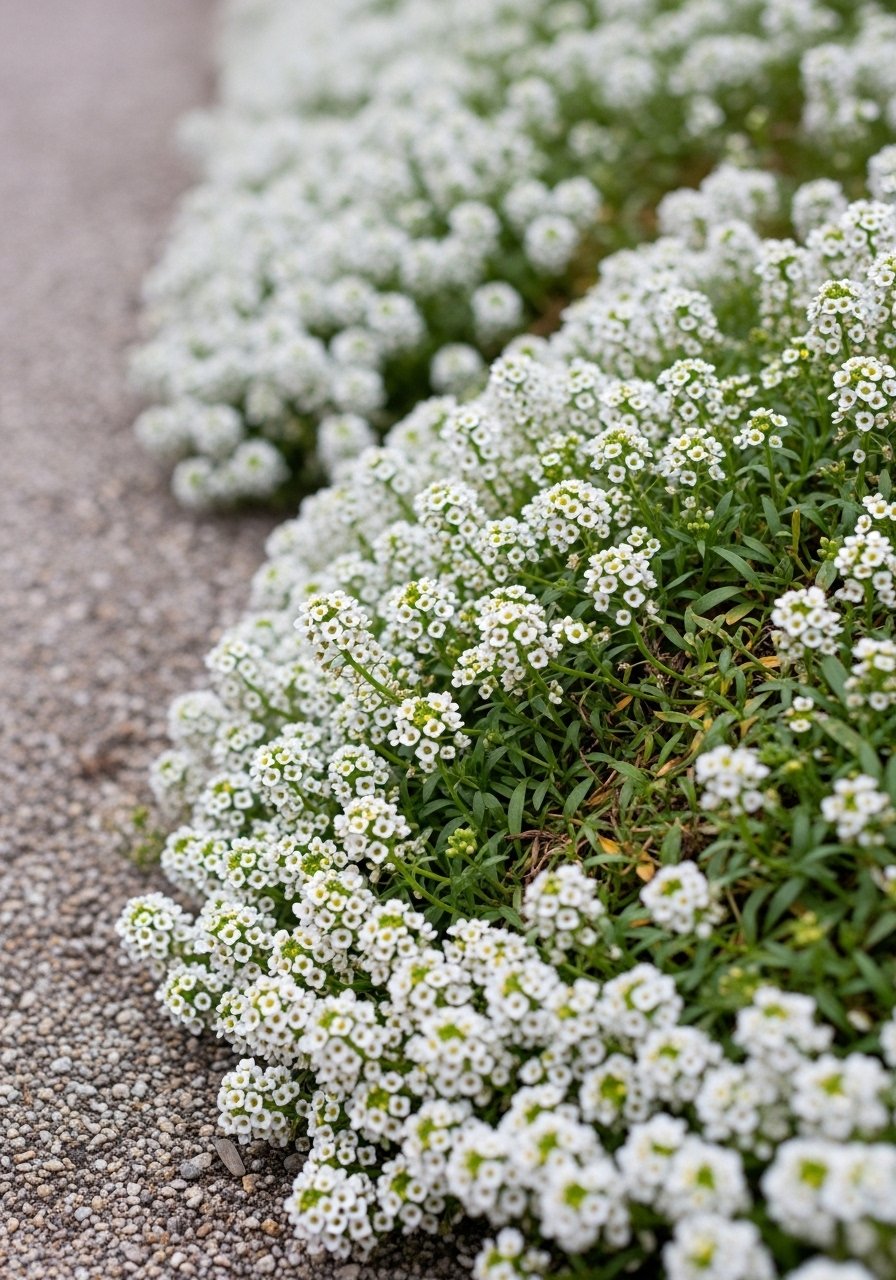
    13. Sweet Alyssum for a Fragrant Fringe

    Sweet alyssum fills gaps with a low fragrant mat that bees adore. I use it in front of taller perennials to read like a soft ribbon of white or lavender each summer.

    It’s short-lived in heat but reseeds freely where it likes the spot. I treat it like a seasonal filler and let it go to seed in quieter corners.

    What You’ll Need for This Look

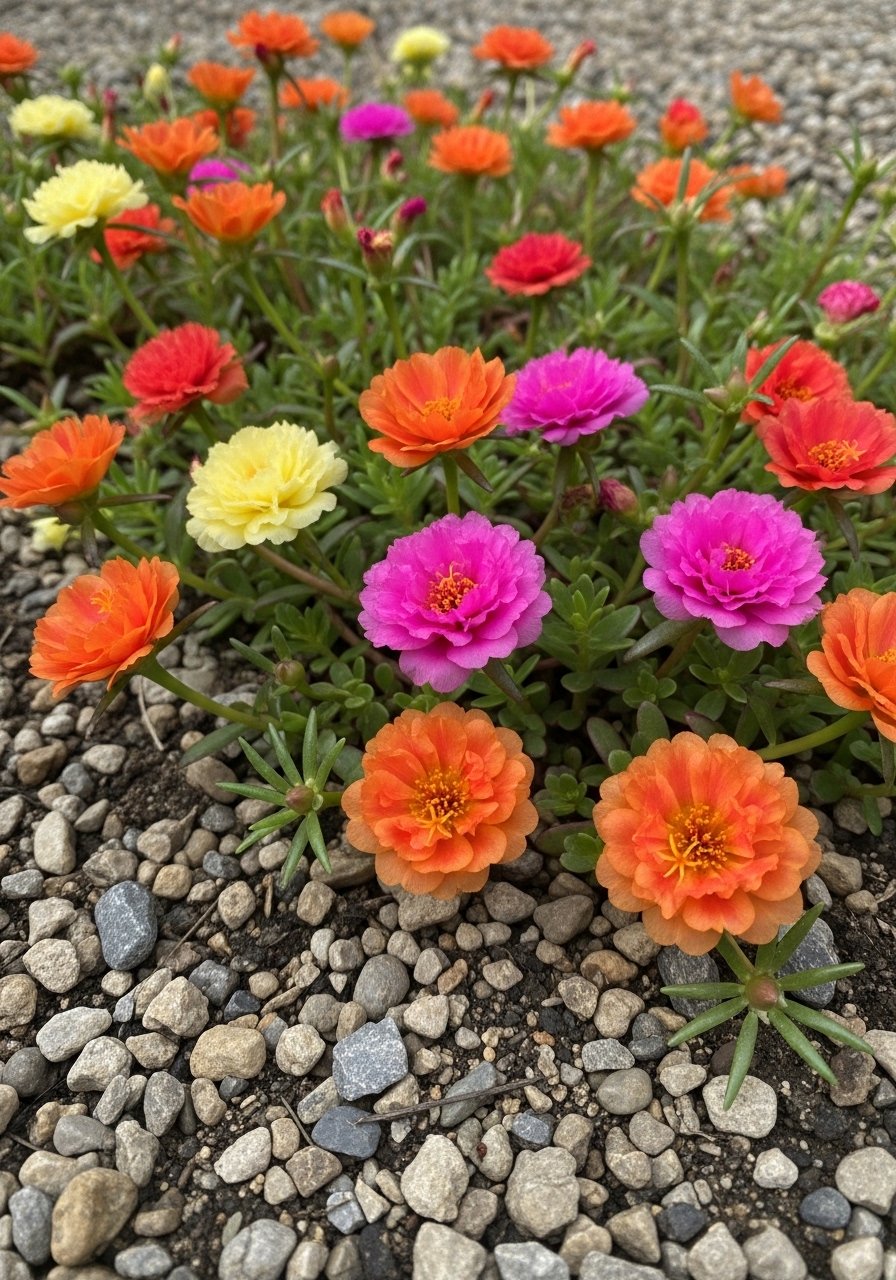
    14. Sun-Worshipping Portulaca (Moss Rose) in Hot Patches

    I planted portulaca in the hottest slot in my courtyard where everything else wilted. It thrives on heat, gives jewel-bright blooms, and tolerates poor soil.

    It’s low-growing and drought-tolerant—perfect for tight sunlit spots. I don’t try to coax it into shade; it sulks there. Let it be a hot-spot plant and it rewards you.

    What You’ll Need for This Look

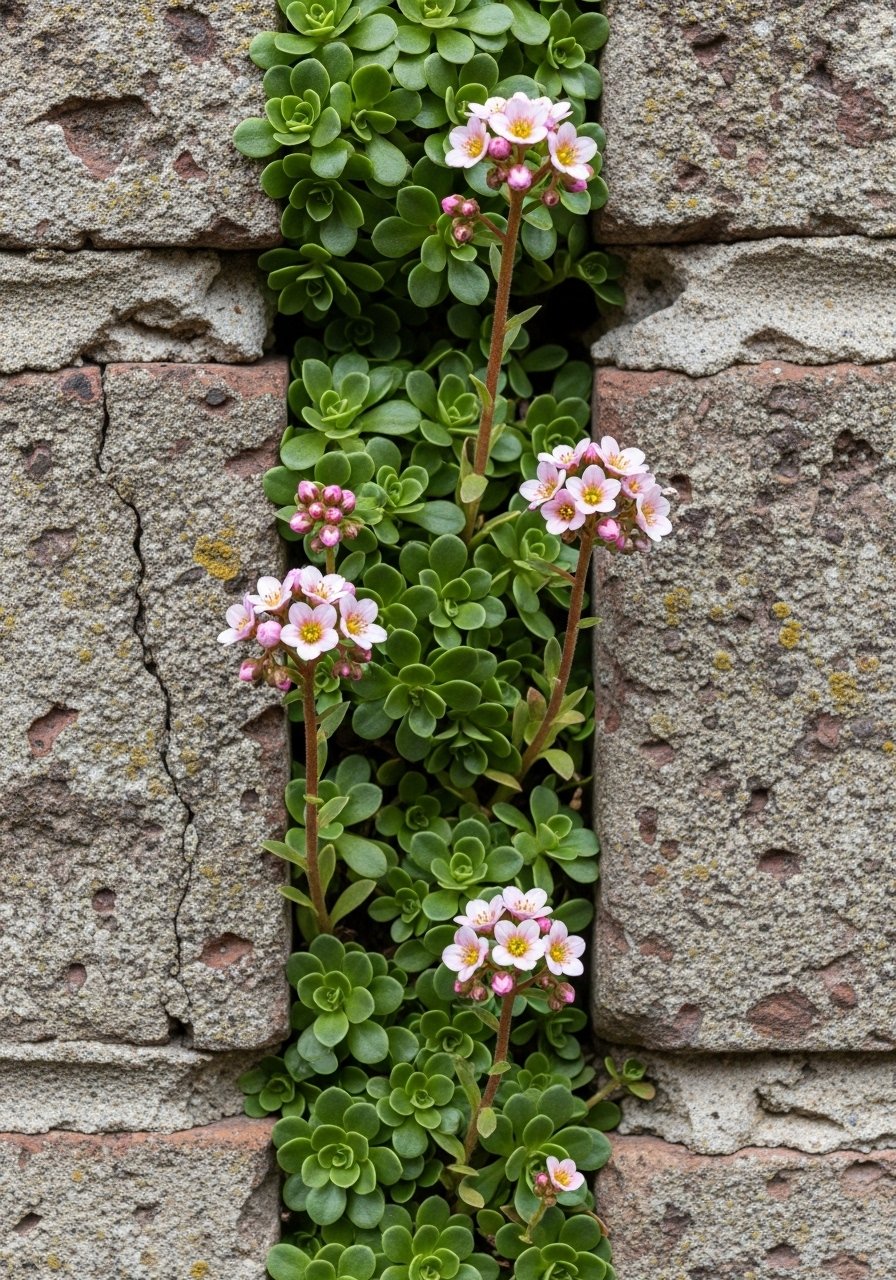
    15. Crevice Planting with Saxifraga x urbium (London Pride)

    I push Saxifraga into rocky crevices and small gaps in a stone retaining wall. It roots into thin pockets of soil and rewards with starry clusters in spring.

    It’s modest but invaluable where nothing else will stay. I once used too rich a compost and it lost its compact habit—keep the soil shallow and gritty.

    What You’ll Need for This Look

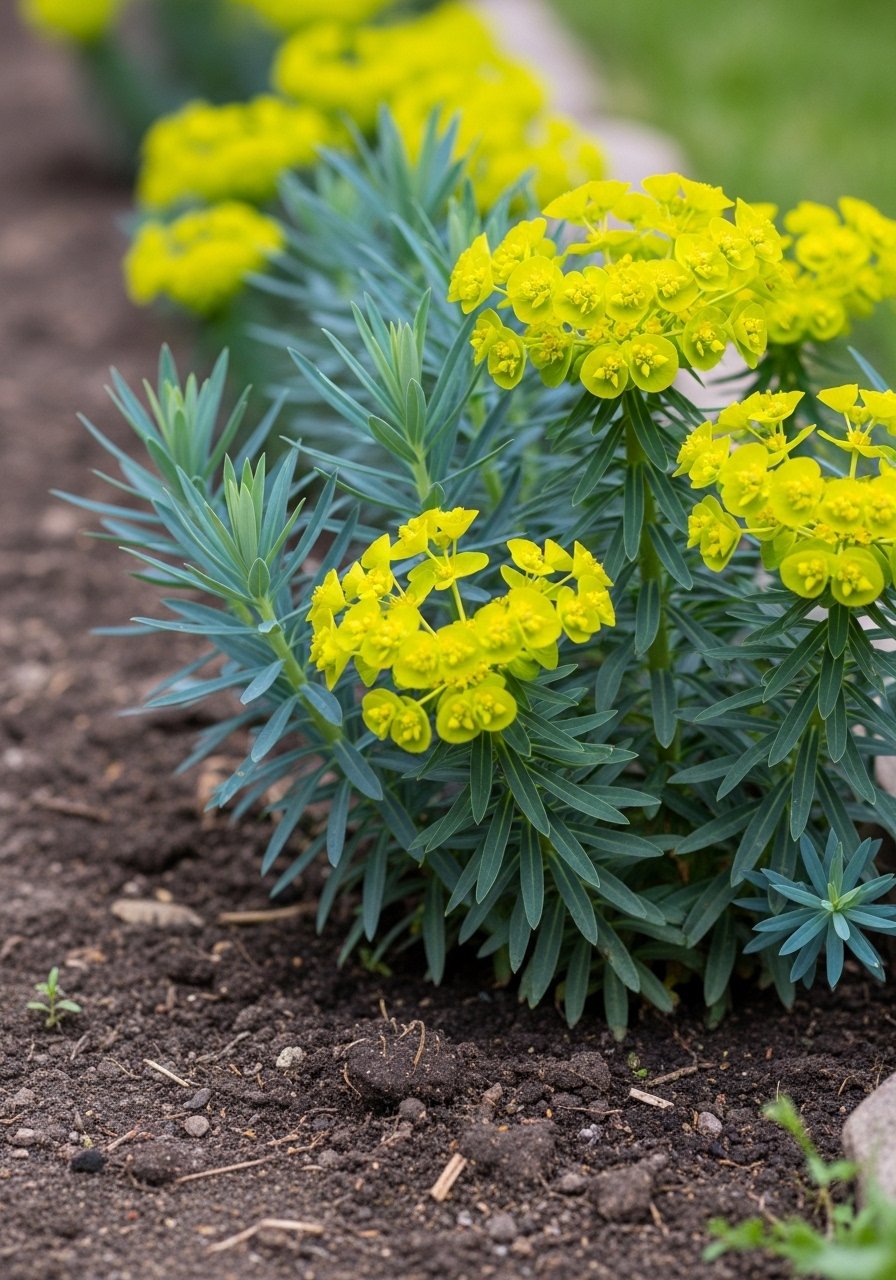
    16. Early Spring Flash with Euphorbia 'Efanthia' (Cushion Spurge)

    Cushion spurge is my early-spring insurance policy. The chartreuse bracts light up a bed before other colors arrive and the foliage holds interest later.

    It’s not a classic flower show, but it sets the tone. I learned to cut back the old foliage in late winter for a fresh, clean mound in spring.

    What You’ll Need for This Look

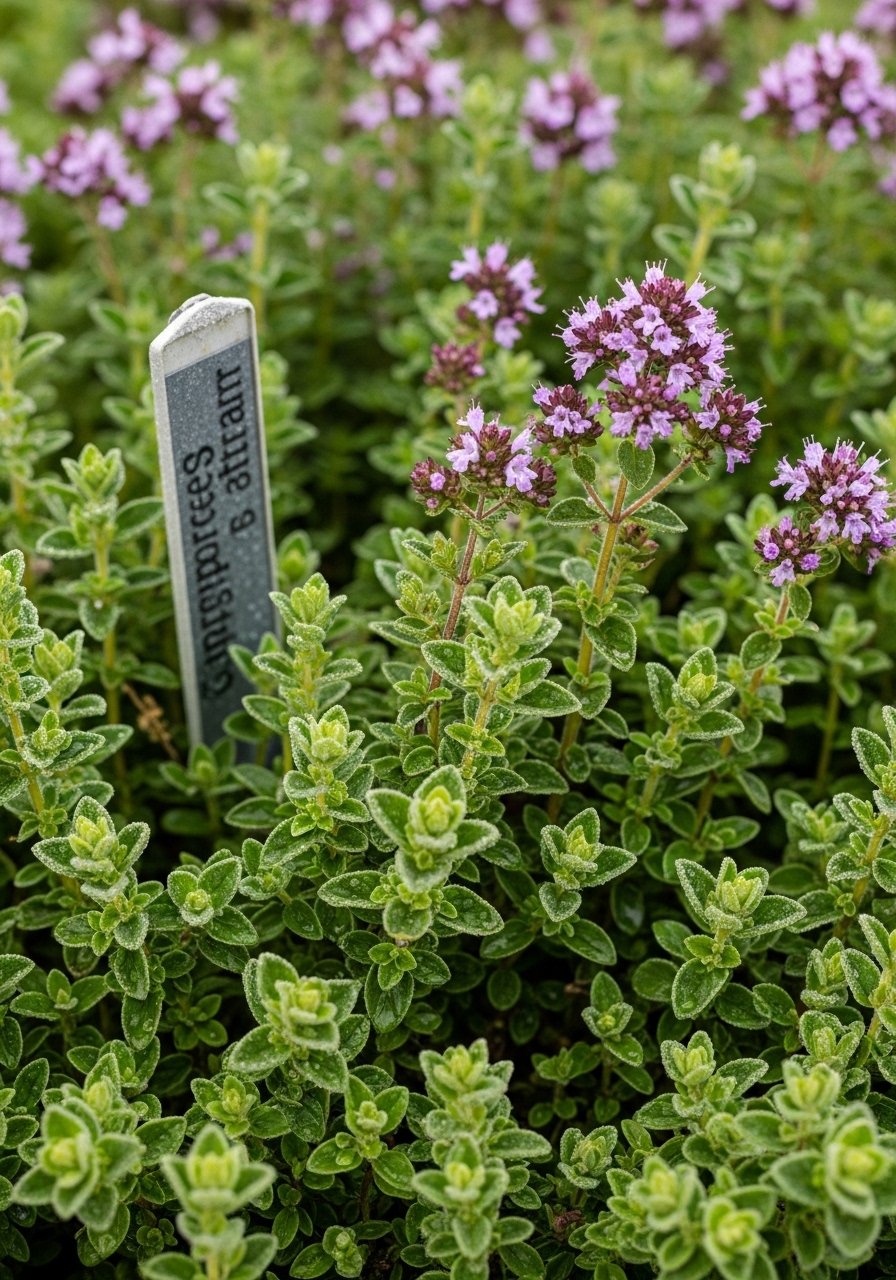
    17. Edible Groundcover: Flowering Oregano

    I planted oregano as a living mulch in a kitchen border. It smells of summer and the little flowers bring bees right to the herbbed. I can snip herbs and keep a pretty mat at the same time.

    It likes sun and thin soil. It will flop if over-fertilized, so I avoid rich compost in its patch.

    What You’ll Need for This Look

    18. Prostrate Veronica for Long Blooming Color

    Veronica prostrata gives me a long season of spikes low to the ground. I plant it where I want a gentle rhythm rather than a solid carpet. The flowers push pollinators along the edge.

    It likes sun and regular water at first. I prune lightly after the first flush to encourage a second wave.

    What You’ll Need for This Look

    19. Dwarf Dianthus ‘Maiden Pink’ for Fragrant Low Mounds

    Dianthus makes a low, tight mound of fragrant flowers that I used between flagstones. The scent is noticeable on warm days and the petals have a neat, clipped look.

    It prefers sun and lean soil. I once gave it too much feed and it lost its compact habit. Now I keep fertilizer light and deadhead for tidy repeat blooms.

    What You’ll Need for This Look

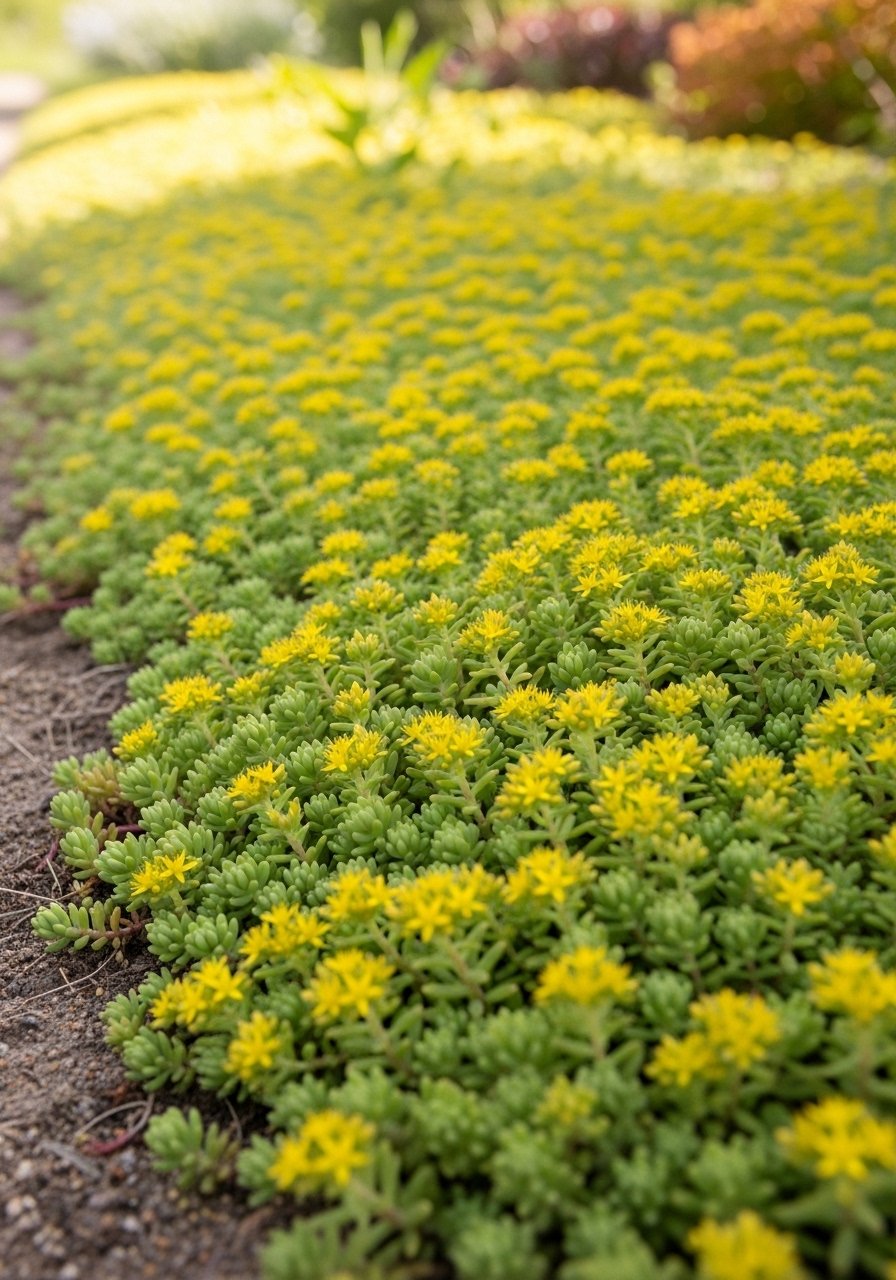
    20. Tiny Yellow Blazes with Sedum Acre (Goldmoss Stonecrop) — and my spread oops

    Sedum acre is a tiny workhorse that I used to patch a dry bank. The yellow flowers are like confetti in summer and it hugs the ground closely.

    I once let it migrate into a rock garden too far—my fault for not edging. Now I use a narrow barrier when I want containment. It’s otherwise very low fuss and summer-hardy.

    What You’ll Need for This Look

    21. Dappled Shade Carpet with Sweet Woodruff

    Sweet woodruff made a cool, soft sheet under my birch where grass fought to survive. It tolerates deep shade and looks delicate when flowering, but it’s tougher than it looks.

    It dies back in summer heat to an extent but returns reliably in cool, moist shade. I scatter a light mulch over it and let it be an understated carpet.

    What You’ll Need for This Look

    22. Trailing Campanula for Soft Blue Spill

    I have a low wall where Campanula spills over like soft blue fabric. The bell-like flowers show in late spring and early summer and the plant hugs the stone nicely.

    It likes cooler summers and consistent moisture. I position it where it can drape without being trampled and it returns year after year with little fuss.

    What You’ll Need for This Look

    Final Thoughts

    You don’t need every plant here. Pick a few that match your light and soil and let them do the work.

    I plant for texture and reliability, not perfection. Start small, enjoy the blooms, and learn as the groundcovers settle in.

  • 29 Elegant Evergreen Ground Cover Plants For Year Round Beauty

    29 Elegant Evergreen Ground Cover Plants For Year Round Beauty

    I spent years filling gaps with annuals, then learned how evergreen ground cover plants keep a bed readable in winter. The right groundcover makes the whole garden feel put together, even when shrubs are bare.

    These are plants I actually use. Some failed at first. Most came back better than I expected.

    29 Elegant Evergreen Ground Cover Plants For Year Round Beauty

    These 29 ideas are hands-on ways I use evergreen ground cover plants in real gardens. Each idea includes what I planted, what changed, and exactly what you’ll need.

    1. Ajuga Carpet Along a Shady Path

    I planted ajuga along a narrow, shady path and it filled in fast. The low, glossy leaves hide bare soil and the blue flower spikes give surprise color in spring. I noticed it spreads more than I expected, so I edge it tightly.

    Visually it grounds the path. It tolerates foot traffic but can flop in full sun.

    Tip: let it fill a confined strip, not a wild meadow.

    What You’ll Need for This Look

    2. Creeping Thyme Between Stepping Stones

    I ripped out moss and jammed creeping thyme between stones. It smells like a kitchen when you step on it. The mat is low and blooms in summer. It took a season to knit together; I overwatered at first and lost seedlings.

    Now the thyme softens the stone edges and attracts bees.

    Watch drainage—thymes need good dry soil. Plant in sun for best scent.

    What You’ll Need for This Look

    3. Vinca Minor as a Green Blanket Under Shrubs

    I used Vinca minor under a large rhododendron and it solved two problems: bare soil and weed pressure. It keeps the area tidy year-round and the violet flowers pop in spring. Early on I planted a variegated type that faded; stick with solid green if you want consistent cover.

    It handles shade well but can become dominant, so keep an eye on edges.

    Tip: plant in groups of 6–8 for instant impact.

    What You’ll Need for This Look

    4. Pachysandra for a Quiet, Evergreen Ground Layer

    I put pachysandra beneath some older hostas and it made the bed feel finished in every season. It’s ultra-tidy and tolerates deep shade. I misjudged drainage once; standing water gave me fungal spots. Good drainage matters.

    It’s slow to establish, but once it does, weeds have nowhere to grow.

    Tip: trim a few runners early if it tries to creep into paths.

    What You’ll Need for This Look

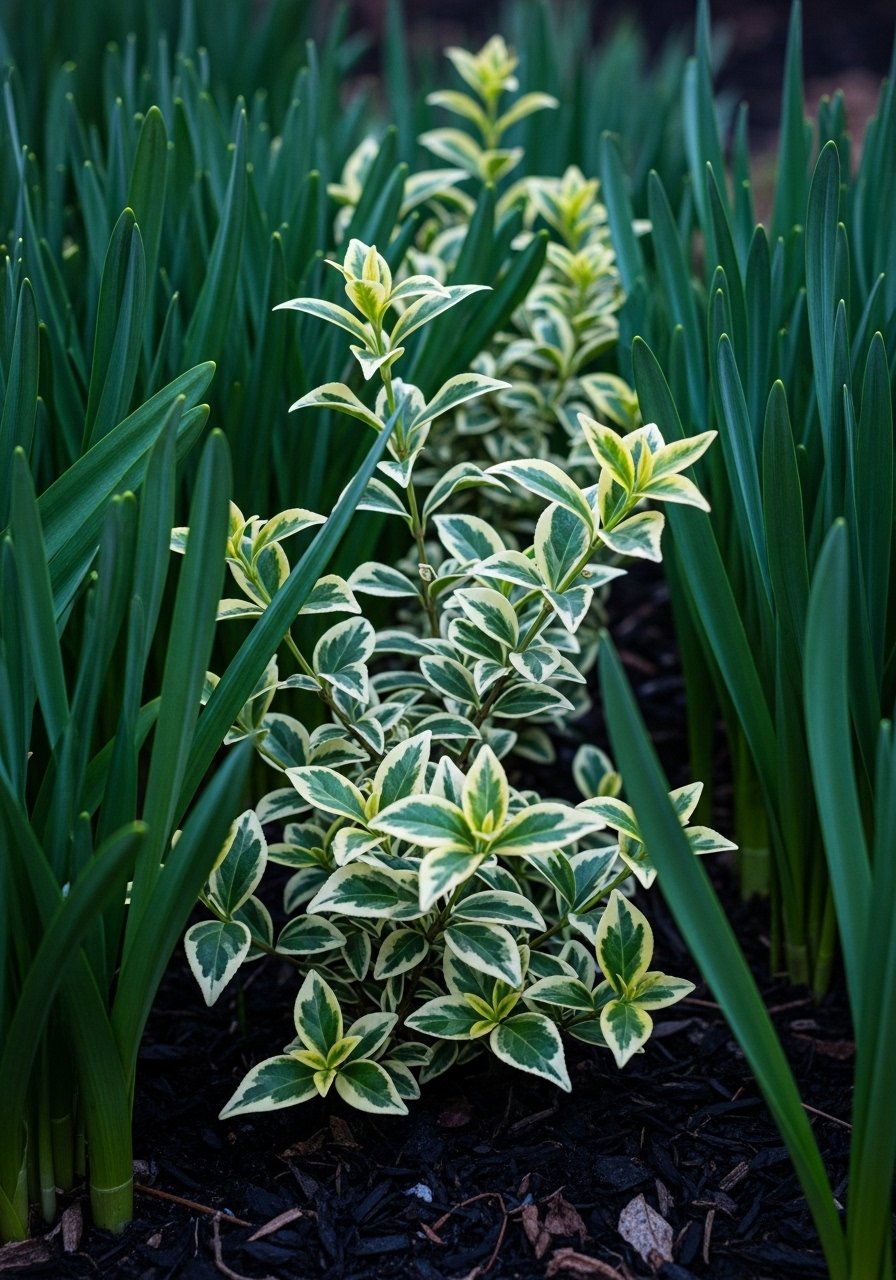
    5. Euonymus Fortunei Mixed with Bulbs for Winter Interest

    I planted Euonymus fortunei between spring bulbs. The evergreen leaves hide old bulb foliage after flowering and keep the bed lively through winter. I once let a seedling climb a nearby wall—cut it back before it becomes a vine.

    It tolerates sun or shade. The variegated forms give brightness in low light.

    Tip: keep it trimmed near walkways.

    What You’ll Need for This Look

    6. Creeping Phlox on a Sunny Rockery

    I use creeping phlox on sunny rock borders. It hugs stone and throws a carpet of flowers in spring. It’s semi-evergreen; when cold hits it thins a bit, but comes back strong. My first planting faded in heavy clay—PH matters.

    It brightens a rocky slope and masks gaps.

    Tip: plant in gritty soil and give good sun.

    What You’ll Need for This Look

    7. Mondo Grass Lining a Driveway Edge

    I planted mondo grass along a driveway edge where grass wouldn’t grow. It makes a neat, evergreen line and tolerates some sun. It’s slow but reliable. I planted too densely once and it looked like clumps—space them.

    It resists foot traffic and the dark foliage contrasts well with stone.

    Tip: stagger planting for a more natural rhythm.

    What You’ll Need for This Look

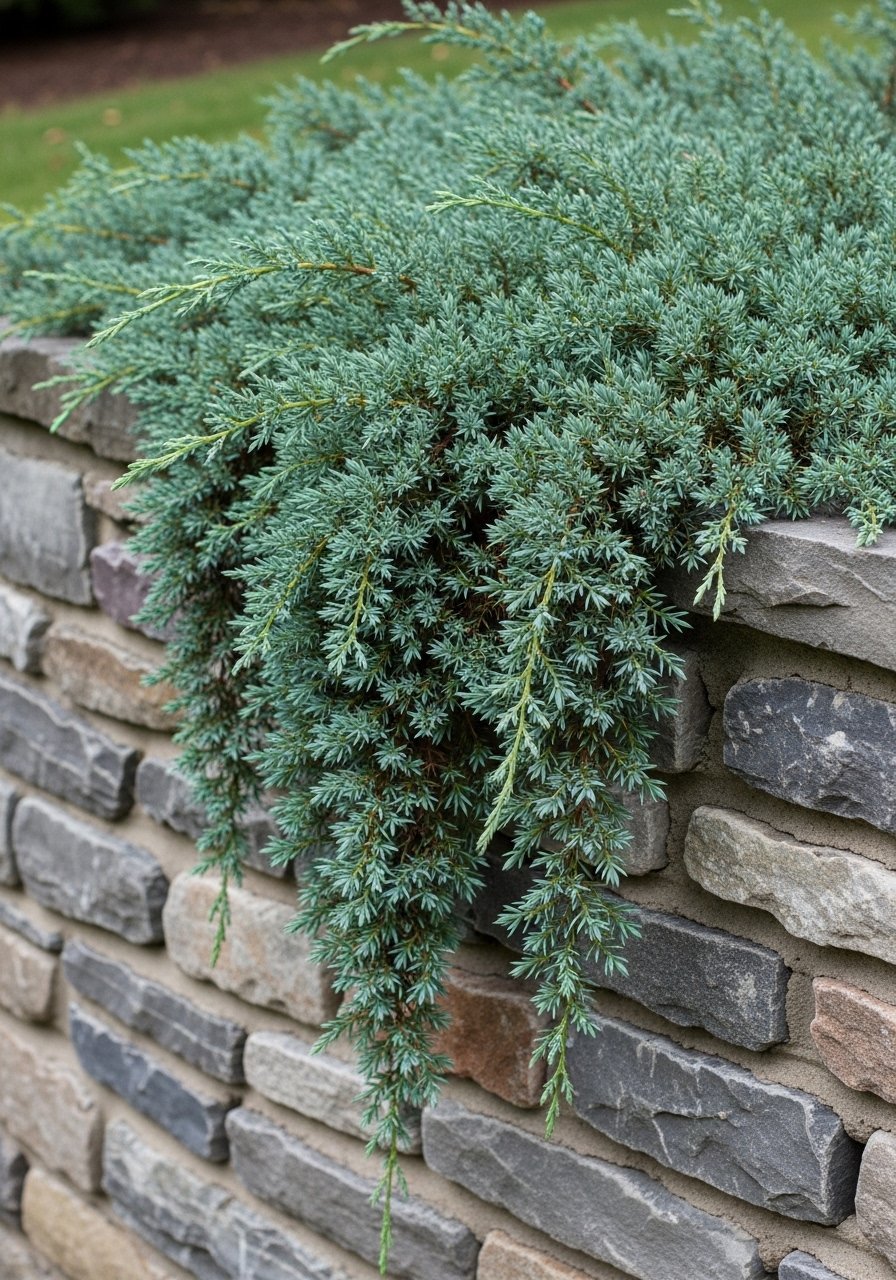
    8. Creeping Juniper as a Low-Slung Foundation Cover

    I planted creeping juniper around a stone foundation to soften the base. It stays low and weathers drought years well. The blue tone reads as cool and clean. I learned to avoid heavy mulch against stems; it invites rot.

    It takes sun and poor soil, and it’s deer-resistant.

    Tip: choose a cultivar that matches your scale—some spread wide.

    What You’ll Need for This Look

    9. Lamium Under a Shady Tree for Silver Contrast

    I planted lamium at the base of an older maple and it brightened a bleak spot all winter. The variegated leaves catch low light and the flowers are a pleasant surprise. I made the mistake of placing it where dogs dig; it didn’t appreciate the trampling.

    It’s ideal for shady borders that need contrast.

    Tip: keep an eye for aggressive spread in rich soil.

    What You’ll Need for This Look

    10. Sedum Dragon’s Blood for Sunny, Low-Care Patches

    I use Sedum spurium on hot, sunny banks where nothing else thrived. The foliage holds color through seasons and it fills gaps quickly. I once planted it too deep and it rotted; keep crowns just at soil level.

    It’s drought-tolerant and needs little fuss once established.

    Tip: pair with native grasses for contrast.

    What You’ll Need for This Look

    11. Geranium macrorrhizum for Aromatic Evergreen Groundcover

    I planted Geranium macrorrhizum near a door where its crushed leaves release a piney scent. It’s evergreen and covers slopes neatly. Early on I underplanted and it didn’t hide bare soil fast enough—use denser spacing.

    It’s tough and tolerates dry shade.

    Tip: deadhead sparingly; the foliage is the main show.

    What You’ll Need for This Look

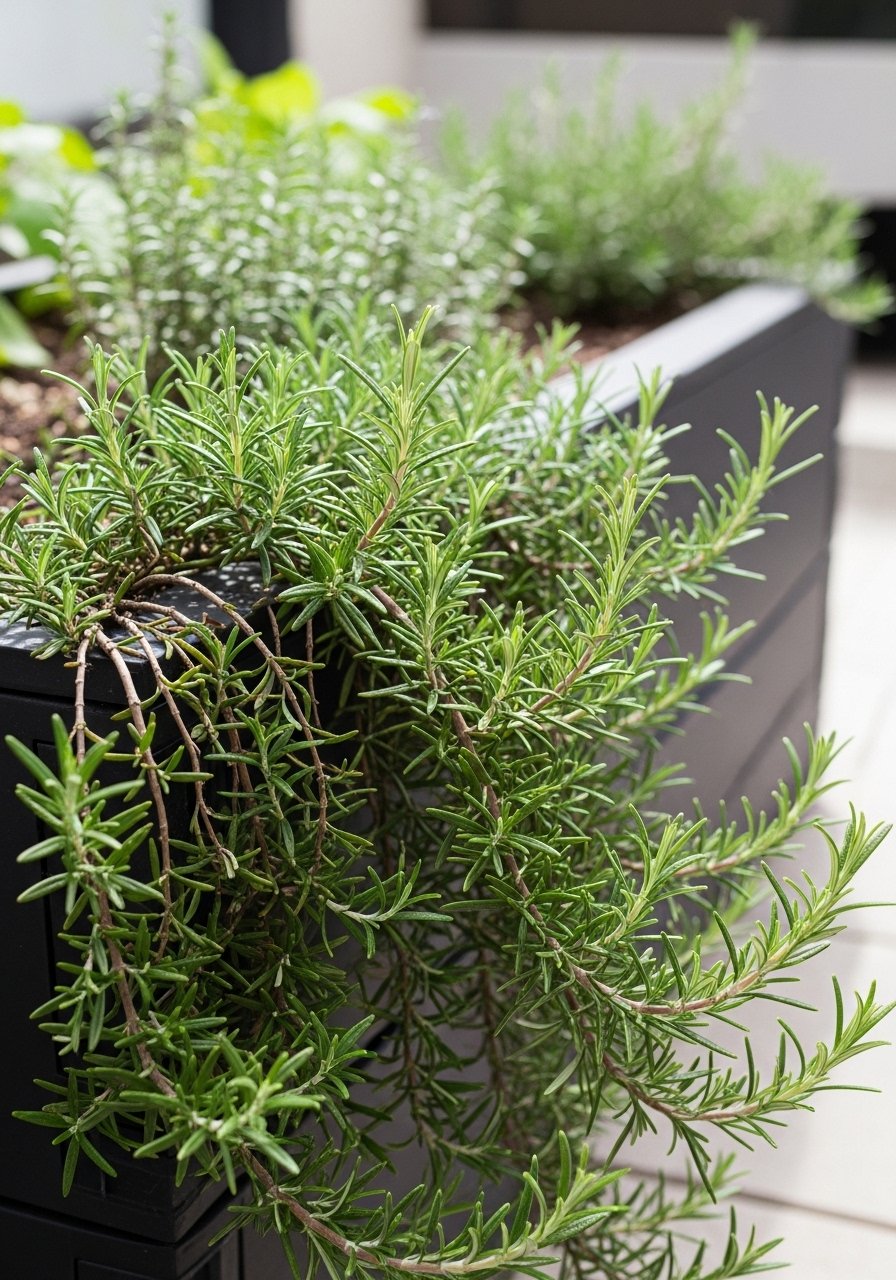
    12. Prostrate Rosemary Along a Kitchen Garden Edge

    I let prostrate rosemary tumble over a raised kitchen bed. It smells good and gives evergreen structure. I trimmed it to keep access to the bed; left wild it becomes woody and sparse in the center.

    It’s drought-tolerant and hardy in mild winters.

    Tip: plant where you can cut sprigs for cooking.

    What You’ll Need for This Look

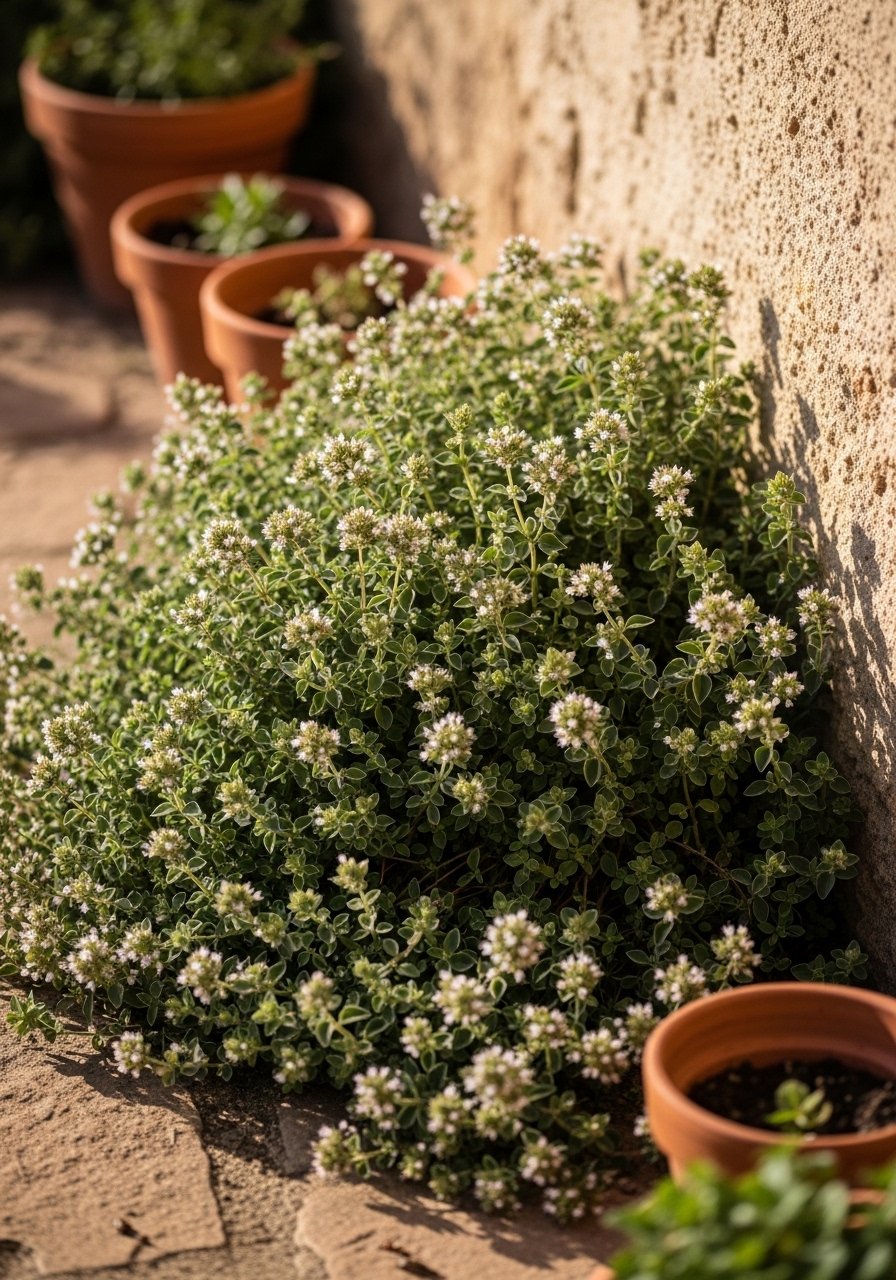
    13. Evergreen Oregano on a Sunny Wall Base

    I planted evergreen oregano along a south-facing wall. It fills low gaps and releases scent. It’s less showy than thyme but tougher in poor soil. My first patch got overrun by grass edges—give a clear border.

    It’s a friendly plant for informal, lived-in beds.

    Tip: leave a few flower heads for pollinators.

    What You’ll Need for This Look

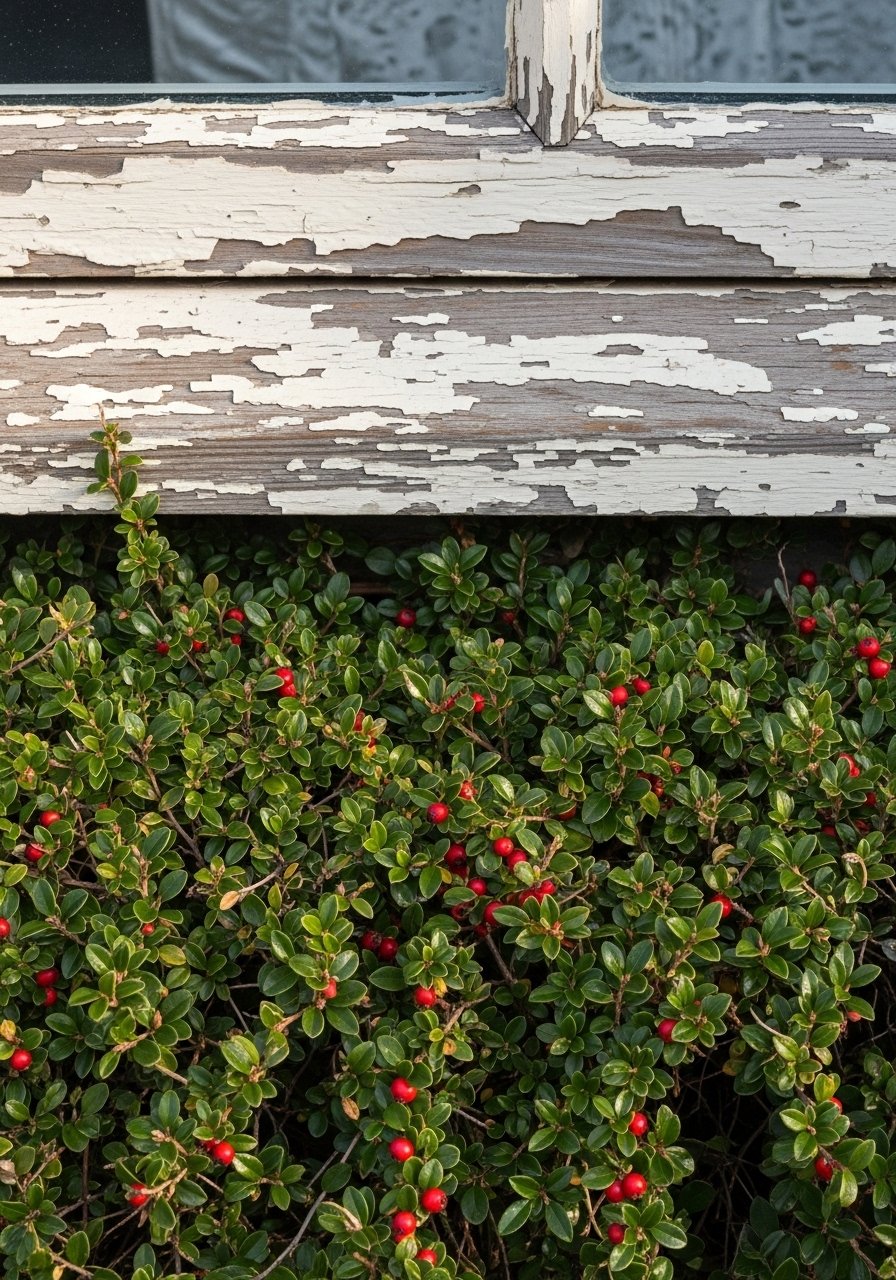
    14. Prostrate Cotoneaster Under Low Windows

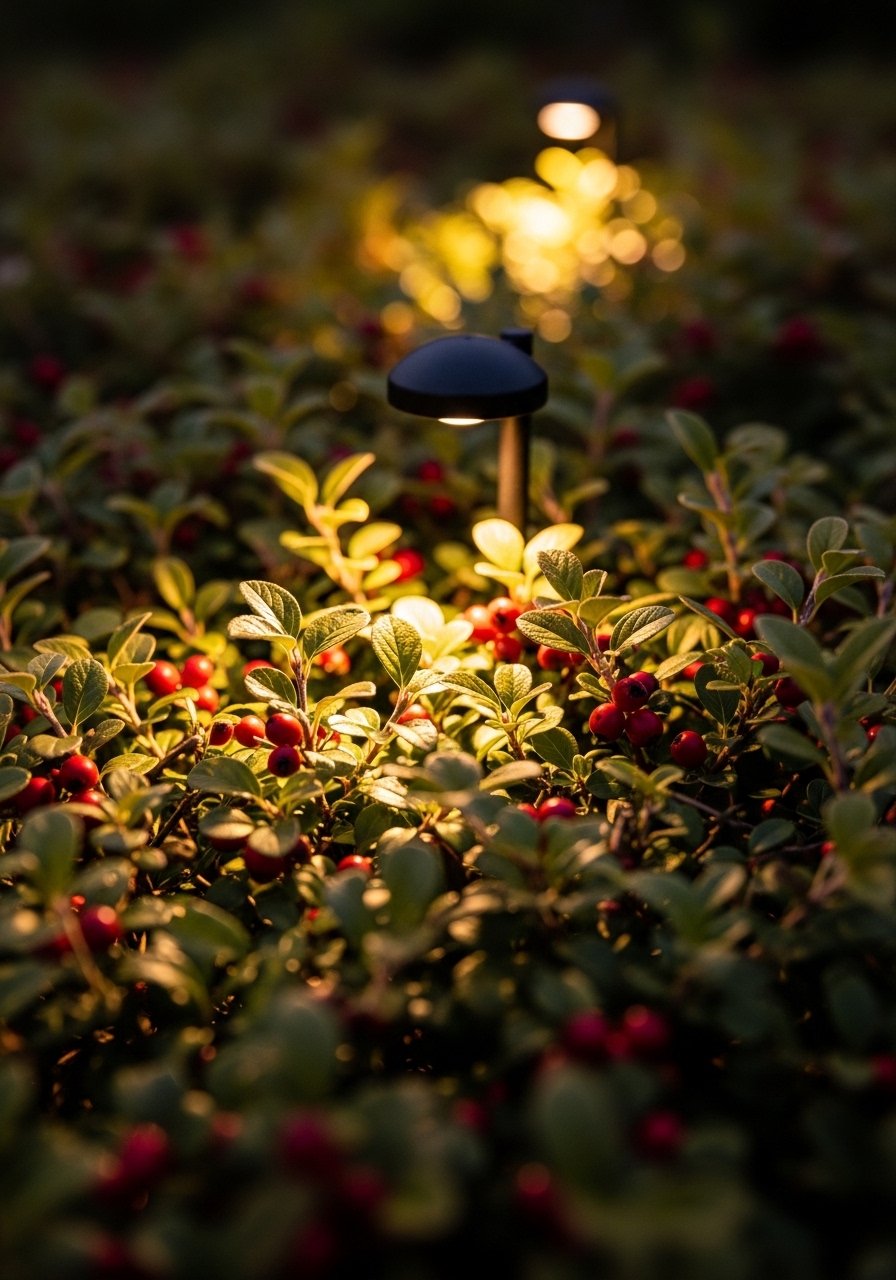
    I used prostrate cotoneaster beneath low windows to keep winter interest with berries. The glossy leaves are neat and the red berries draw birds. I once trimmed it too late and removed winter berries—prune in spring.

    It tolerates sun and poor soils and fills wide spaces.

    Tip: avoid planting too close to foundations—leave a small gap.

    What You’ll Need for This Look

    15. Erica Carnea (Winter Heath) for Early Season Color

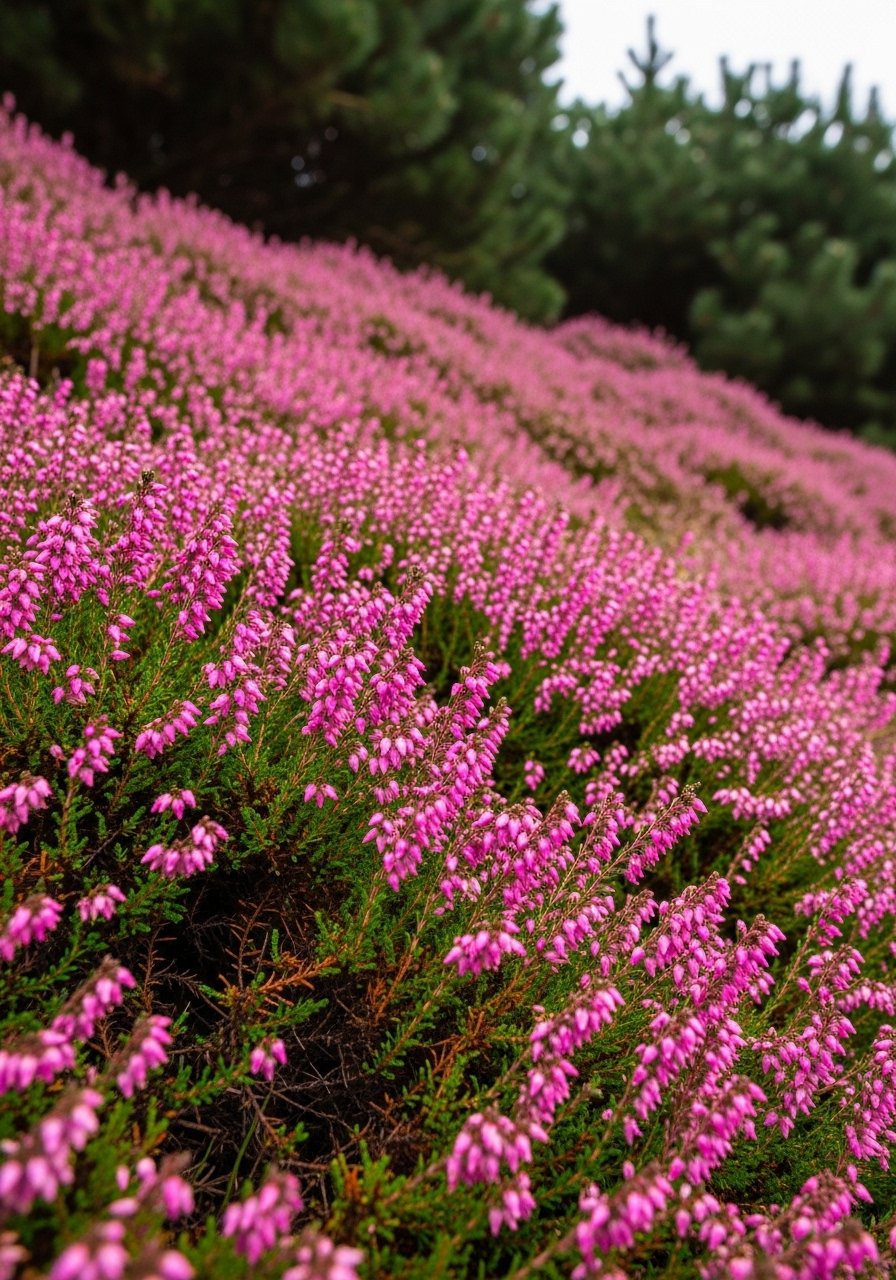
    I planted winter heath on a slope where bulbs were slow. It blooms in late winter and holds tidy foliage. I learned it prefers acidic soil; my first bed faded. It’s forgiving once soil is right.

    It lights up an otherwise brown winter bed.

    Tip: pair with heathers and leave space for airflow.

    What You’ll Need for This Look

    16. Gaultheria procumbens (Wintergreen) in a Woodland Nook

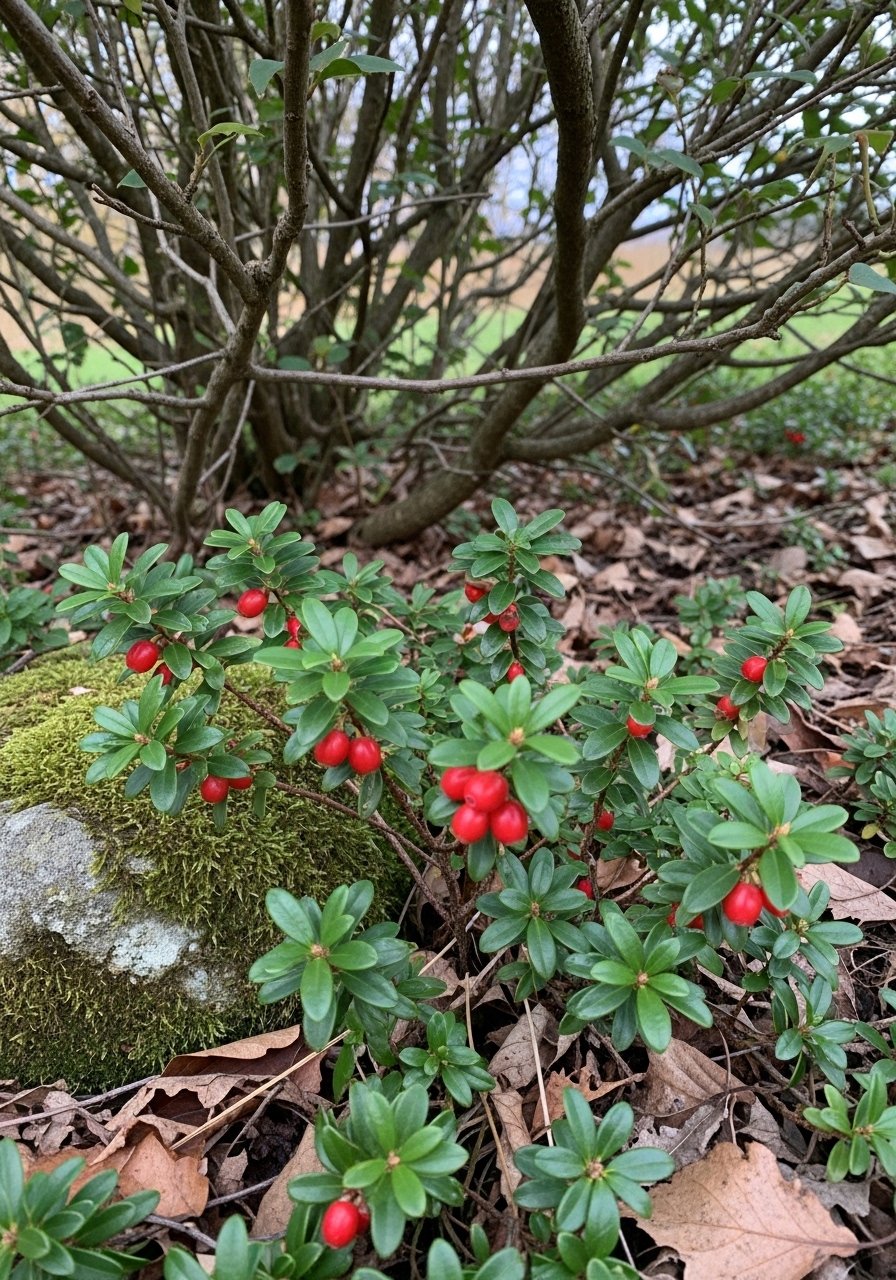
    I tucked wintergreen into a damp, shady nook and it stayed glossy all year. The berries are small but noticeable. I once expected a large spread—this plant stays modest. Use it where you want low, tidy evergreen texture.

    It prefers acid, humus-rich soil.

    Tip: mulch yearly with leaf compost.

    What You’ll Need for This Look

    17. Sempervivum and Sedum Mix on a Hot Wall

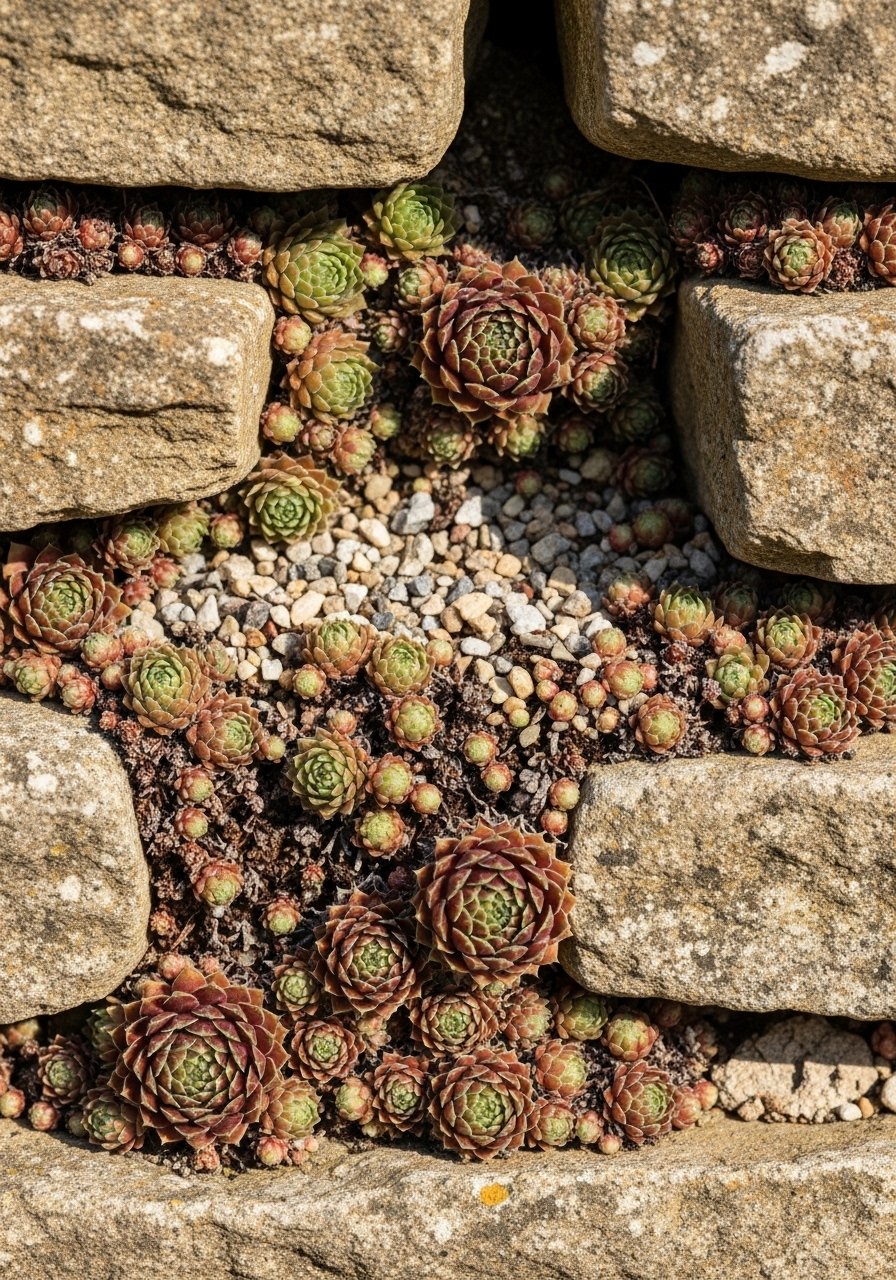
    I pack sempervivums and low sedums into wall crevices. They survive thin soil and sun, and they stay evergreen as tight rosettes. I made the mistake of planting too deep once—these like exposed crowns.

    They give architectural form and harsh-site resilience.

    Tip: water sparingly the first year to avoid rot.

    What You’ll Need for This Look

    18. Sarcococca for a Fragrant, Shaded Walk Edge

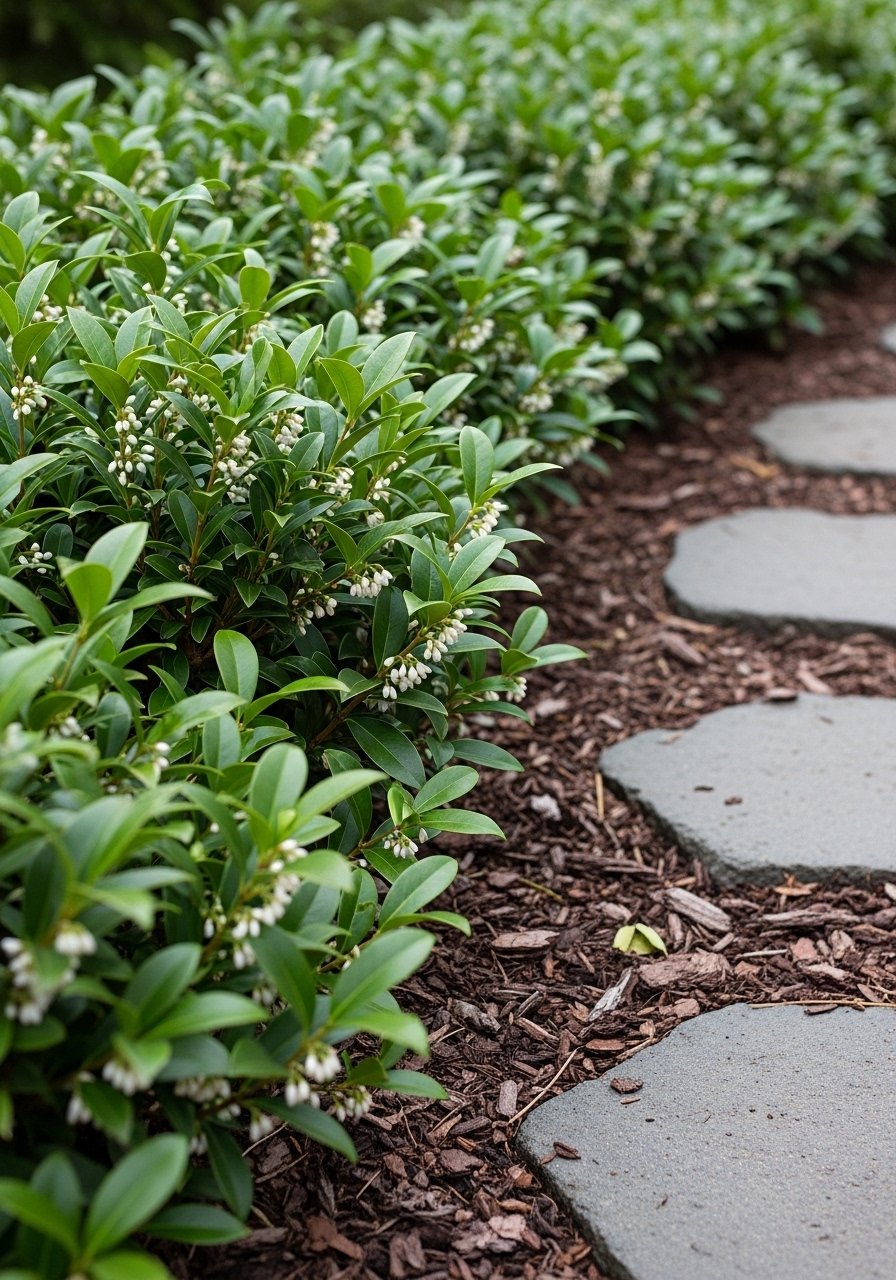
    I planted sweet box along a shaded walk for winter scent. When it blooms, the narrow, fragrant flowers are a quiet surprise. It grows as a low mat in deep shade. I once planted it too close to a fence and it became crowded—leave space to breathe.

    It’s evergreen and neat most of the year.

    Tip: plant in groups to get more fragrance impact.

    What You’ll Need for This Look

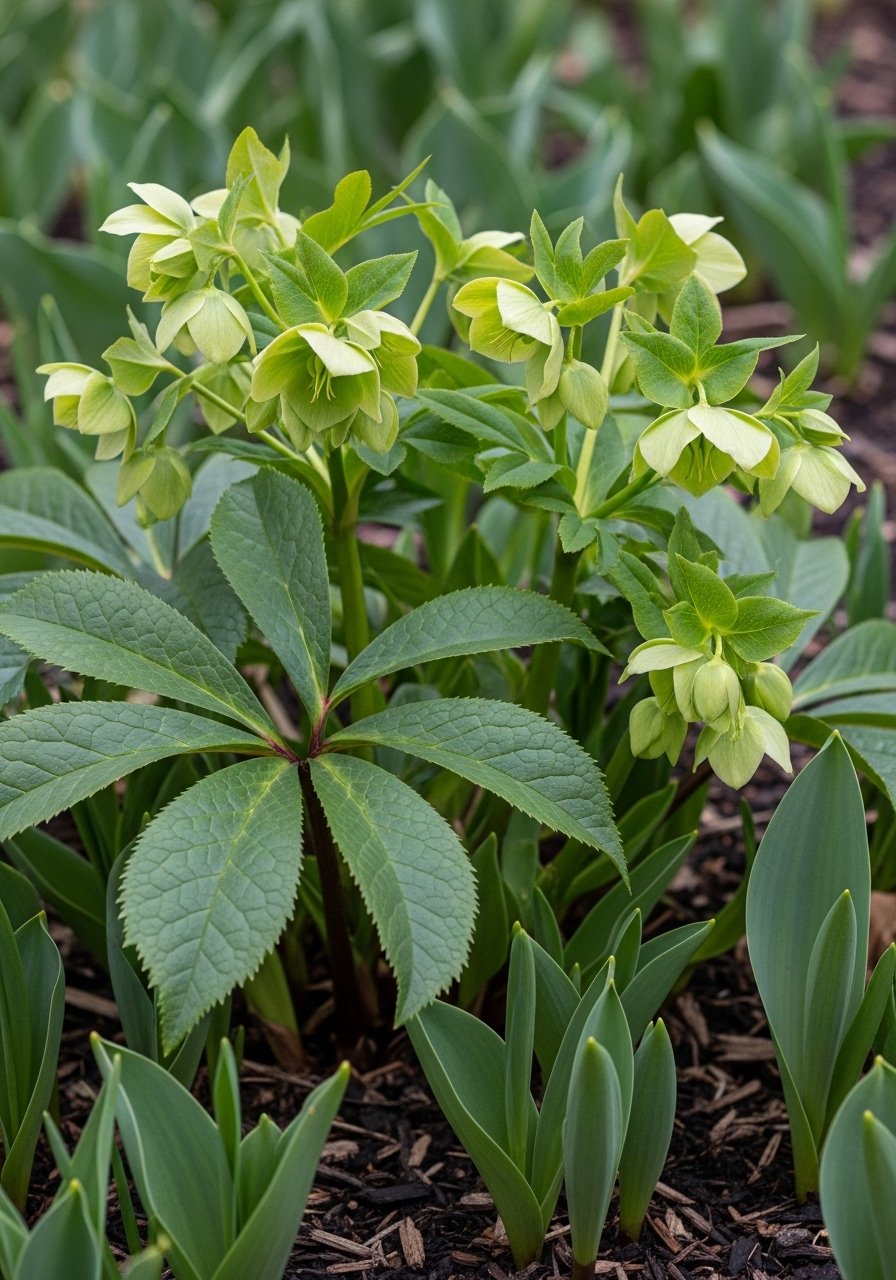
    19. Hellebores as Evergreen Fill Between Perennials

    I use evergreen hellebores to fill mid-border gaps. Their leathery leaves anchor the bed in winter and early flowers are subtle and long-lasting. I once left leaves to flop—light pruning tidies them up.

    They tolerate shade and prefer humus-rich soil.

    Tip: plant slightly raised if soil is heavy.

    What You’ll Need for This Look

    20. Euphorbia Myrsinites for Soft, Blue-Green Groundcover

    I planted Euphorbia myrsinites on a hot bank for texture contrast. The blue-green trailing leaves sit low and the chartreuse flowers add late spring interest. I learned to wear gloves—sap can irritate skin.

    It tolerates drought and poor soil, and it self-seeds cautiously.

    Tip: situate where its color complements stone or wood.

    What You’ll Need for This Look

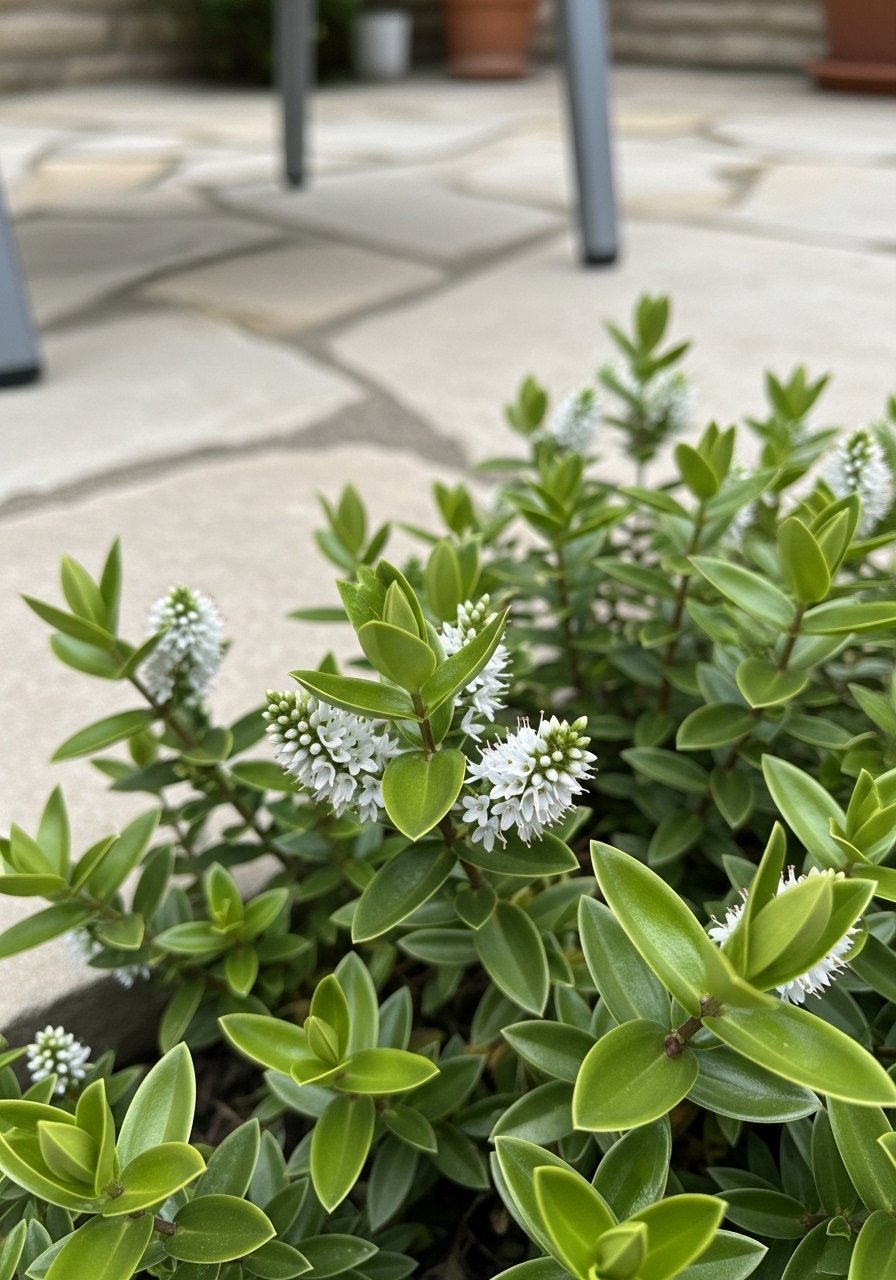
    21. Veronica (Hebe) Ground Cover Near a Patio

    I planted low hebes along a patio edge where I wanted evergreen structure without blocking views. They look tidy and hold color through winter. My first choice was too tall—choose prostrate varieties for true groundcover.

    They handle coastal conditions well.

    Tip: shelter from harsh winter winds on exposed sites.

    What You’ll Need for This Look

    22. Ophiopogon and Liriope Mix for Edging Beds

    I alternate mondo grass and dwarf liriope along long borders. The different textures create rhythm and stay evergreen. Liriope can be more aggressive; I once let it form a hedge—cut it back to keep it low.

    This mix handles partial shade and tidy edges well.

    Tip: stagger heights for a layered look.

    What You’ll Need for This Look

    23. Vinca Major for Large, Sunny Areas That Need Green

    I chose Vinca major for a large, sunny slope where I wanted quick evergreen cover. It spreads fast and fills gaps. I mistakenly planted it by natives and had to control runners—containment matters.

    It’s a workhorse in sunny sites.

    Tip: use root barriers where you want to limit spread.

    What You’ll Need for This Look

    24. Prostrate Euonymus for Modern, Clean Lines

    I used a prostrate euonymus near a modern concrete planter to keep lines crisp. The evergreen foliage reads clean and simple. I found variegated varieties can fade in strong sun—match variety to exposure.

    It’s tidy and pairs well with architectural elements.

    Tip: trim lightly in spring for shape.

    What You’ll Need for This Look

    25. Prostrate Cotoneaster and Low Lights for Evening Appeal

    I combined low cotoneaster with subtle path lights for winter evening interest. The berries pick up the warm glow and the groundcover stays neat. I once used bright lights and lost the subtlety—low, warm fixtures work best.

    It keeps a border readable after dark.

    Tip: place lights low and aim for warm tones.

    What You’ll Need for This Look

    26. Groundcover Ivy for Vertical-to-Horizontal Transitions

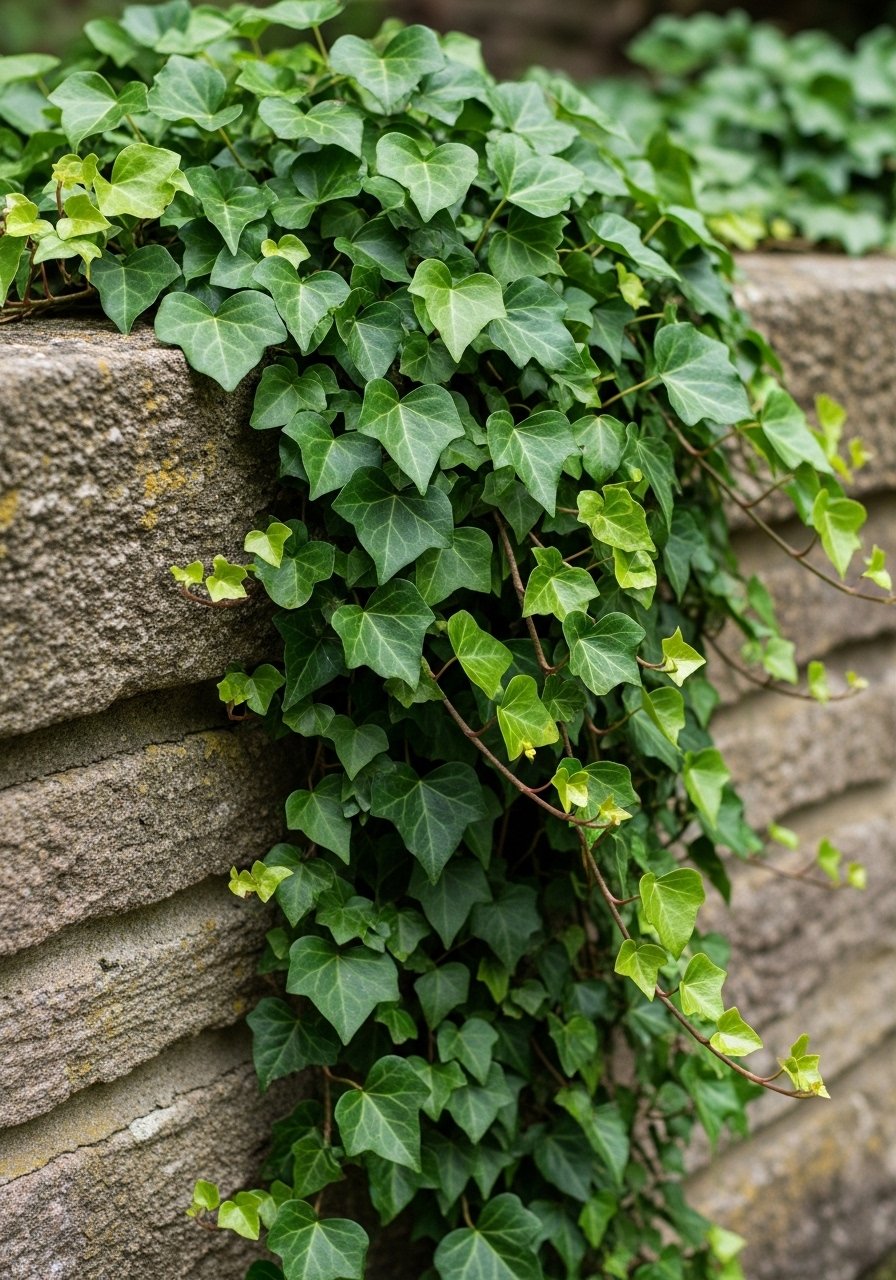
    I let ivy spill down a low wall and across the ground to create a green transition. It’s evergreen and fast. I learned the hard way to trim near structures—ivy can climb unexpectedly and damage surfaces.

    Use it where speed and coverage are priorities.

    Tip: keep it off wooden structures.

    What You’ll Need for This Look

    27. Cotinus (Smoke Bush) Small Groundcover Underplanting with Evergreen Herbs

    I underplanted a small smoke bush with a mix of evergreen herbs to keep the base lively year-round. The herbs knit a low evergreen carpet and give scent and texture. I planted thyme too close to the trunk once—it competed. Space them from woody stems.

    This mix creates edible interest and steady form.

    Tip: leave room for the shrub’s roots.

    What You’ll Need for This Look

    28. Low Heather and Rock Mulch for Coastal, Windy Sites

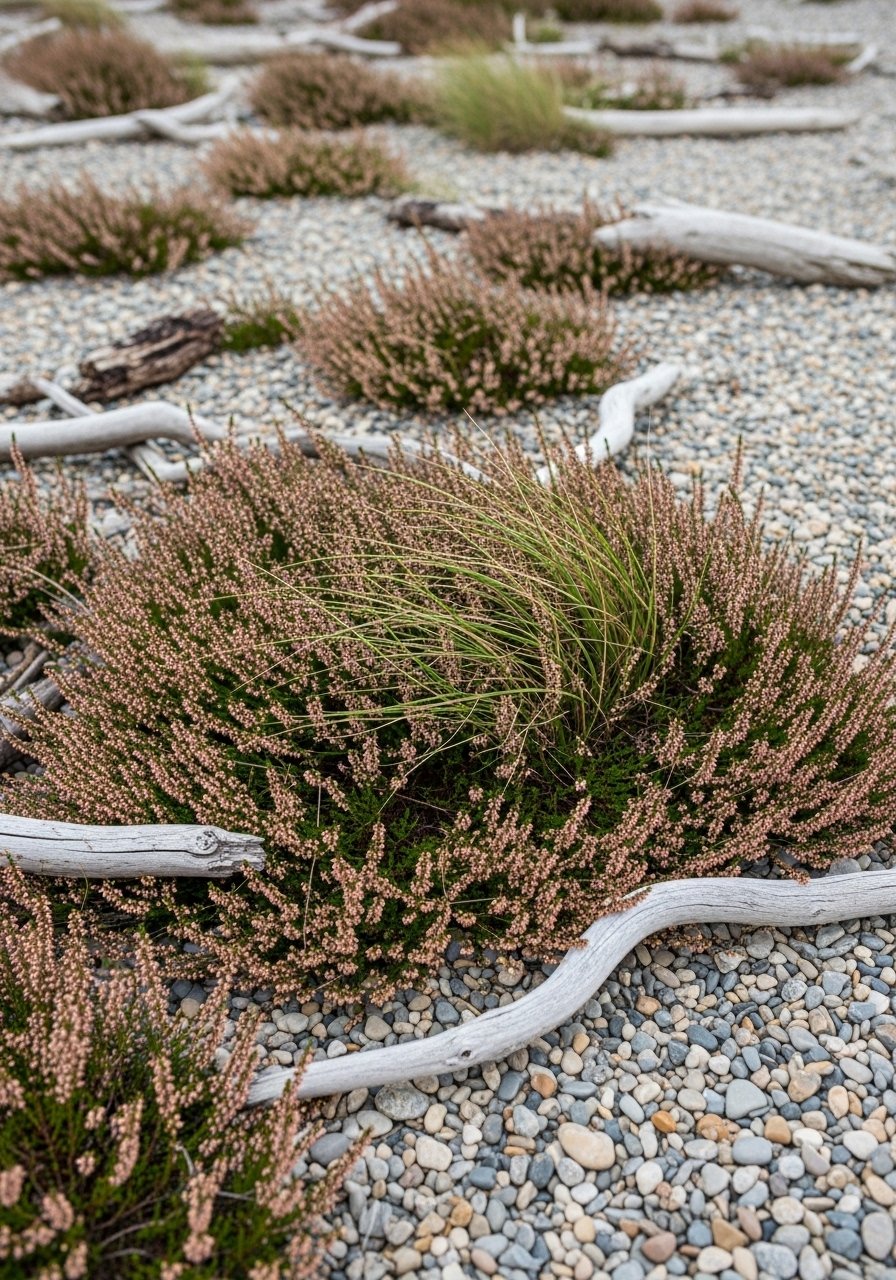
    On a windy, coastal strip I planted low heather with a rock mulch. The heather holds its leaves and the gravel reduces salt splash. I initially used organic mulch and lost plants to wind-blown rot—stone mulch suits this site.

    It stays evergreen and tolerates exposure.

    Tip: choose varieties rated for coastal conditions.

    What You’ll Need for This Look

    29. Groundcover Boxwood for Formal Edges That Stay Green

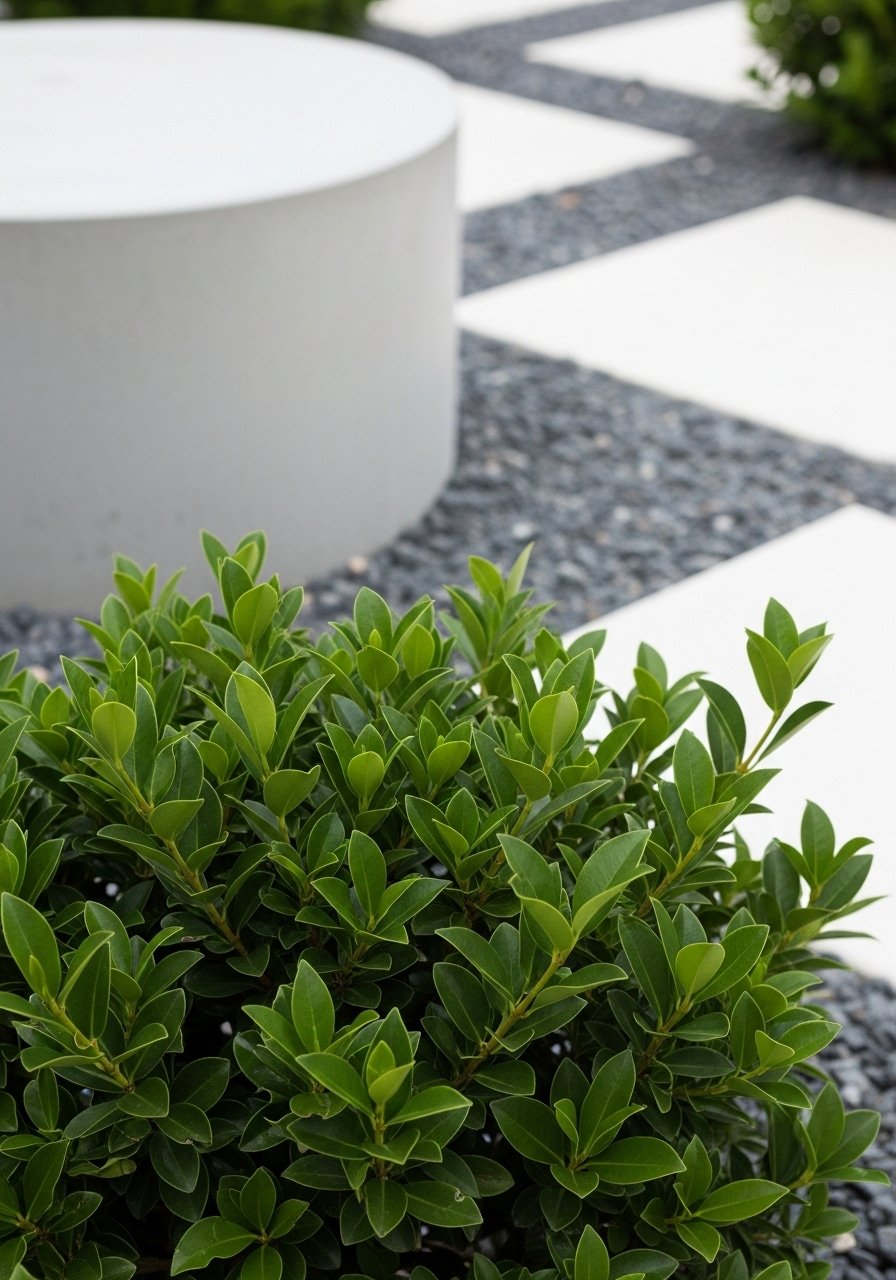
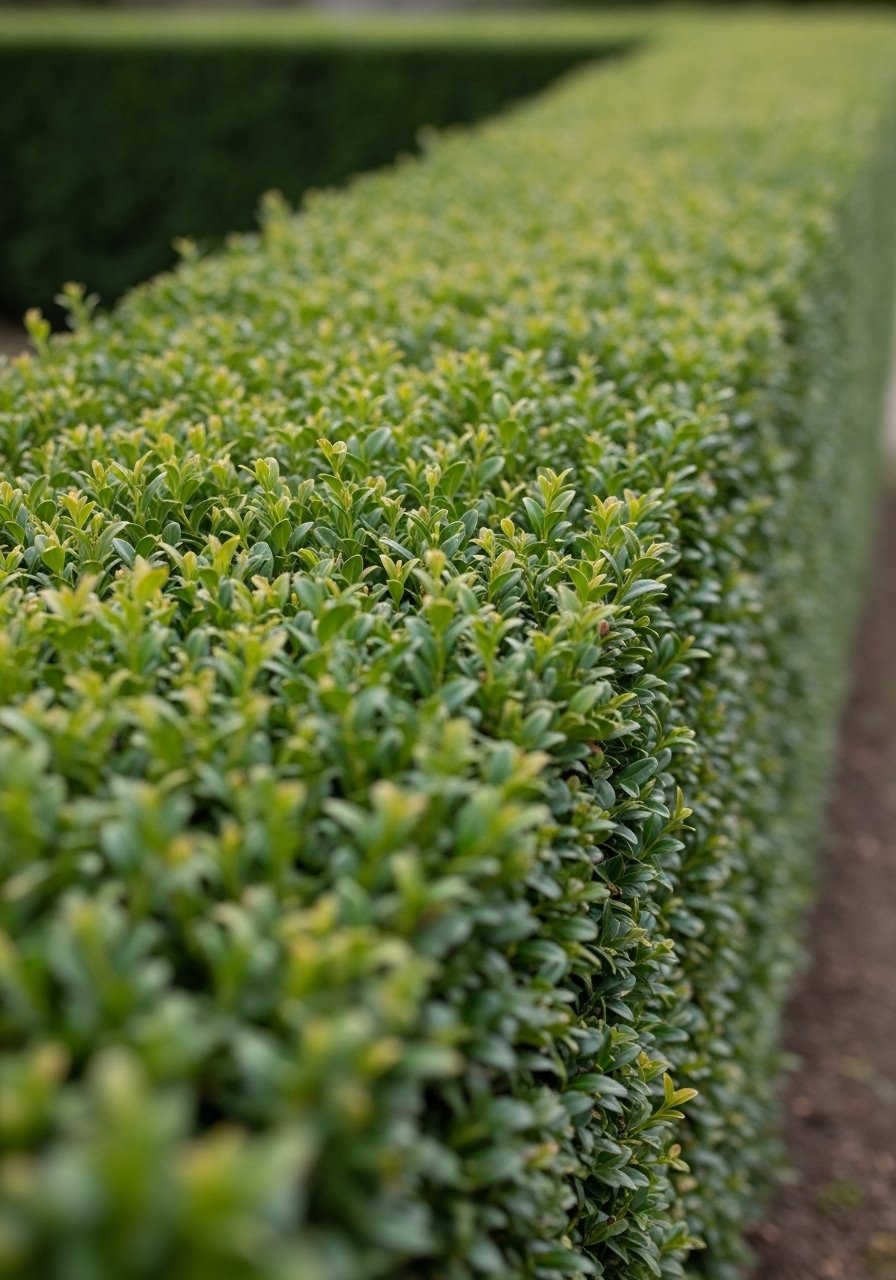
    I use low boxwood as a clipped ground layer for formal paths. It gives evergreen structure and neat edges. I once let deer nibble a patch—choose deer-resistant varieties or protect young plants.

    It stays compact with light trimming.

    Tip: prune in late spring to keep dense form.

    What You’ll Need for This Look

    Final Thoughts

    Evergreen ground cover plants keep a garden readable when everything else sleeps. Start small and build confidence.

    You don’t need every plant here. Pick a few that match your light, soil, and style. I promise they’ll reward steady, simple care.
  • How to Plant Ground Cover Plants For Fast And Healthy Growth

    How to Plant Ground Cover Plants For Fast And Healthy Growth

    I used to stare at bare edges and think ground cover was just "easy filler." I planted scrappy plugs and they vanished or crowded out friends.

    After years of trial I learned how to place and pace ground covers so they knit together quickly and look intentionally balanced. This guide keeps it simple and practical.

    How to Plant Ground Cover Plants For Fast And Healthy Growth

    You’ll learn how to place, pair, and pace ground covers so beds fill in quickly and look balanced. This is the method I use when a garden feels unfinished.

    What You’ll Need

    Step 1: Read the bed and mark the anchors

    I walk the bed and look for anchor points: a shrub, a step, or a path edge. I imagine how the ground cover will meet those anchors. This tells me where to concentrate mass and where to let it trail.
    Visually the bed shifts from a flat to a layered plan. You start to see the future lines. Most people plant evenly; I use anchors to avoid a uniform, planted-flat look. Mistake to avoid: don’t plant everything the same distance from the edge. That makes the bed read like a strip, not a place.
    Step 2: Group by habit and contrast

    I position plants by how they grow—creepers, spreaders, runners. I block the same habit into drifts and pair it with a contrasting texture nearby. That contrast makes the whole bed read as intentional.

    You’ll see pockets of different leaf shapes and colors that guide the eye. People often miss matching growth rates; fast runners can overwhelm slow mat-formers. Mistake to avoid: don’t mix two aggressive runners in the same small area. They’ll fight and one will win, leaving a messy gap.

    Step 3: Plant in drifts and staggered clusters

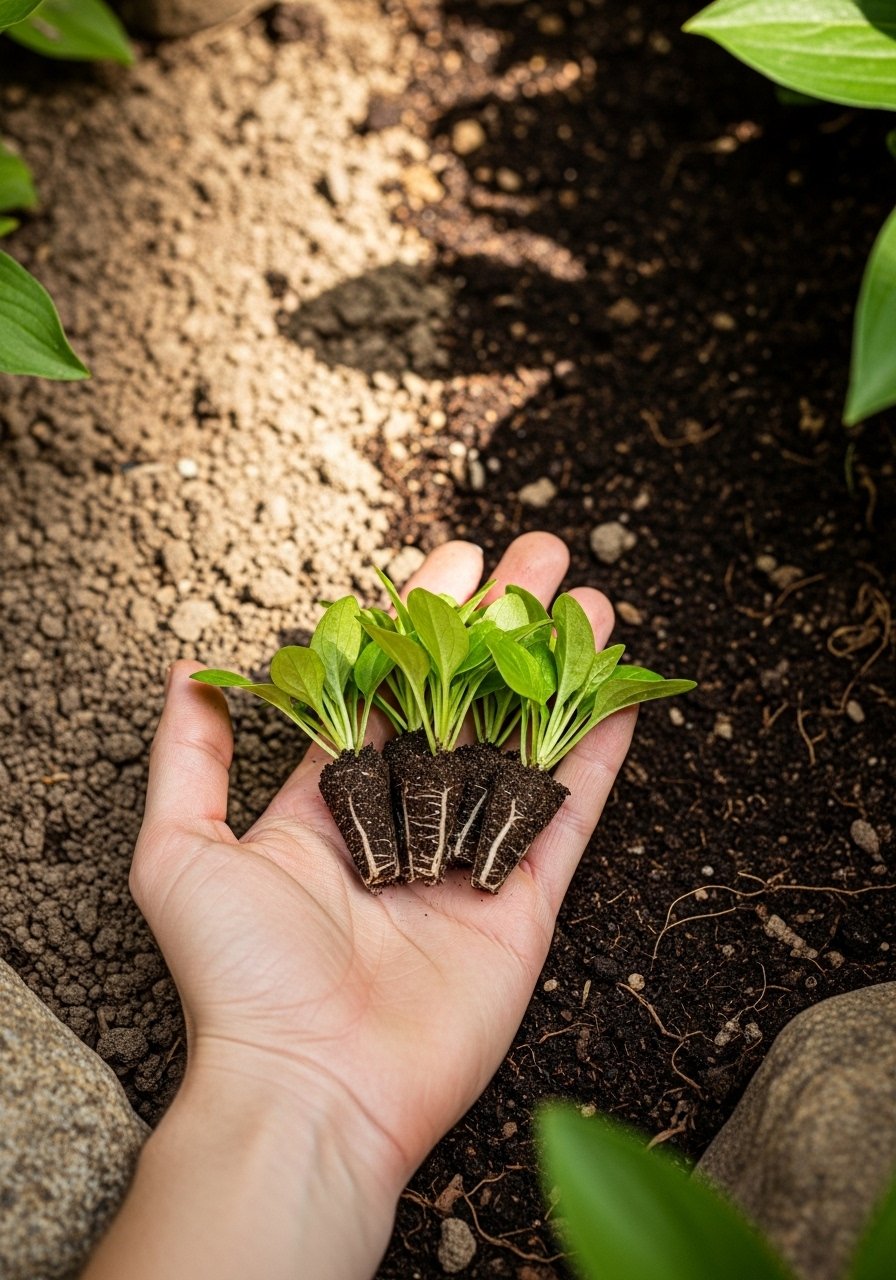
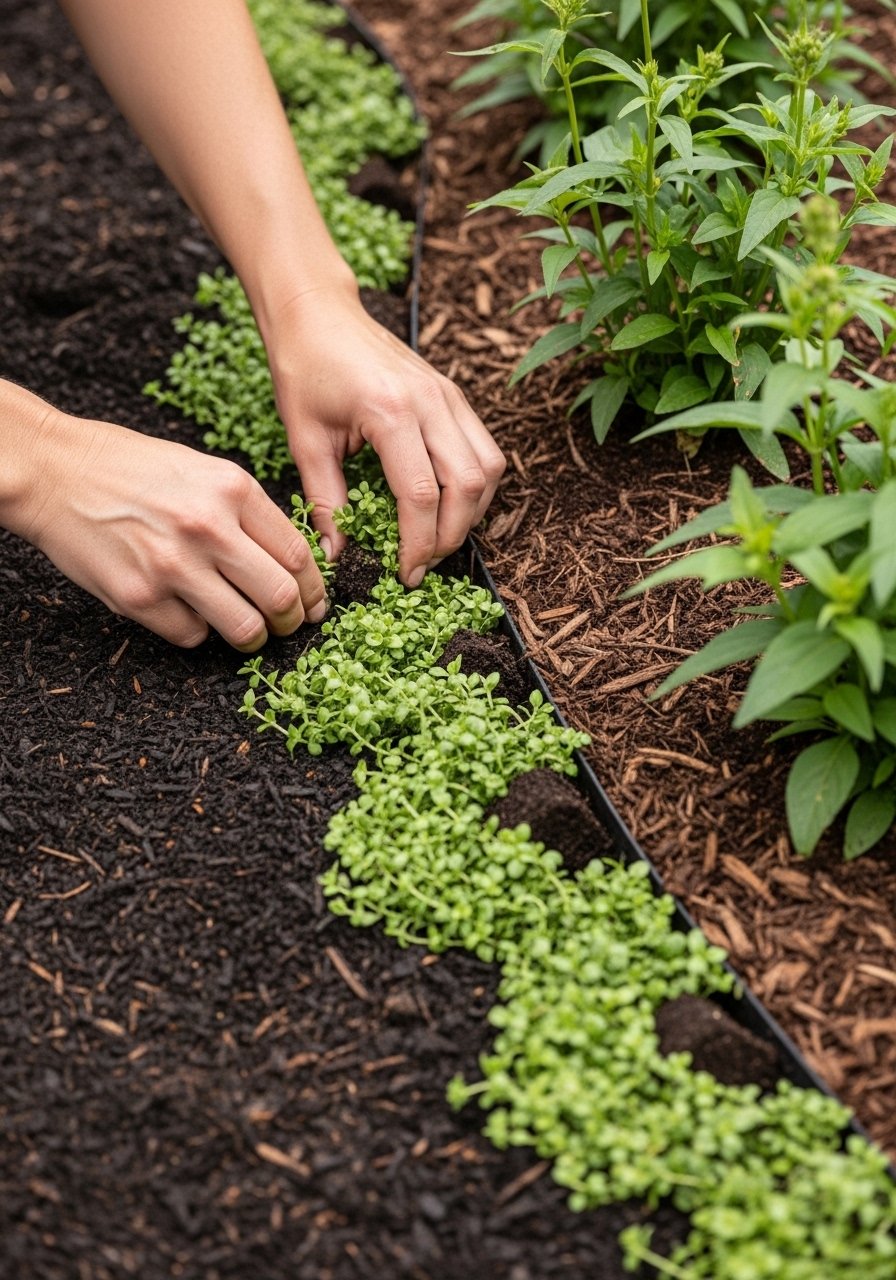
    I plant in odd-numbered clusters—3s, 5s, 7s—staggered along the drift. This creates a natural rhythm and avoids a planted strip look. I also leave small gaps for the plants to breathe as they grow.

    Visually the bed already reads looser and more natural. A tiny cluster looks like a tuft, not a forced planting. Insight most miss: closeness matters less than rhythm. Mistake to avoid: don’t plant a continuous line along the edge. That creates a “trimmed” look instead of a lived-in sweep.

    Step 4: Tuck edges, add a soft binder, then step back

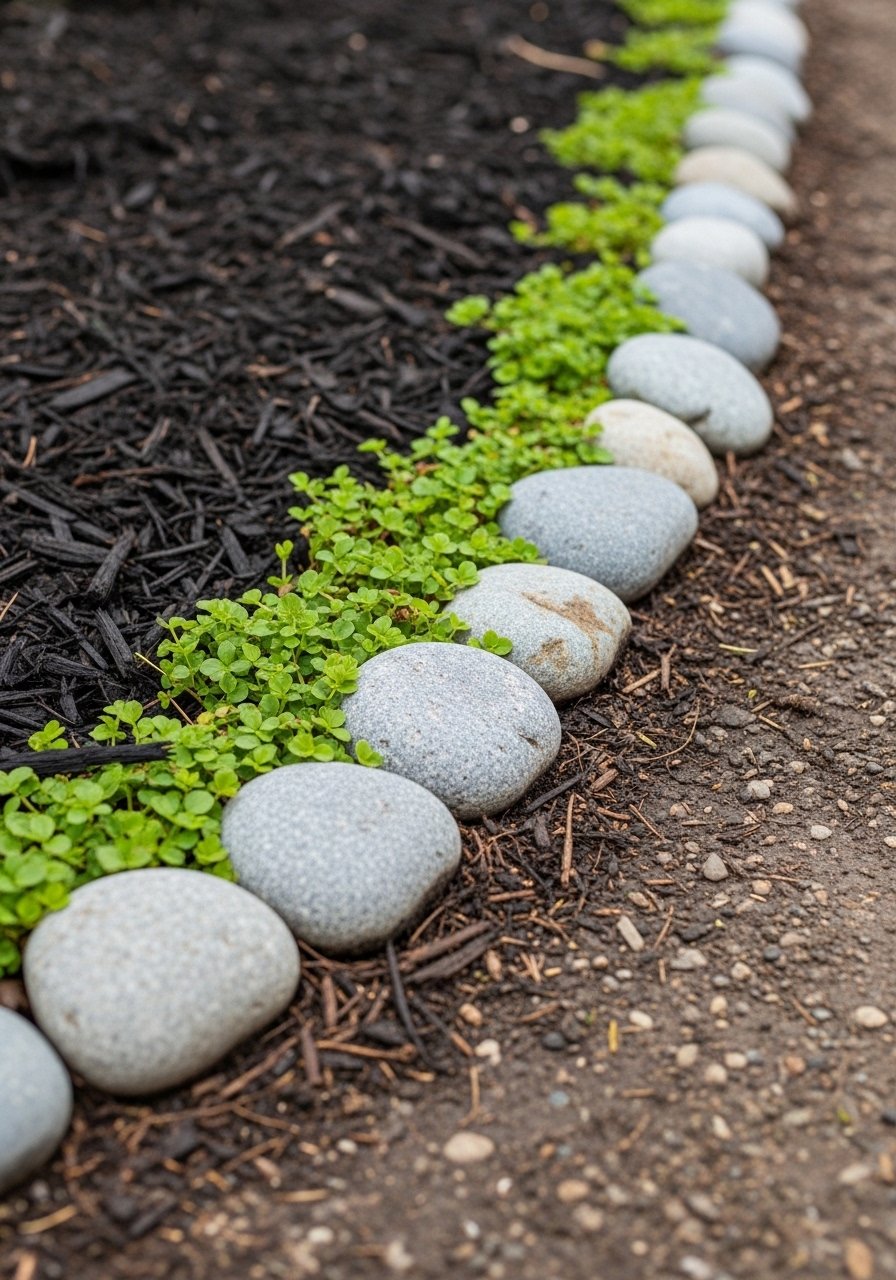
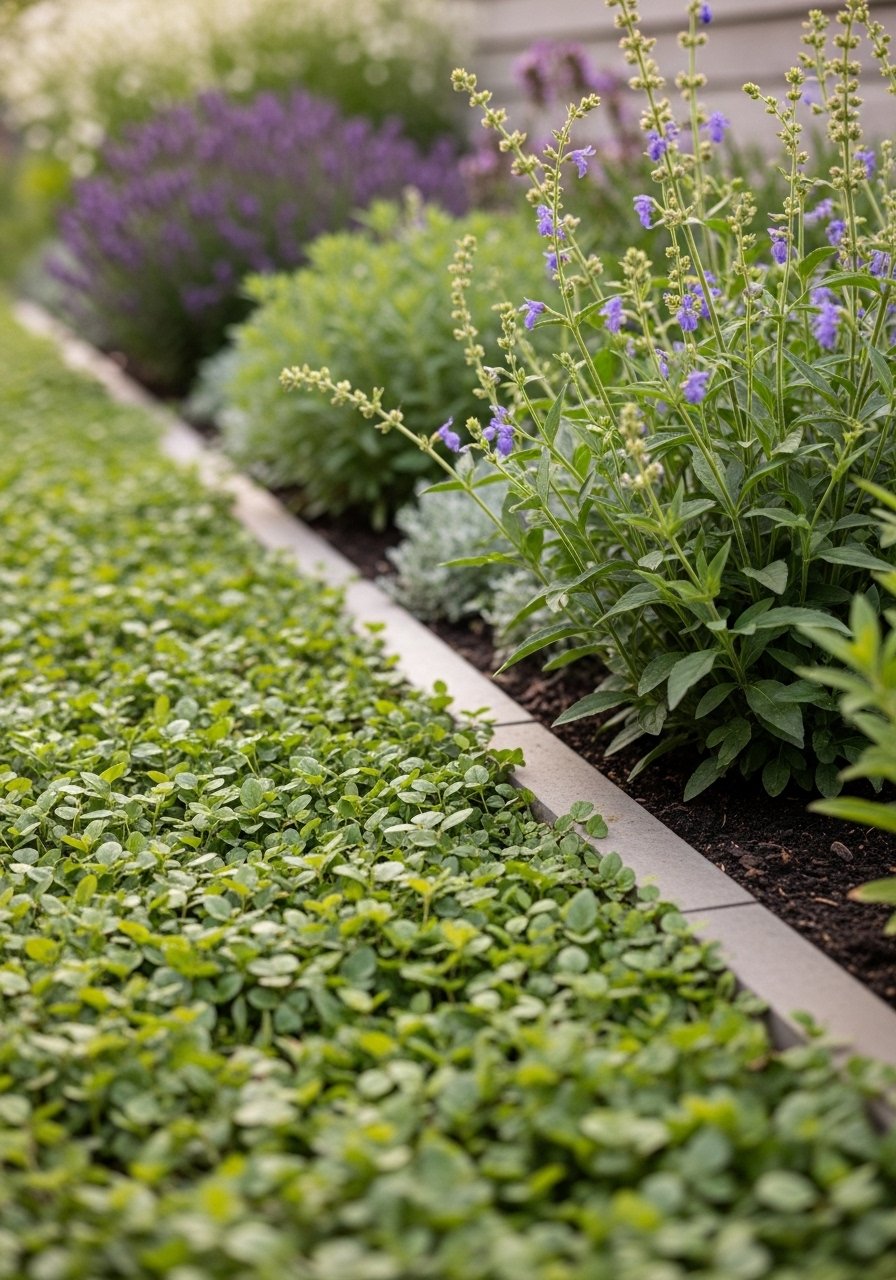
    I soften transitions with a thin edge—low stones, a narrow strip of mulch, or a sweep of ornamental grass. I don’t carpet everything. The binder makes plantings read as one place rather than scattered bits.

    You’ll notice how the eye follows the edge now, instead of stopping at random plants. People often overuse mulch or define edges too sharply. Mistake to avoid: don’t create hard, artificial borders that fight the casual flow of the plants.

    Step 5: Watch the first season and nudge as needed

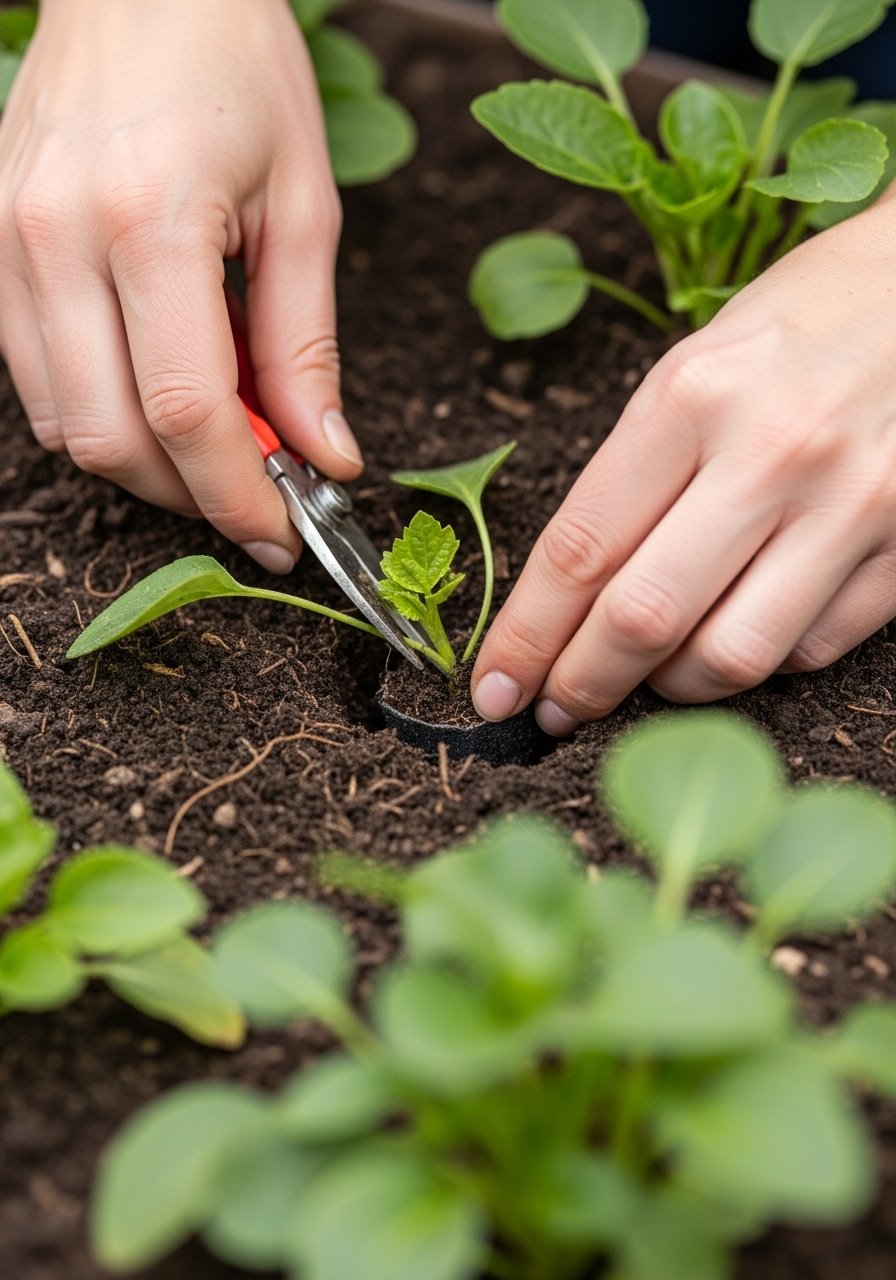
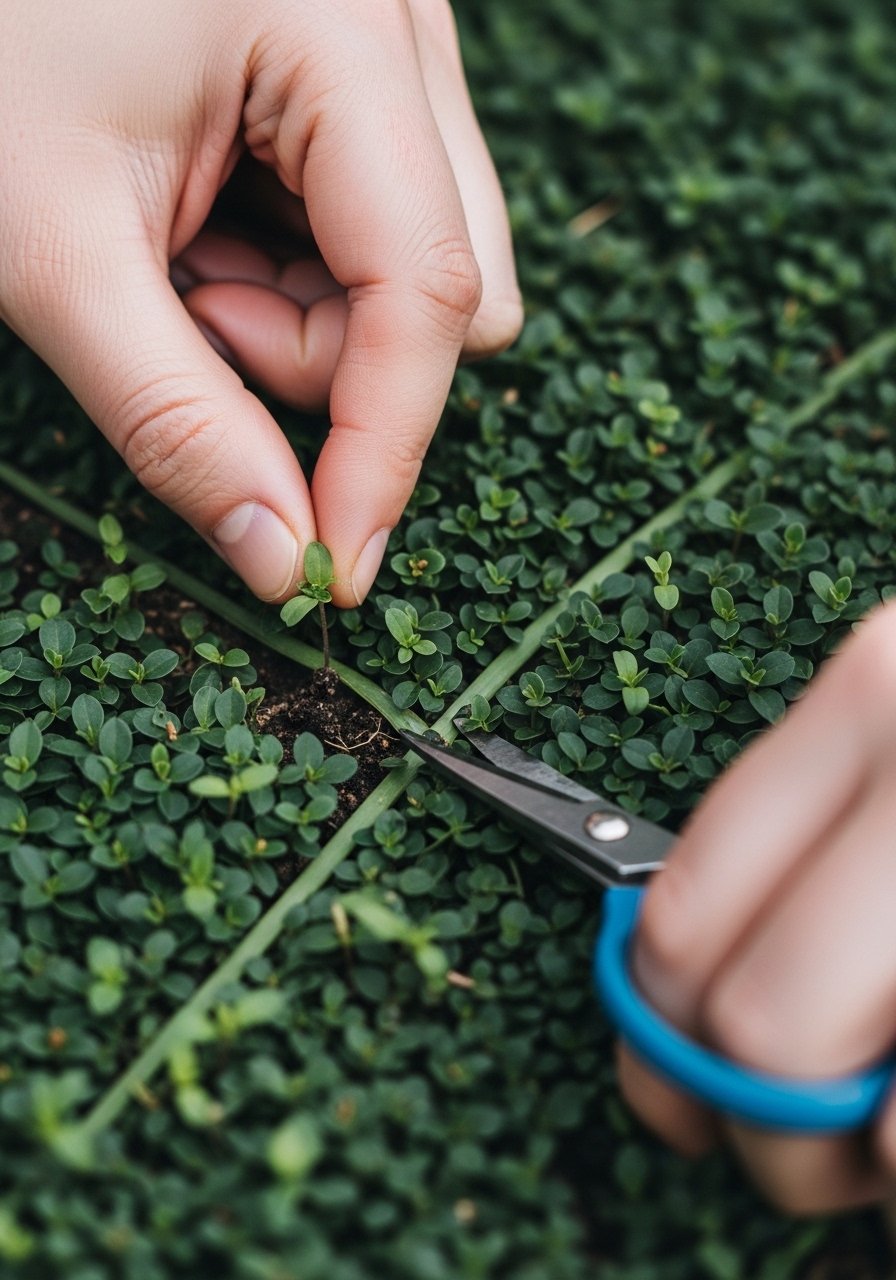
    I check monthly and nudge where gaps open. I trim runners that head toward places I don’t want them. I also add a few plugs where progress stalls. Small interventions keep the pattern tidy and natural.

    You’ll see the bed knit together over months rather than instantly. The common miss is impatience—expect some reshuffling. Mistake to avoid: don’t replant the whole bed after a few weeks. Make small corrections and the rhythm will settle.

    Choosing the Right Ground Cover for Your Light

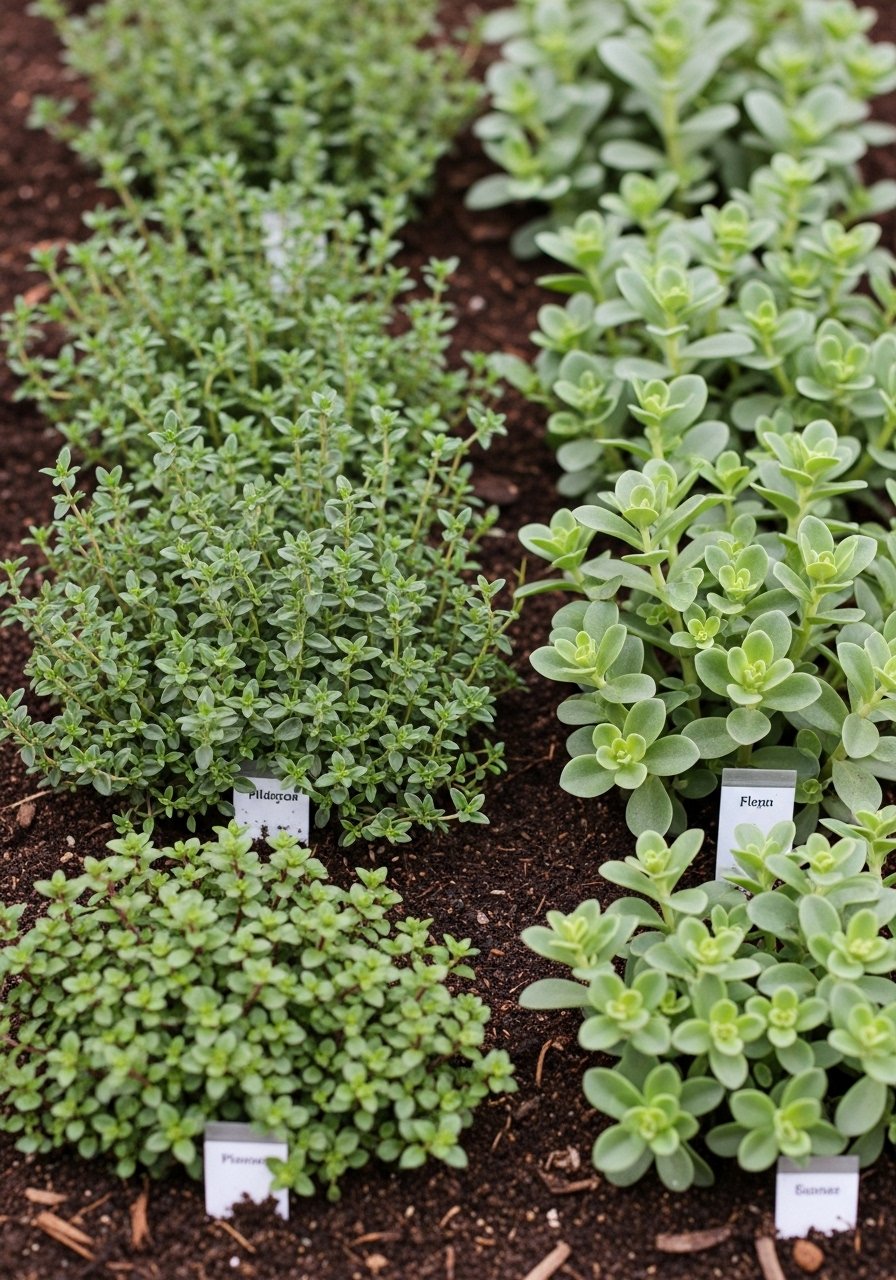
    I match plants to the site first. Sunny spots get thyme and sedum; shade gets lamium and pachysandra. This prevents constant replacement and saving me time.

    Think in groups: sun lovers, part-shade options, and full-shade cushions. Choose one or two per exposure and repeat them for cohesion.

    Spacing, Massing, and Visual Balance

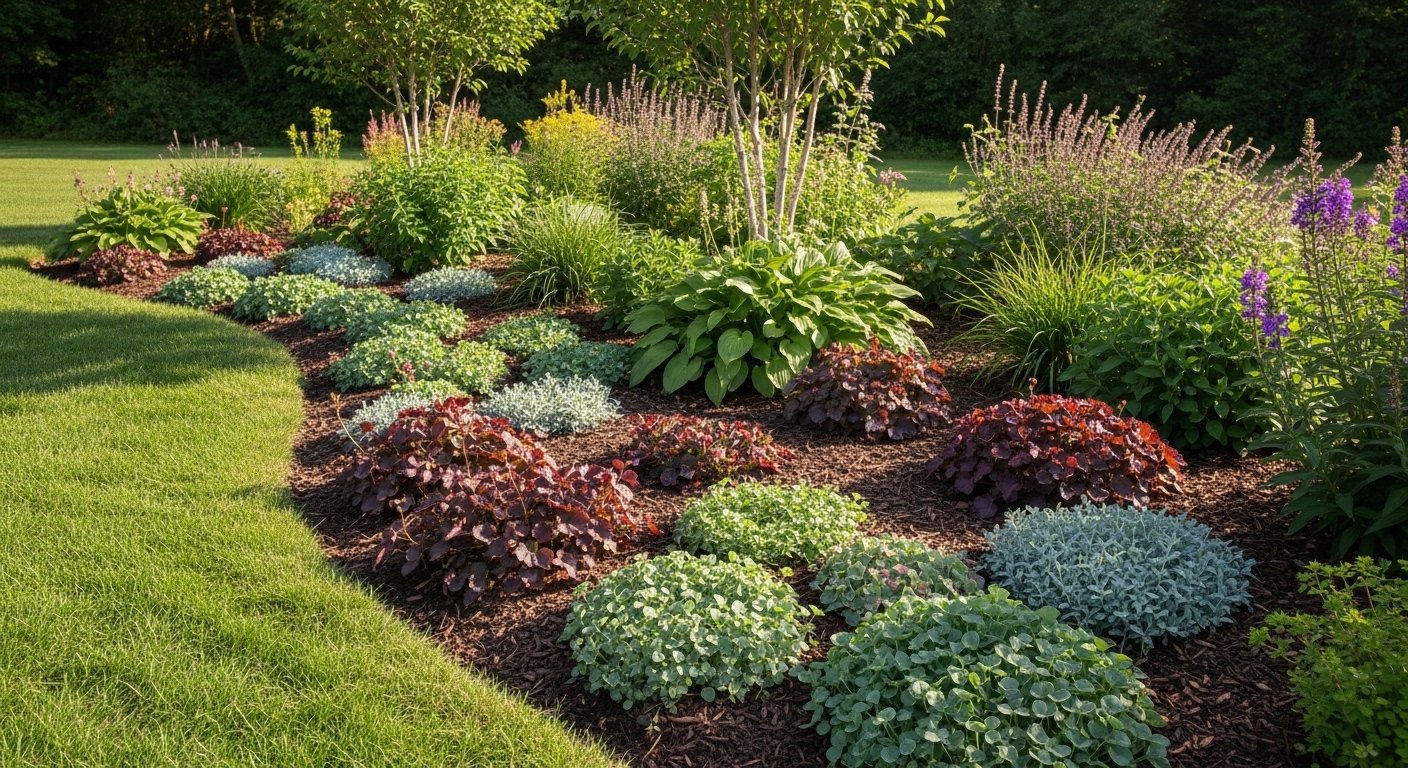
    I aim for blocks of color and texture rather than single-file lines. Drifts of 3–7 plants create readable shapes. Repeat a color or leaf shape two or three times across the bed.

    If the bed is long, break it with a different texture or a low shrub to avoid monotony. Small, repeated contrasts make a place feel balanced.

    Establishing Ground Cover in the First Year

    Year one is about watching and protecting more than drastic pruning. I water a little more often early on and remove obvious weeds. I let the plants show their habit.

    If a plant isn’t establishing after a season, I replace just that clump. It’s faster to swap a small area than to redo the whole bed.

    Final Thoughts

    Start with a small area you can manage. One visible drift will teach you more than a large, rushed planting.

    Be patient and make tiny adjustments. The bed will read intentional as it grows.

    Trust the rhythm. Plant for how the space will feel, not how quickly it fills.

  • How to Stop Weeds With Ground Cover Plants For A Cleaner Garden

    How to Stop Weeds With Ground Cover Plants For A Cleaner Garden

    I used to spend weekends pulling the same stubborn weeds. It felt endless and wasted time.

    I started planting low mats of ground cover wherever seedlings popped up. Within a season beds read cleaner and calmer.

    This method keeps soil shaded, shrinks weed space, and makes beds look intentional without constant tinkering.

    How to Stop Weeds With Ground Cover Plants For A Cleaner Garden

    You’ll learn how to pick and place ground covers so beds stay tidy, shaded, and visually balanced—achieving a low-maintenance, lived-in look without endless weeding.

    What You’ll Need

    Step 1: Match the Plant to the Place

    I start by standing in the bed and feeling the light and soil with my eyes. I pick covers that suit those conditions so they settle in and outcompete weeds. Visually, gaps begin to read as a single surface instead of a patchwork of empty spots. One insight people miss is seasonal habit—some covers look sparse in winter but bulk up later. A small mistake to avoid is forcing one favorite plant everywhere; scale and habit matter, so use what fits each micro-spot.

    Step 2: Plant in Natural Drifts, Not Grids

    I plant in loose groups that echo how nature spreads. The bed immediately feels softer and more intentional than neat rows. People often miss scale—small clumps look more natural than uniform spacing. One common mistake is lining plants up like soldiers; it reads artificial and invites gaps. Instead I let drifts curve around taller plants and stones so the eye follows the flow. This creates pockets where the groundcover can thicken and choke off weeds without screaming “planted today.”

    Step 3: Anchor with Taller Neighbors and Edging

    I pair low ground covers with taller anchors—ferns, salvia, or a small shrub—so the bed has depth. The visual change is immediate: a layered look where the groundcover becomes a tidy foreground carpet. An insight many miss is the power of a defined edge; a low border keeps the mat looking intentional. A mistake to avoid is covering everything to the edge with one plant; that creates a flat plane. Instead, leave breathing room for focal plants and paths to keep the scene balanced.

    Step 4: Use Mulch and Paths to Control Start Points

    I let mulch and a narrow path be the intentional places where groundcover stops. That contrast makes beds read clean and reduces the raw soil where weeds begin. You’ll notice cleaner lines and richer color where mulch and plants meet. One insight I learned the hard way: mulch color shifts the whole bed’s mood—brown reads warm, black reads modern. One small mistake is smothering new plugs under too much mulch; keep the feel light so the covers can settle and show their form.

    Step 5: Tidy Lightly and Let the Covers Do the Work

    I walk the bed every few weeks and pull tiny weed seedlings before they seed. The groundcover thickens over time and the need to weed drops dramatically. Visually the mat gets denser and the bed reads finished. An insight people miss is patience—groundcovers earn you time, but they need a season to settle. A mistake to avoid is overreacting to a few weeds by ripping up a healthy mat; that sets you back. Gentle maintenance keeps the look calm and stable.

    Choosing Ground Covers by Garden Feel

    I pick covers not just by habit but by the mood I want. For a cozy cottage feel I use creeping thyme and ajuga. For a clean, cool look I favor Irish moss and pachysandra.

    Think about texture and seasonality. Mix glossy leaves with tiny flowers or fuzzy mats so the bed reads layered across seasons.

    Where Ground Covers Fail (and How I Fix It)

    Sometimes a cover spreads too slowly or chokes out a smaller companion. I watch for gaps the first year and fill them with complementary plugs. If one species proves too aggressive, I trim it back and introduce a contrasting slower partner.

    I also watch edges. If a mat creeps into paths, I redefine the line with low edging or a narrow gravel strip. Small corrections preserve the overall calm look.

    Quick Pairings I Use

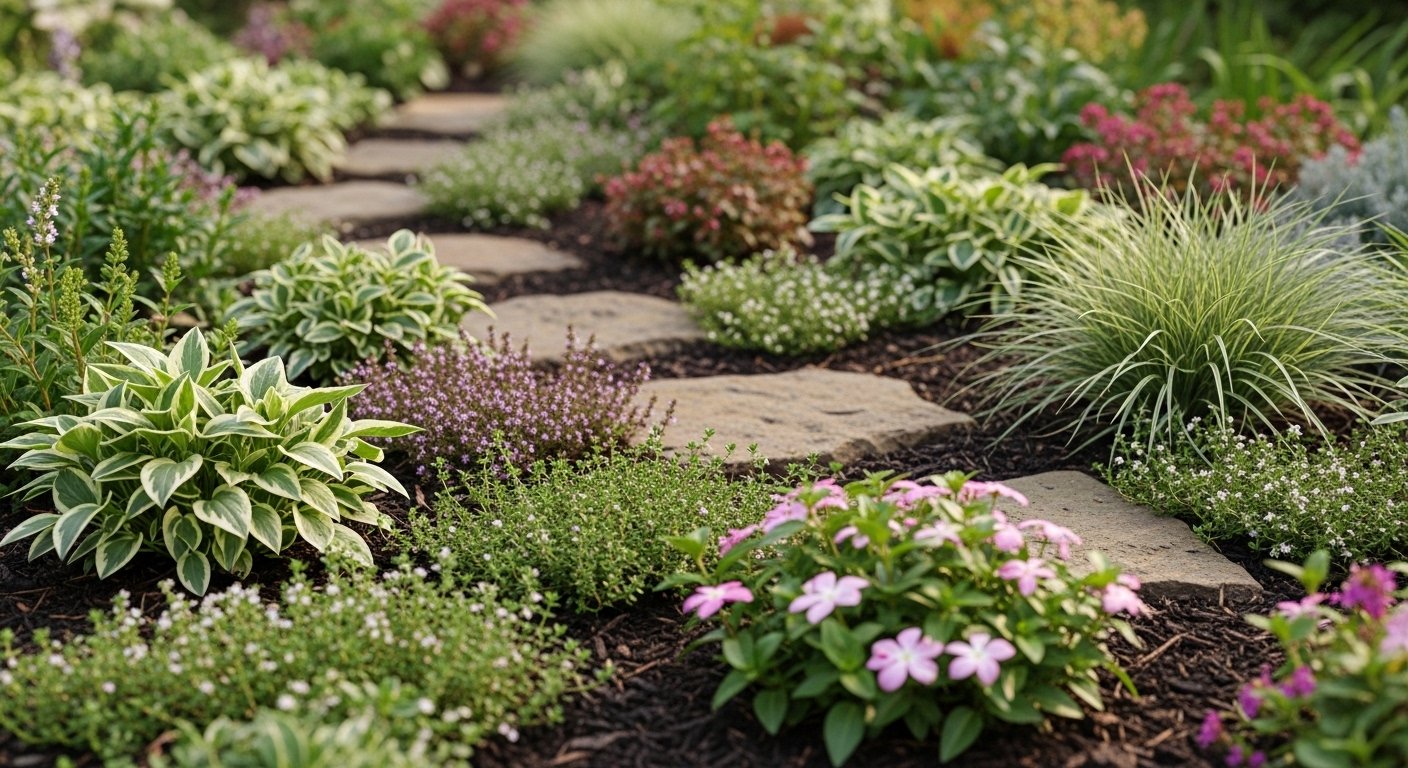
    • Sunny, warm edge: creeping thyme + low sedum.
    • Shady, cozy corner: pachysandra + lamium.
    • Mixed perennial bed: ajuga drifts between taller clumps.

    I keep pairings simple so the bed reads unified. Repeating the same pairings in several spots ties the garden together without looking matchy.

    Final Thoughts

    Start with a single small bed. Plant a few drifts and wait a season.

    Groundcovers cut weed space and make beds read intentional. They reward patience more than constant upkeep.

    Trust the plants to do the heavy lifting, and adjust with light edits as they settle.