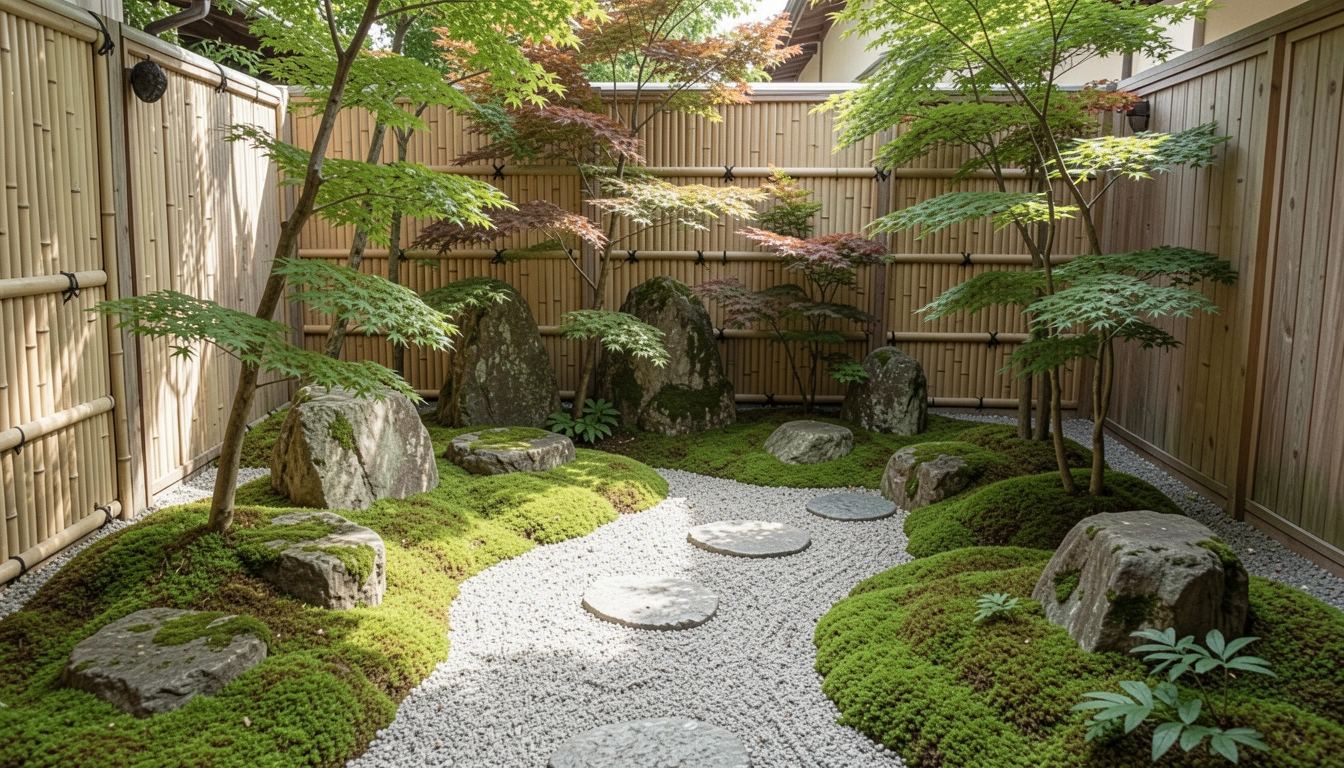
I stared at my tiny back corner. It was cramped, full of junk, and never felt right. I wanted that quiet Japanese calm, but small spaces fight back. Everything looked forced.
One rainy afternoon, I started small. Cleared it out. Added a few stones. Suddenly, it breathed.
Now, that spot pulls me in. Peace without trying too hard. You can do this too.
How To Make Japanese Garden In Small Space
This is the way I shape a small space into a Japanese garden. You end up with a calm, balanced spot that fits your life. It feels right, not crowded.
What You’ll Need
- Japanese black pine bonsai tree (6-inch pot, pre-trained)
- Polished river rocks (mix sizes, 10-pound bag)
- Fine pea gravel (natural gray, 50-pound bag)
- Moss sheet (live sphagnum, 12×12-inch patches)
- Small stone lantern (granite replica, 12-inch tall)
- Bamboo privacy screen (natural, 3×6-foot panel)
- Azalea shrub (compact dwarf, 1-gallon pot)
- Raked gravel rake (bamboo, 18-inch wide)
Step 1: Clear and Frame the Space
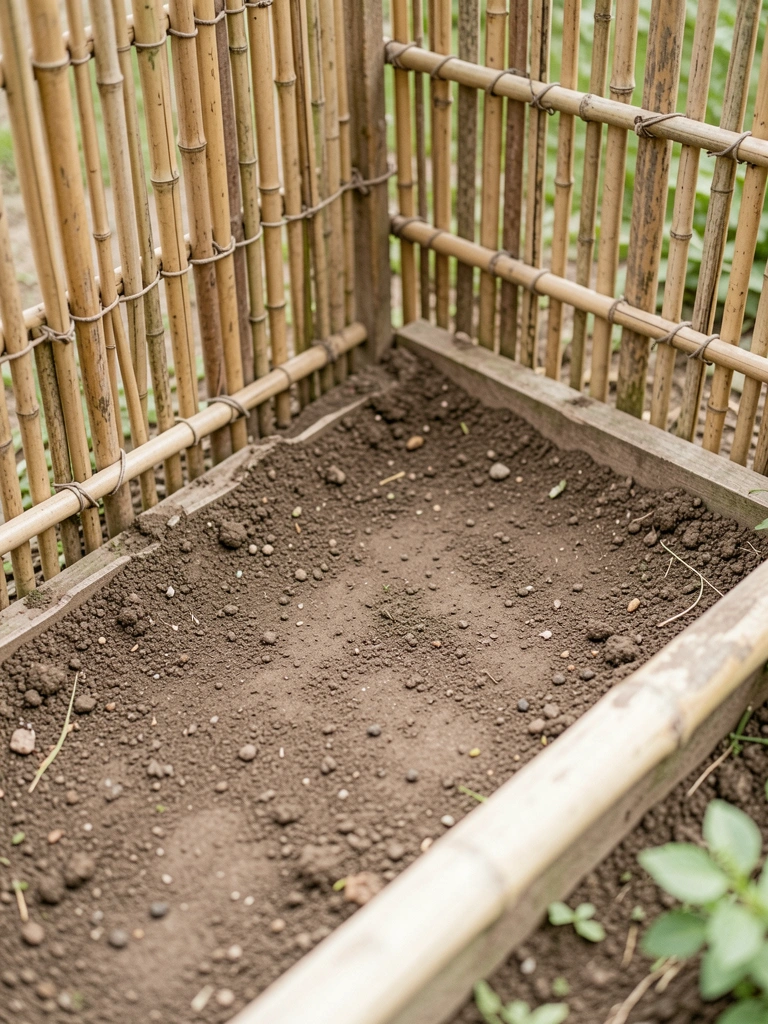
I start by pulling everything out. No plants, no pots. Just bare ground. This gives the space room to settle. Why? Clutter kills that open Japanese feel.
Visually, it shifts fast. The corner looks bigger already. Empty but ready.
People miss how framing pulls it together. I add the bamboo screen along one edge. It softens walls without closing in. Mistake to avoid: Don't stretch it too tight. Let it lean a bit for life.
Now it waits, quiet.
Step 2: Lay the Gravel Base
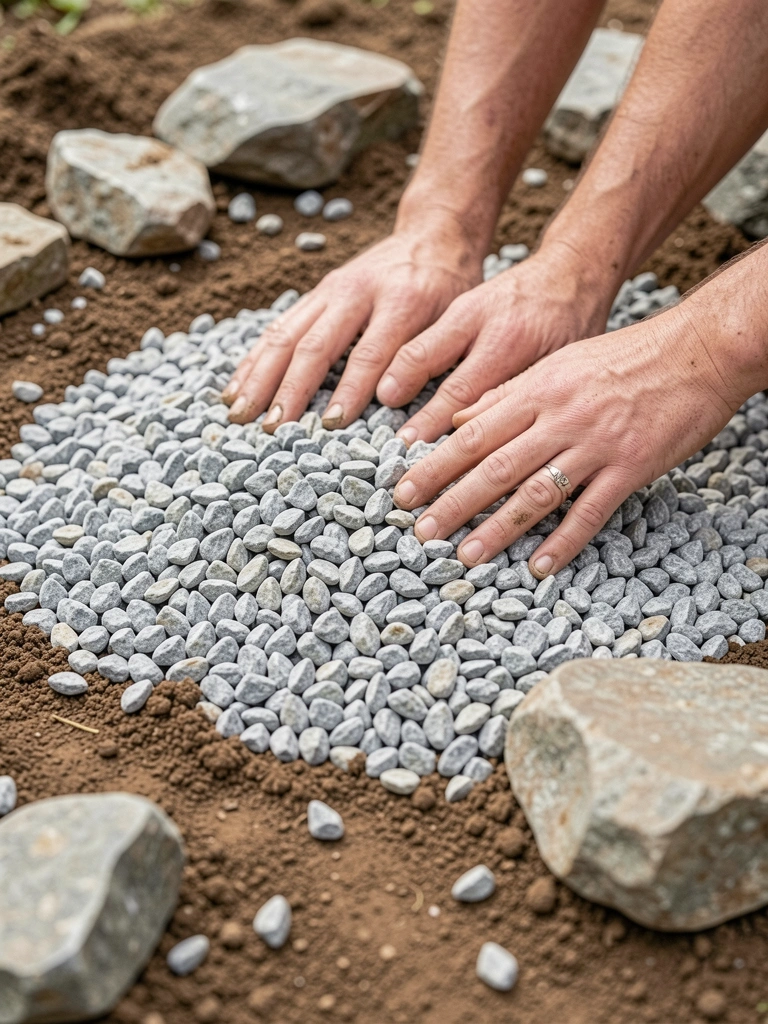
Next, I level the dirt smooth. Then spread pea gravel two inches deep. It drains water and sets a clean base. This grounds everything.
The change hits right away. Gray gravel calms the eye. No mud, just soft flow.
Insight folks skip: Gravel mutes noise from outside. Rake it once for waves. Avoid piling it against edges—keeps it from spilling.
I step back. It feels steady now.
Step 3: Place the Stones
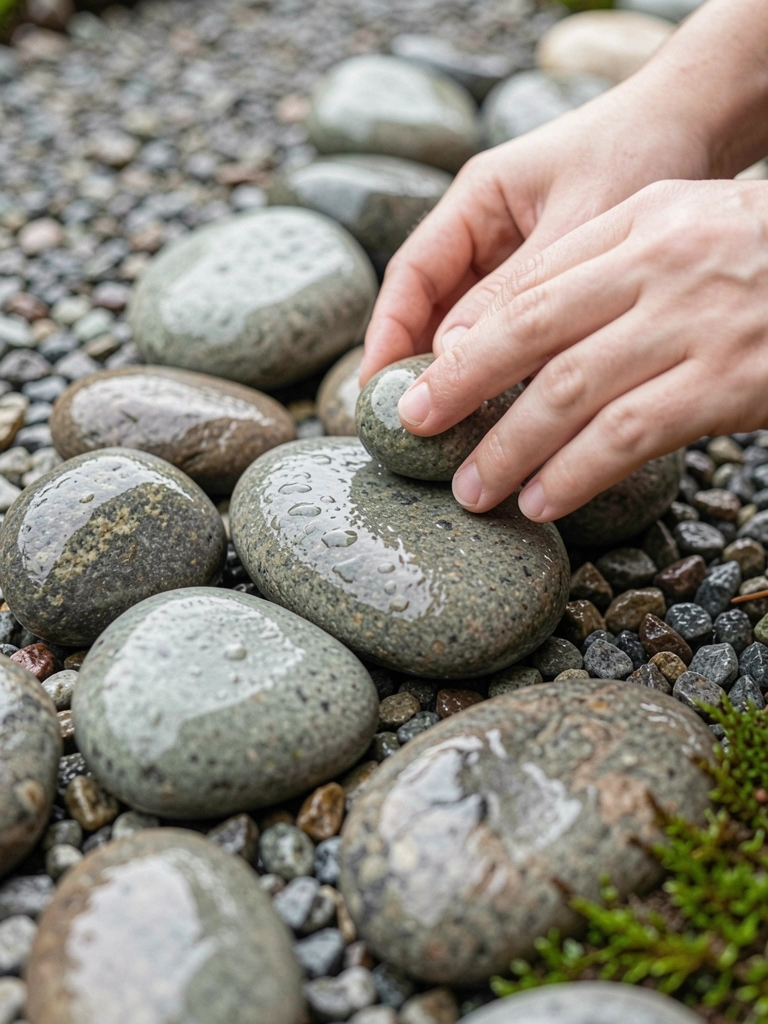
I pick three or five rocks. Odd numbers work best. Place bigger ones first, toward the back. They anchor the feel.
Visually, stones make it solid. Gravel peeks between, breathing.
Most miss uneven heights. Stack slightly off—mimics nature. Don't line them up perfect; looks stiff.
I nudge until balanced. The space holds still.
Step 4: Add Plants and Moss
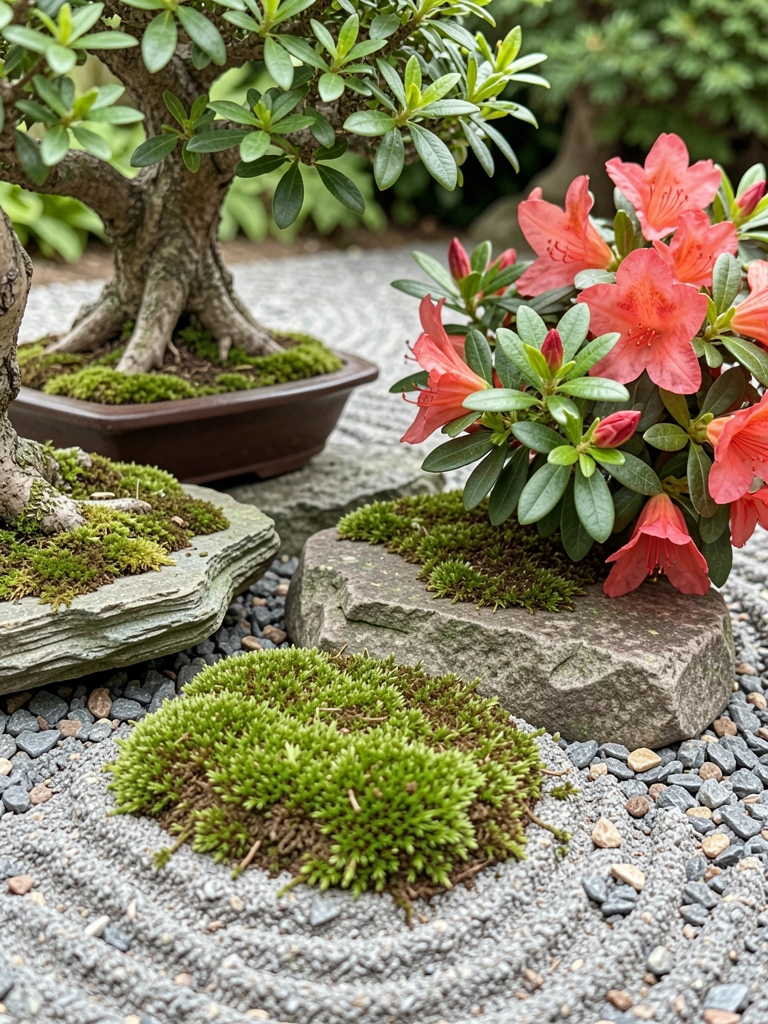
Now plants. Bonsai in front left, azalea right. Moss sheets over damp spots. They layer green softly.
It greens up gentle. No bushy mess—space stays open.
Key insight: Plants frame paths, not block. Mistake: Too many greens clash. Stick to three types max.
I water light. It settles in.
Step 5: Set the Lantern and Finish
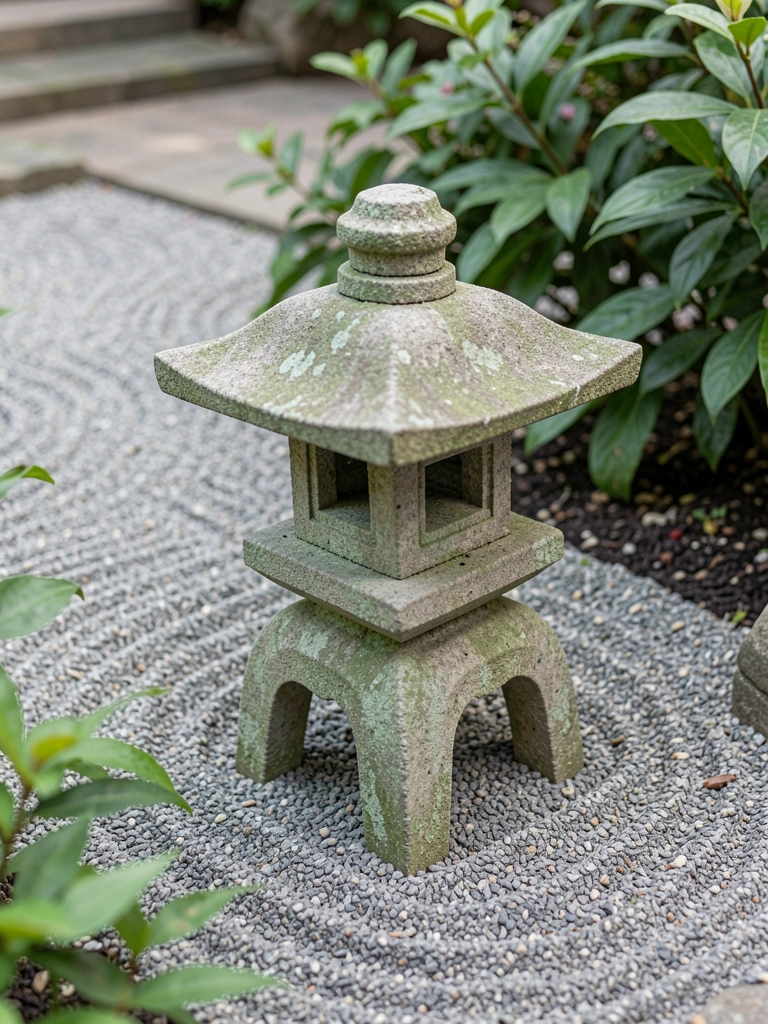
Last, the lantern. Off-center, half in gravel. Rake patterns around it.
Final shift: Pure calm. Light catches stone at dusk.
People overlook lantern height—eye level draws you in. Avoid centering it; breaks flow.
Stand back. It's done. Peaceful corner.
Choosing Plants That Fit Small Spaces
I stick to compact ones. They grow slow, stay in scale.
Bonsai and azaleas handle shade. Moss fills gaps without spreading wild.
- Pick evergreens for year-round green.
- Dwarf varieties only—no giants.
- Group in threes for rhythm.
Test by holding pots up first. See the balance.
Keeping the Balance Over Time
Rake gravel weekly. Pull weeds young.
Trim plants light—Japanese style clips tips.
- Water deep, less often.
- Refresh moss yearly.
- Stones shift? Nudge back.
It ages nice, gets better.
Handling Common Small-Space Hiccups
Tight spots tempt overplanting. I hold back.
Sun issues? Swap for shade lovers.
- Wall too close? Bamboo softens.
- Drainage poor? More gravel.
- Feels empty? One lantern fixes.
Watch a season. Adjust once.
Final Thoughts
Start with your smallest spot. One gravel patch, three stones.
You'll see it work. No rush.
That quiet pull comes easy. Your space, your calm. Just tend it steady.
Leave a Reply